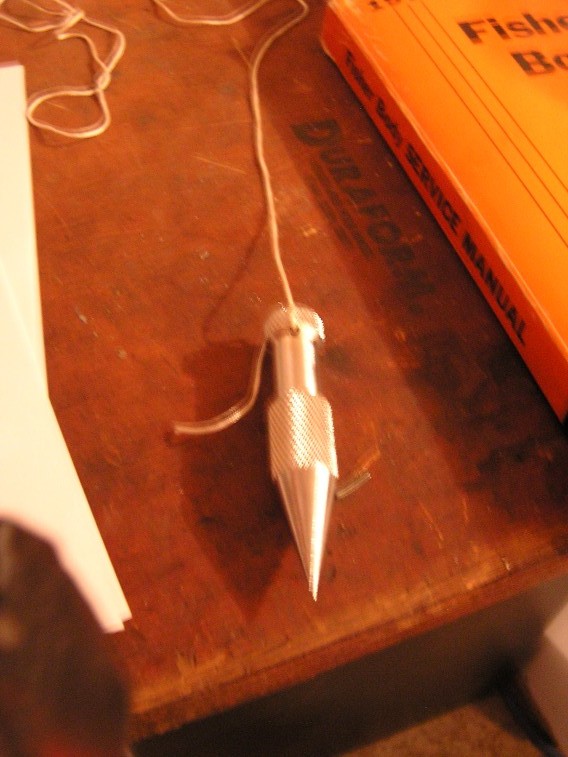
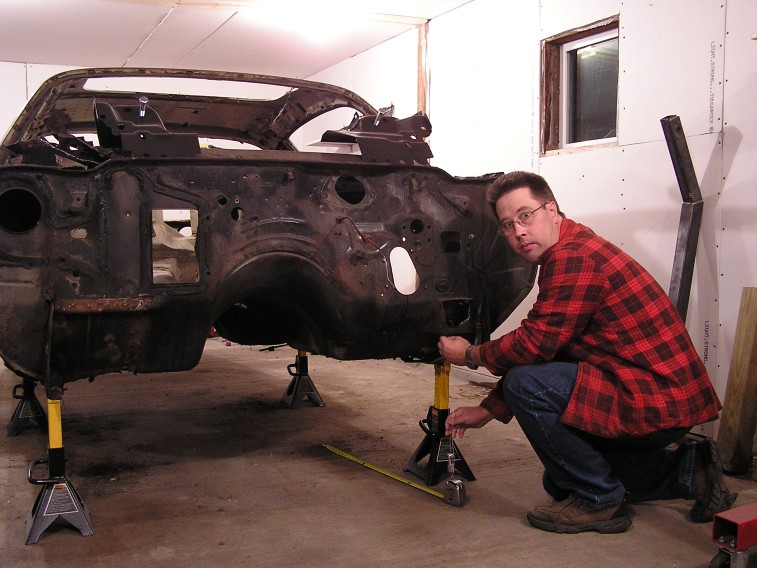
Started out using my Harbor Freight plum bob and crayons to get some reference points. Because the body is on jack stands and not 100% level, the measurements are slightly off from what the manual says.
Firewall bracket to floor and mark with Crayon:
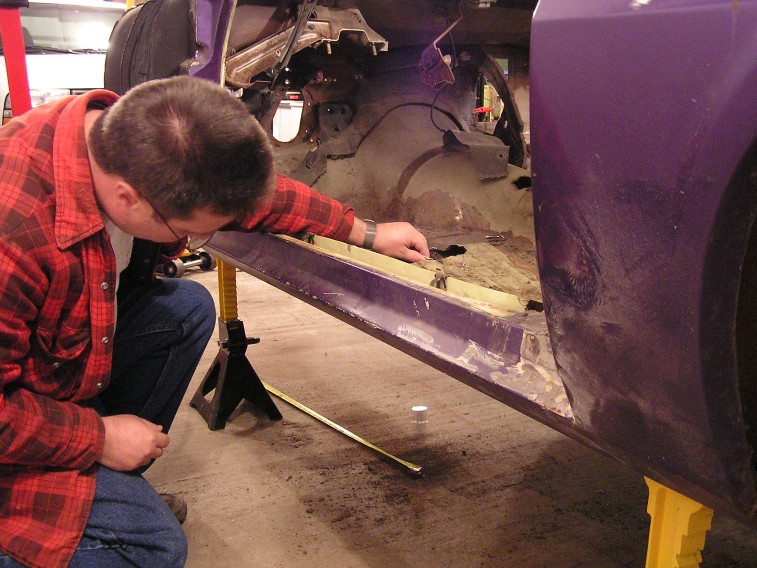
Subframe mount under seat to floor and mark with Crayon:
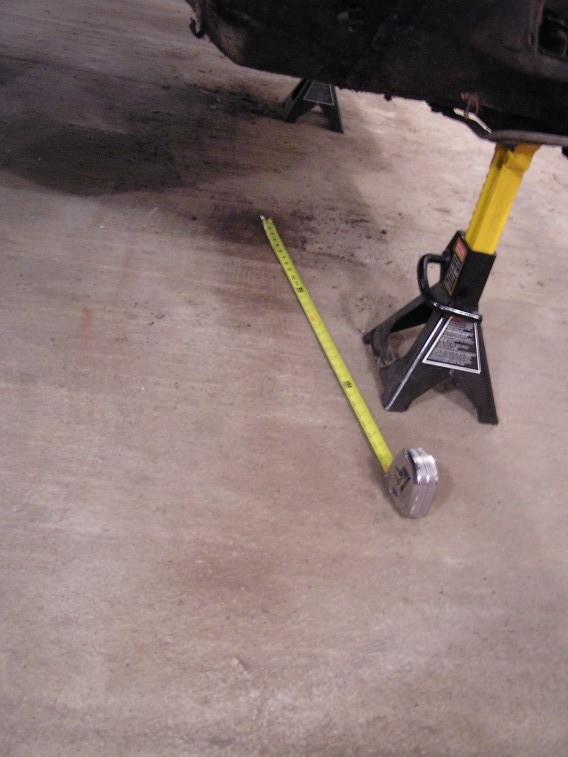
A little off from what the book says… Repeated five times to ensure the measurement was accurate.
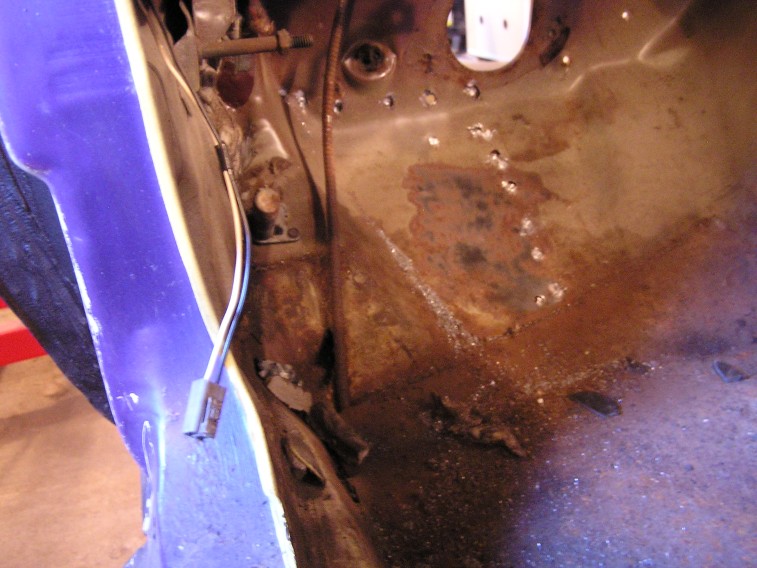
Now start drilling spot welds from inside the car:
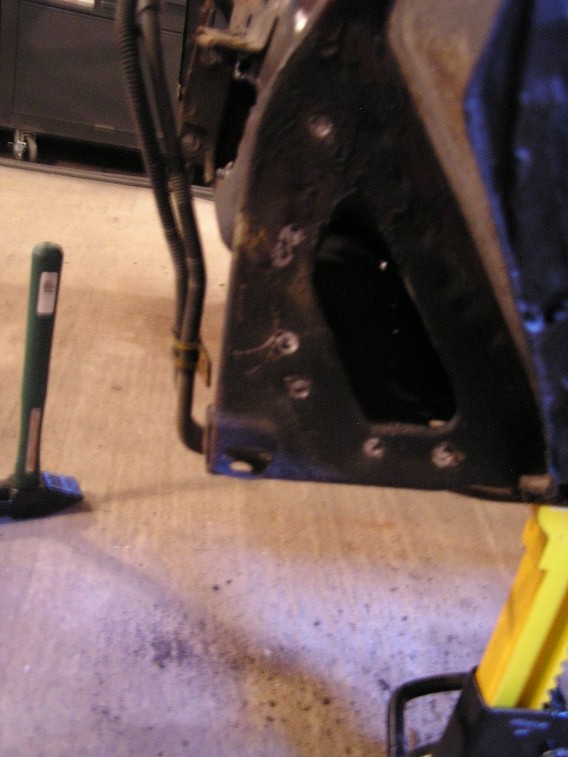
and from side bracket:
Start working from middle of car to outside of car using the seam buster (from earlier post) and pry bars to gently pry the bracket away from firewall:
I wasn’t sure if there were two columns of welds like the passenger side – there weren’t:
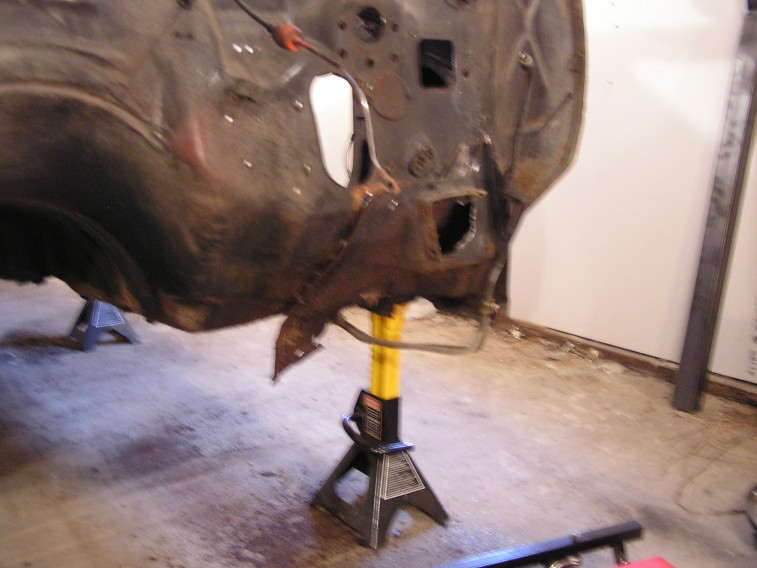
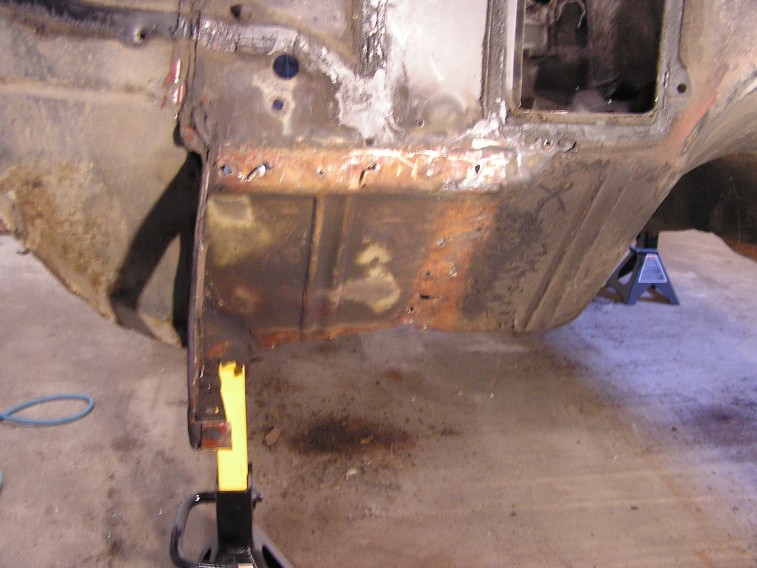
Bracket removed!
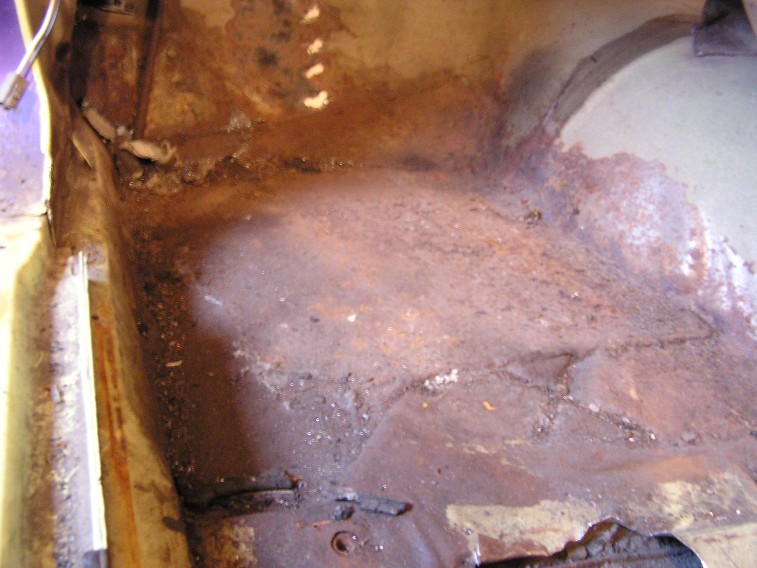
Floor and toe-boards to repair before putting new firewall brackets on and BEFORE replacing with the full floor pan:




Looks like you we’re busy this weekend 🙂
That looks like a lot of work. Are you following some sort of guide for this whole process?
Some of what I am doing is based on what others have done on web sites like NastyZ28.com (see projects and body work topics) and some basic videos on the topic.