Patch Panel Re-weld

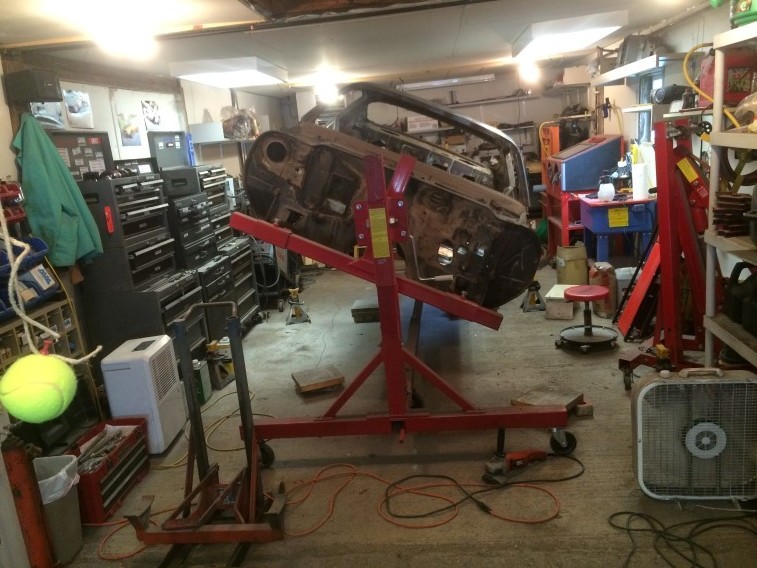
Only took me a half day to re-weld the patch panel from the bottom while on the rotisserie.  I must be getting better at welding.
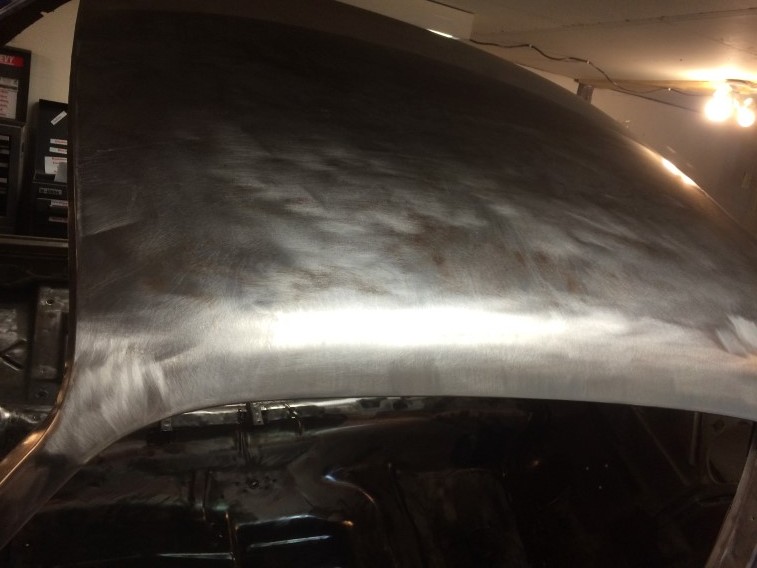
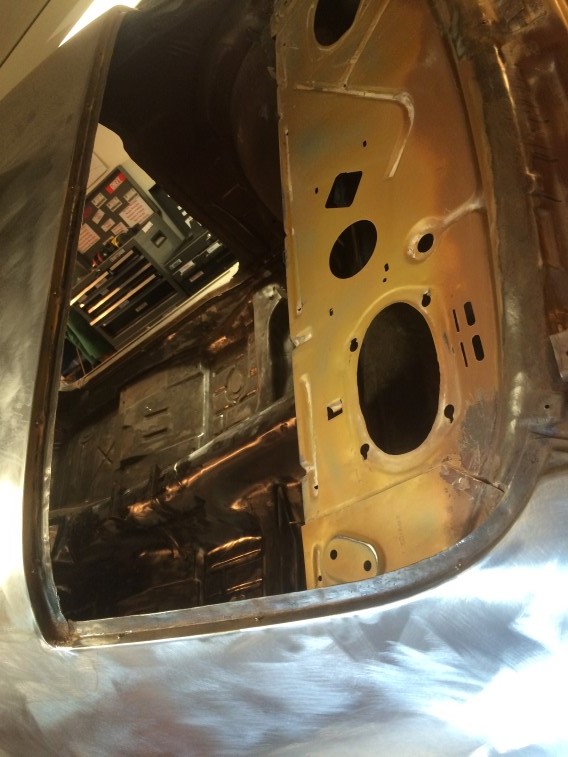
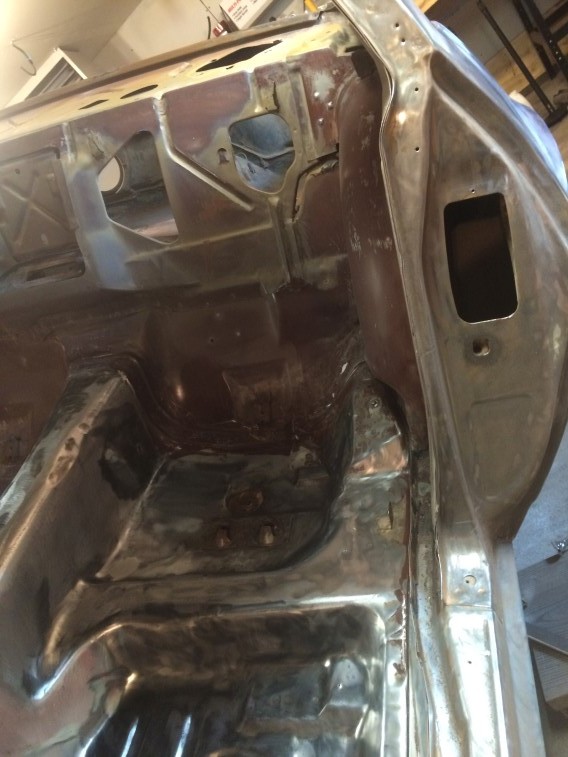
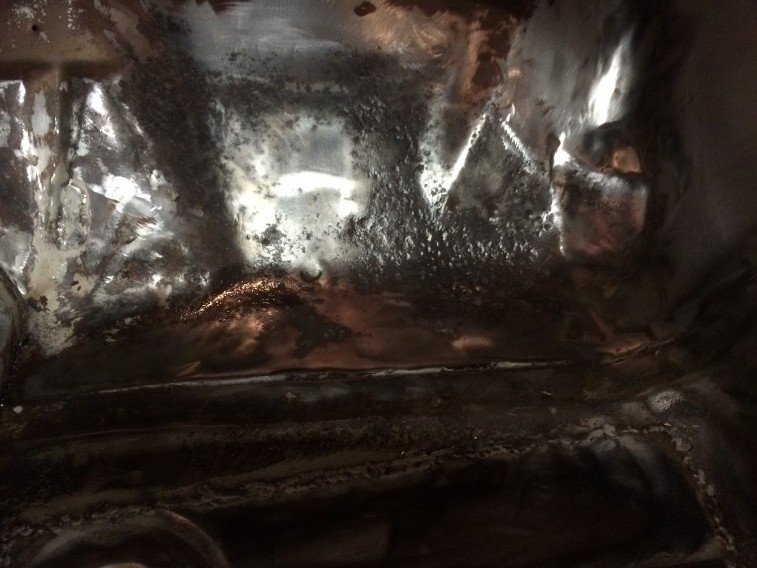
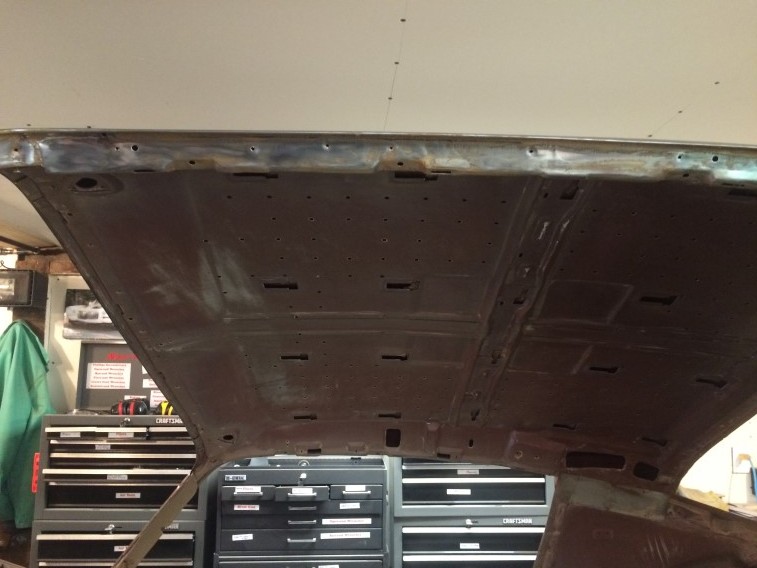
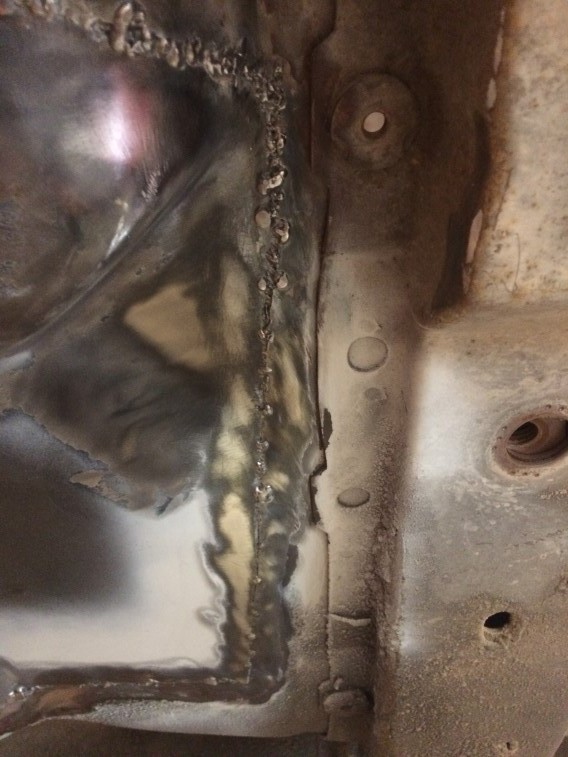
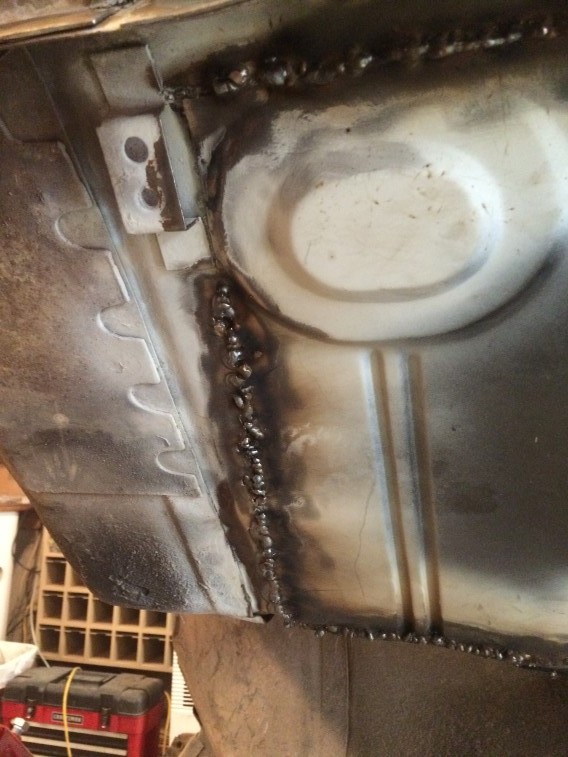
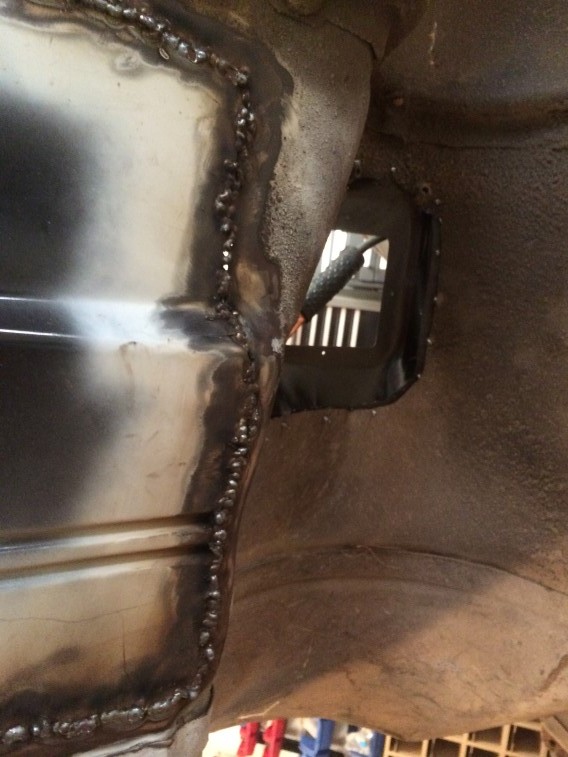
Before pics:

IMG_1579
IMG_1580
IMG_1581 IMG_1582

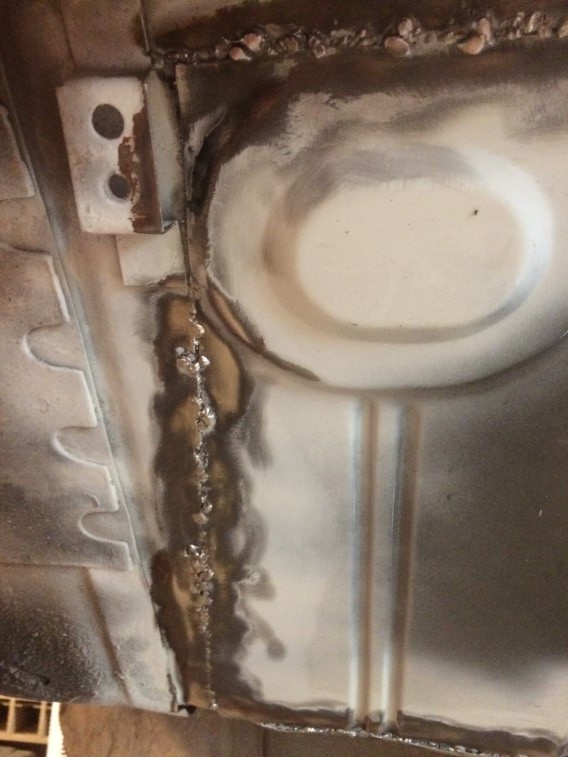
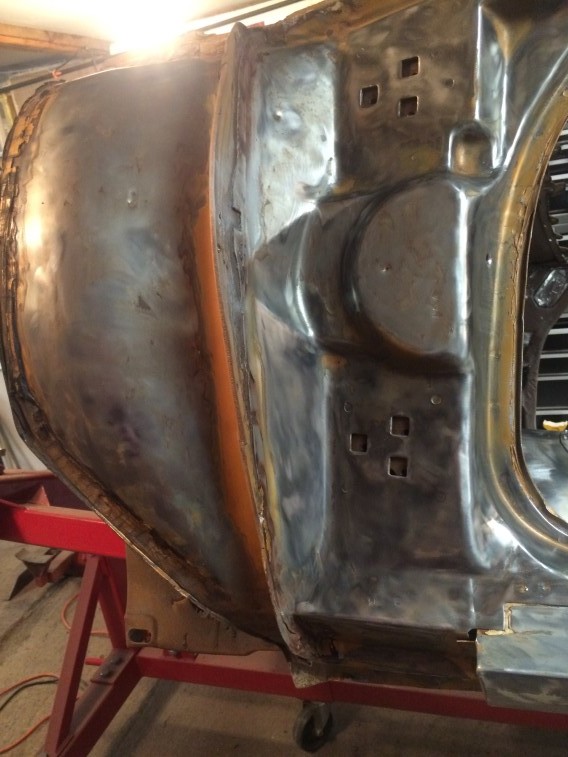
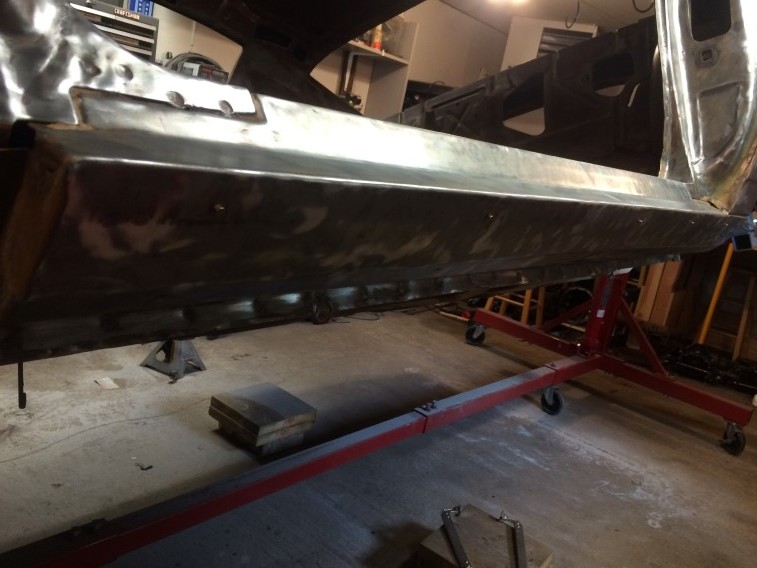
Starting with a few tack welds:
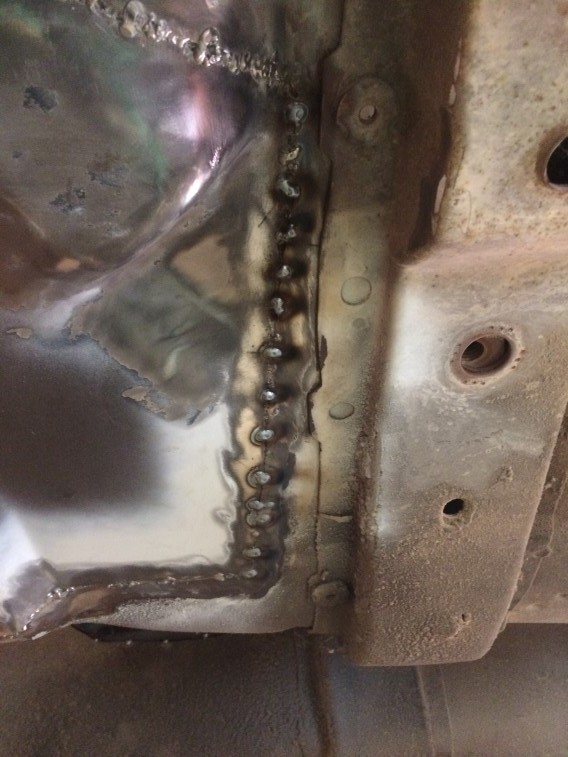
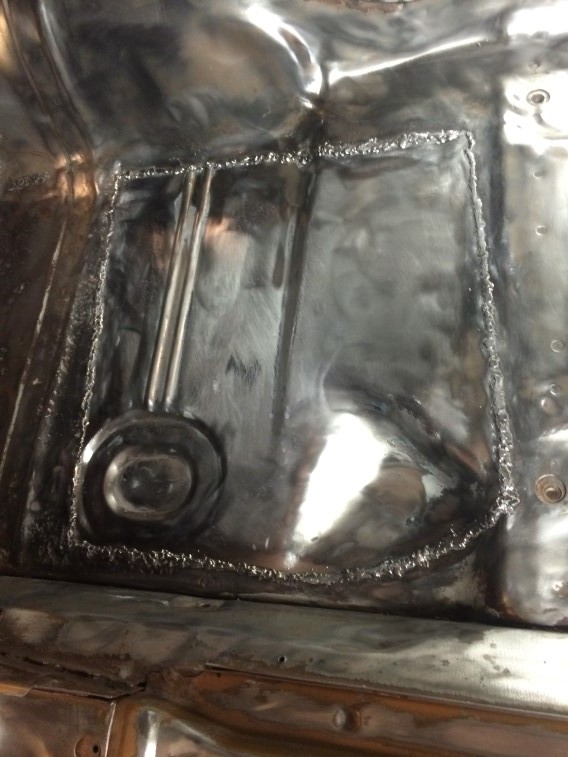
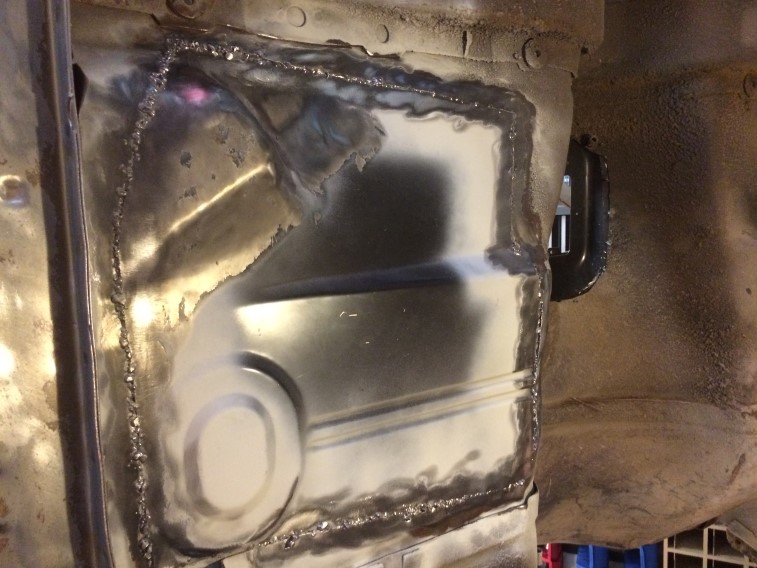
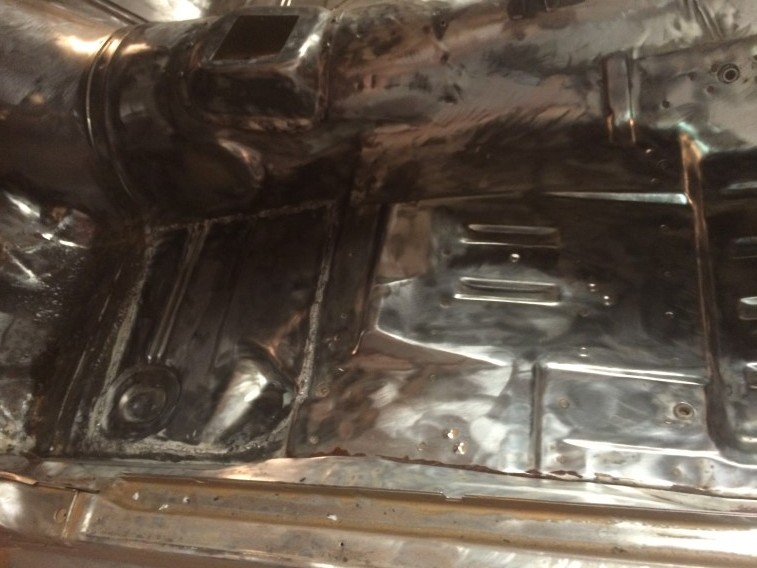
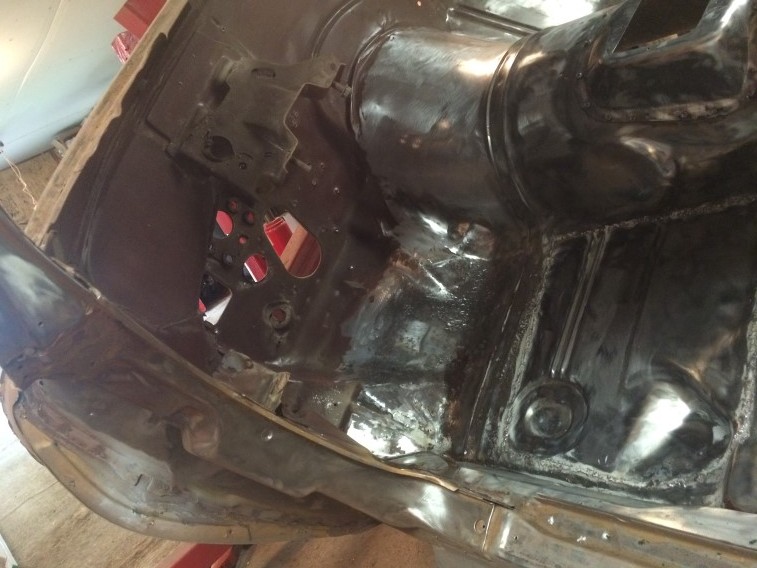
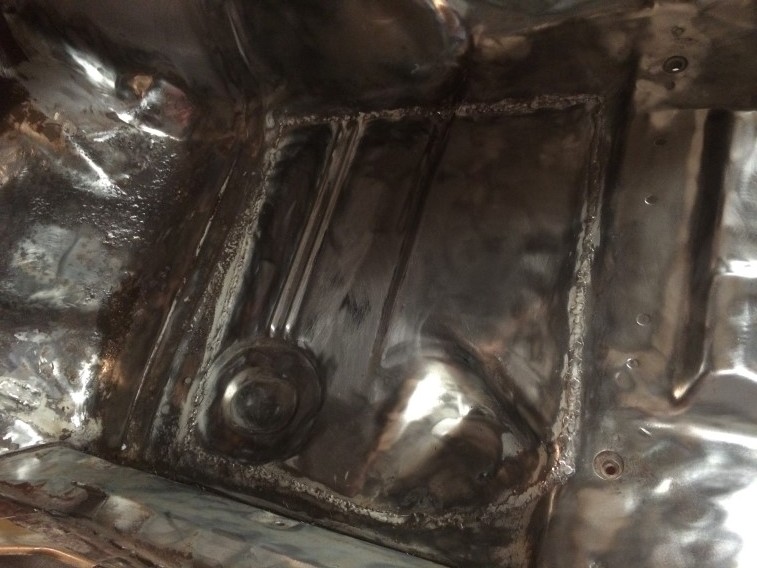
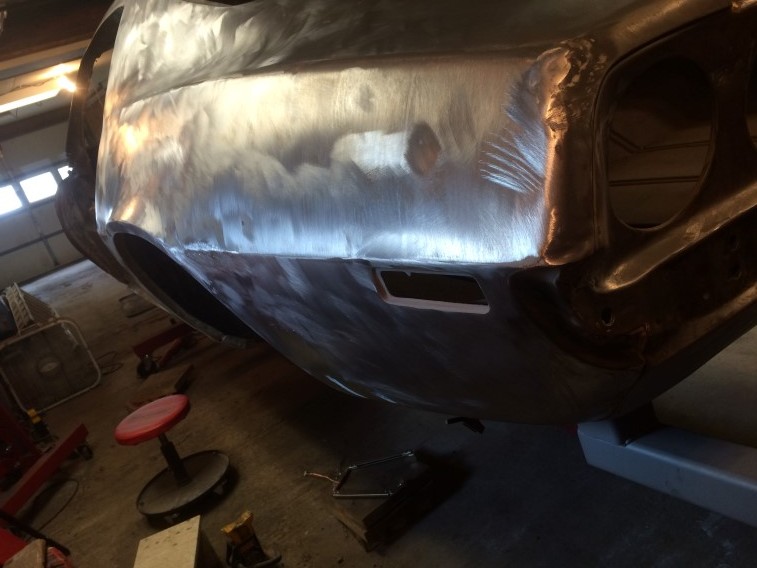
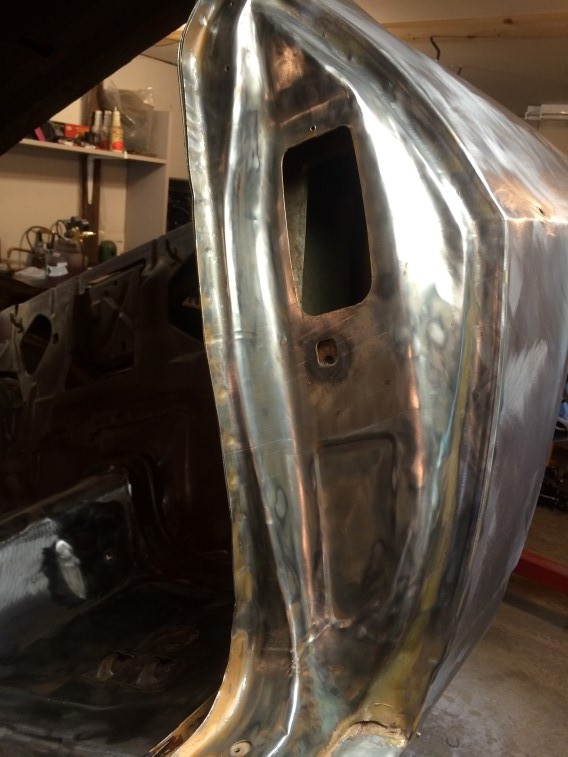
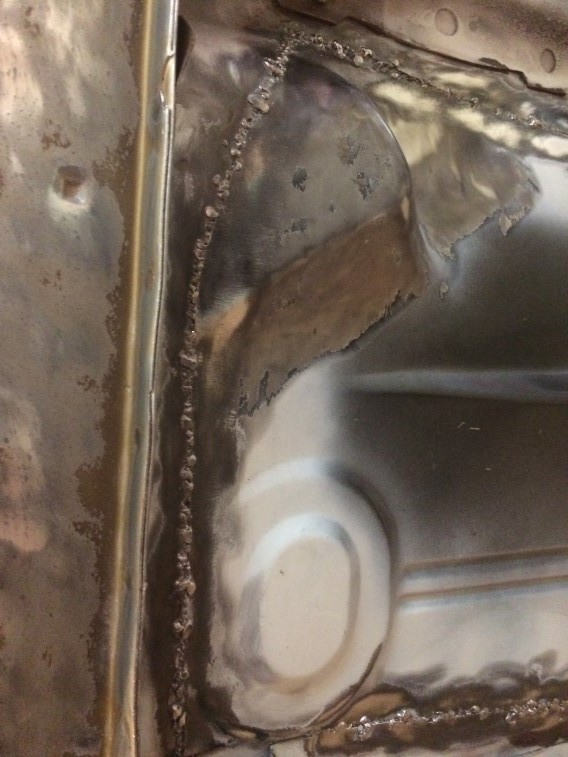
IMG_1583

After pics:IMG_1584 IMG_1585 IMG_1586 IMG_1587

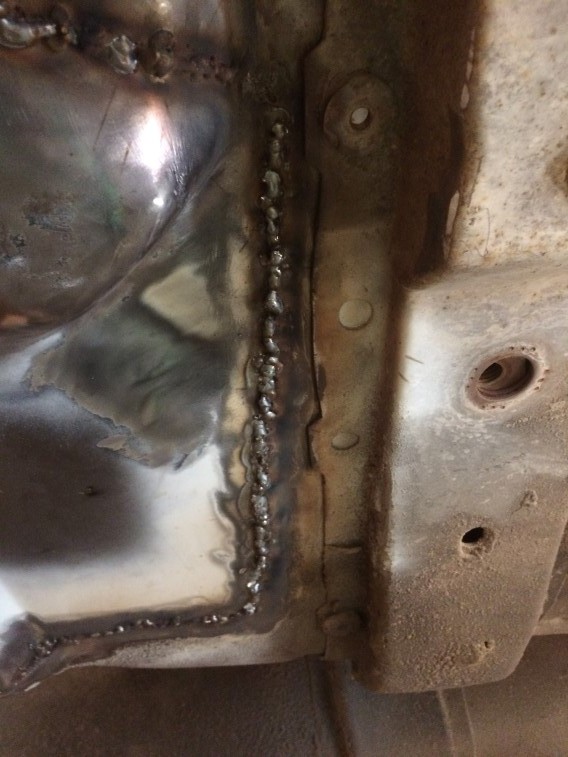
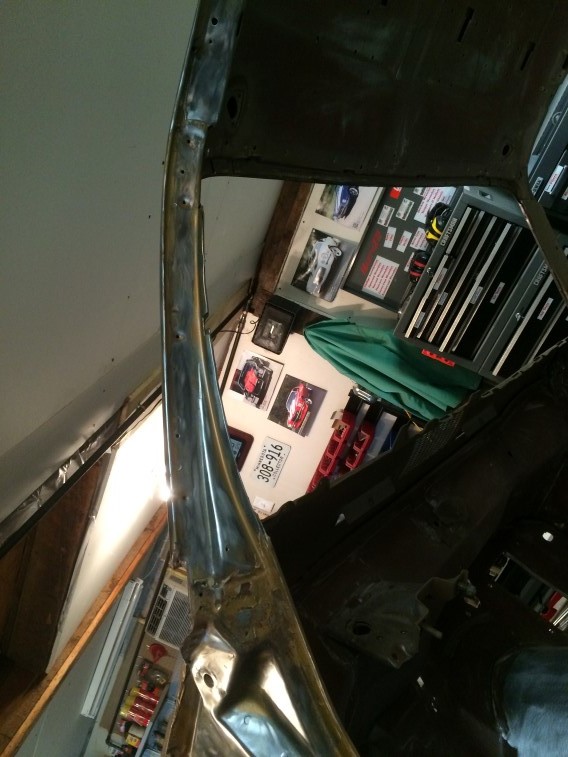
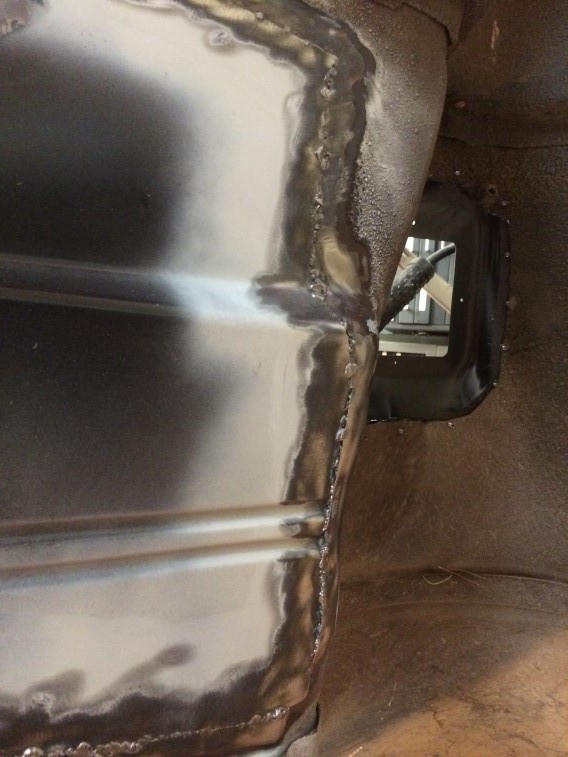
There were a couple of holes that needed to be closed.  Using this tool from Eastwood to use as a backing while welding them shut:IMG_1588Next, I will be tackling the drivers side toe area with POR-15.


Patch Panel

Wrapped up my cleaning and organizing of the garage, shed, and 2nd floor of garage.  Now focusing on re-welding a few sections of my prior floor patch work.  Before I welded from the inside of the car, and now I plan on going from the outside (bottom) of the floor while it is on the rotisserie.  Today was cleaning and grinding the welded sections both on the inside and inside, then cleaned.  Taking next Thu & Fri off, so hope to be done with my re-welding by the end of next weekend.  The side close to the trans hump area was difficult to get the welding nozzle at, going from the bottom, should provide me with easier access to the areas I want to re-weld.

Inside shot:

IMG_1570

Bottom of floor shot:IMG_1569

Sanding Shell – 7/4/2015

Took the last week off from work to work on the Camaro. Some things took longer than I had thought and I found some more work to do before priming.  I was able to access the roof and inside by rotating the car on the rotisserie without having to get in the car to access.  Everything has been manually sanded or scuffed and wiped clean with wax & grease remover:
IMG_1545
IMG_1546
IMG_1547
IMG_1548

I do want to touch-up the patch panel from the bottom of the car (re-welding) before priming.  Welding from the inside was difficult accessing with the welder at the right angles and will be easier from the bottom.  Plus there is already some existing welding to add on to.
IMG_1549
IMG_1550

The drivers side toe-board I want to hit with some POR-15 floor & trunk restoration kit before priming to fix some pin holes and pitting:
IMG_1551
IMG_1552
IMG_1553
IMG_1555
IMG_1556
IMG_1557
IMG_1558
IMG_1559The window channels took longer than I had hoped to clean due to the material used to hold the windows in place.  I used lacquer thinner and the air ventilator to exhaust the fumes out of the garage as a trial run for priming.

Right now I am cleaning and organizing the garage for the next weekend or two before getting back to work on the car.