06-28-2017 Update

Been busy in between rain storms and finally downloaded the pics to my computer…

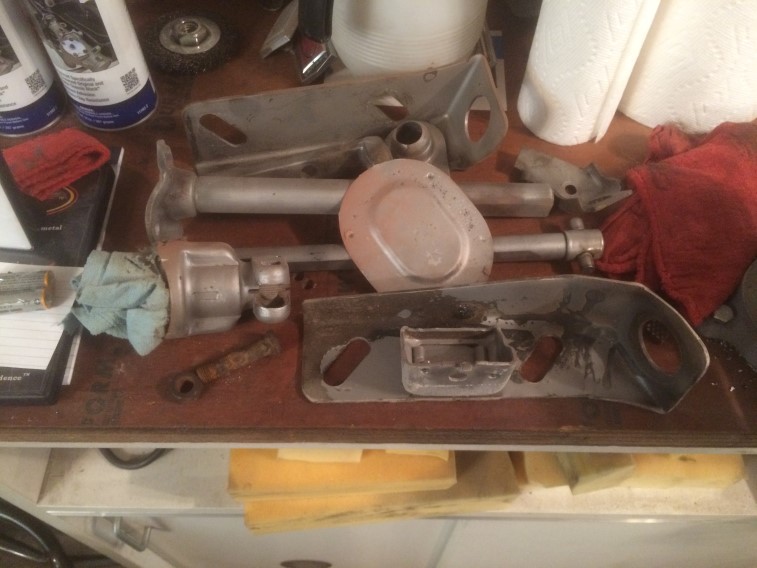
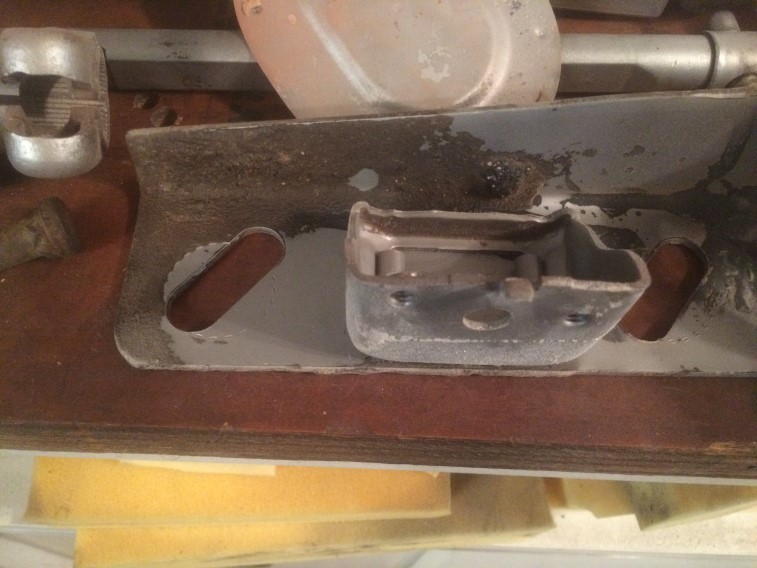
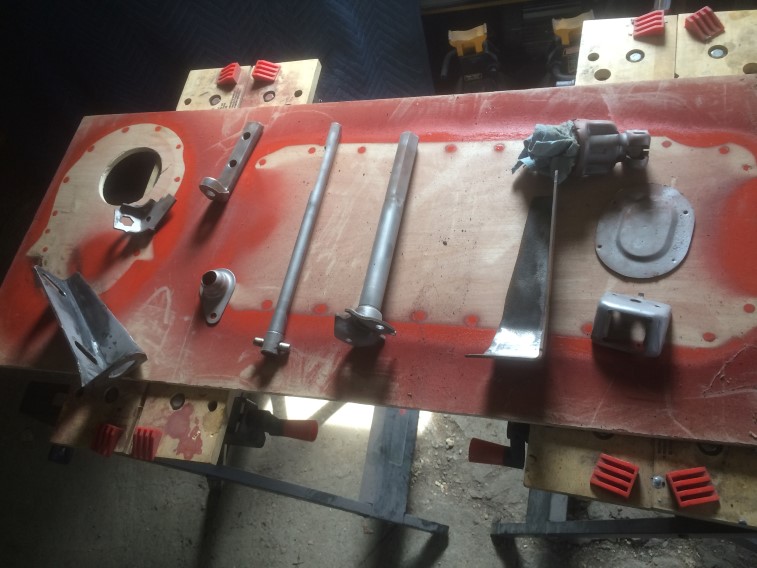
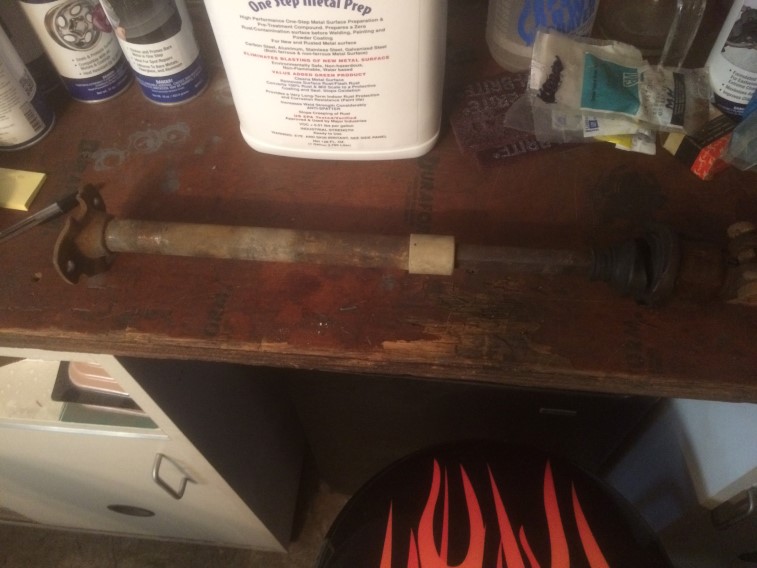
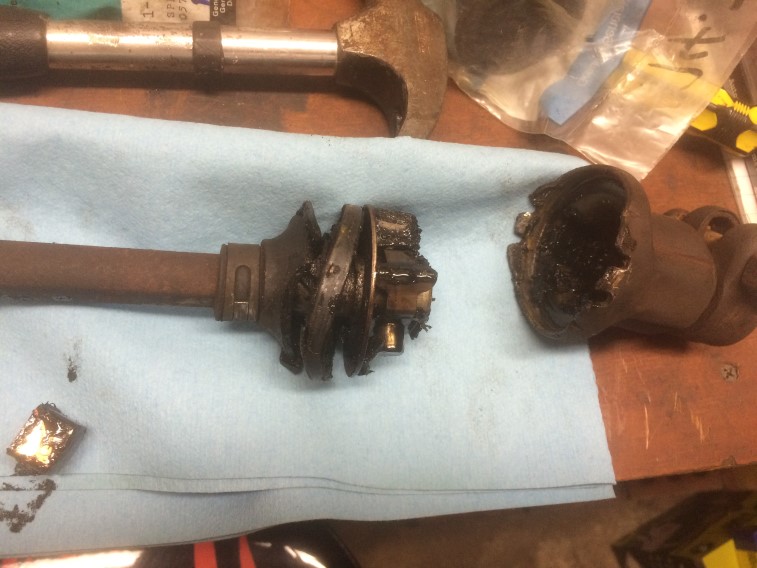
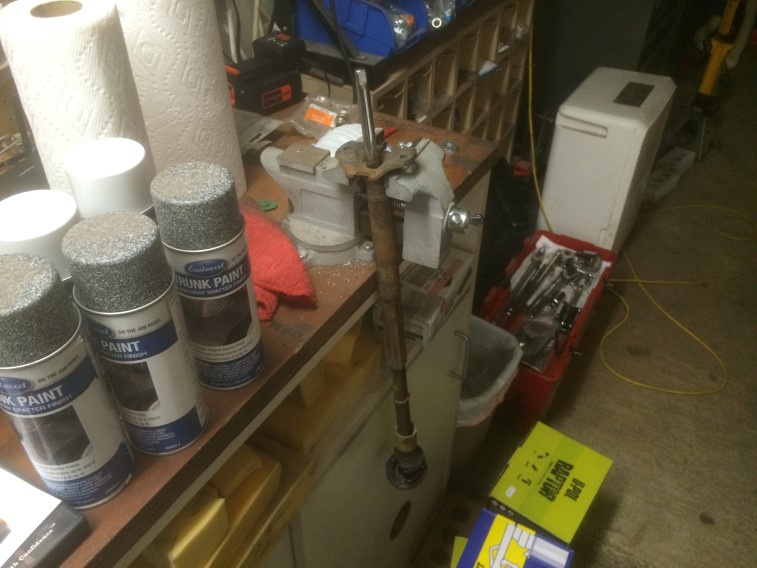
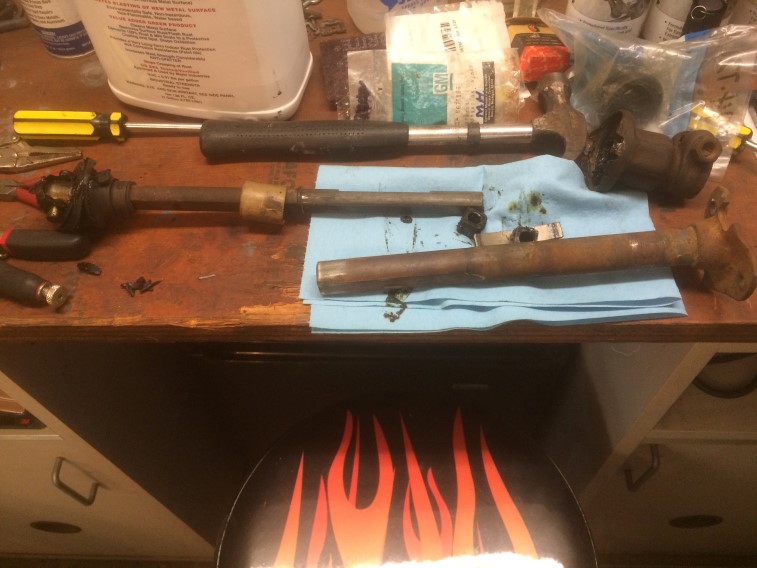
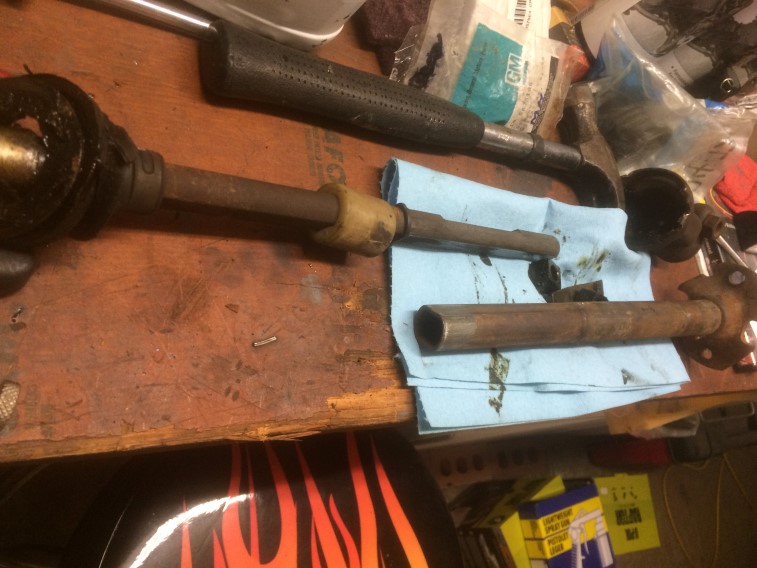
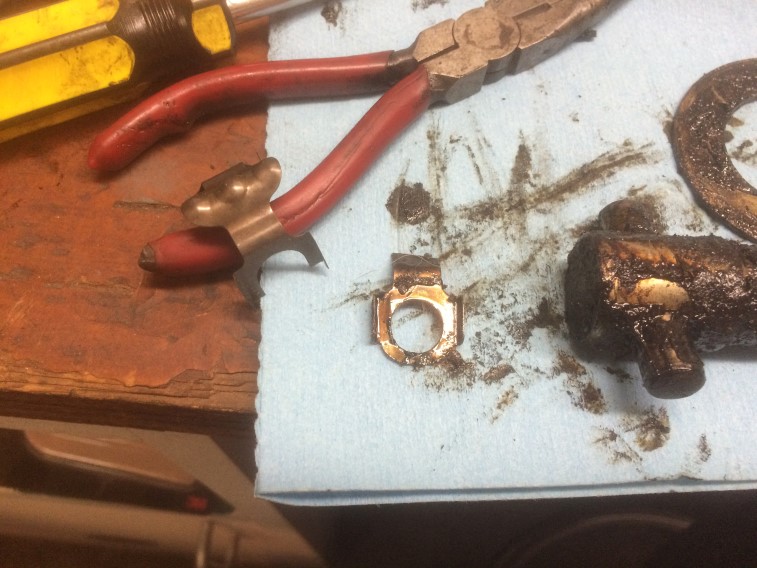
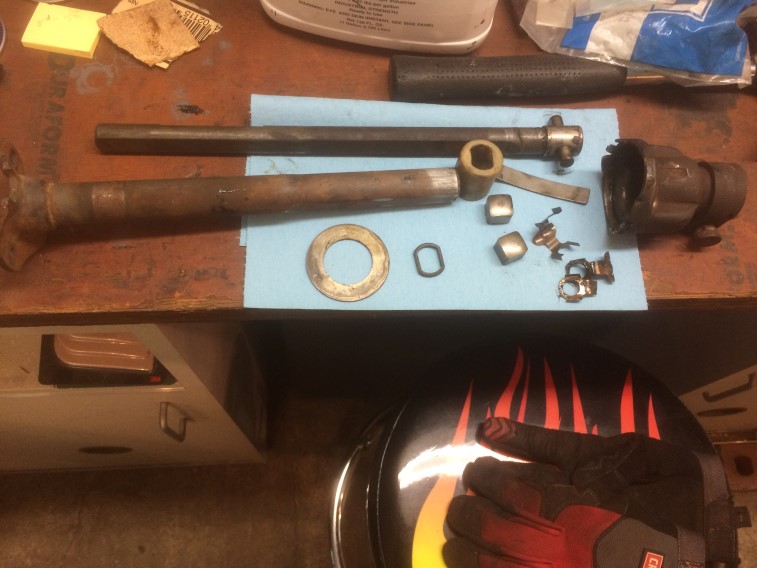
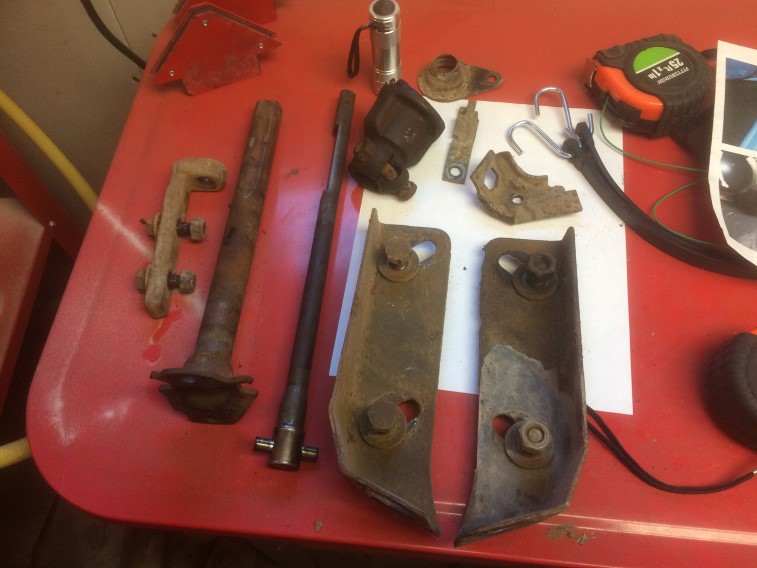
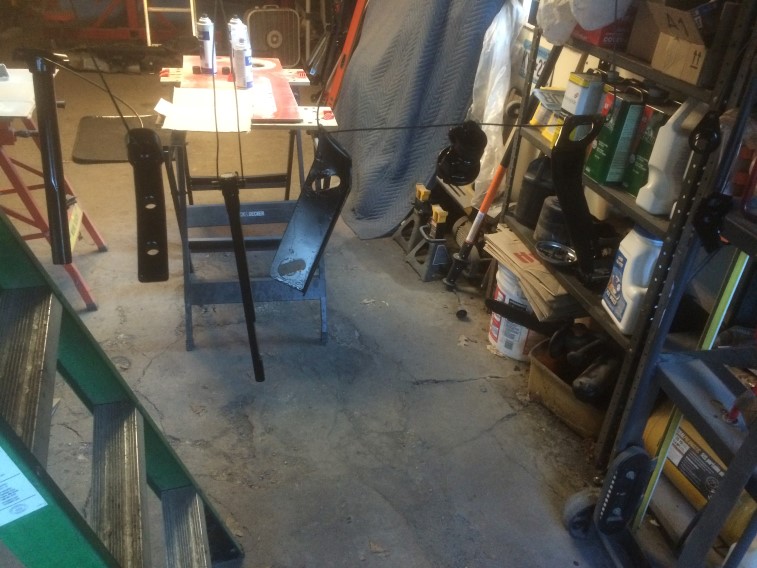
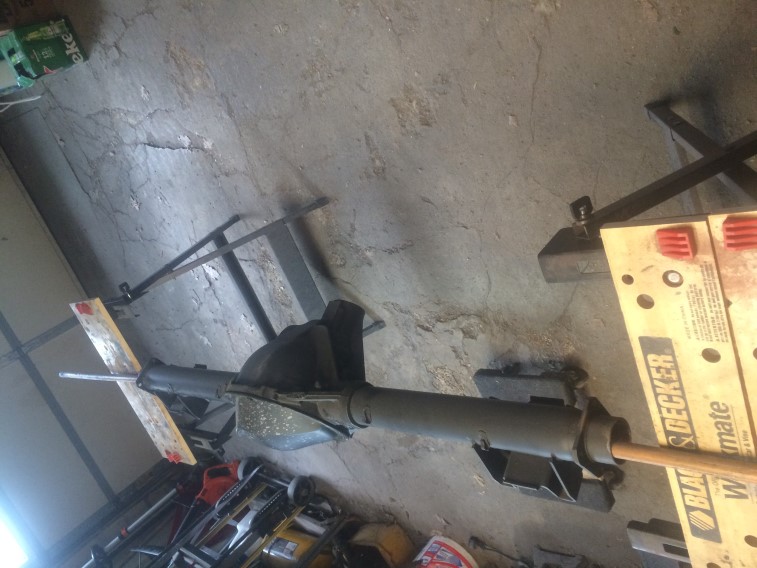
Painted some misc subframe parts along with the steering shaft pieces:

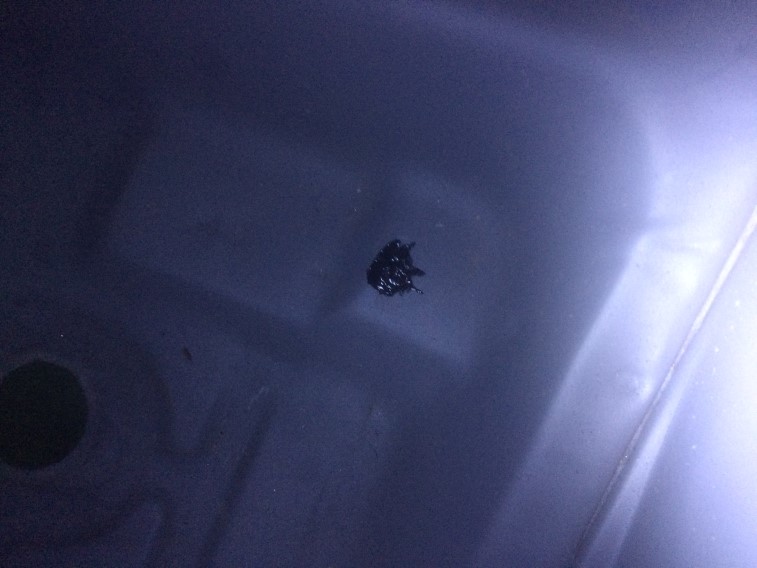
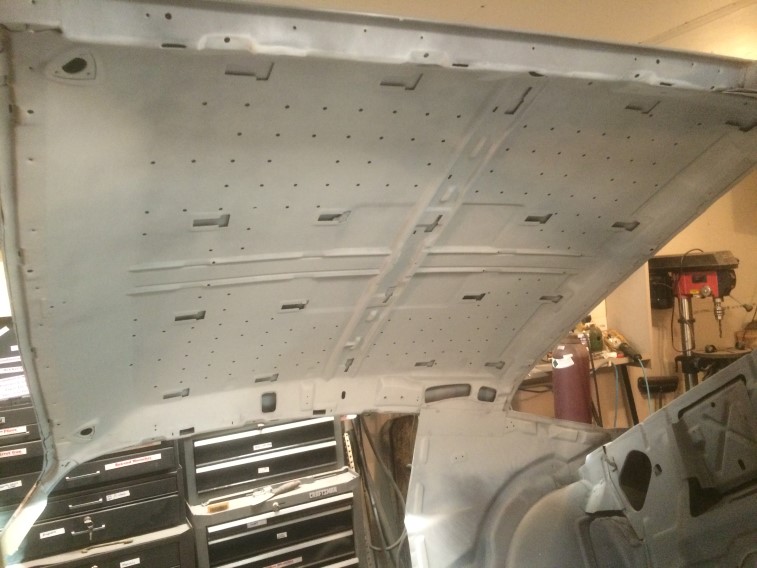
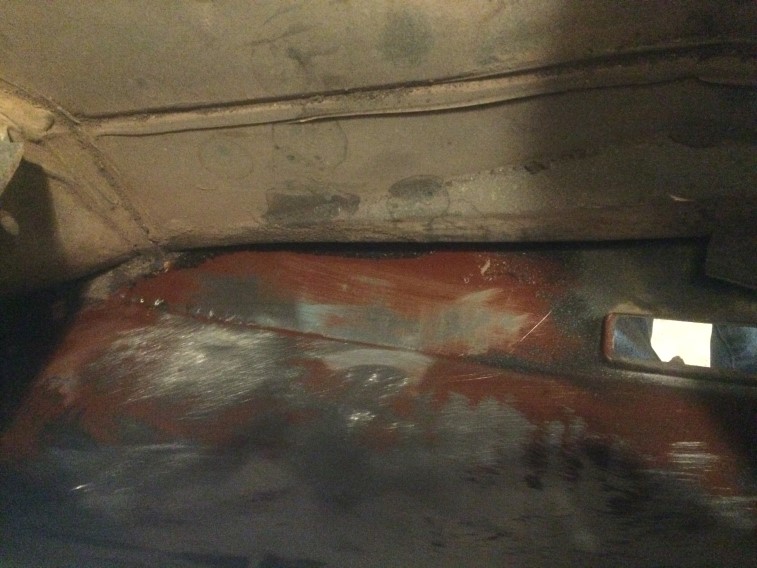
Went back over a few spots on the inner roof with some Epoxy:


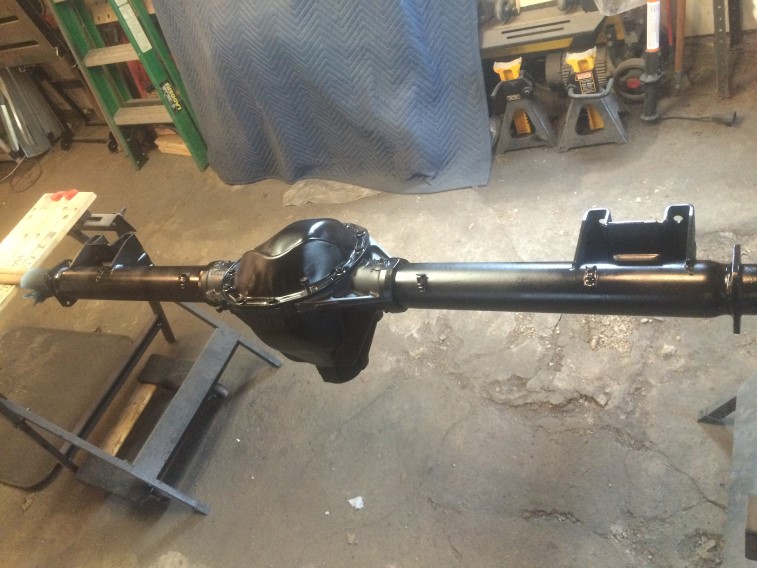
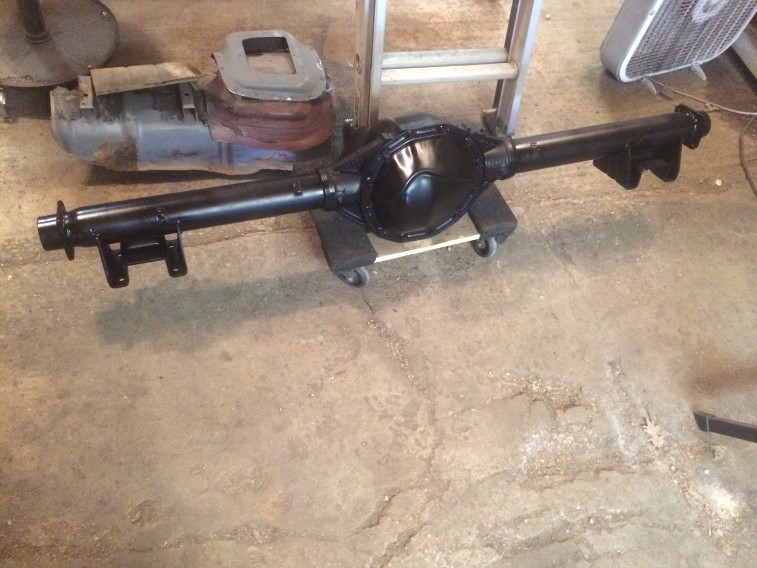
Cleaned and scuffed the 12-bolt which was epoxied back when it was media blasted:


Primed, painted and drying:


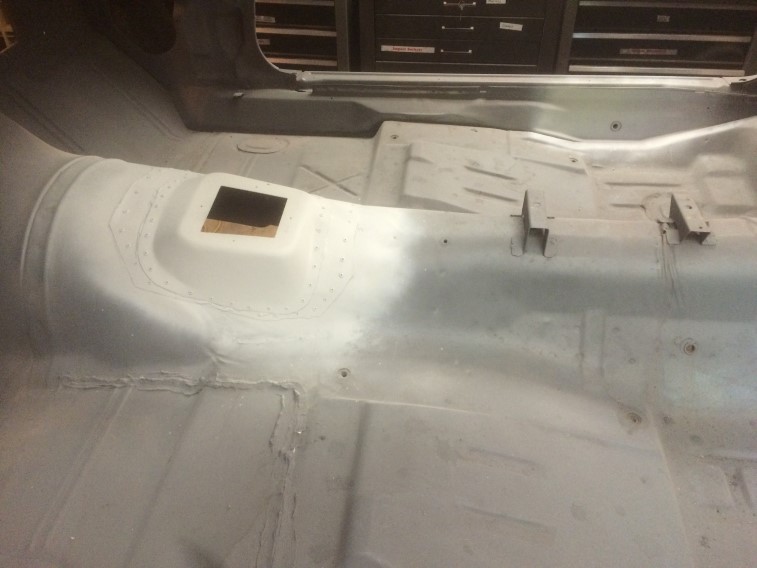
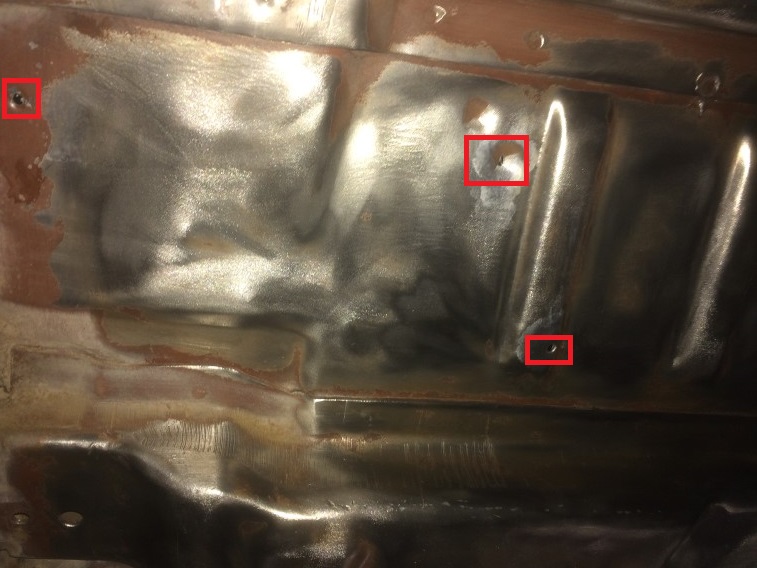
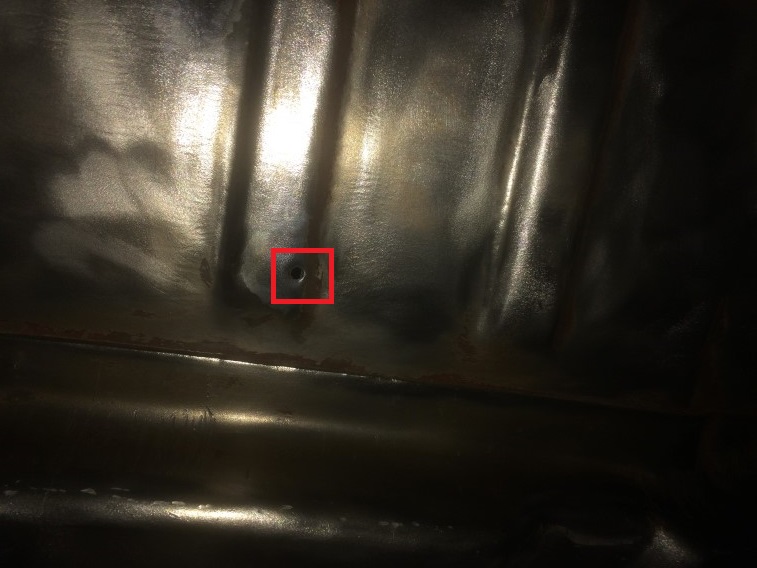
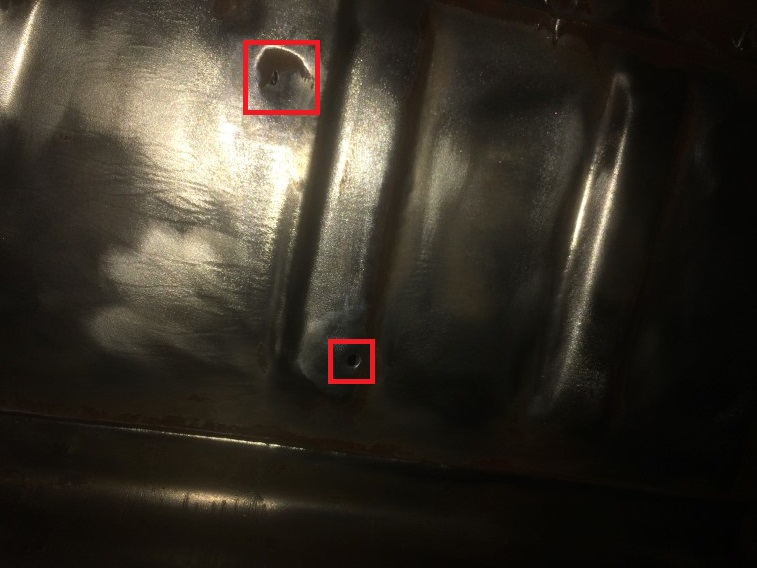
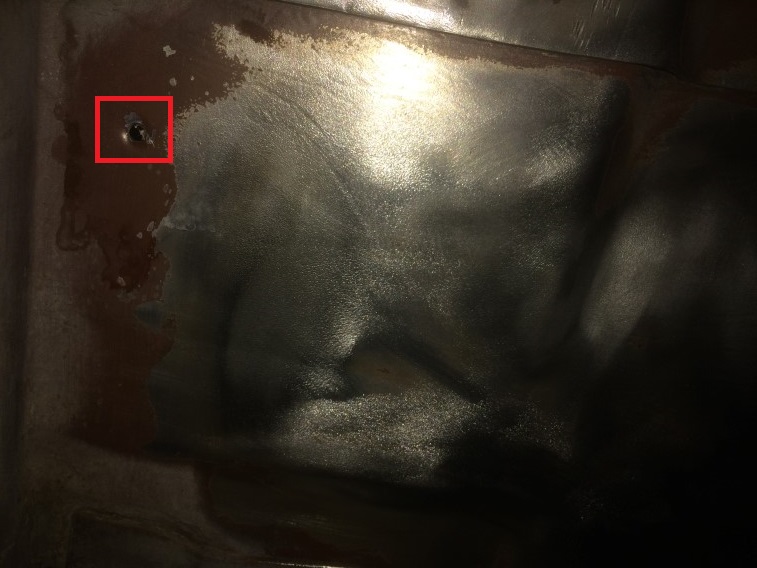
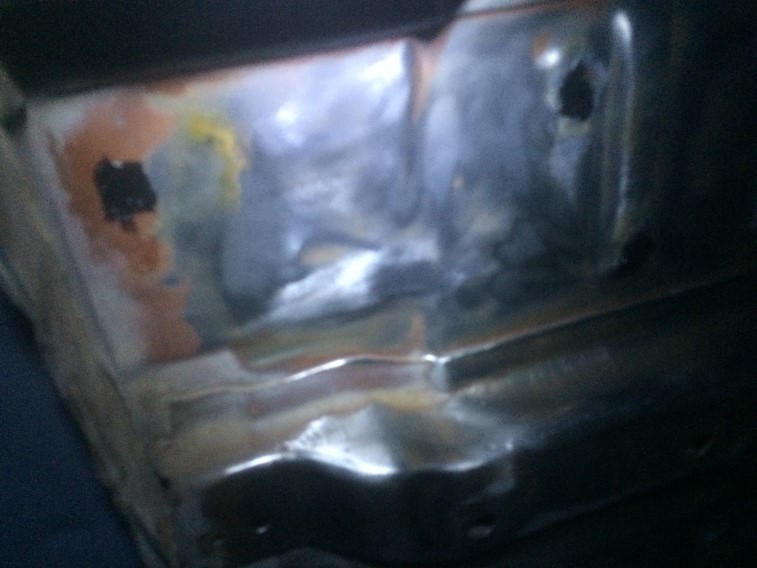
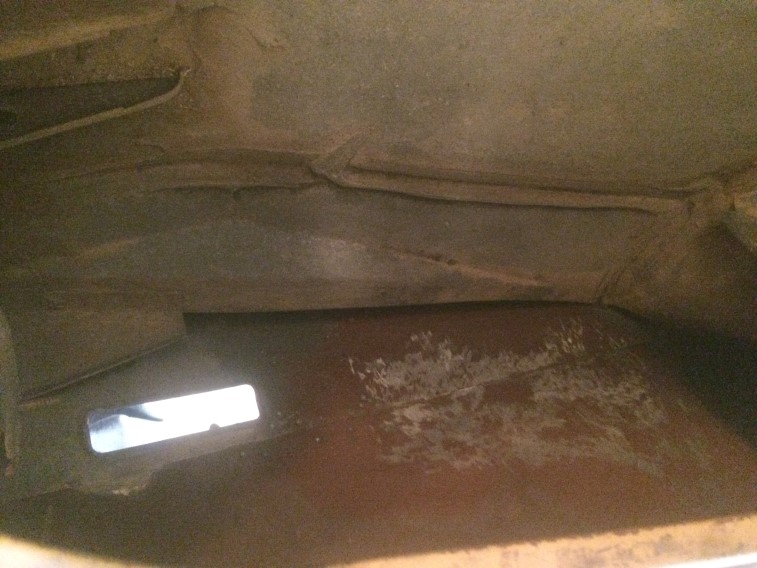
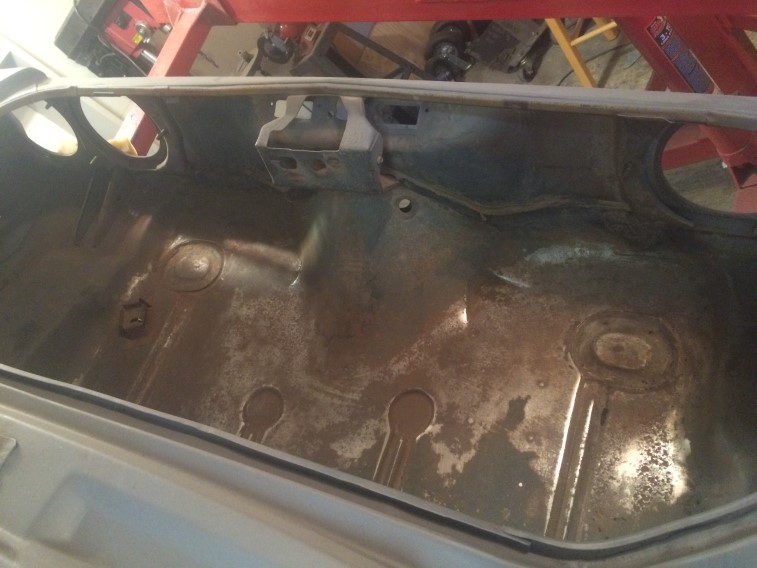
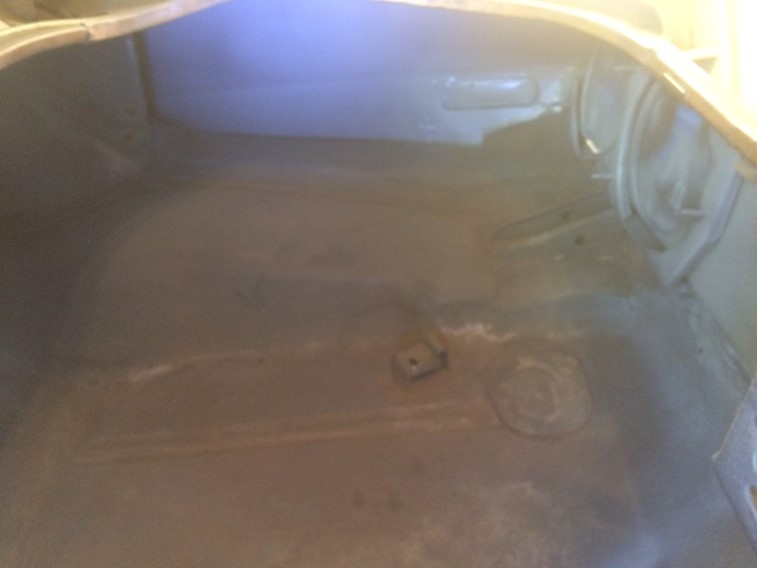
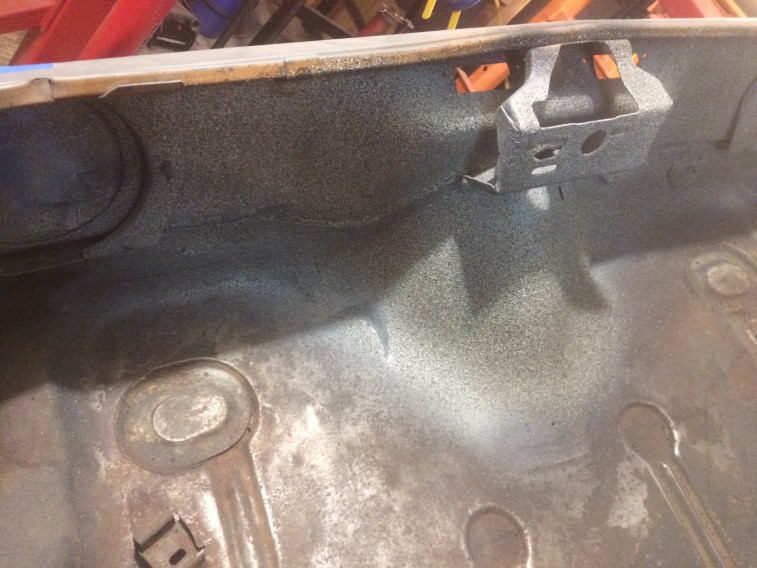
Cleaned the trunk insides:


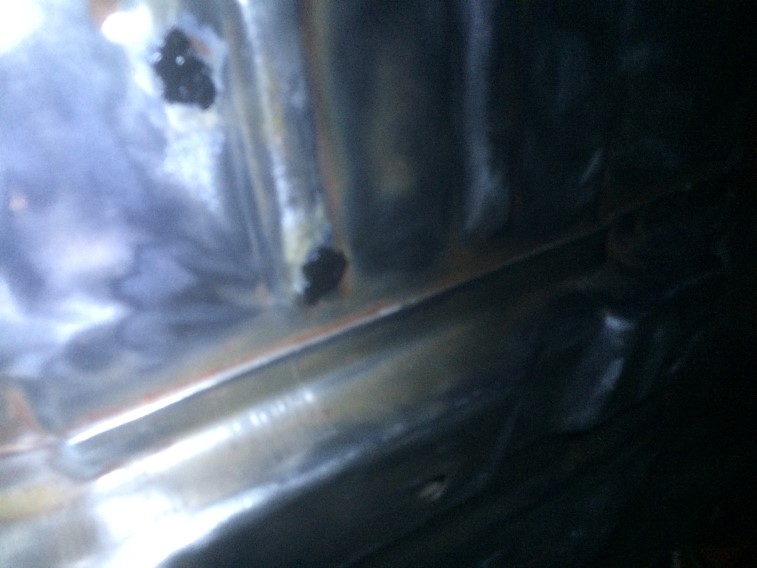
Sanded and scuffed – mainly focusing on the inside quarters and tail panel:


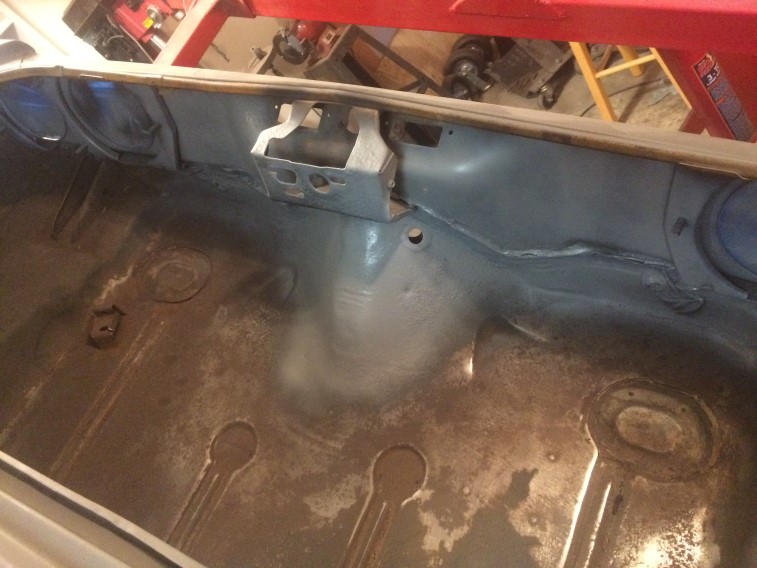
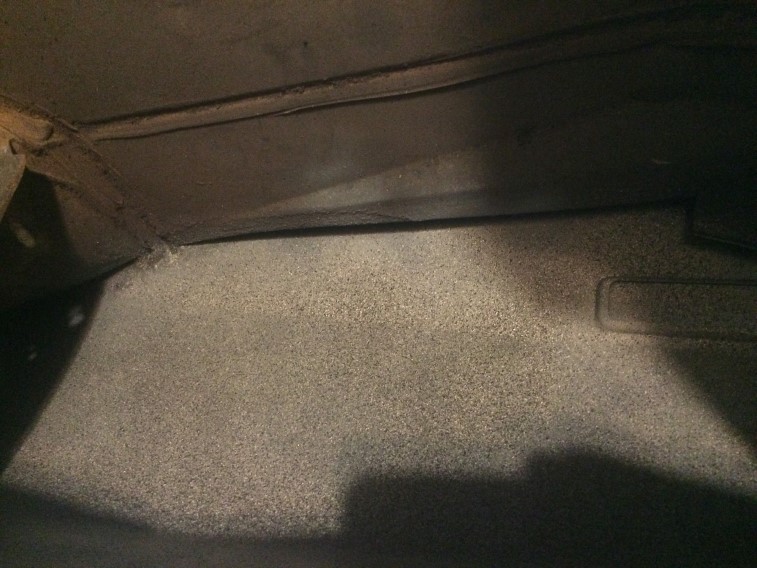
I am using some trunk spatter paint which has some clear.  I was struggling with what to put under it and finally settled on Zero-Rust since I had plenty on hand.  They suggest self etching primer, but I wasn’t going to strip everything to bare metal.  I used Black Zero-Rust then went over it in another coat with Gray Zero-Rust:


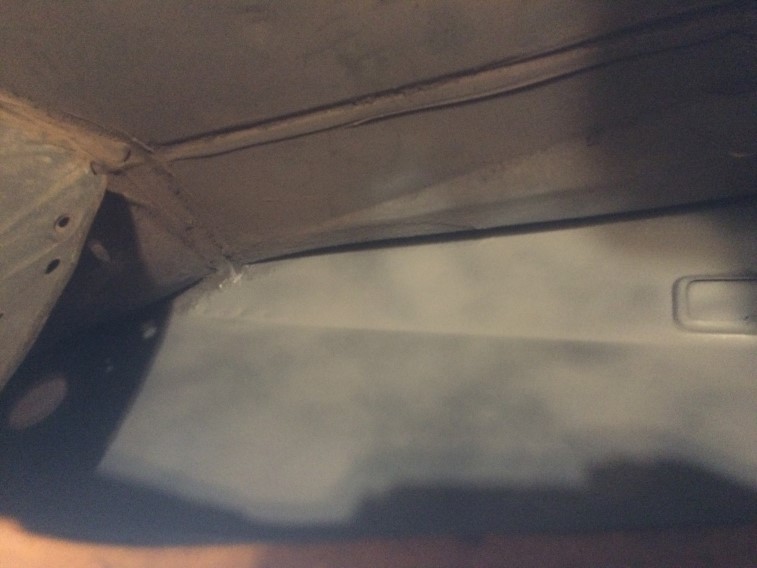
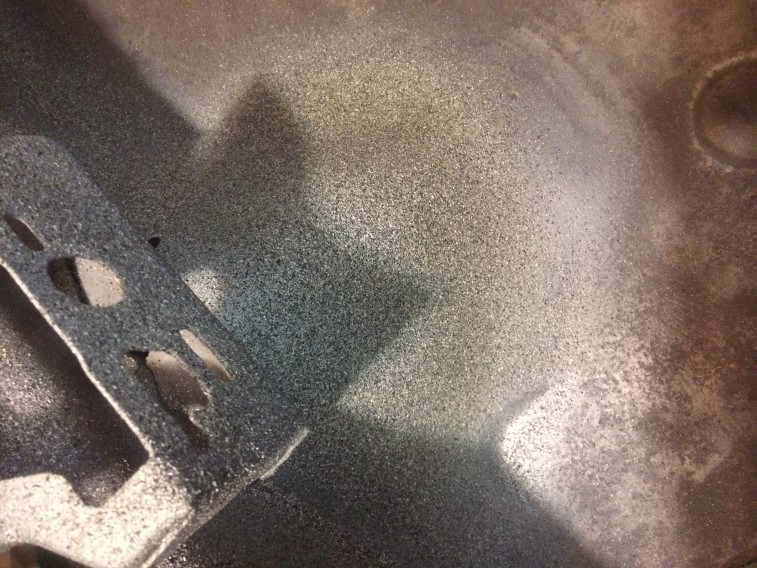
Several coats of the Gray and Black Spatter Paint:


Another pic of the 12-bolt dried

Some close-ups after some coats of clear:


I will be using POR-15 on the main inside floor and then POR-OEM bedliner inside the trunk.  I won’t use it on the sides as I have heard it doesn’t work well on vertical bases.  Once the trunk is done, will focus on the floor (epoxy, seam seal, and Raptor bed-liner) then on to stripping and painting the firewall.  Hopefully the weather will hold out and I can get it done before fall!

06-17-2017 Update

Off and on storms have made it difficult to stay on track for what I want to get done before the cold weather is here.  Pretty frustrated as I may not know what I am doing until the day is here.  I have made a little progress:

Got the trans hump and some other spots on the shell sprayed in 3 coats of Epoxy primer – still a couple other spots I need to get to:

Also used my Harbor Freight blast cabinet to strip the steering shaft and misc sub-frame parts.  I was having issues with the gun hose popping off which is now fixed.  Also need the floor plug for when I hopefully do the floor in July:

There was one spot I needed to go over with a grinder to get clean:

Cleaned and ready for paint:

6-7-2017 – Steering Shaft Rebuild

The last couple of evenings have been spent rebuilding the steering shaft – there are some build threads, so I will just clarify a few parts where I struggled – first let me clarify I will be installing a tilt steering column for a 73 Camaro and it needs a specific shaft which differs from a non-tilt.  For reference – the main source of information is: http://nastyz28.com/threads/steering-shaft-rebuild-process.92926/

This is what I started with:

Notice the 2 clips on the housing to the right – once you straighten them out, there is a washer the unit has to slide over to come off.  I needed a little persuasion to get it to come off, but managed to do it without any damage:

Now the early style has a pin to remove, this is not that style – I placed it in a vice and used a socket wrench extension to hammer out the smaller part:  note the spring inside came out towards the cabinet – make sure the extension is as long or longer than the larger piece it is going in:

Separated:

A reference pic for when I re-assemble it:

Note the spring that came off is completely a circle – the NOS replacement I have is not, but some trial fitting shows it should be ok:

Grease removed:

Now to blast them with some remaining pieces from the subframe – then paint and re-assemble:

6-4-2017 – POR-Patch

Not a whole lot to report for this weekend.  I did apply some POR-Patch to some screw-sized holes in the floor pan after prepping the metal with Metal-Ready.  I really didn’t want to take the time to attempt to weld these up.  I will be using U-Pol Raptor bedliner on the floor anyhow, so this will be covered up.