

After the snow storms last year, I decided to buy a 3-stage snow thrower. Then I decided to buy a riding mower and attachment, so this last summer, went to Home Depot and bought a Troy-Bilt Super Bronco 46″ and a 3-stage MTD snow thrower. Some resources said it would work with the Super Bronco XP, so I was a little worried, but can tell you it does in fact work with the newer Super Bronco 46″.
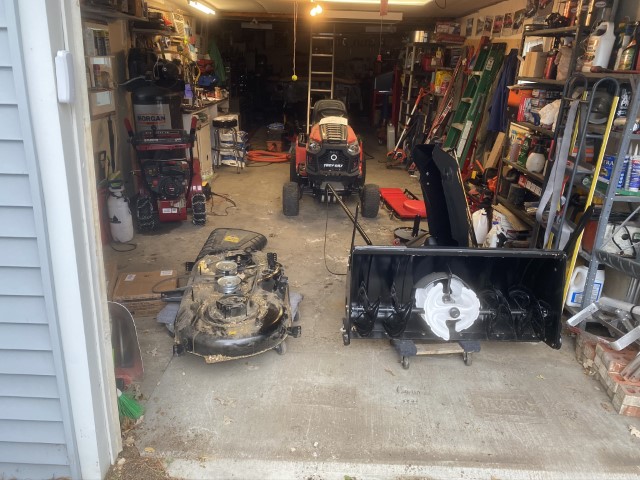
So I finally decided it was time to mount it and here are the details and tips (note, I assembled the 3-stage unit earlier – this just covers mounting it):
If you have 2 guys and the right tools, can be done in a day or two. I did it over a couple of weekends – next year will be faster since many of the brackets can stay on:
First, you will need to remove the handles.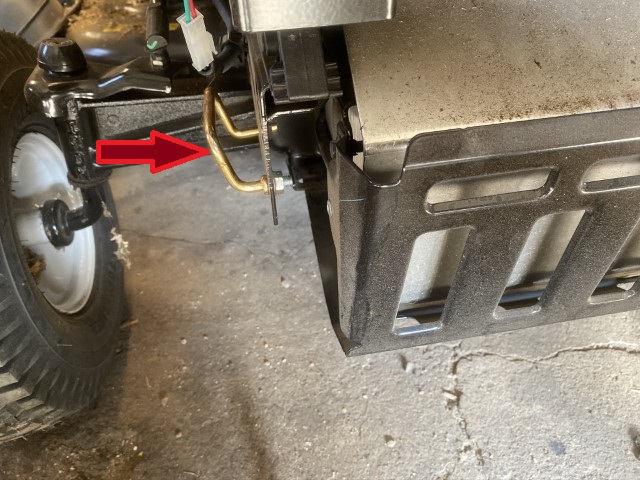 Then you will be able to mount the bumper:
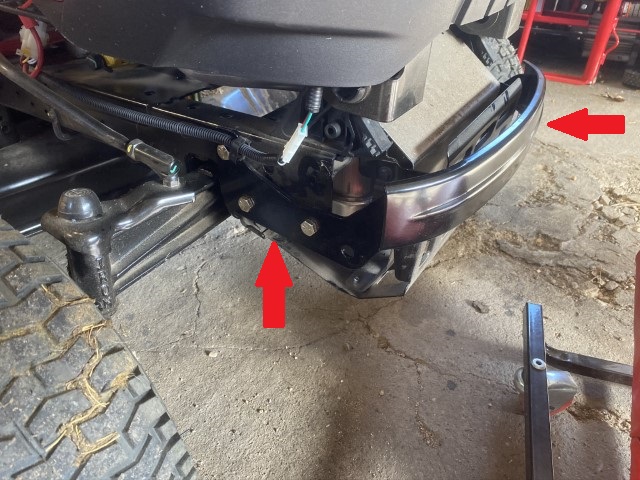 If you haven’t done so already, remove the belt-guide and keep the screw handy noting the holes it came out of (both sides):
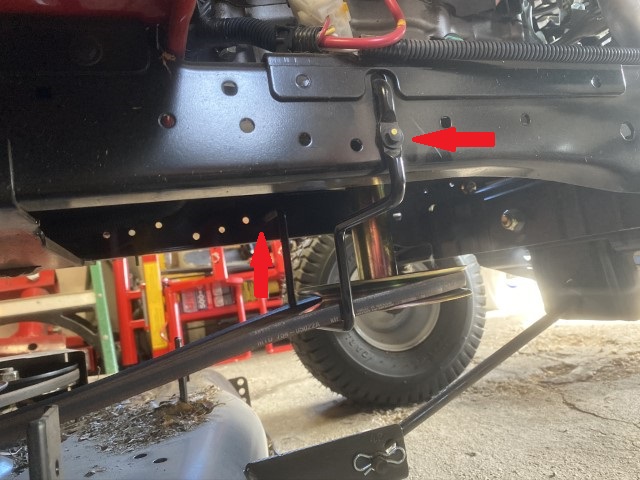 These braces are a BEAR to install. For the next step, you may want to remove (temporarily) the black bar with the clip in the pic. I used an open-end wrench on the opposite side and it fit within the frame. The good news is once these are on, they can stay:
 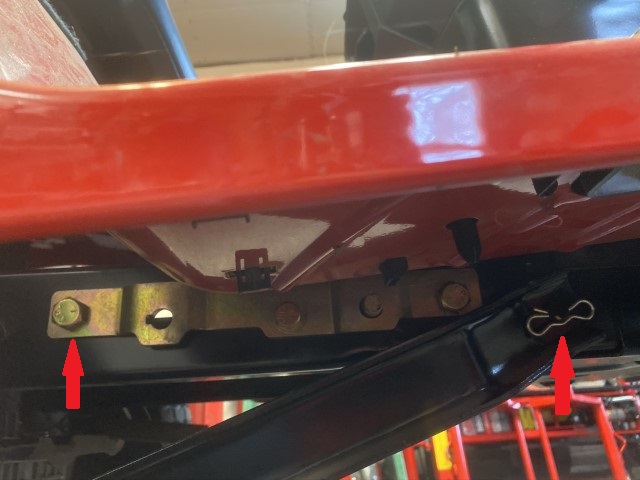 When it comes to mounting this, it does not just slip on.
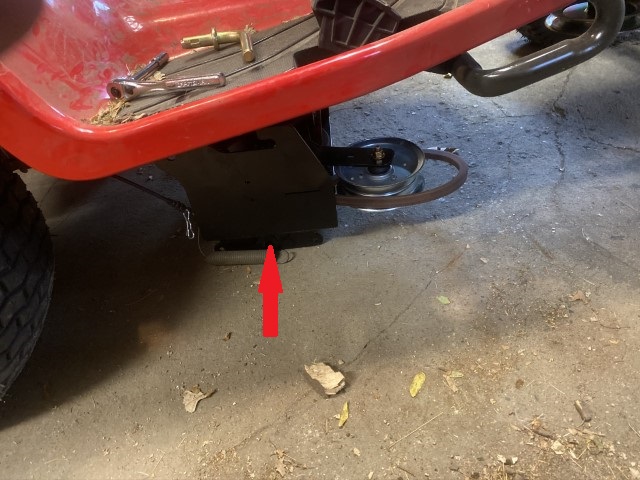
 NOTE: I ended up blocking this in place and got a second pair of hands with good pry-bars to help me. Having a second pair of hands and good pry bars, it went on without too much difficulty. Blocking it also helped to get it in place. Removing the bars with the clip is a BIG help as well – remember how it goes back on though!
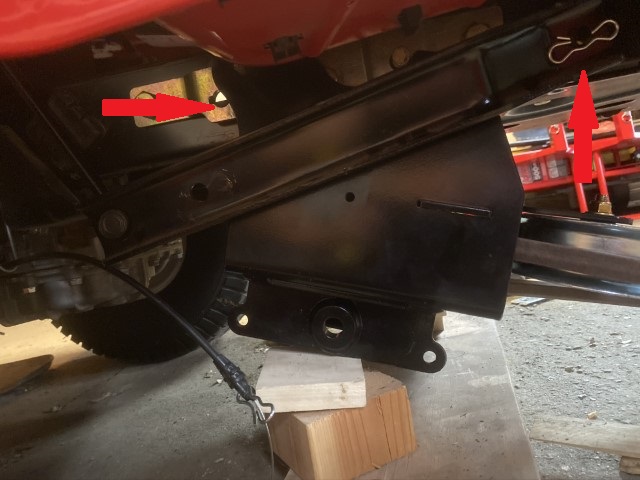 The supplied guide bar and belt installed:
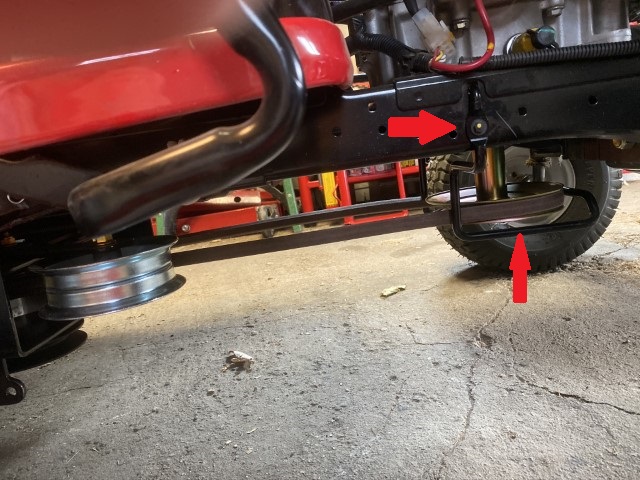 Get the belt, spring, and cable installed. It is a tight fit and next year, I may try installing the spring and cable before attaching the unit in place:
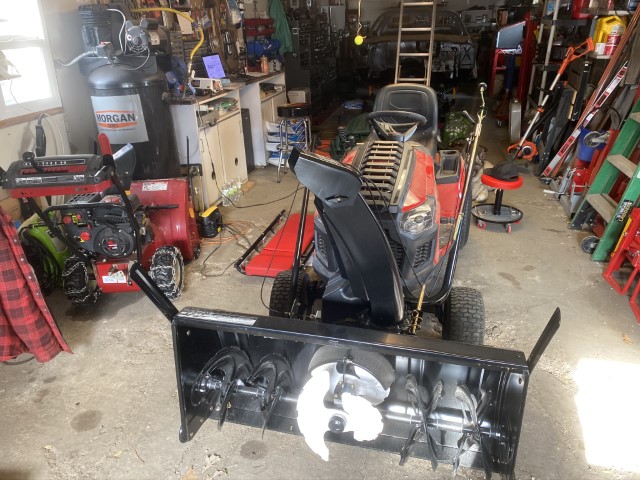
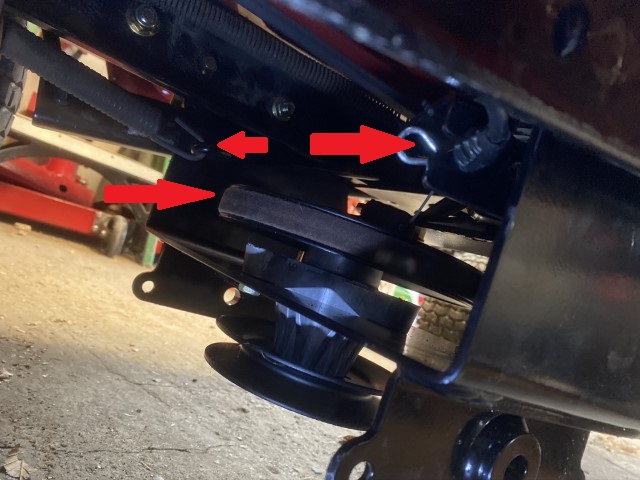 Roll the mower over the frame – I suggest blocking the frame to make it a little easier once it is under the mower (note: double-check the belt and belt-guide path):
 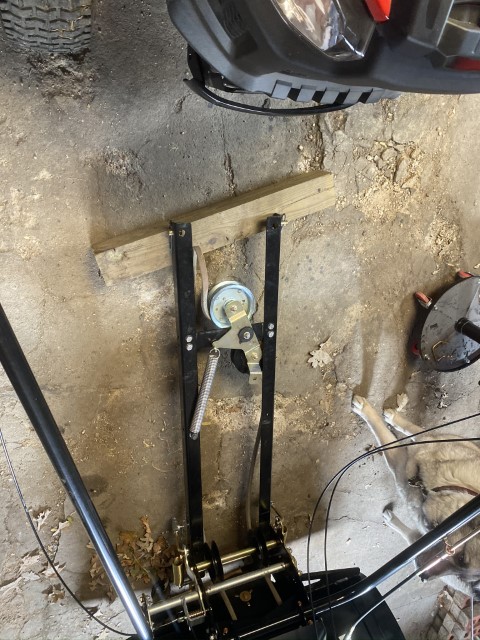 The back end goes first – I did this by myself with a bar under it to leverage it in place (note: the clips were on the frame and not the belt unit per referenced in the documentation.
 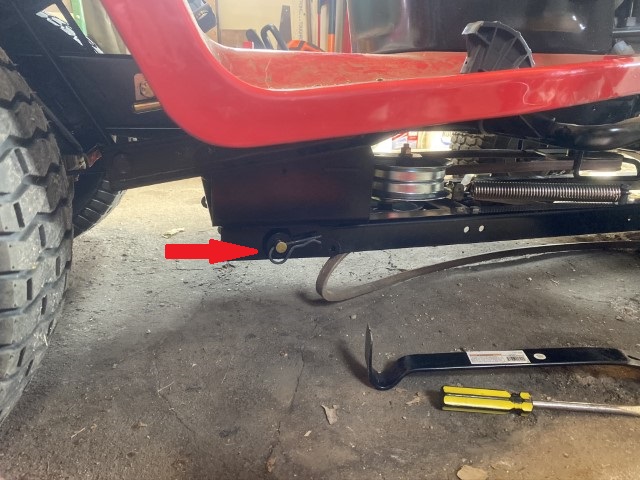 The front end mounts here – I was able to pick up both ends and get them in place by myself:
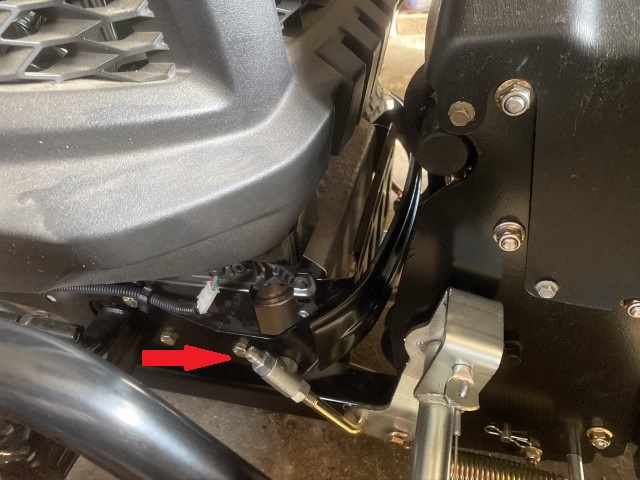
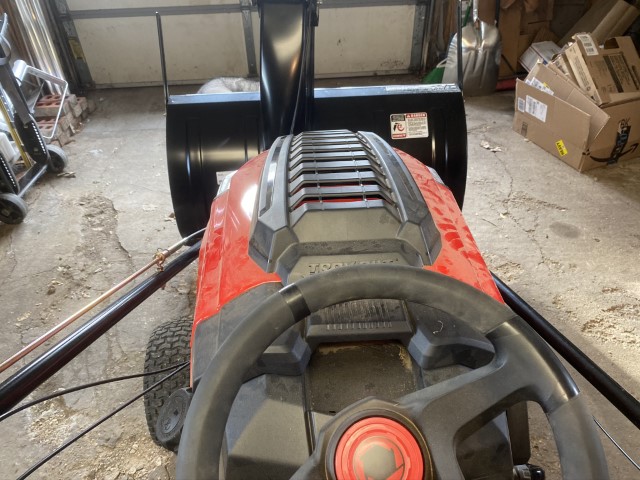
 Note: Gas cap is still accessible.
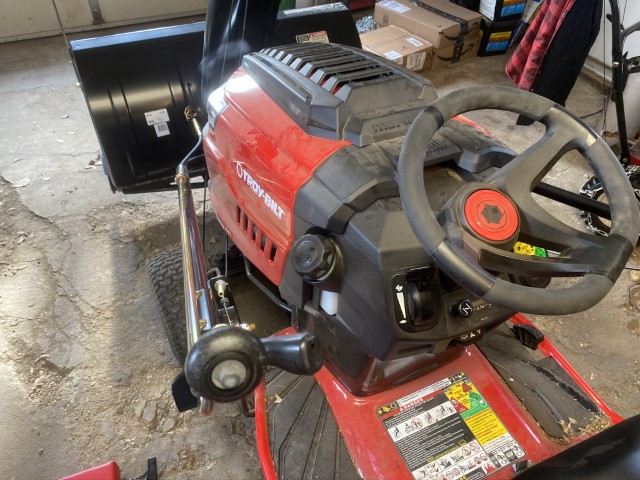 Also when lifting the hood, have the snow thrower in lowest position – can still access the oil dipstick:
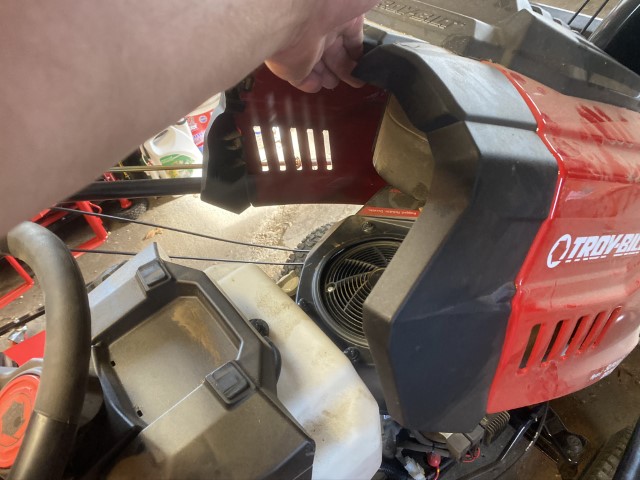 Next I installed the weights (easy):
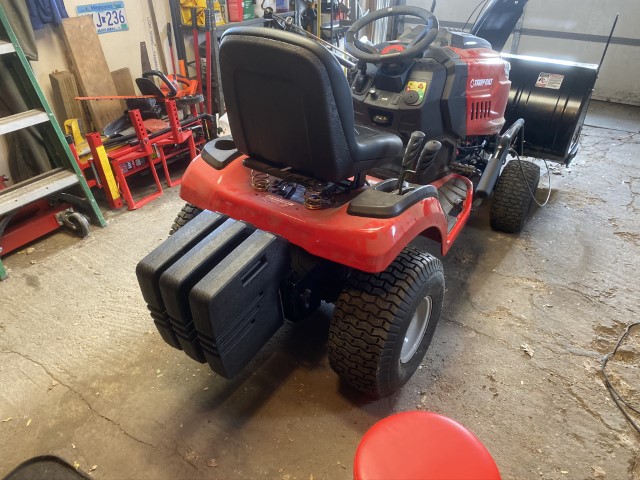 and snow chains:
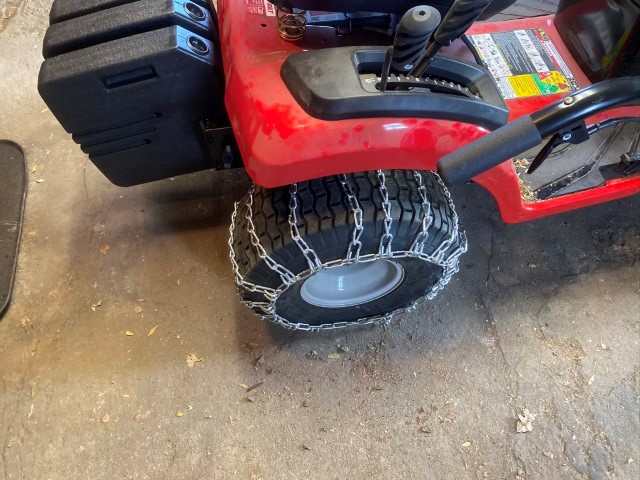
 Note: Steering is harder with this added weight and turning radius in much more difficult to turn around. There will be a learning curve and will try to get some videos this winter! Hopefully this will help someone as there wasn’t much I was able to find on my own.