Category Archives: Camaro

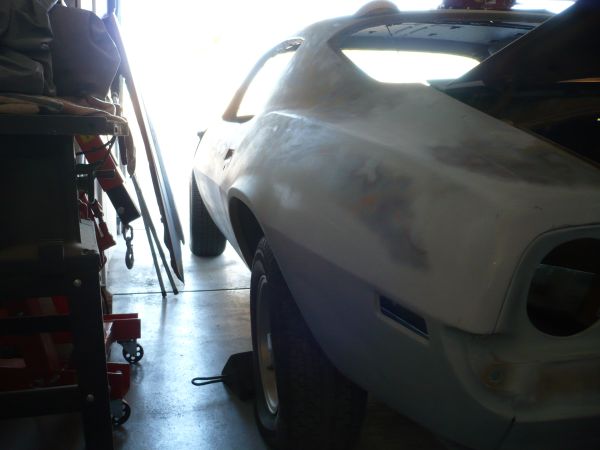
Mar 20, 2013 – Prepping for engine removal

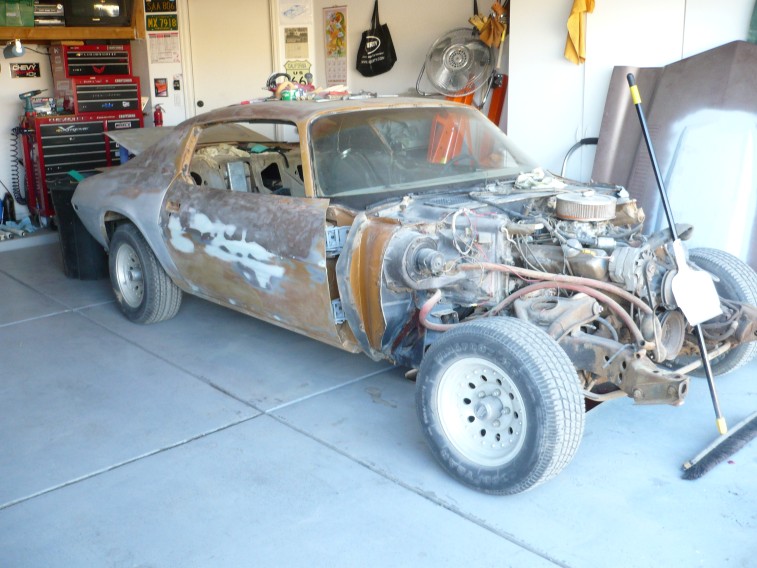
Had a little time to prep for the removal of the old engine and trans.  I drained the engine and transmission oil.  I also went ahead and drained the oil out of the 454 while I was at it.  I was pleased to see that the transmission had a drain plug as it is my understanding they don’t have them stock and would have had to been added after market.

IMG_0158 IMG_0160

I am using the engine removal checklist from NastyZ28.com as a rough guide: http://www.nastyz28.com/index.php?page=camaroengineremovalchecklist


Mar 12, 2013

Got the misc parts that I unpacked in the car stored away.  I also changed the tires as the two rear tires had a slow leak and I also like the rims and want to store them until I am ready to use them – The tires I put on the car were from the old Camaro and still hold air:

IMG_0146 IMG_0147 IMG_0148 IMG_0149 IMG_0150

Next steps are to remove the windshield, engine and trans.

IMG_0151

Mar 11, 2013 – New Camaro

Got to unpacking the parts in the car.  Good thing I did as there was some standing water in the trunk and floor from the drive out here from Arizona.  I cleaned up the water.  Still need to go through some of the boxes and put away, but did get the Camaro emptied.  I am impressed with the body so far!  Hope to get some garage time in after work today!

IMG_0141 IMG_0143

March 10, 2013 Update

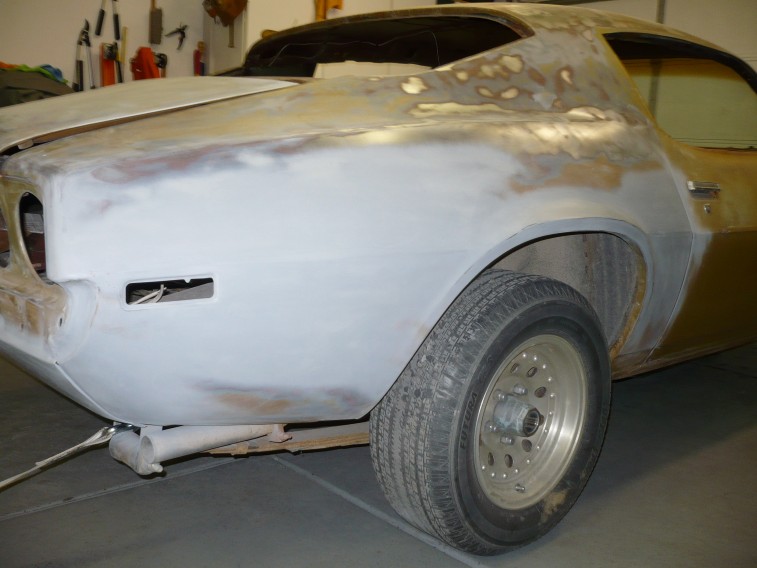
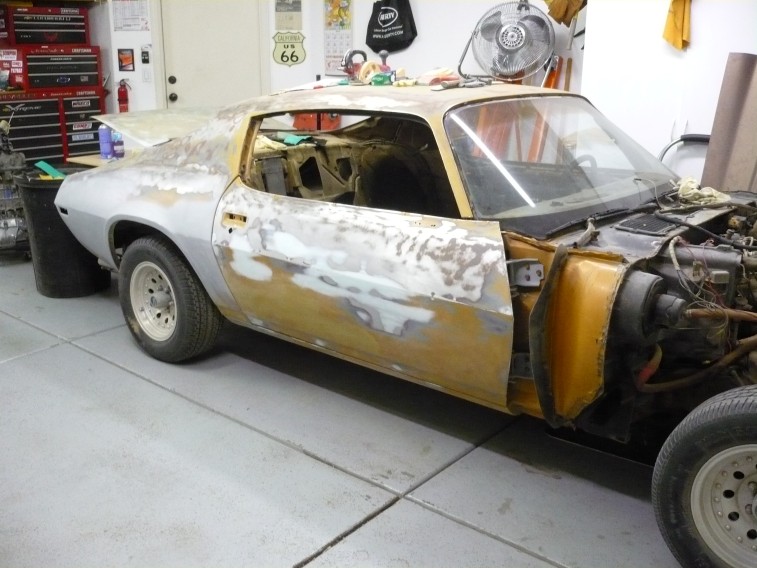
Switching gears on the project.  After pricing out all of the sheet metal I need to complete this project, I researched my options and found a car in Arizona (same year Camaro) that is pretty much rust free for the same price as the sheet metal (including shipping).  The person selling it is a NastyZ28.com member and had it listed in the local Craigs List:
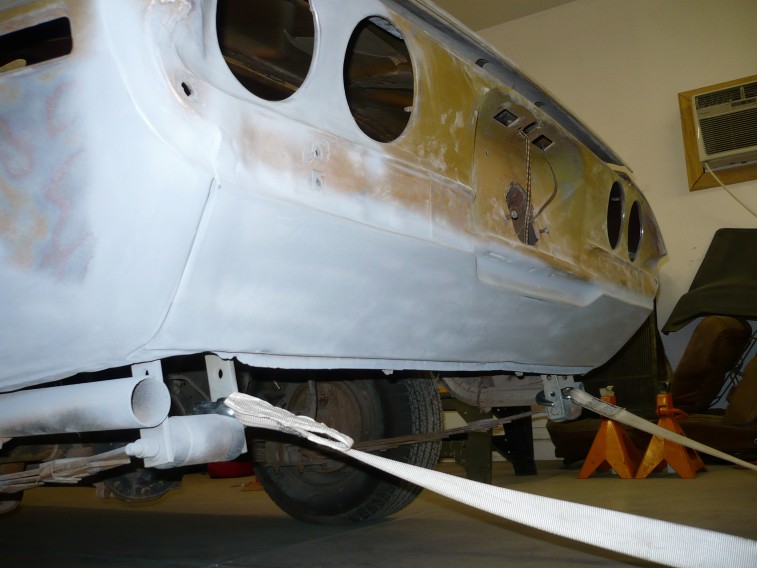
end of october 2012-camaro project 002 3Gd3Lc3Jd5Lb5Ha5M6d1k245d7eeb3179192c end of october 2012-camaro project 004 stuff 004 stuff 005

Pretty much a rust-free shell needing a small patch in the floor – also included pan for patching:
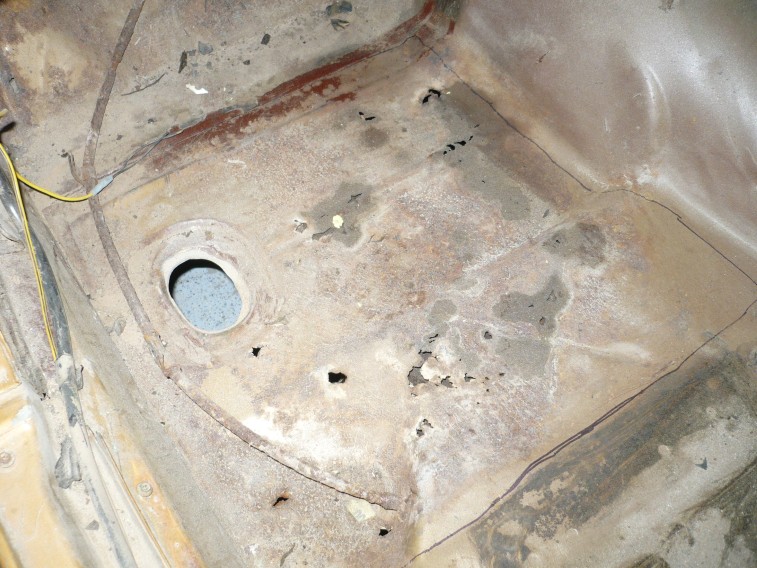
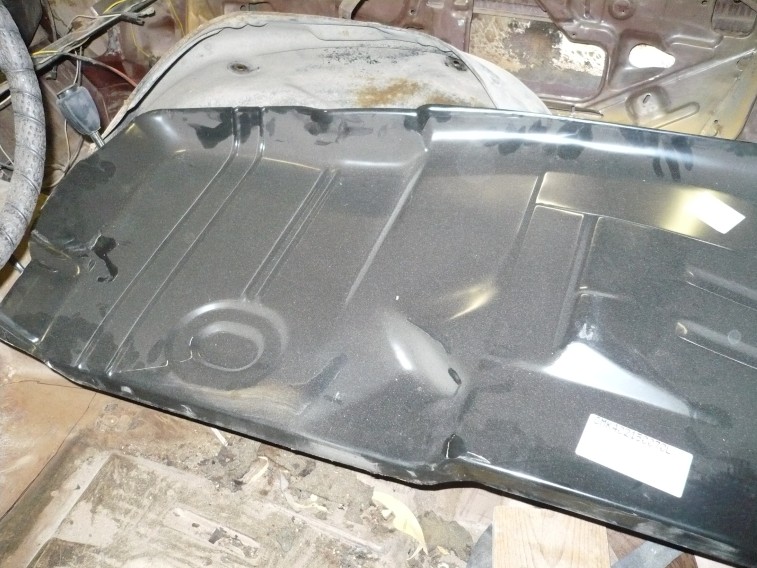
camaro metal 001 camaro metal 002


I had my folks who live in AZ go out and look at the car, then purchased and arranged for it to be hauled out to me.  While all that was going on, I sold some parts off of my old shell and cleared out some space in the garage:

IMG_0111 IMG_0112 IMG_0113 IMG_0114 IMG_0115


Also purchased a 454 engine and a few more tools for the garage:

IMG_0126 IMG_0125 IMG_0116

My neighbor:

IMG_0127 IMG_0131 IMG_0132 IMG_0138 IMG_0137


The truck arrives:

IMG_0128 IMG_0129


Car’s new home (good thing the neighbors helped!):


IMG_0130

Me:


IMG_0133 IMG_0135 IMG_0136 IMG_0139


Now I have to unpack and see what all I have.  Then work on that patch panel, strip the car down and get it on the rotisserie for the first coat of primer!  Still waiting for the new title and plates to arrive in the mail within the next three months.  I also need to update the blog menus for the new project!

Toe Boards Jan 20,2013

Got some work done on the passenger toe board today.  Decided to go another route and patch the rough area rather than trying to fill-in the holes.  Used the extra pieces of the half floor pan from what I cut out the toe board patch.  It is the same gauge metal.

First – rough cut the opening:

IMG_0088

Next, place the cut out piece on the patch panel to be cut out for reference:

IMG_0090

Cut around the outside of the tape – I want the patch panel to be larger than the rough cut area:

IMG_0091

Mark what needs to be cut out on the toe board:

IMG_0092

Cut inside the marks to give some wiggle room:

IMG_0093

Double-check the patch panel covers the cut out hole:

IMG_0094


All that remains now is to grind down the opening to fit the patch panel and then clamp and weld.  I need to order the proper grinding discs – hope to have by next weekend so I can finish it off then!

Jan 6, 2013 Update

This weekend I ground down some previous welds and cleaned the engine side of the firewall where I am welding.  I worked on my technique for filling in the pinholes and gaps from where I removed the firewall brackets.  Finally got it down, but there is much more welding and grinding ahead.  Basically, I am filling in the spaces with a bunch of tacks allowing the metal to cool between tacks – slow and tedious, but it is working!  No pictures to share for now – maybe next weekend.

Toe Boards Dec 28, 2012

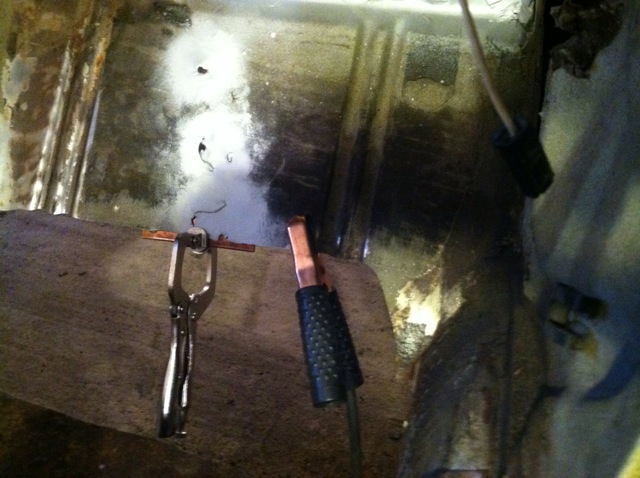
Started welding to fill-in some of the tears and holes from removing the firewall brackets:

IMG_0038 IMG_0039 IMG_0041


I am getting some burn-through and pinholes.  After doing some googling, looks like I need to ensure both sides of the metal are clean and got some other tips to try.  These are some links that I found helpful:

http://www.chevelles.com/forums/showthread.php?t=130848

http://www.redpowermagazine.com/forums/index.php?showtopic=58063

http://autobodystore.com/forum/showthread.php?2947-welding-small-holes

Part of the differences between what I had practiced on and the car is the metal I am welding is in an awkward location to access and the back side (engine side) wasn’t cleaned and has some contaminants.

So something that I didn’t think would take so long is once again taking longer than I had hoped for!