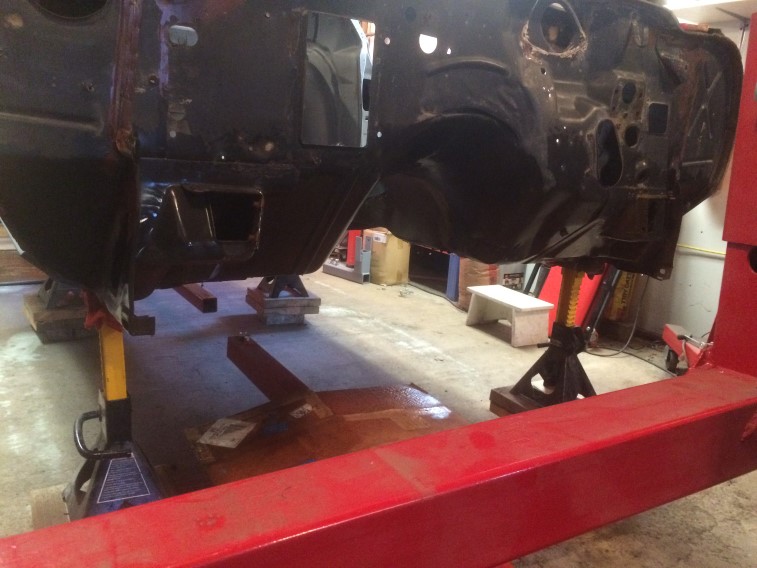
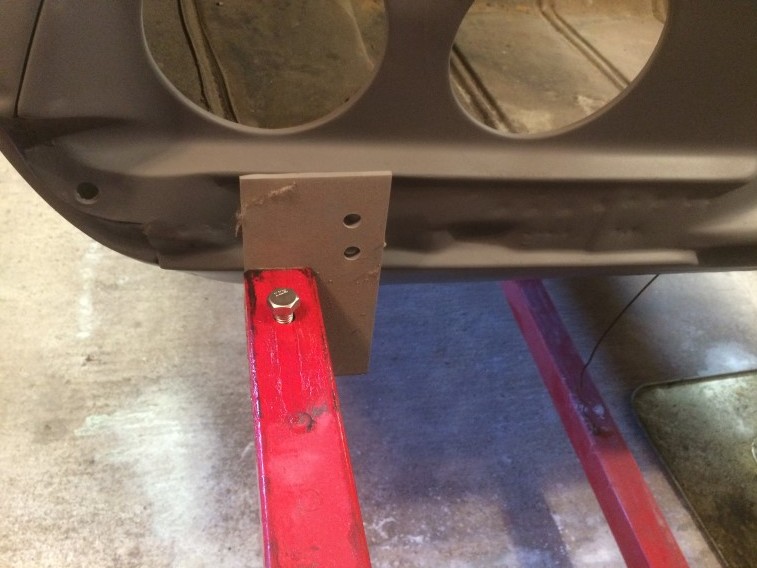
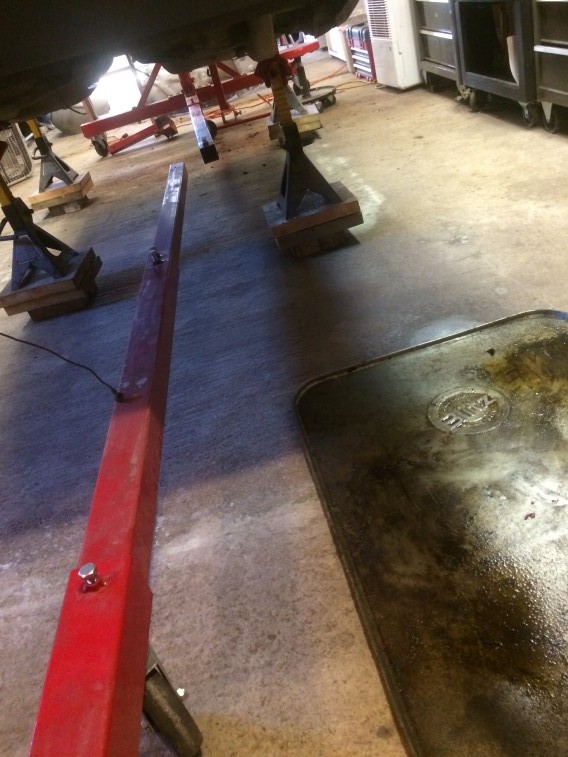
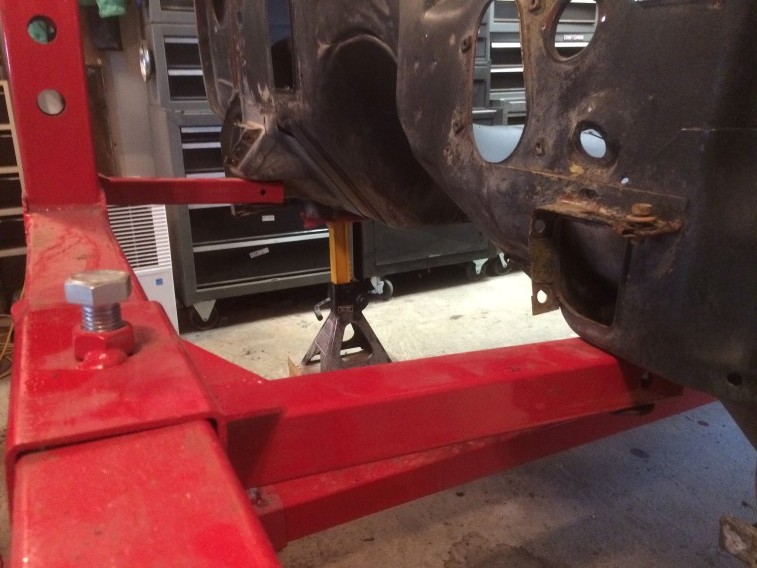
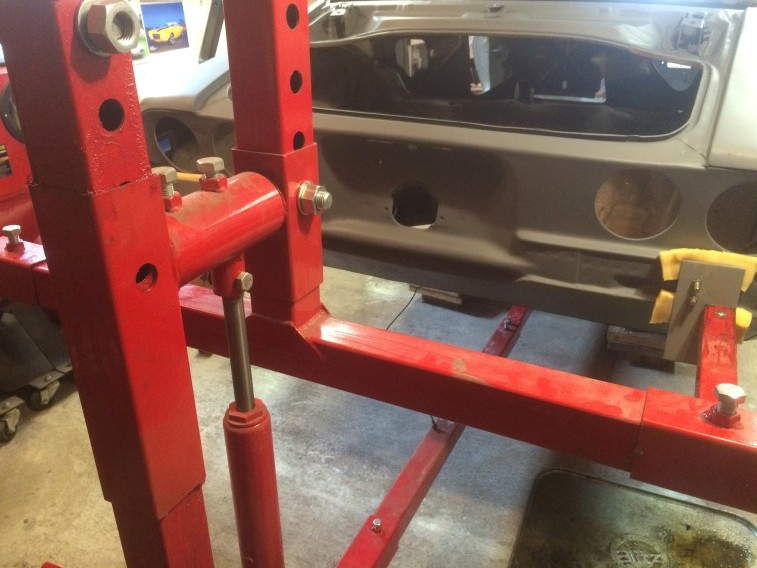
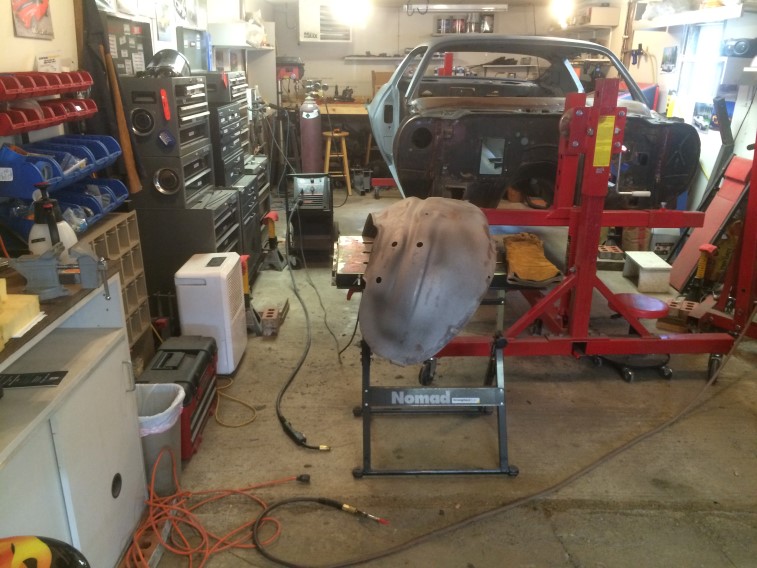
Spent a little time in the garage this weekend. Tightened the rotisserie bolts and raised off of the jack stands:
Not yet sure if I will re-adjust. Seems to be ok for now.
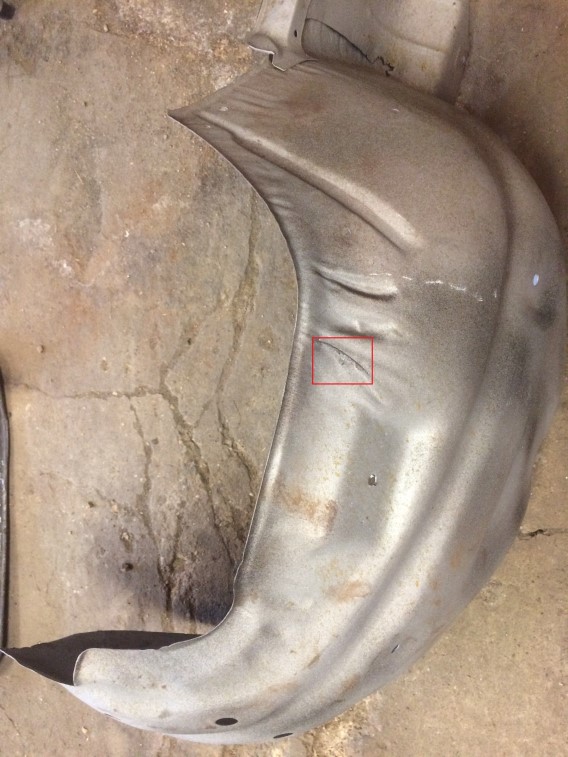
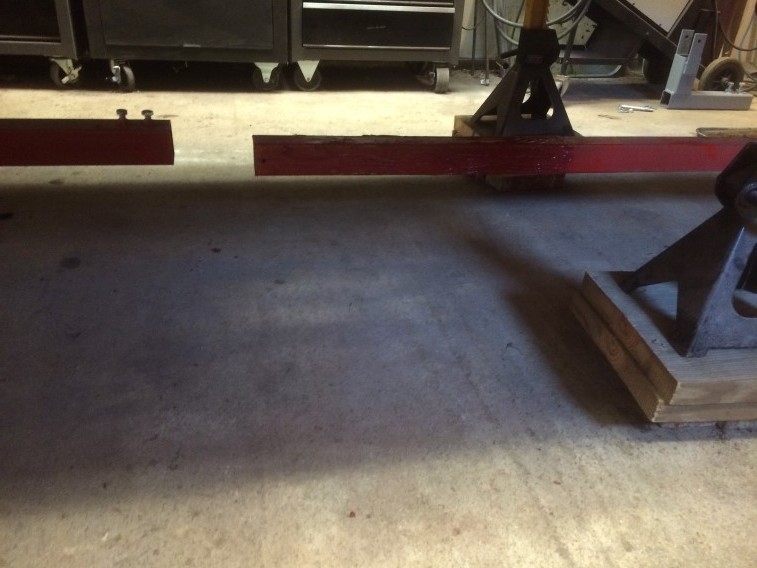
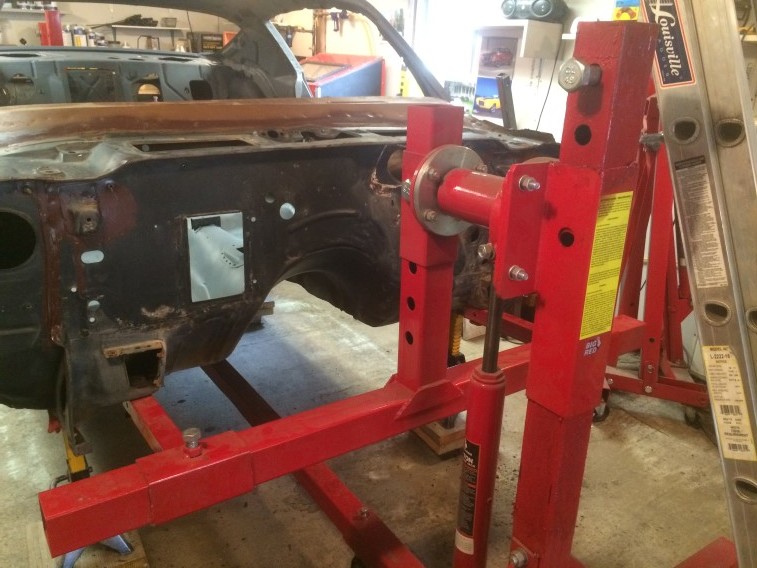
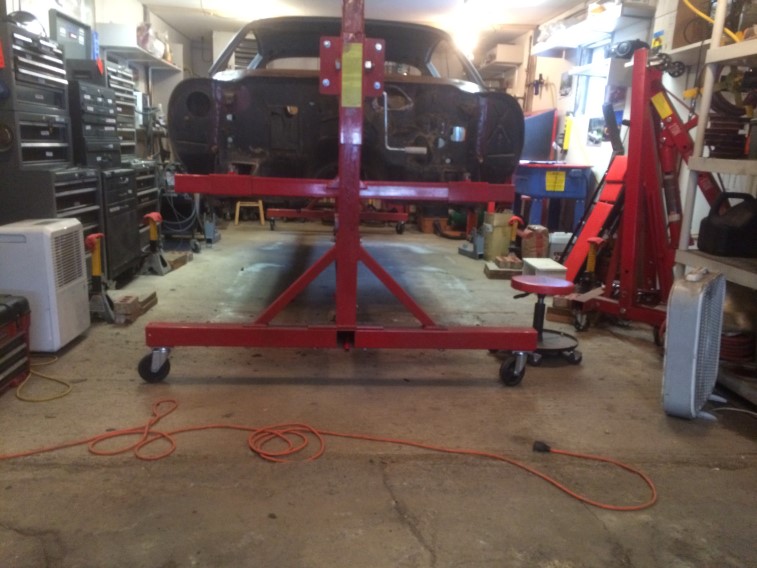
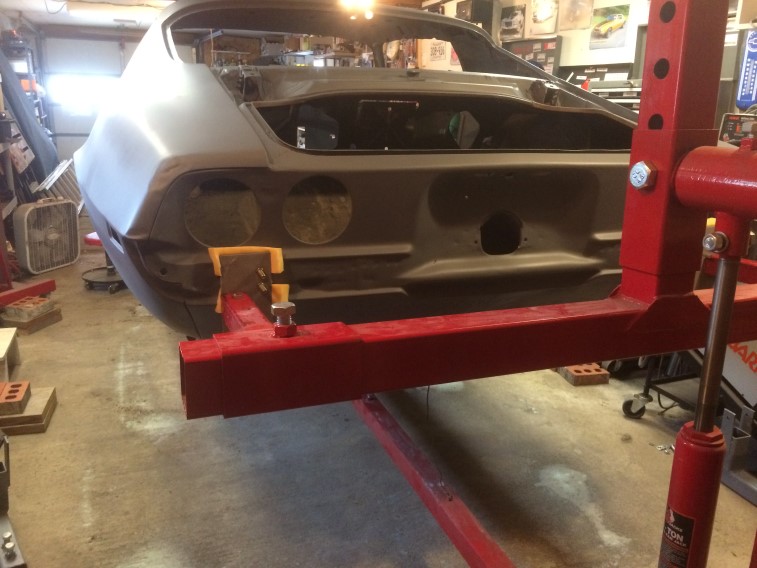
With the car on the rotisserie, I was able to push it to the side to pull out the welder and work on the inner fender:
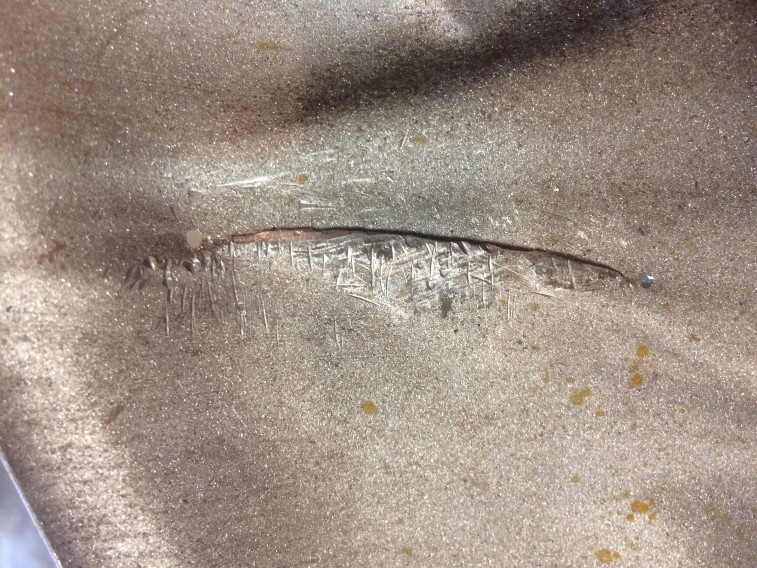
Initial weld:
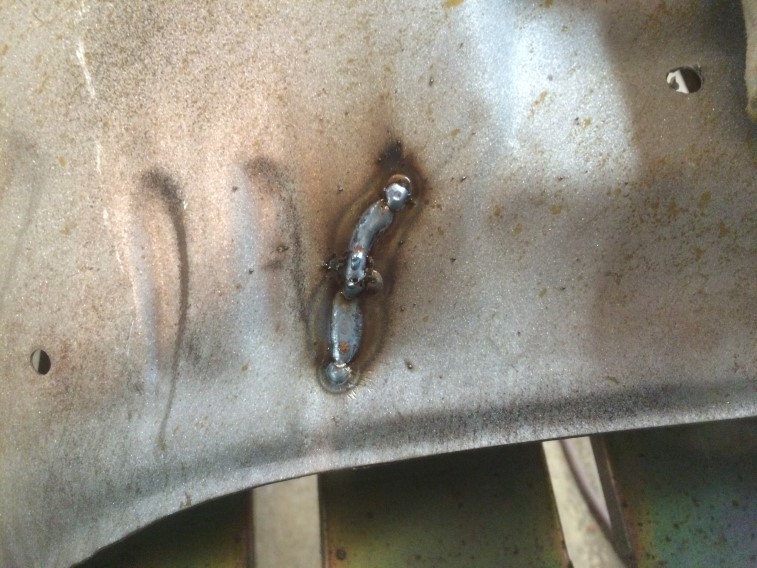
Grinding the weld:

Filling in a few spots:
More grinding:
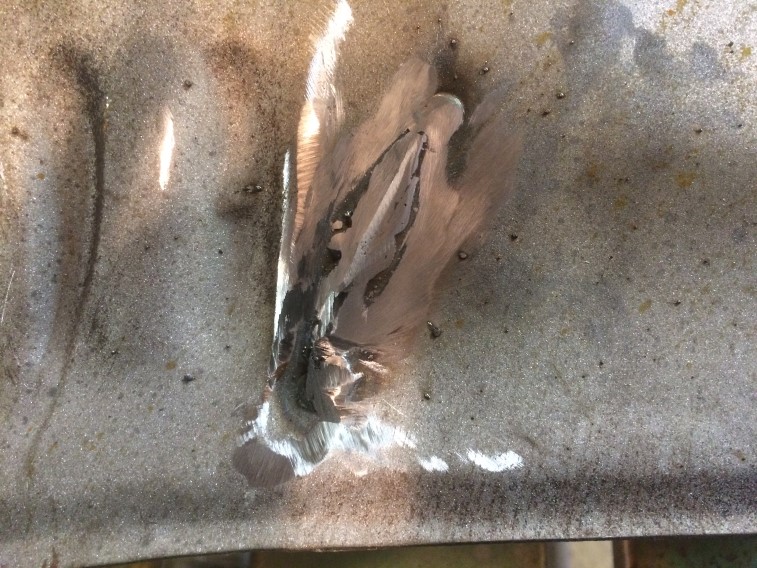
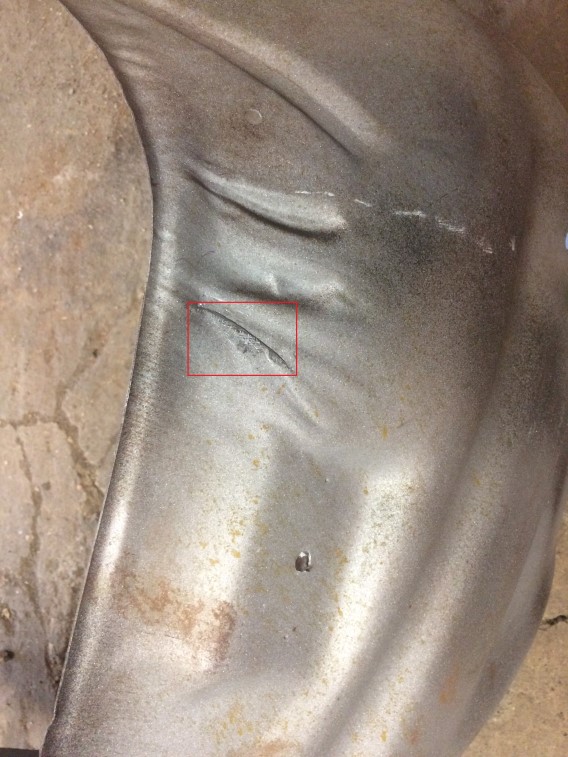
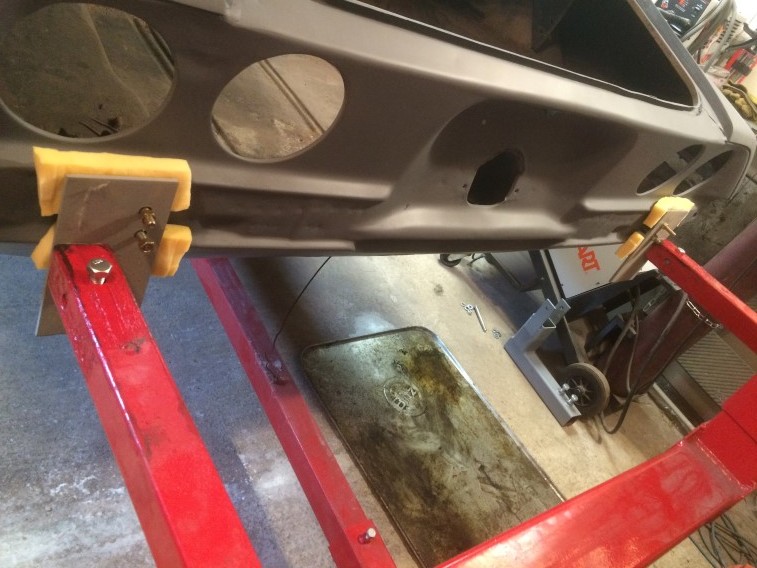
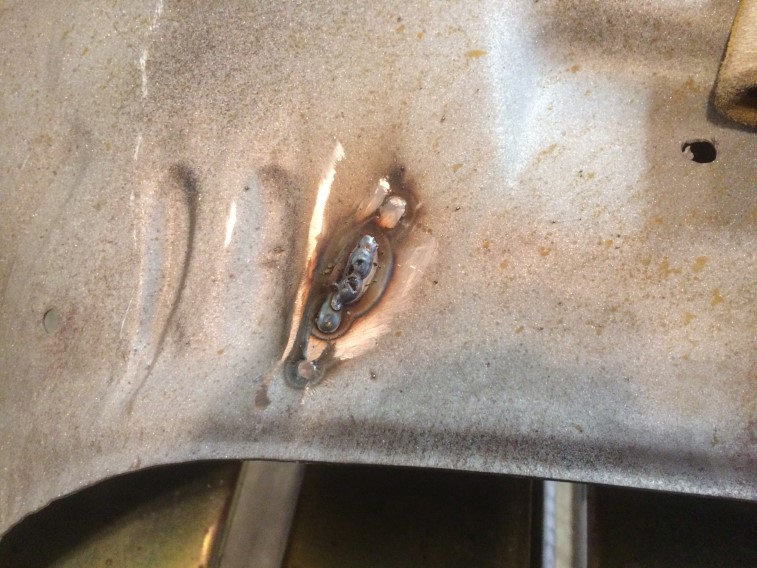
Flip the inner fender to work on the other side. Burnt through a couple of spots and said a few choice words I can’t repeat here:
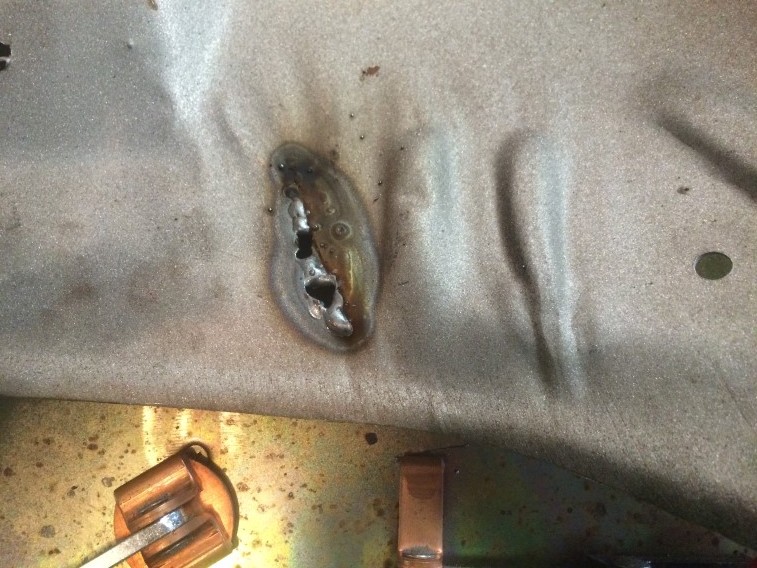
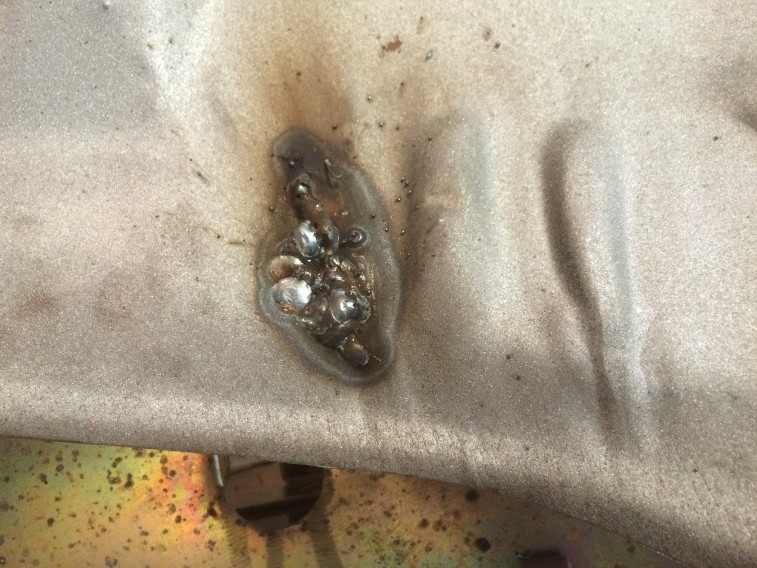
Used my copper backer (above) to assist me in filling the holes – not the prettiest, but it will work:
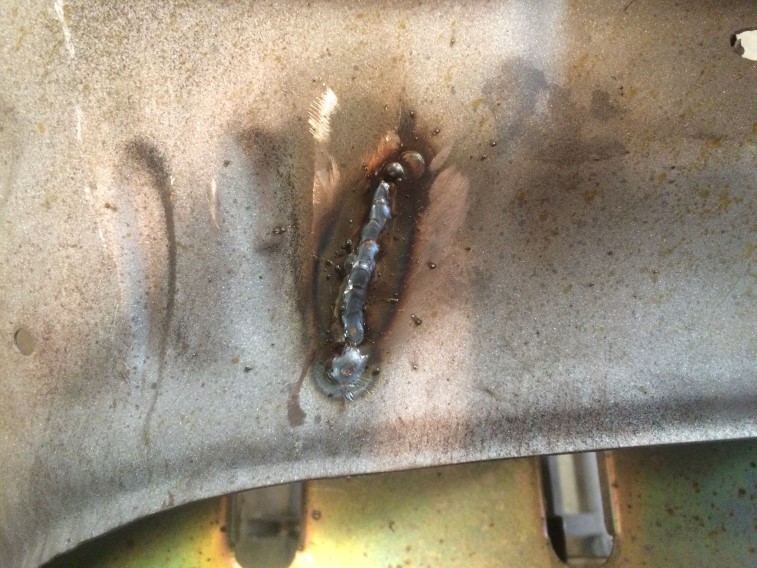
Other side:

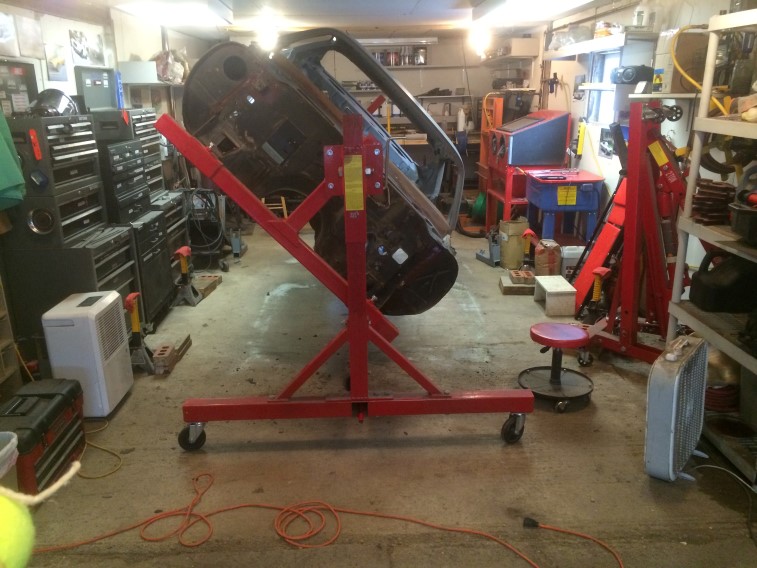
Called it a session at this point. Hope to get out there more this next week to finish grinding and any more welding touch-up after that. Hope to roll the shell outside within the next week or two so I can power wash the bottom of the car prior to stripping.