Tag Archives: Trans Hump Patch

5-27-2017 – 4-speed shifter hump

Spent some time in the garage today.  Bonding the patch and 4-speed shifter hump.

I spent as much time preparing as I did working on these.  The patch took about an hour and the shifter hump about 30 minutes.  Some of the rivet holes needed a drill touch-up to widen,  Hopefully back at it tomorrow!  The 3M bonding says you have a 90-120 minute window to work with it and about a 24 hour cure time.  I will still go over it with some seam sealer on both sides although it says you don’t need to – better safe than sorry!

5-14-2017 – 4 speed shifter hump

So this past week I was at a conference in Orlando, FL.  I did spend a little time in the garage yesterday with the nice weather and was hoping to get to bonding it today, but other things came up and now I hope to get to it next week.  So all I got done, was stripping the areas where I will be using the 3M bonding adhesive down to bare metal and cleaning with wax & grease remover.  I used a marker as a guide for where to strip to:

Hopefully this next week I can get the pieces bonded together.

4-26-2017 – 4 speed shifter hump

I added a dust reclaimer unit to my blast cabinet so I could strip some of the smaller parts such as the shifter hump patches – the unit was larger than I had imagined:

a before shot:

It worked fairly well, but did have some issues with the gun in the blast cabinet, so ended up manually sanding some of the remaining pieces – ready for primer:

Both patches primed:

I hope to get them bonded in place this weekend!

3-11-2017 – 4-speed shifter hump

Doing some final confirmation of my measurements before cutting the hole tomorrow.  I think I am as ready as I can be…  Won’t be doing the transmission until 2019 and want the floor to be done before that.  The goal for 2017 is to have the bottom of the car complete so I can work on the suspension next year – I attached the console to all of the mounting points and looks to be spot-on:

Tomorrow I will be cutting this out – I will be using 3M bonding adhesive soon along with the rivets to ensure I can get the placement I want.

1-28-2017 – 4-speed shifter hump

Made a little more progress on Saturday.  I got the 4-speed hump portion of the patch mocked-up in place.  Things are temporarily riveted until I used the 3M metal bonding along with the rivets to fasten in place.

Determined I was fairly happy with the measurements using a spare console as a reference:

For the measurements, there are several areas in the rear seat one might use.  The middle one holds the tape measure the best, but it is actually the closest ripple to the front that needs to be used.

Marking where to drill the holes (on this side, they are in-between the patch panel rivets since there is a little overlap:

Holes drilled:

I used some slightly longer rivets since there were some spots where I was going through 3 layers of sheet metal:

A couple of rivets in place and I realized I needed to do some hammer\dolly work.

Riveted in place.

Next steps are to review the measurements one more time.  Rivets can be drilled out and holes welded closed if need be.  Then cut out the inside hole where the shifter goes through.  I won’t be using the 3M metal bonding until the weather is warmer and my heater wont ignite the fumes.

1-23-2017 – 4-speed shifter hump

Spent a little time in the garage while preparing for the snow tomorrow…  I am trying to cross-reference my measurements.  I wanted a good way to move the patch panel around while adjusting things so  I put 2 large magnets on the bottom of the patch I just mocked-up:

Then added a couple on top that wouldn’t get in the way of the console:

Re-mounted the dash support frame that I had to remove when working on the prior patch section for drilling the rivets:

loosely mounted a junk console:

Looks pretty good so far:

Next step is to tighten everything up as things are finger tight and shifts a little.  Then re-check things again.  At least I am comfortable with the process now that when I settle on the placement, I can get it in the spot I want without it shifting.

1-21-2017 – 4-speed shifter hump

Made a little progress on the trans hump patch…  First task was to find a rivet with an appropriate diameter – using this website as a reference.  I ended up going with a 1/8″ x 1/4″ rivet.

Using a 1/8″ drill bit, tested things on the old shifter hump:

Drilled rivets out:

Now to dive into things realizing I can drill the rivets out and weld-close the hole if I messed things up…  Re-studying the placement and starting with the area with the smallest space:

Getting a measurement (less than 1″).

Reference mark:

Getting an idea of where the shifter hump will go:

The dot marks the spot:

Drilled hole:

marked the hole:

Worse of the holes drilled and marked:

About as much fun as drilling out spot welds!

So after drilling all of the holes on the patch first, I started drilling and riveting the patch in.  Using a rivet as each hole was drilled:

Worse section done:

Of course, all of these rivets will have to be drilled out when I use the 3M bonding as a final step.

Getting an idea of placement.  The patch will have to be massaged into place – currently not a tight fit.  I have posted the link before, but this is the link I am using for the stock measurements: http://nastyz28.com/forum/threads/4-speed-hump-measurements-from-a-72.234718/

Next step will be to confirm the measurements and massage the shifter hump patch in place and also rivet in.  I will also be using the center console as a reference before riveting in,  Hopefully next weekend I will get that done.  The marks below show roughly when it will go:

11-05-2016 – 4-speed shifter hump…

I am about a week overdue with this post, but here is the latest on the progress of re-doing the 4-speed shifter hump.

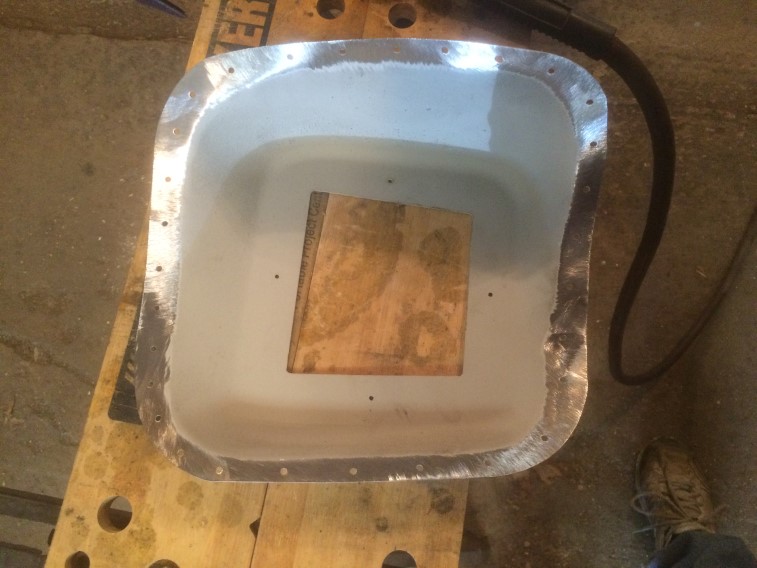
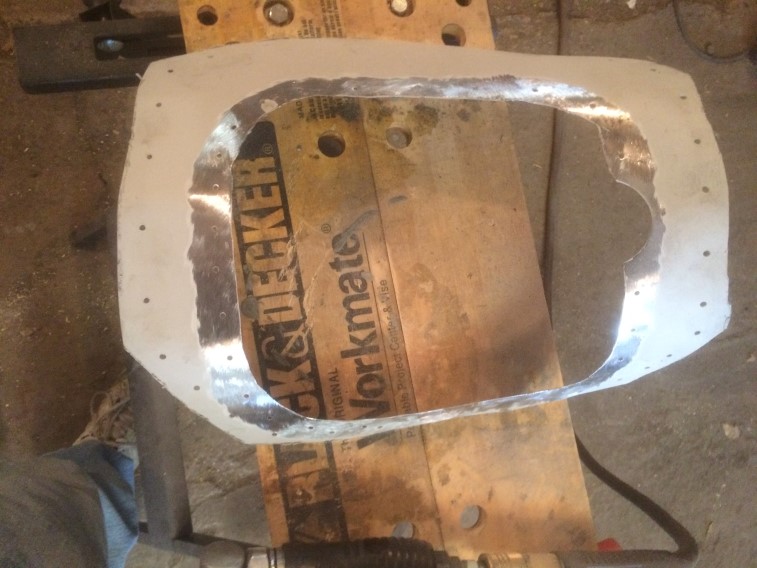
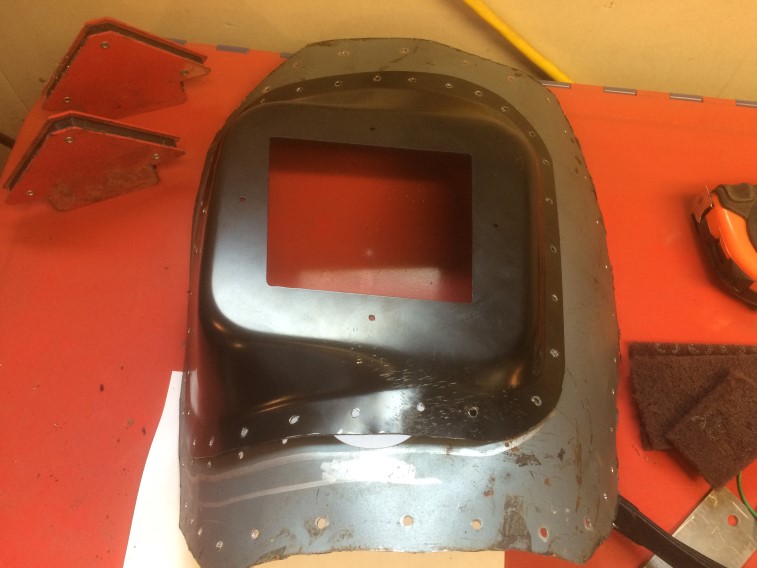
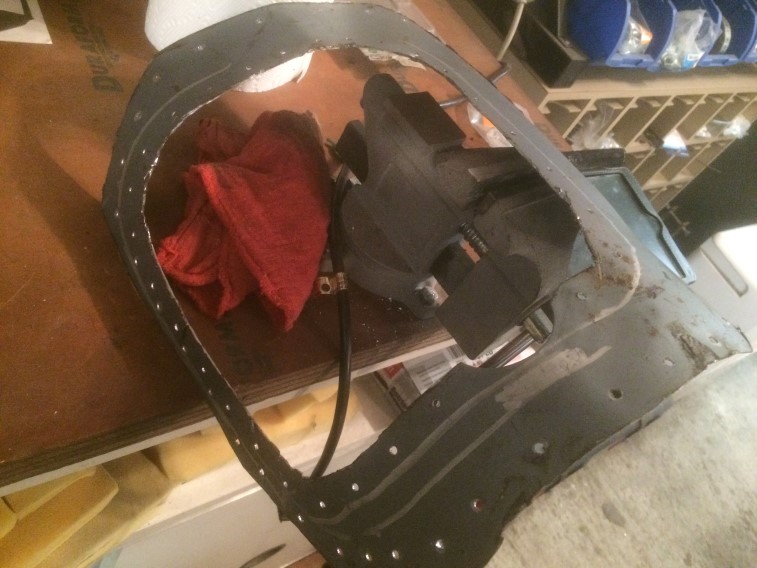
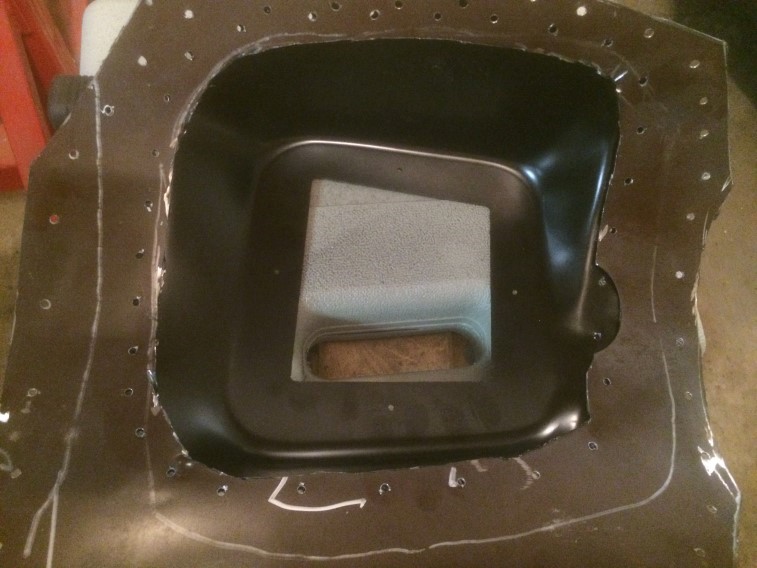
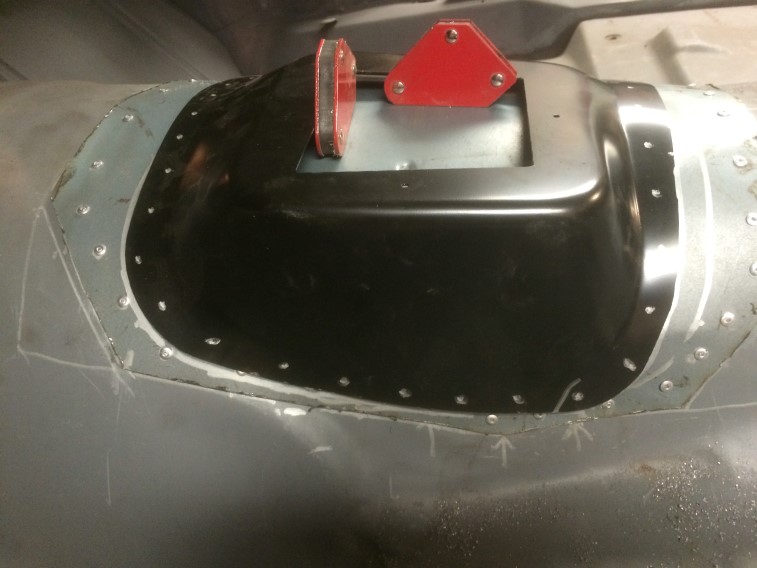
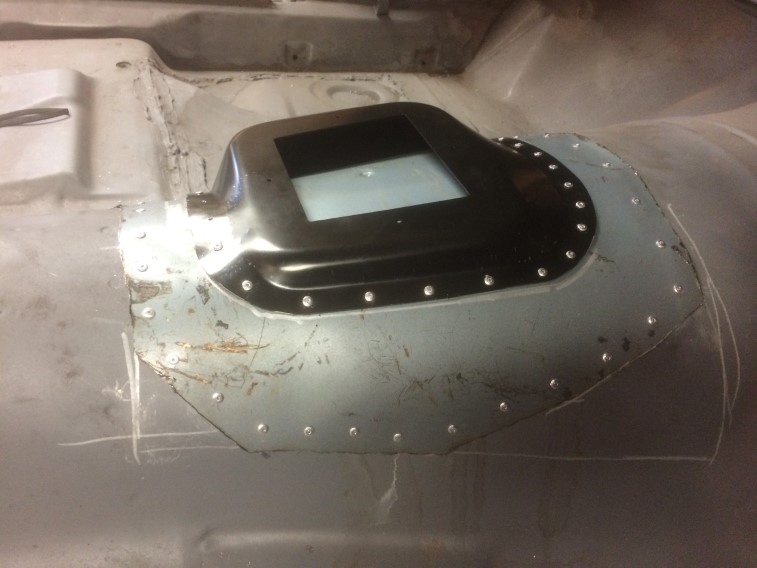
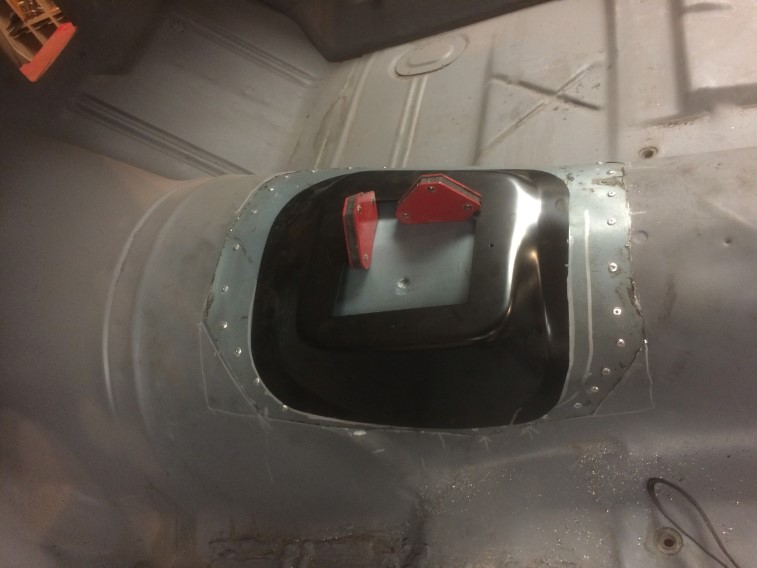
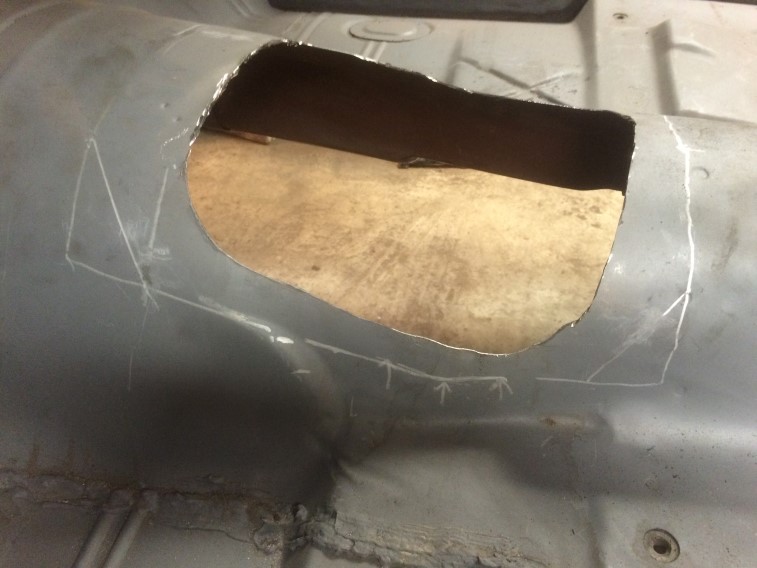
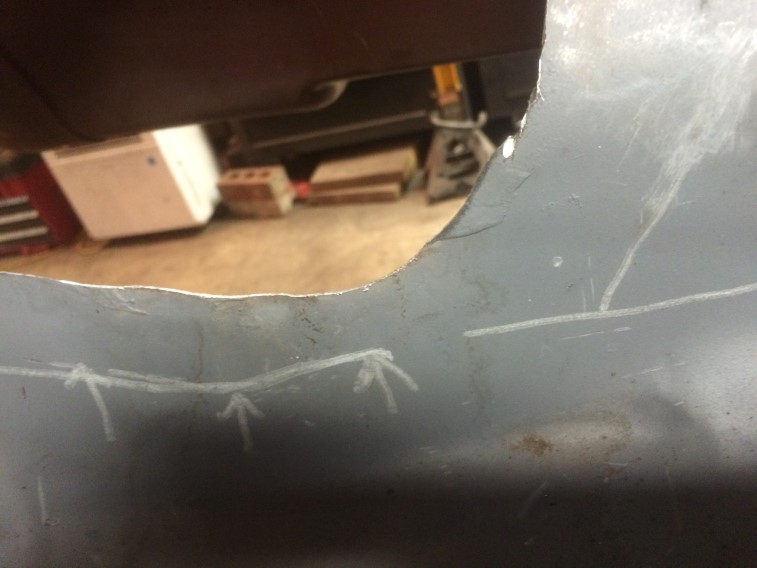
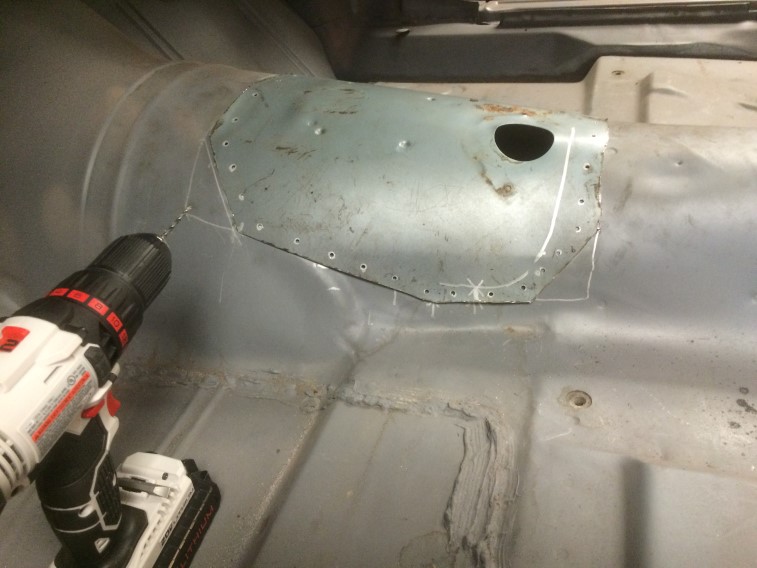
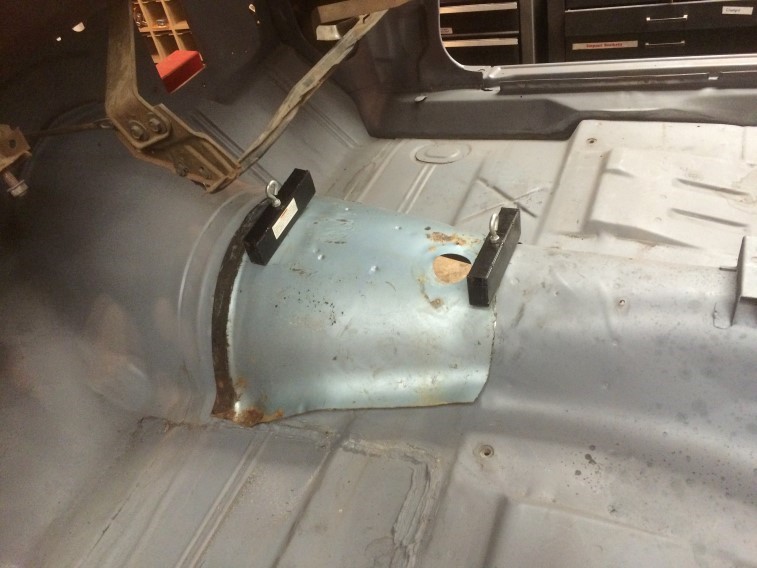
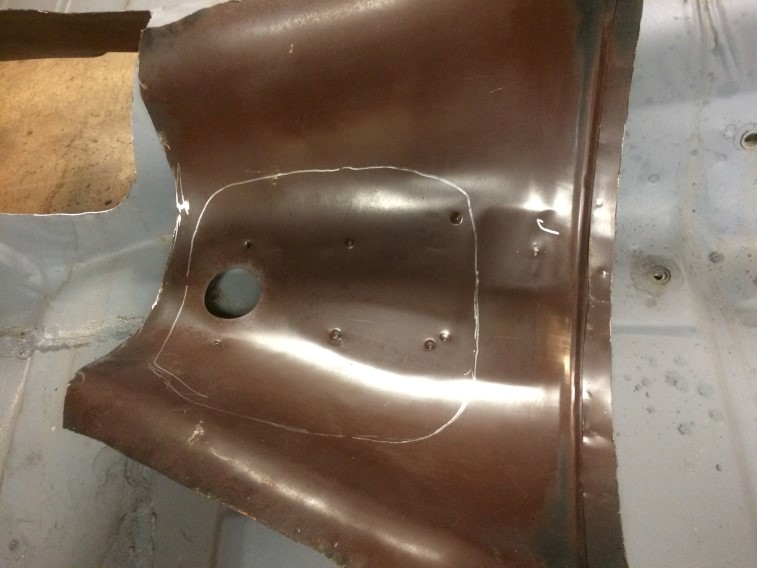
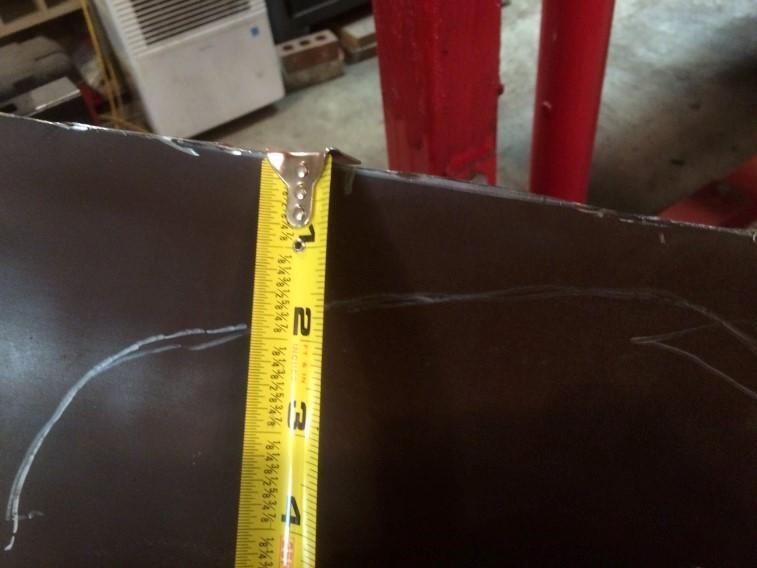
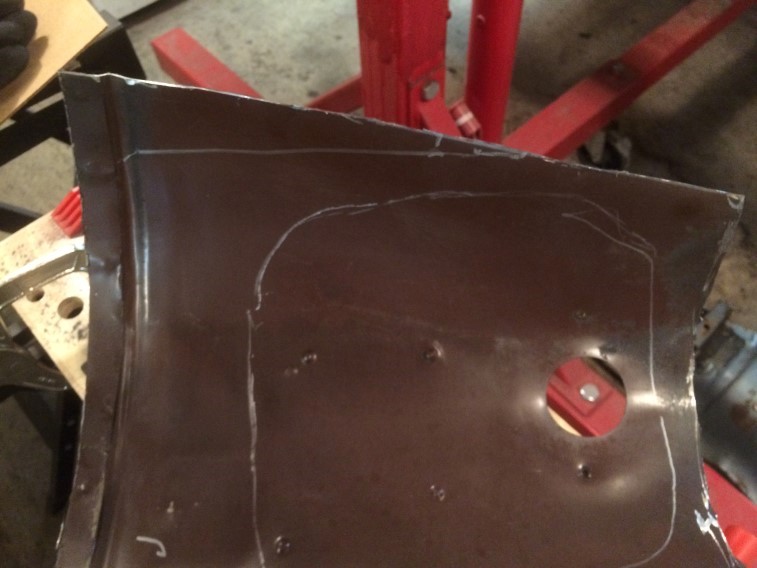
Started by using magnets to hold it in place while I traced the opening on the bottom of the patch:

img_2289 img_2290

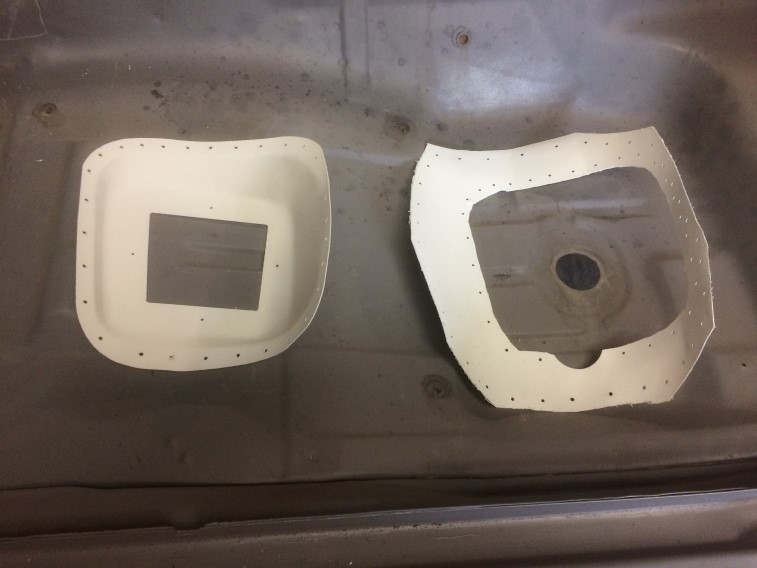
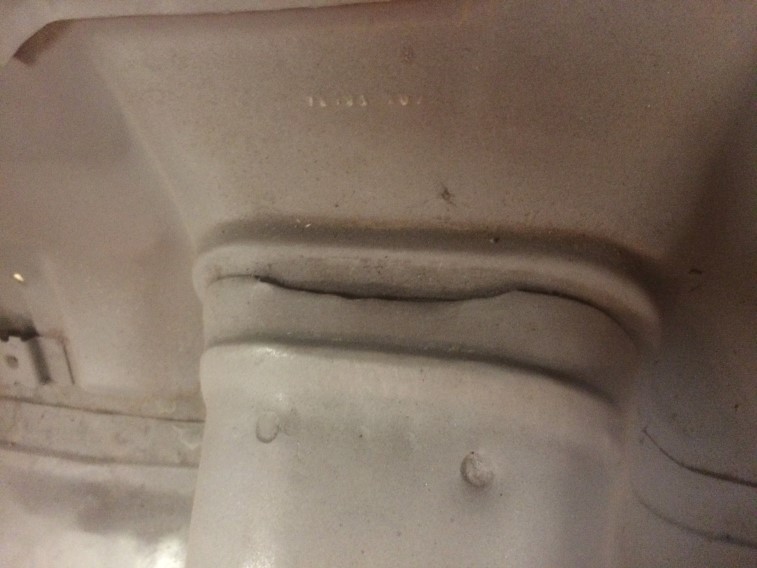
Compared it to one of the original pieces I kept when cutting it the first time:img_2291

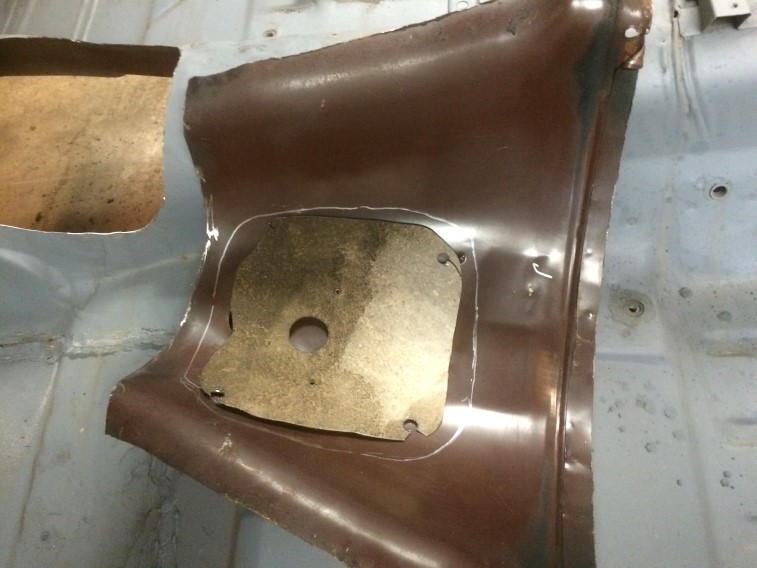
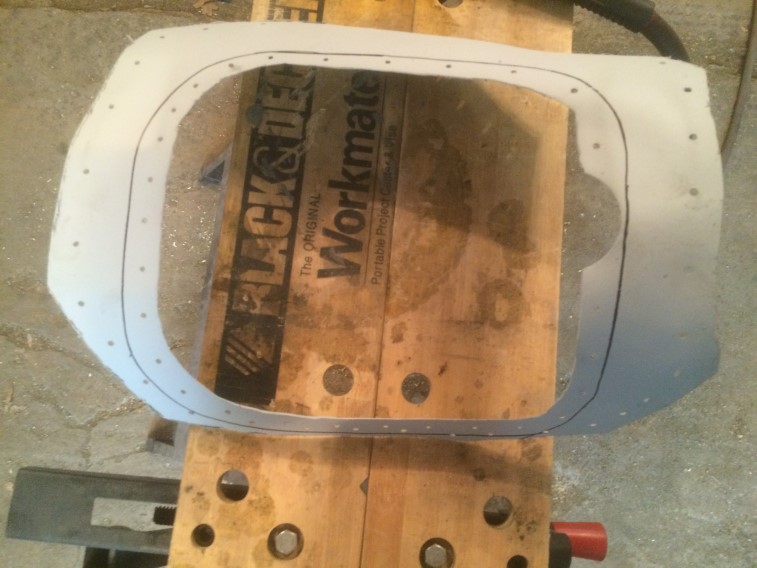
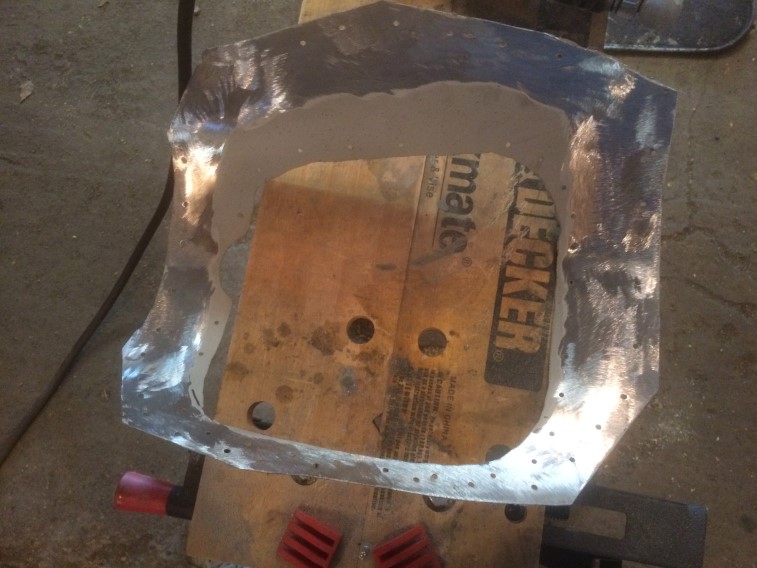
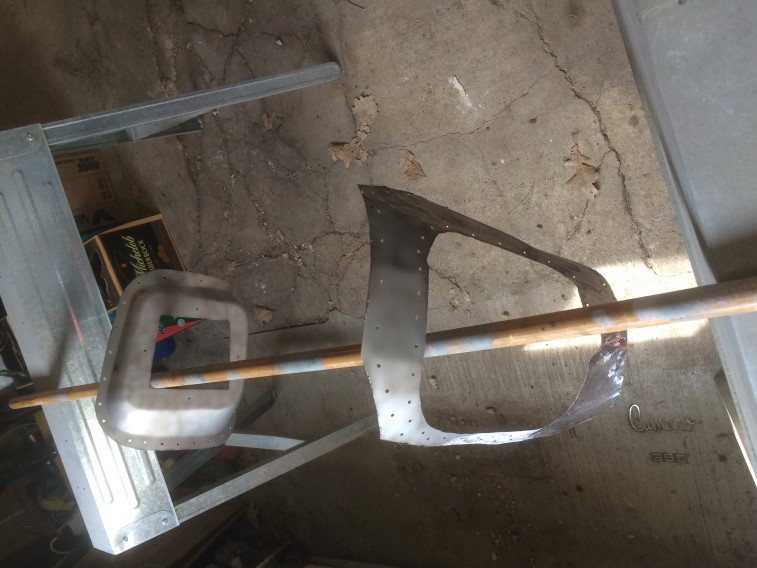
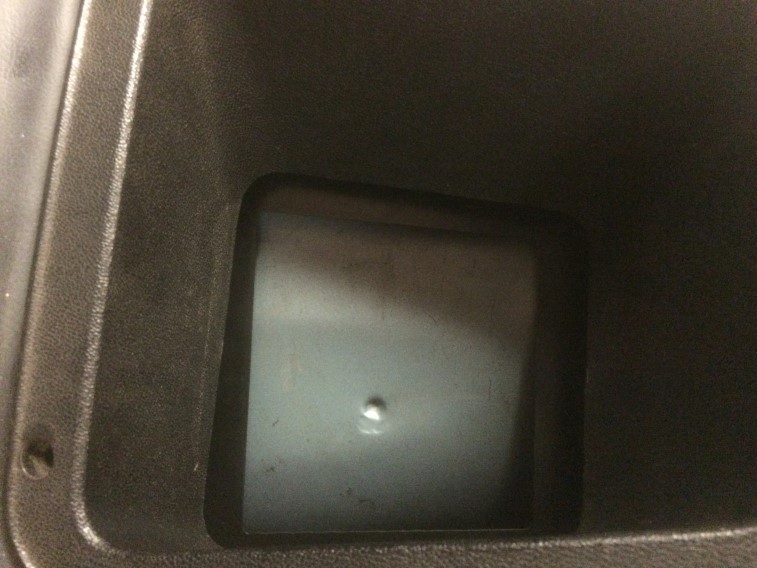
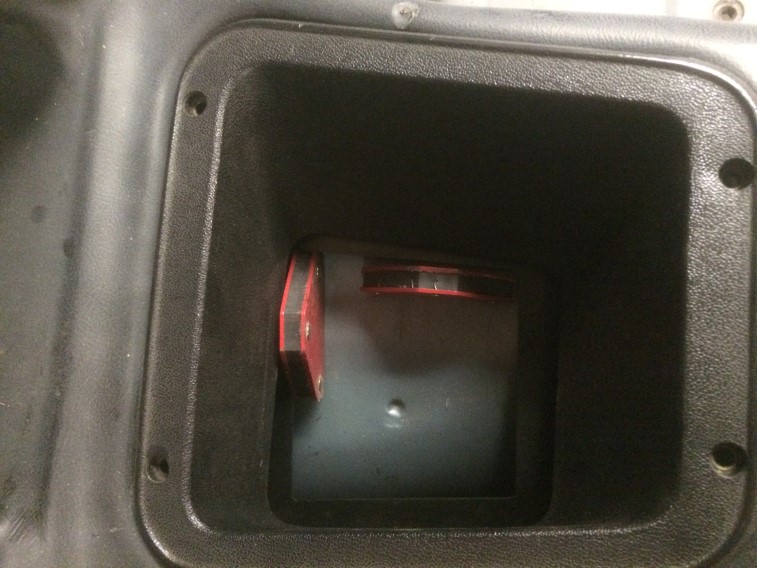
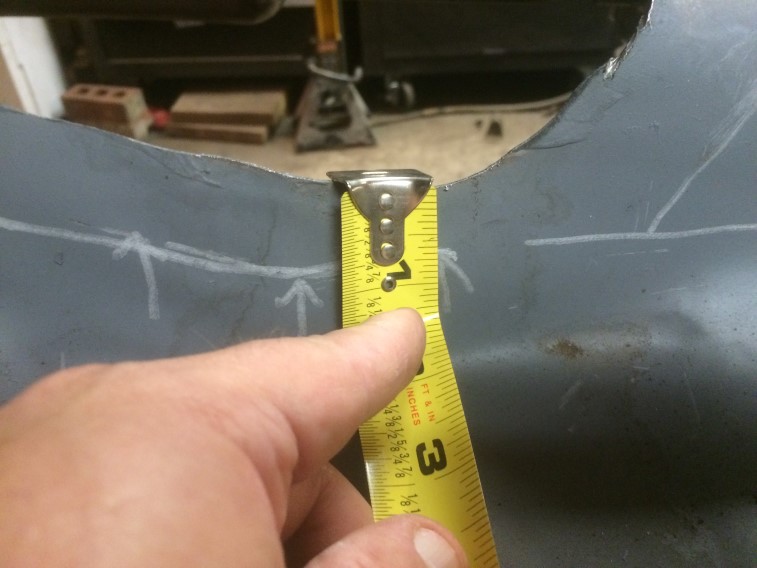
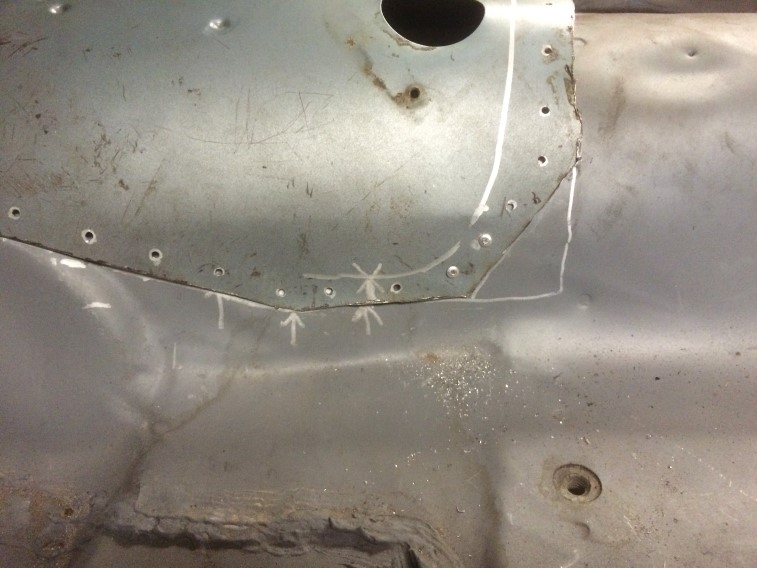
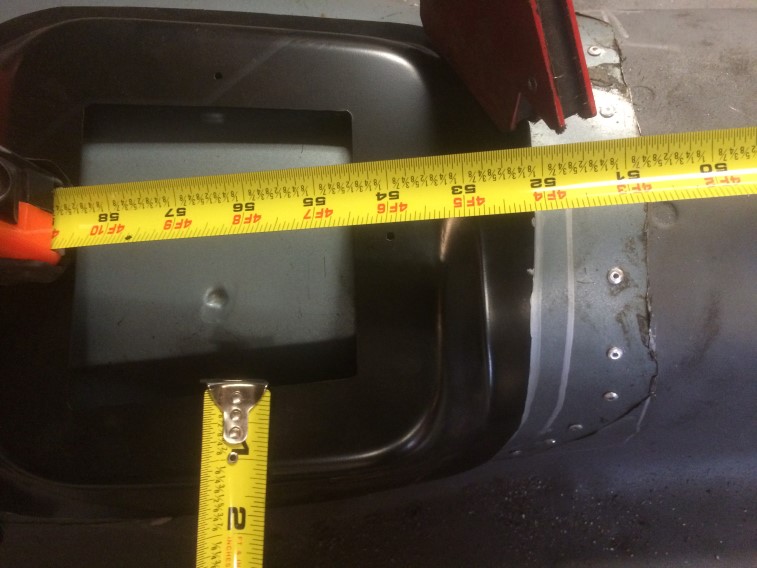
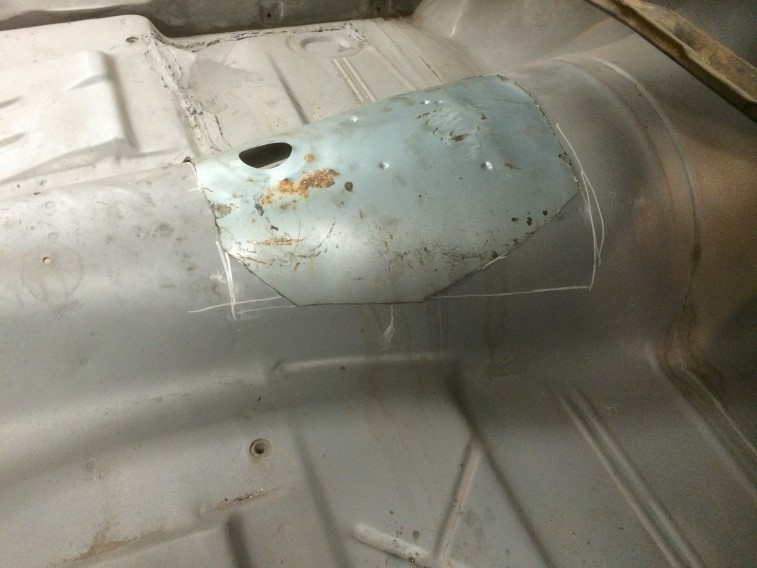
There is a lip that sticks out on the drivers side I needed to deal with.  So the fun begins with measuring, marking, and trimming:img_2292

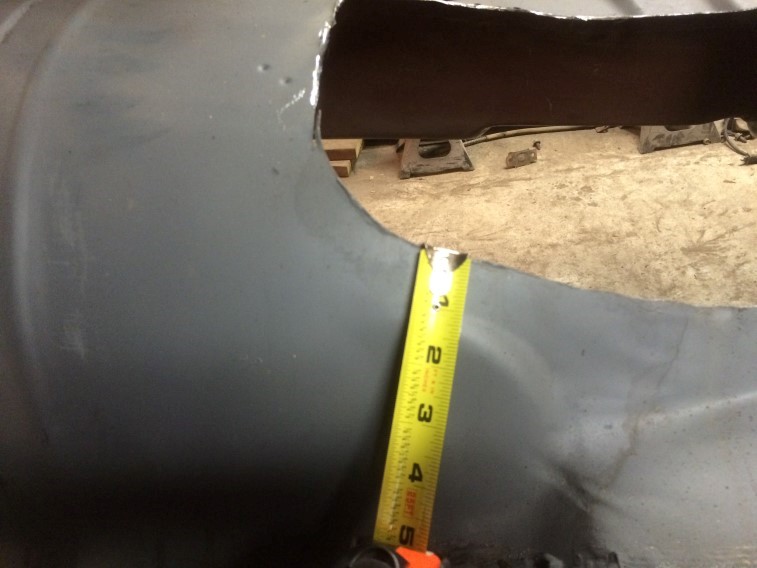
These metal marking pens are great!:img_2293 img_2294

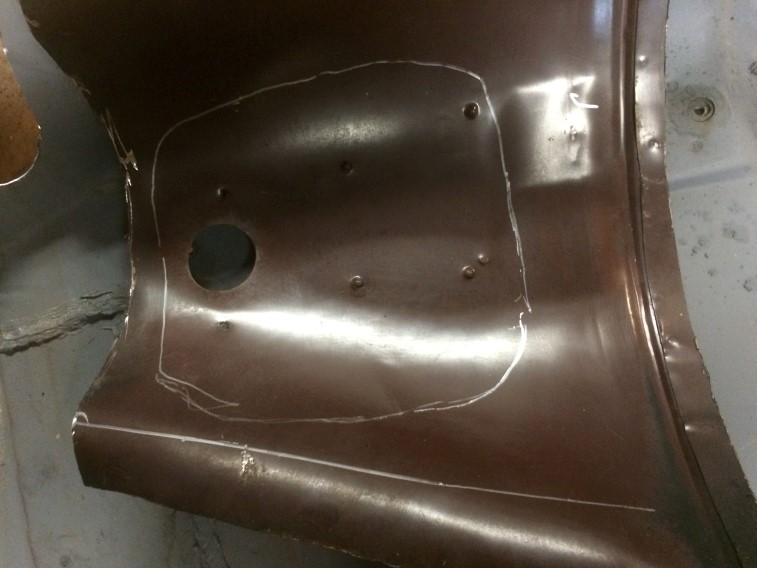
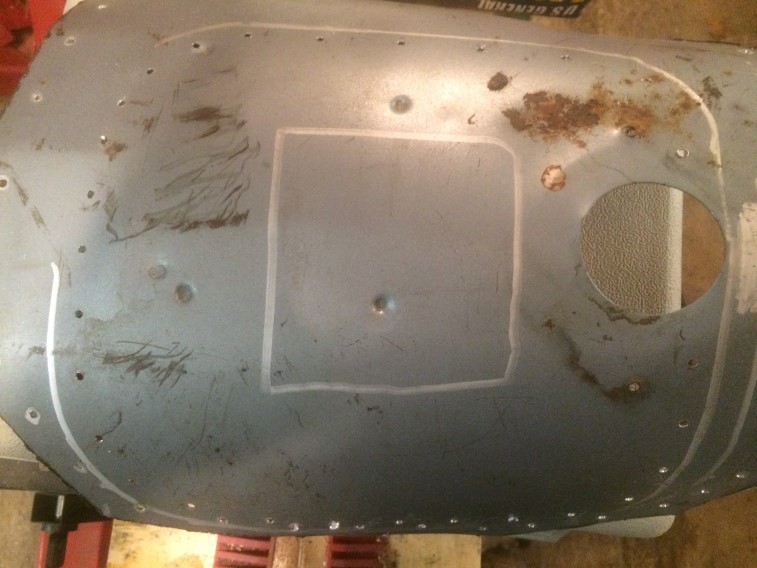
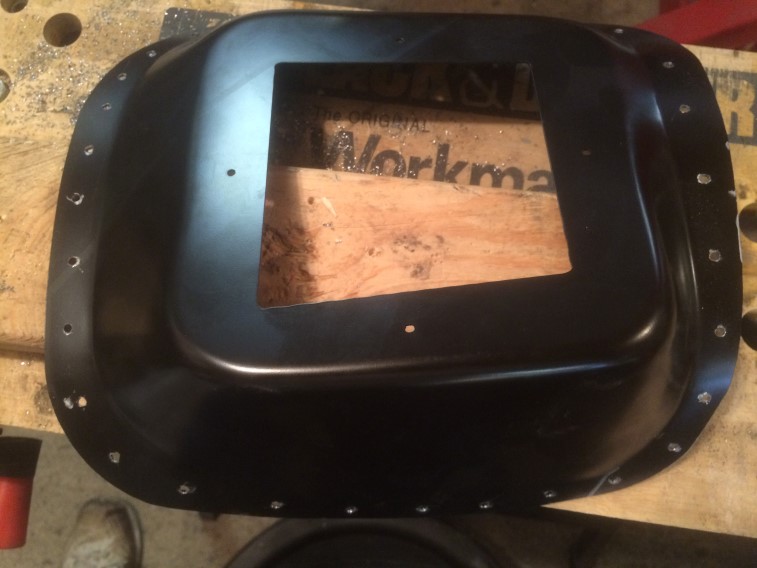
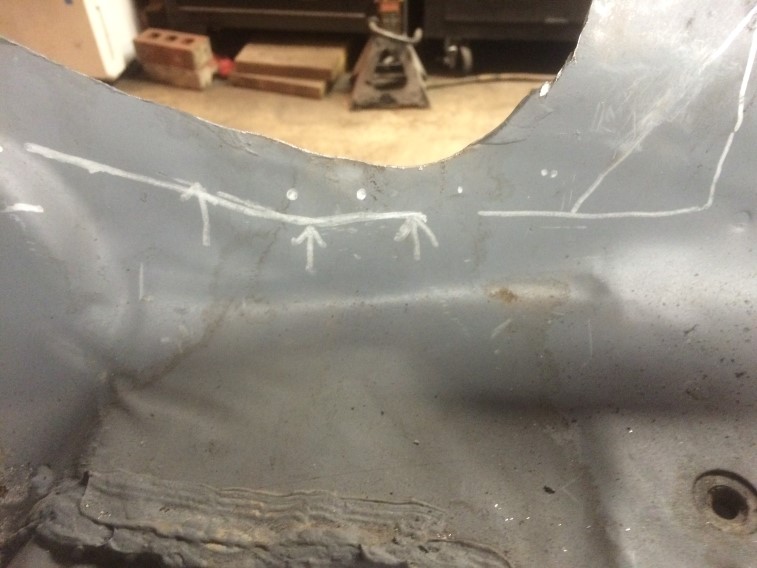
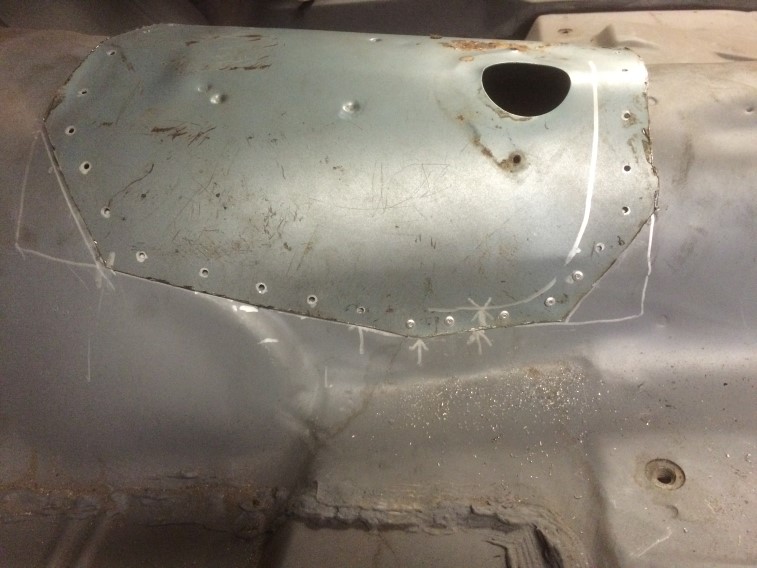
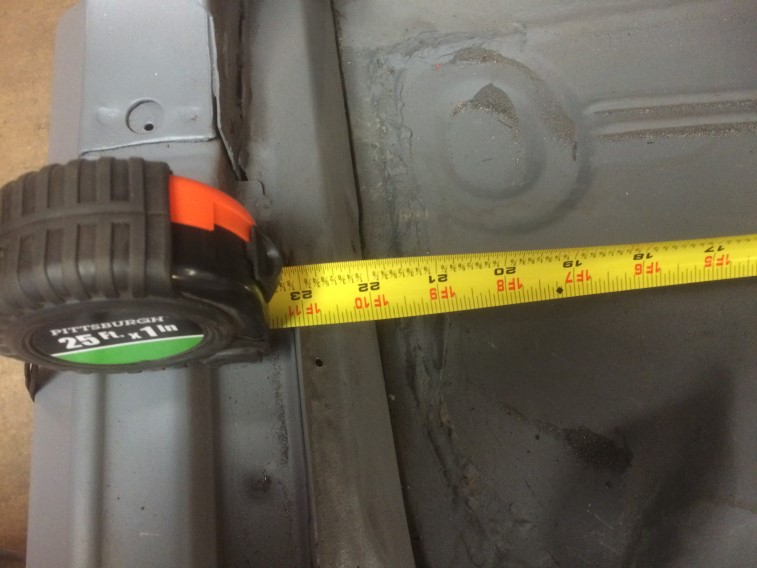
Then spent a lot of time measuring, marking, and trimming little-by-little:img_2295 img_2296 img_2297

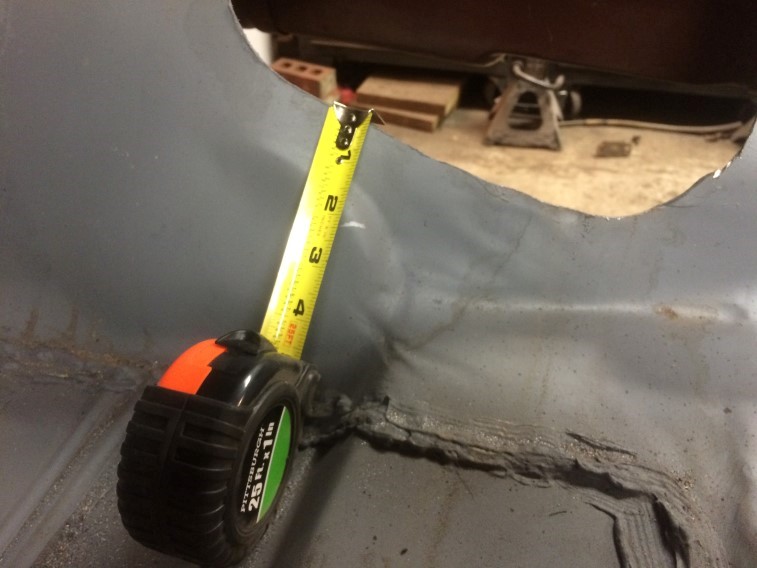
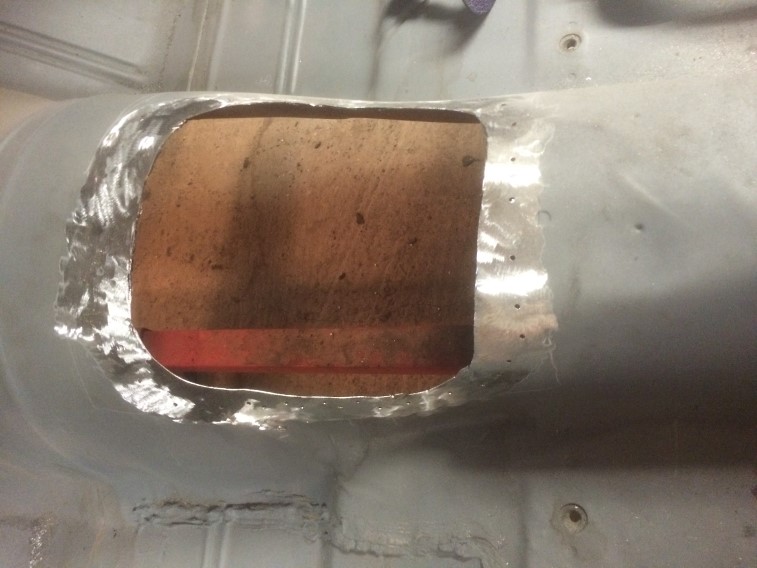
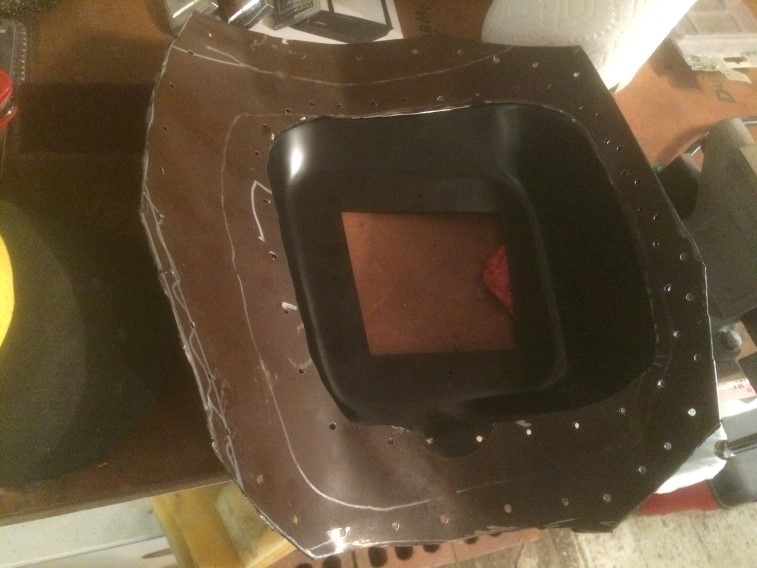
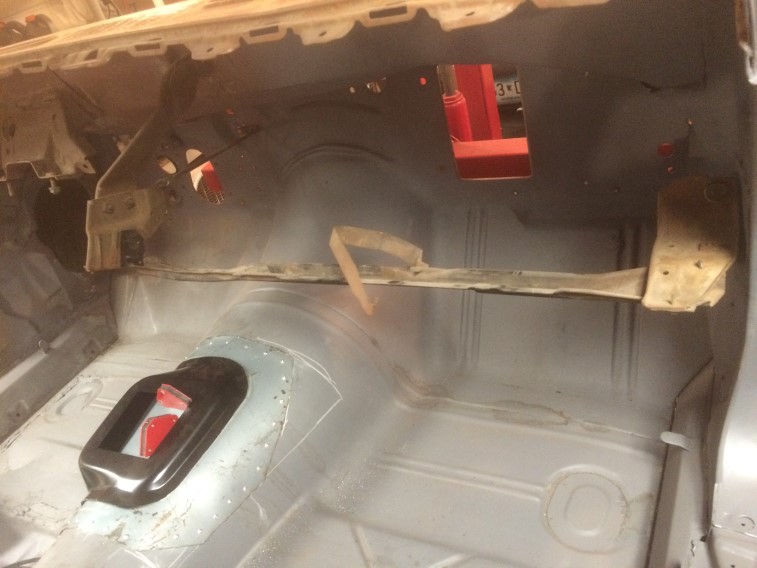
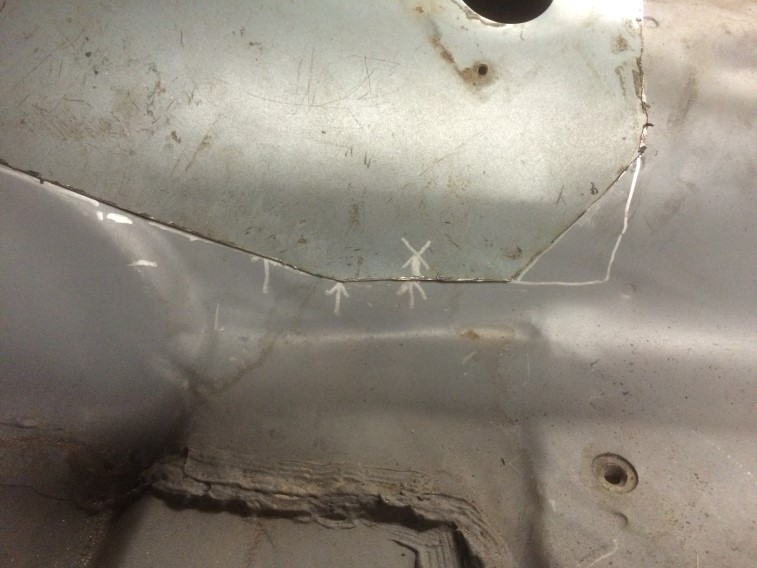
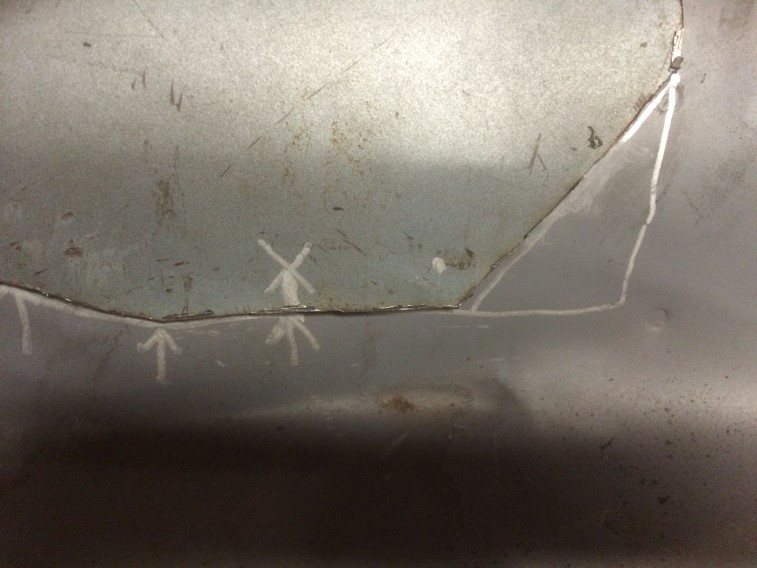
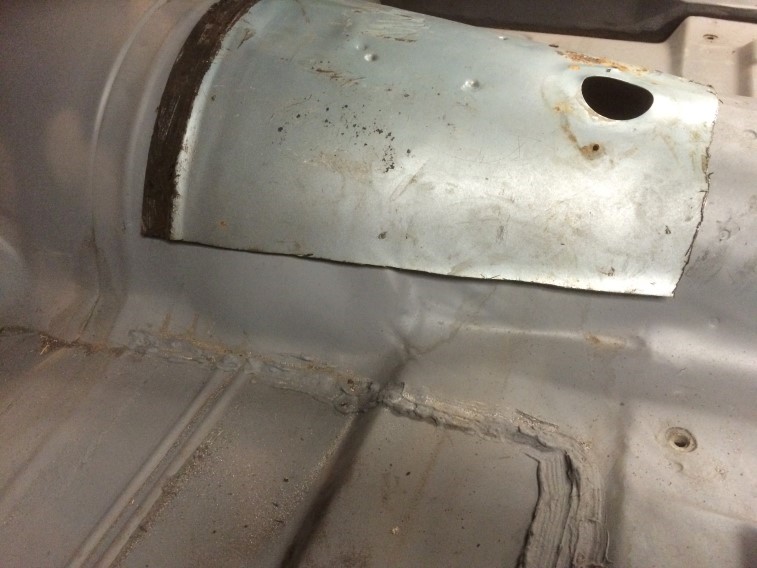
I was also marking on the shell the placement of the patch for a reference:img_2298 img_2299

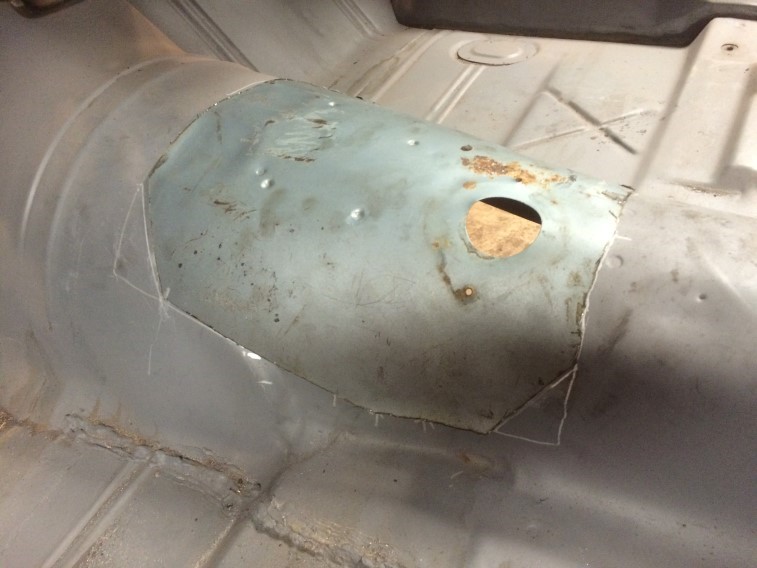
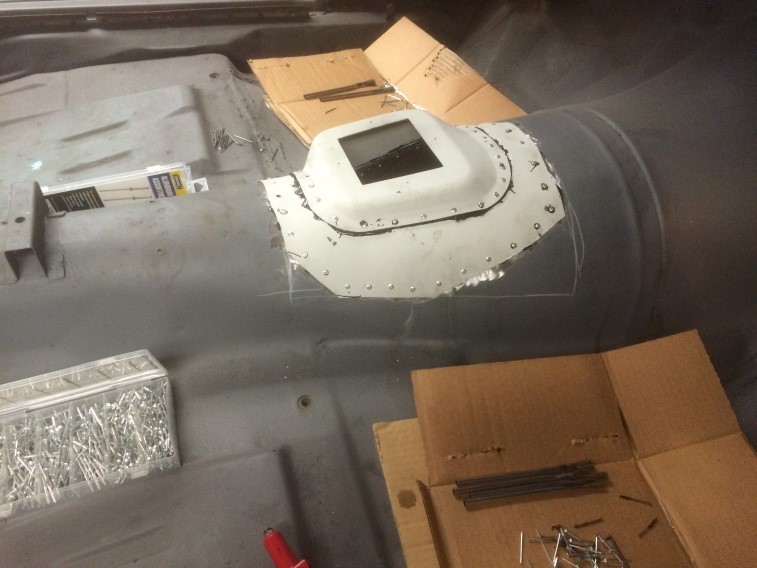
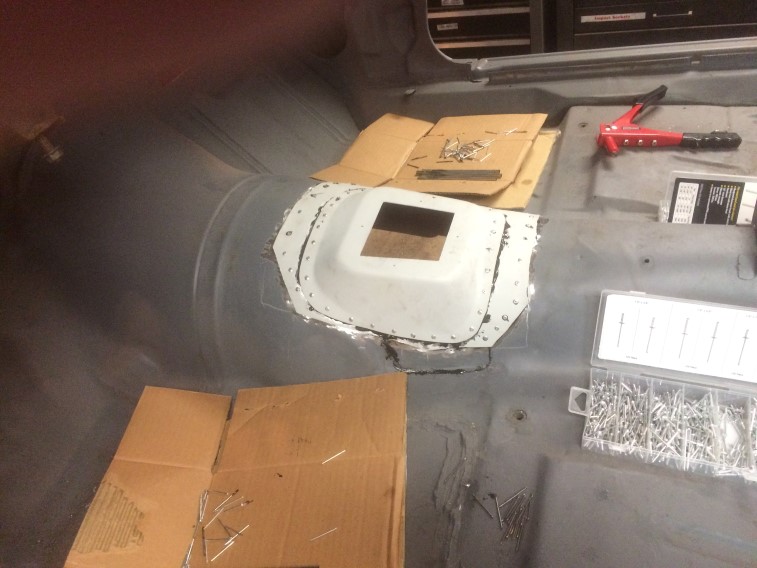
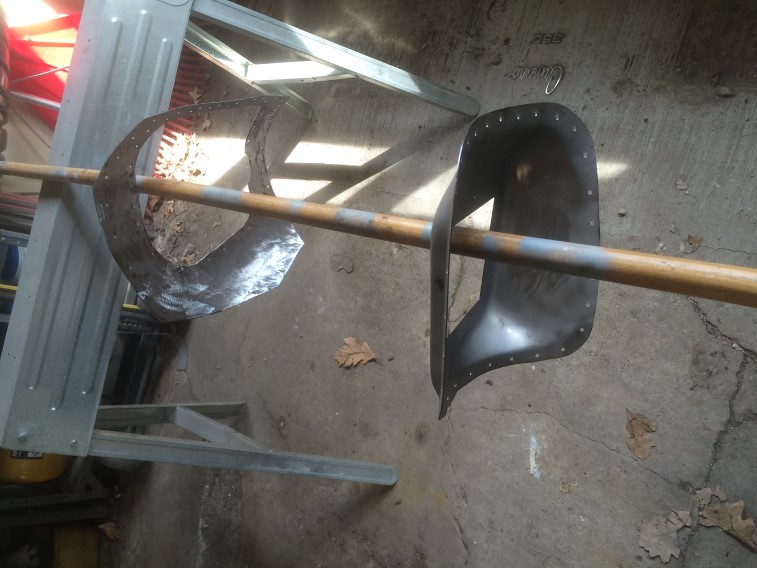
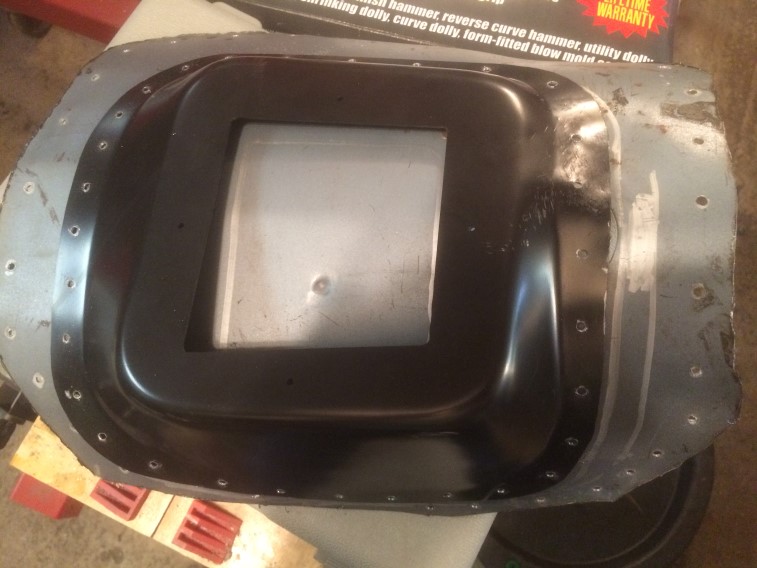
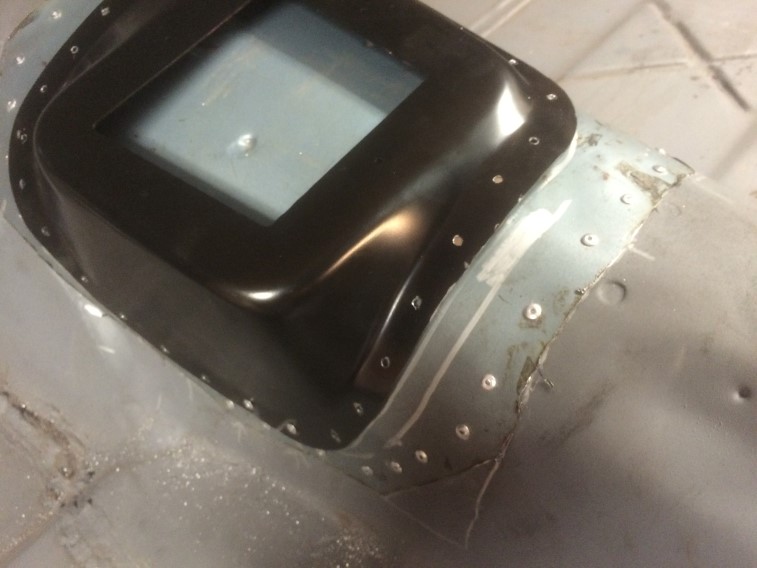
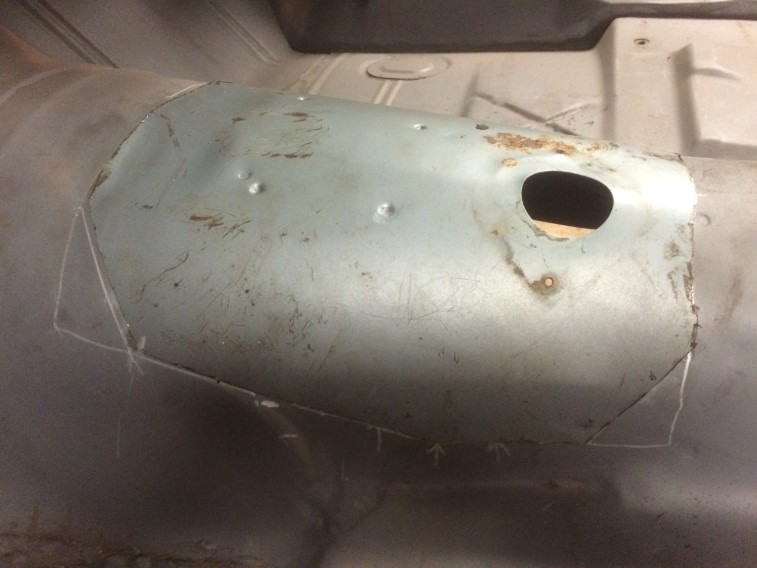
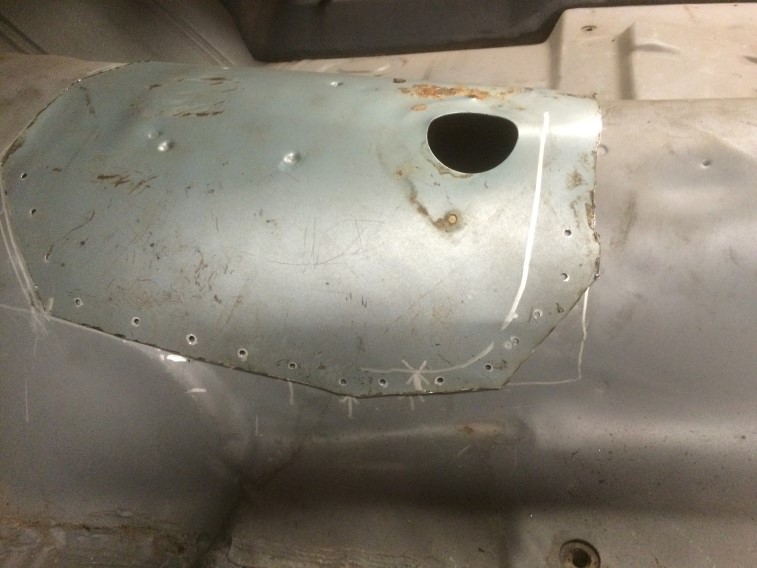
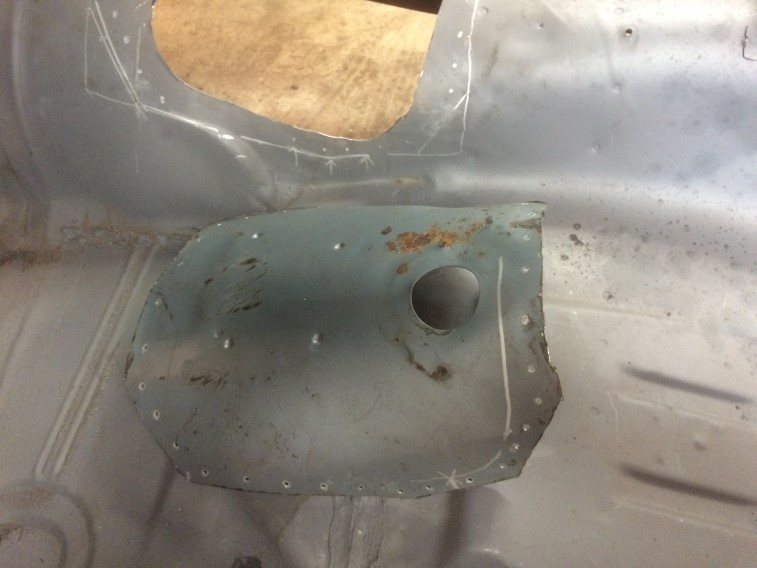
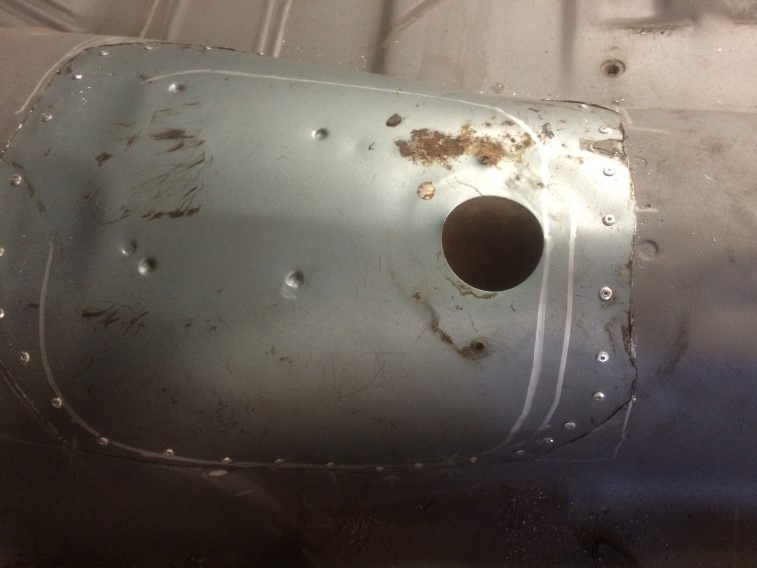
Then I was worried that I might have cut too much for the hump to rest on, so a quick trial fit:img_2300

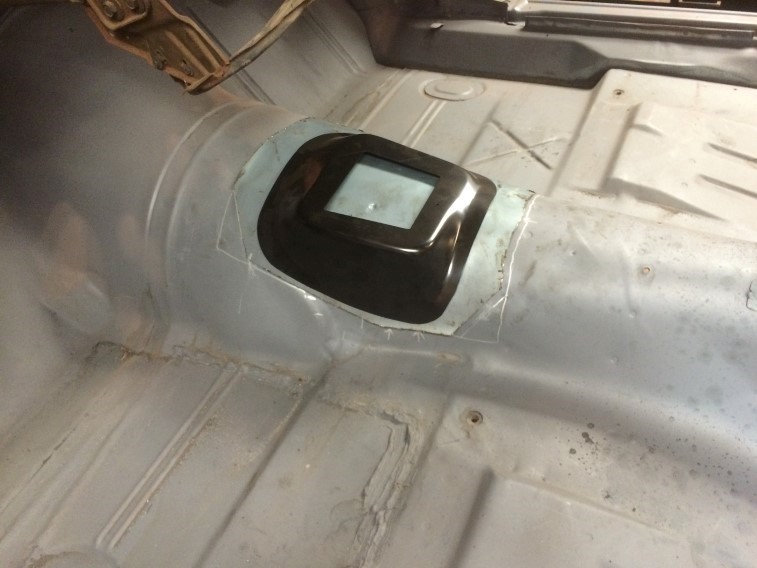
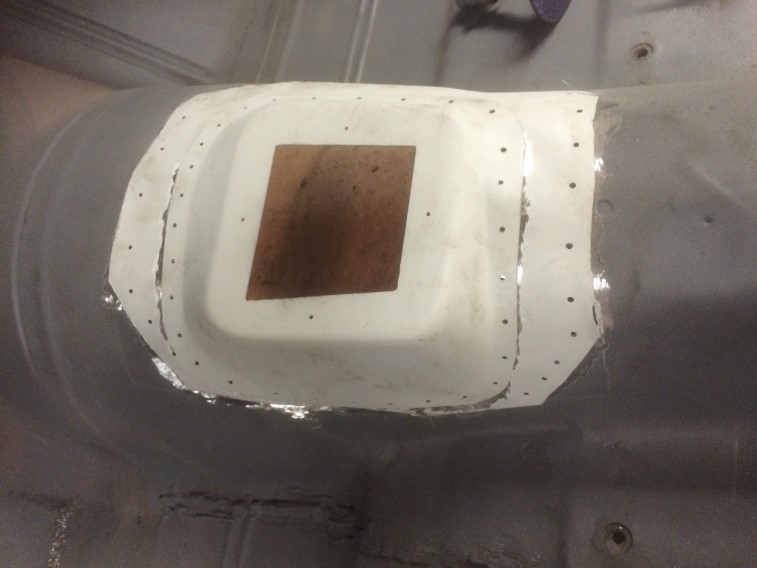
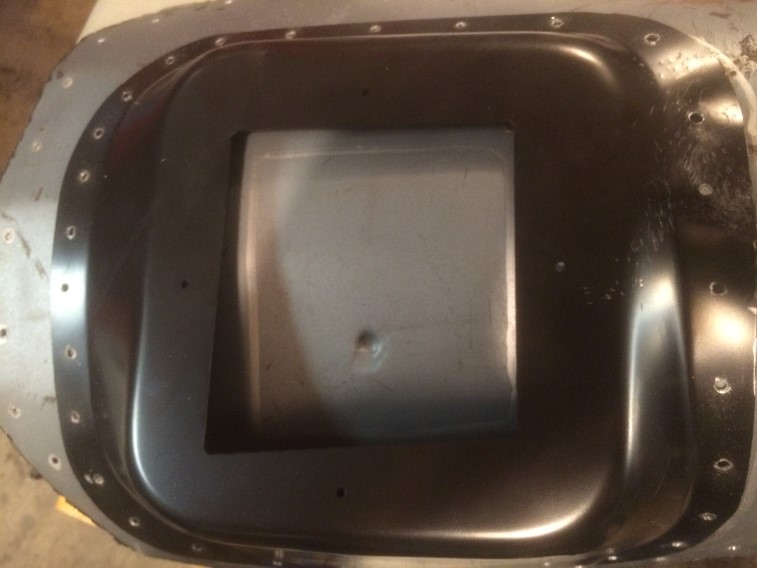
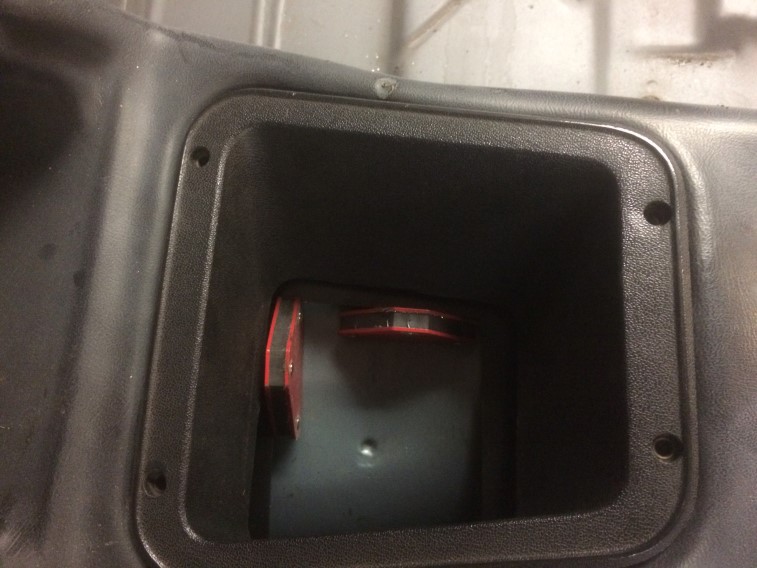
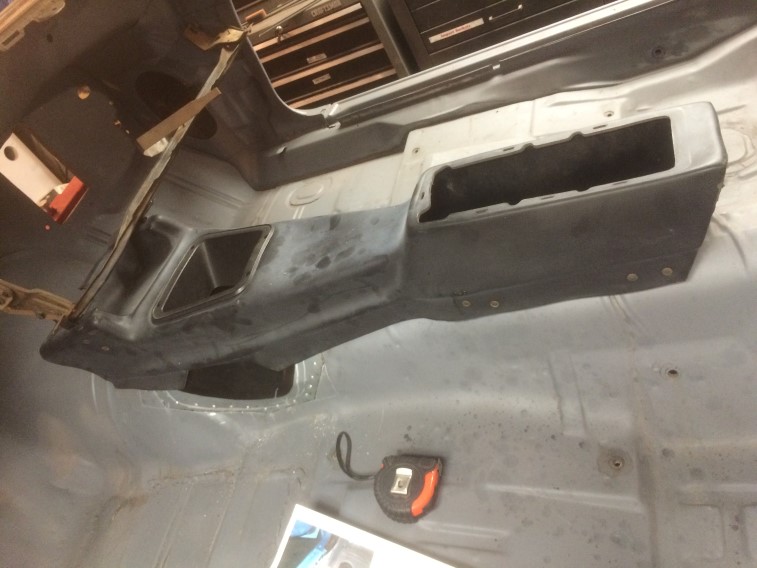
Then I had to bend and hammer the patch and floor so it was snug:img_2301

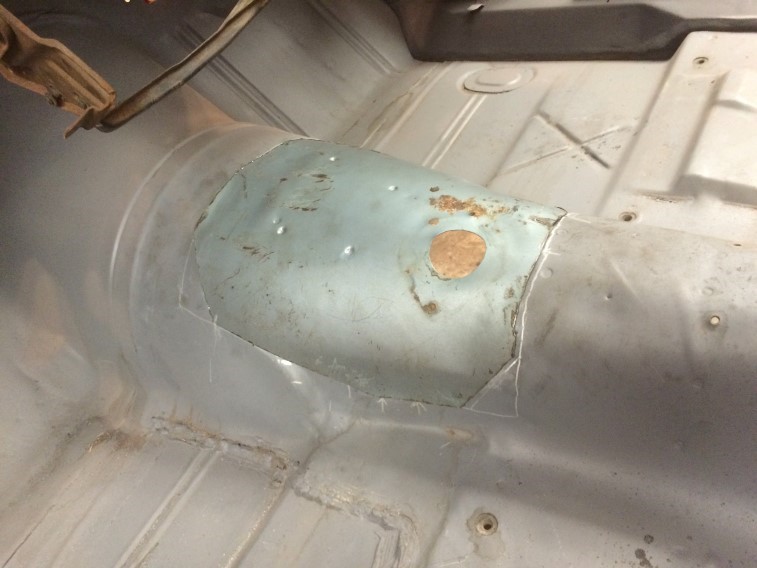
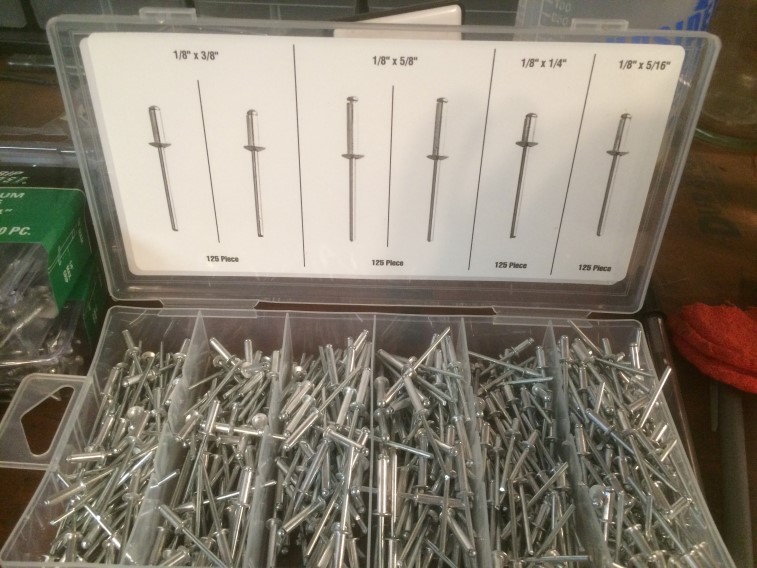
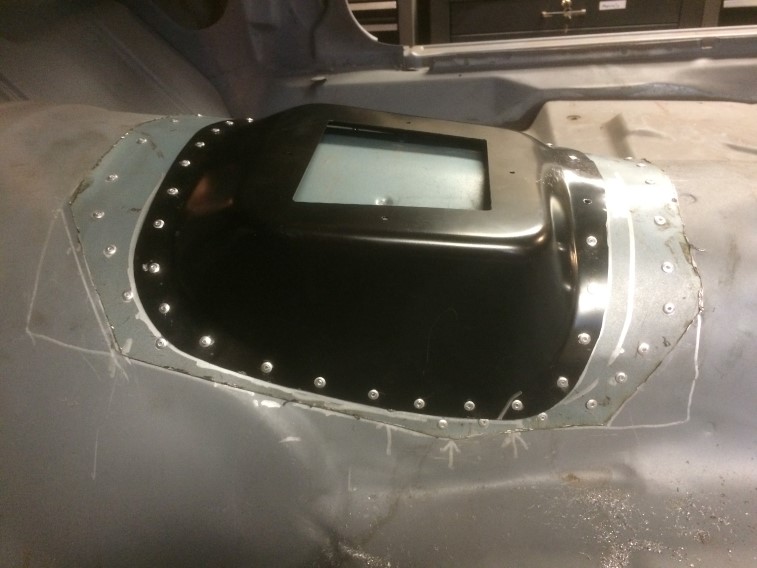
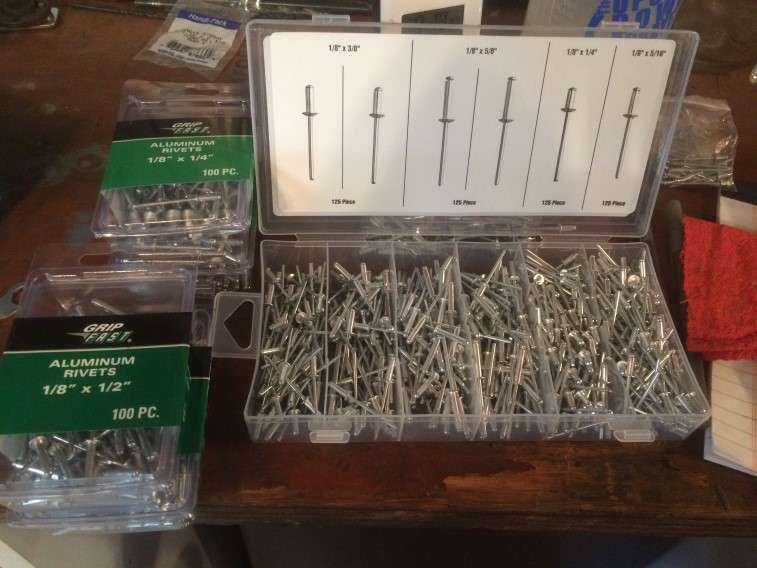
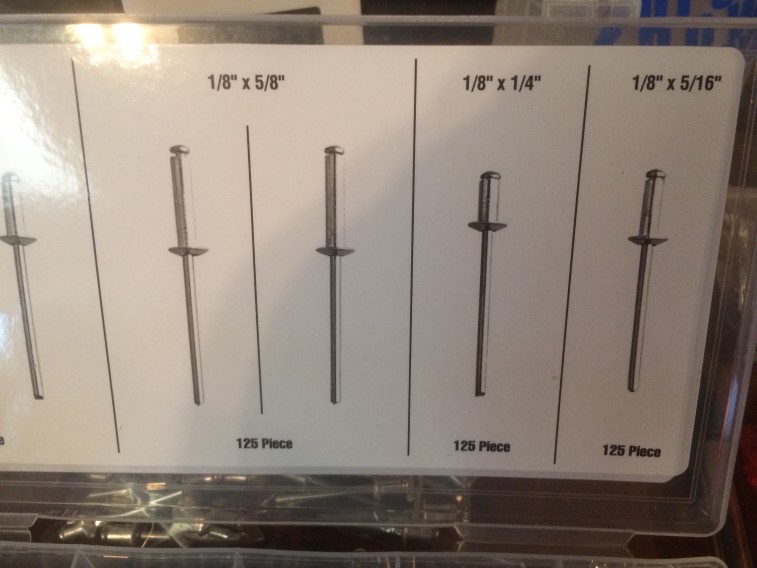
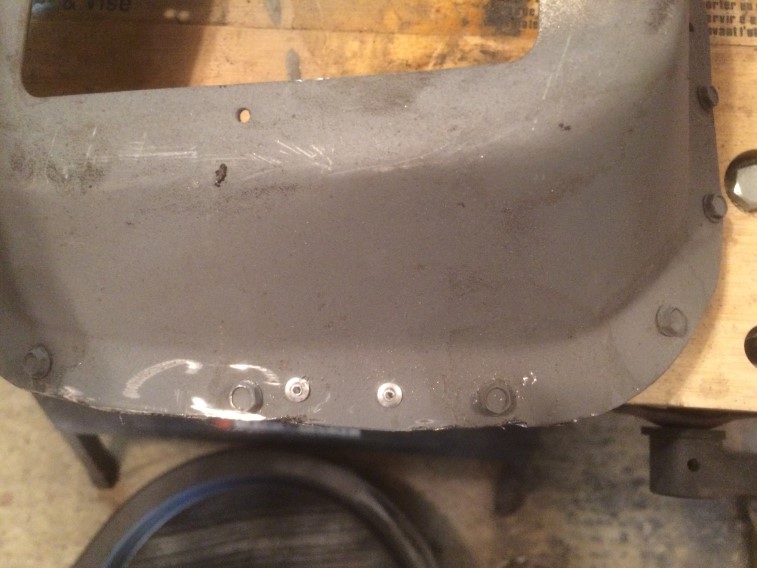
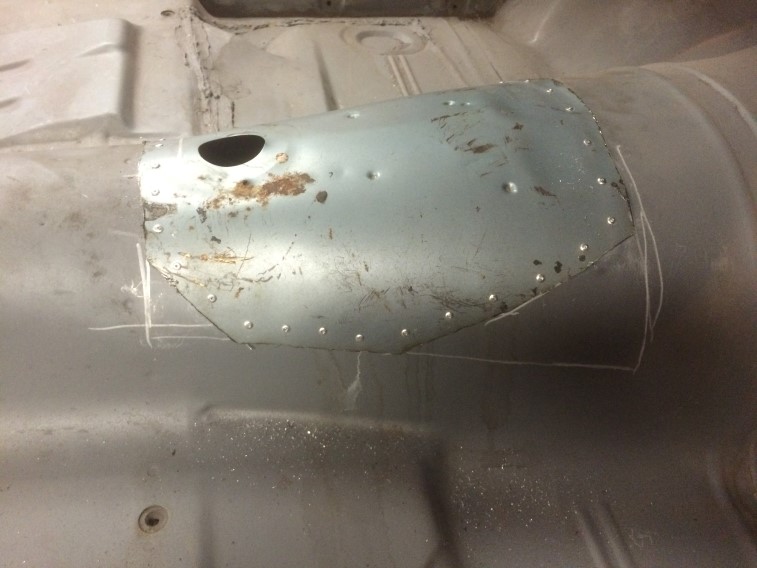
I determined that the magnets wouldn’t do the job, so the plan is to rivet it in place, then patch in the shifter hump – riveting that in then using body adhesive next Spring with the rivets to complete the job.

Now it is on to some pre-winter non-car projects, so the car work is on hold.  There won’t be a lot to do over the winter, but a little here-and-there.