10-24-2016 – Parking Brake Bracket

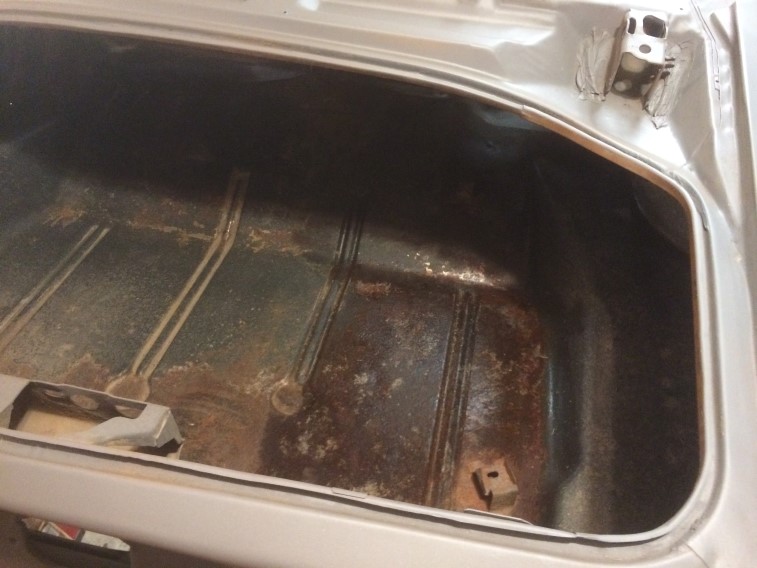
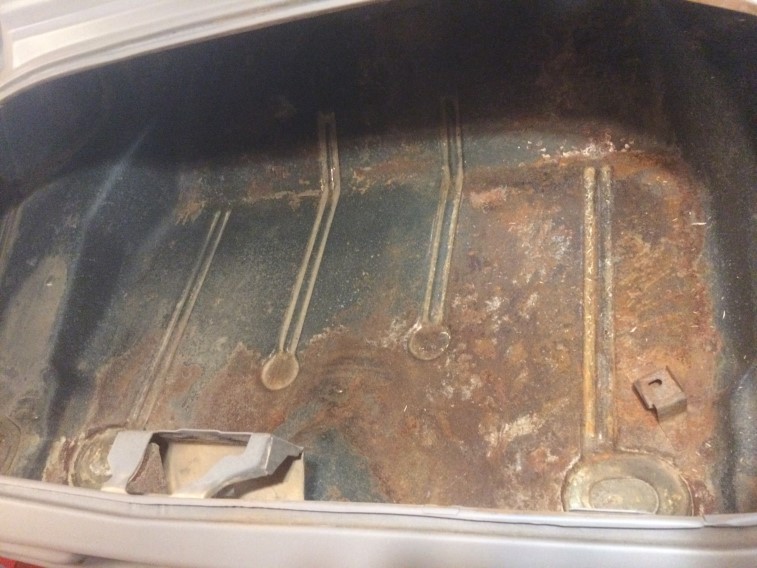
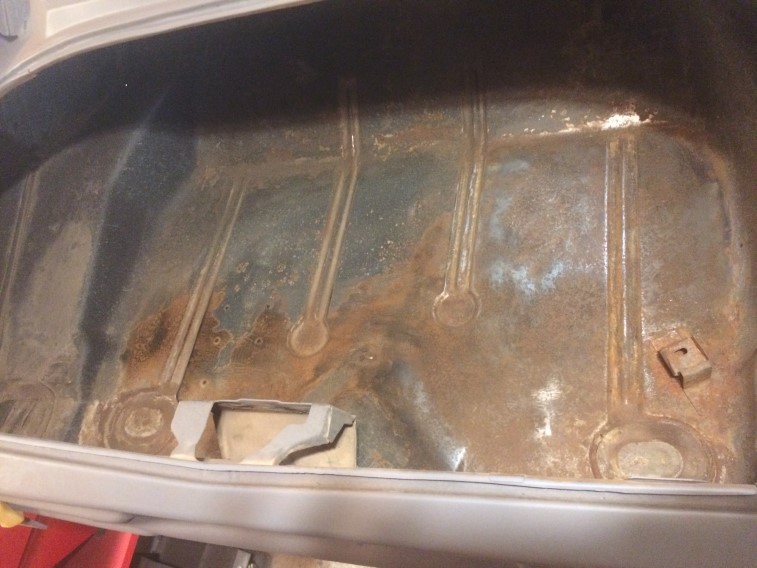
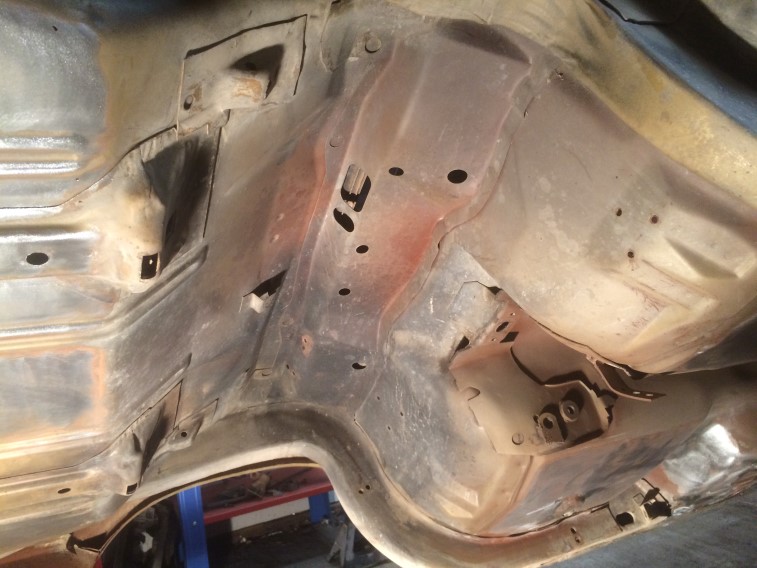
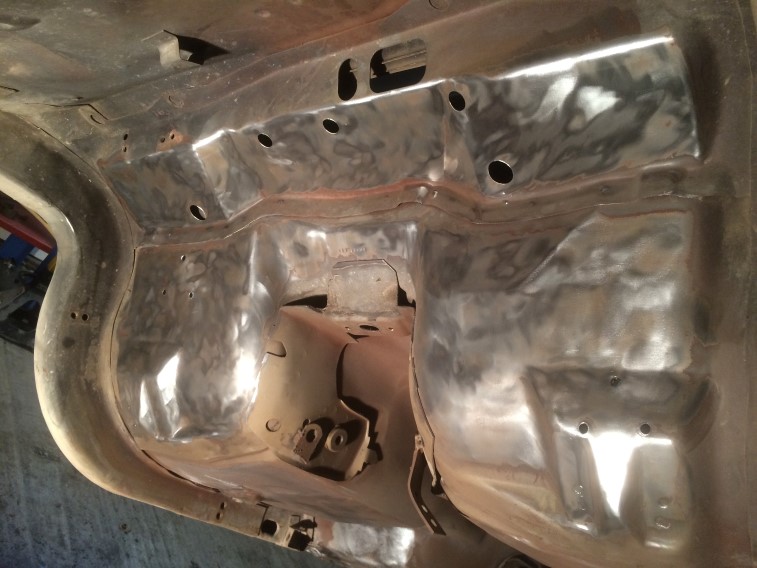
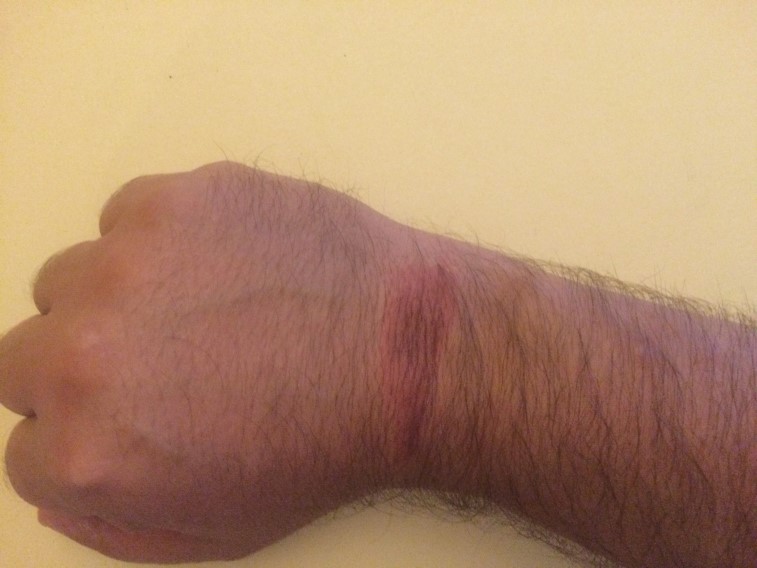
Saturday was spent wiping down the floor with wax & grease remover…  The stuff left me with a small burn – ouch!…

img_2257

Then I spent most of the morning figuring out how I was going to clamp the bracket to the floor.  Since I am using 3M panel bonding adhesive, I recalled a review where the guy suggested using magnets.  So after unsuccessfully using various welding magnets, off to Harbor Freight I went (not always have your coupons ready).  I bought a couple of 150 lb lifting capacity magnets:img_2258

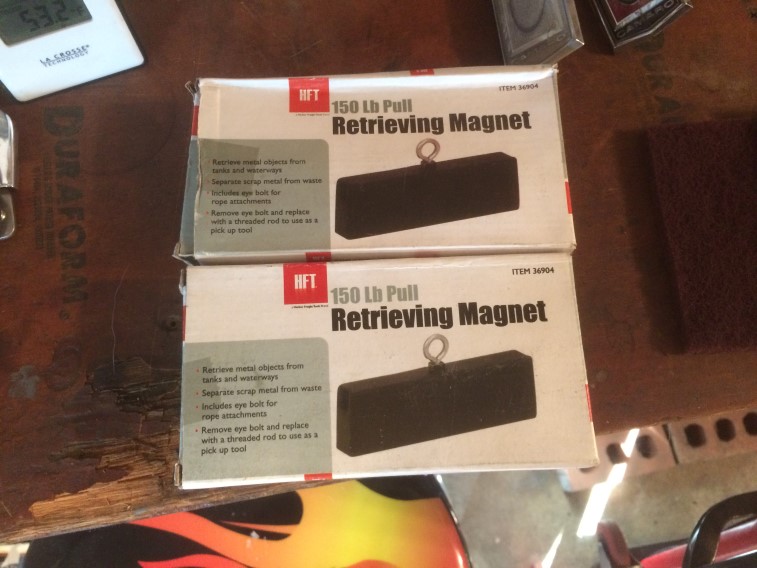
By themselves, no problem…  I wanted to try to test with something between the magnet and bracket (for the adhesive)…  So I played around a little:img_2259

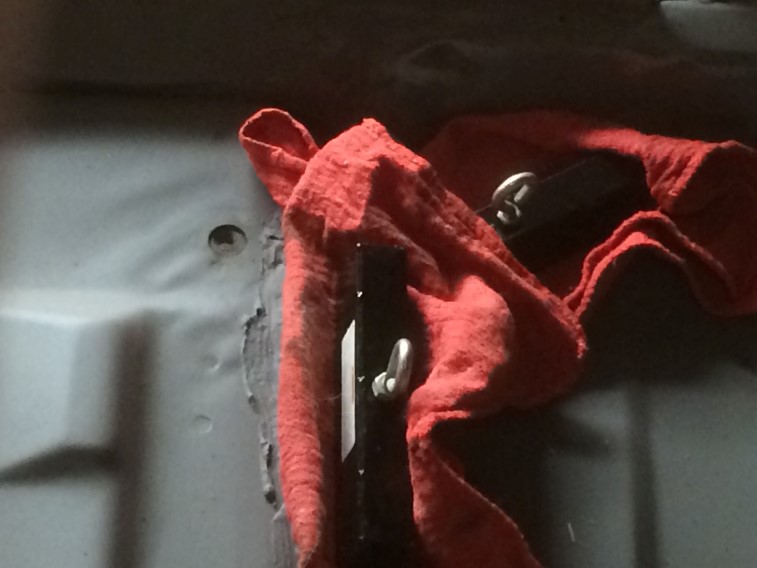
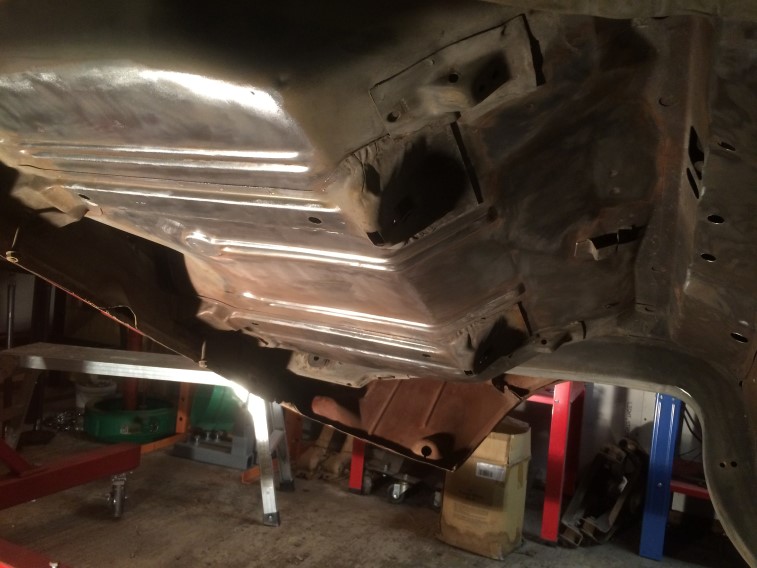
You can see part of the difficulty in that it isn’t a flat surface:img_2260

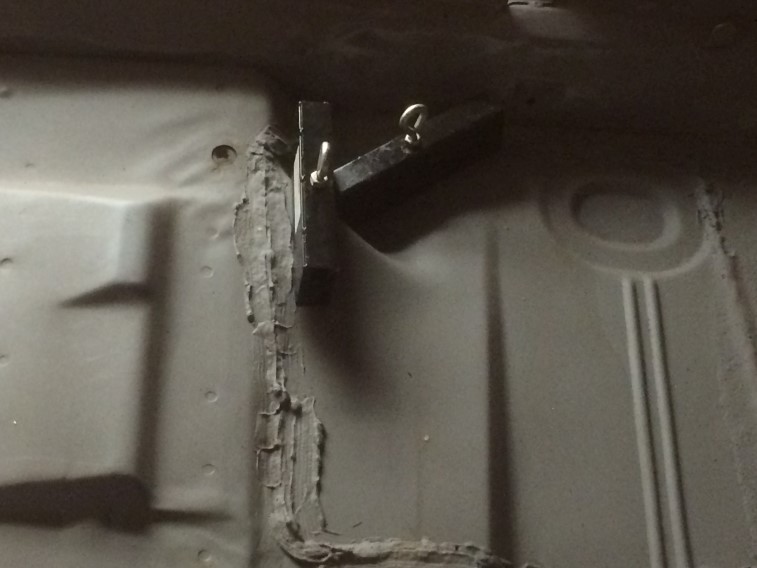
Not bad, but NOT strong either…img_2261

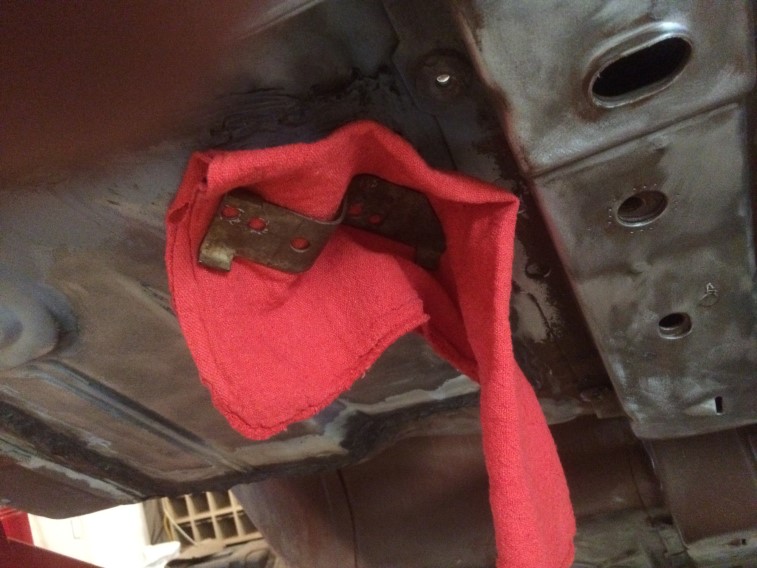
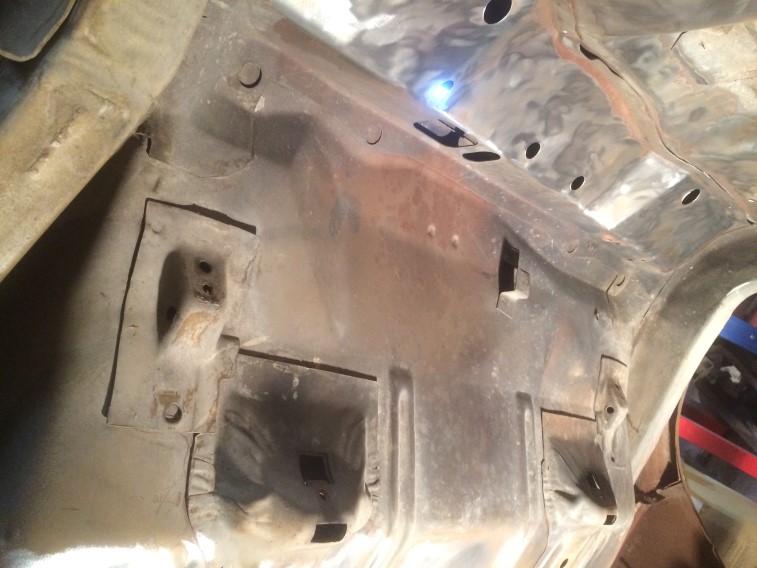
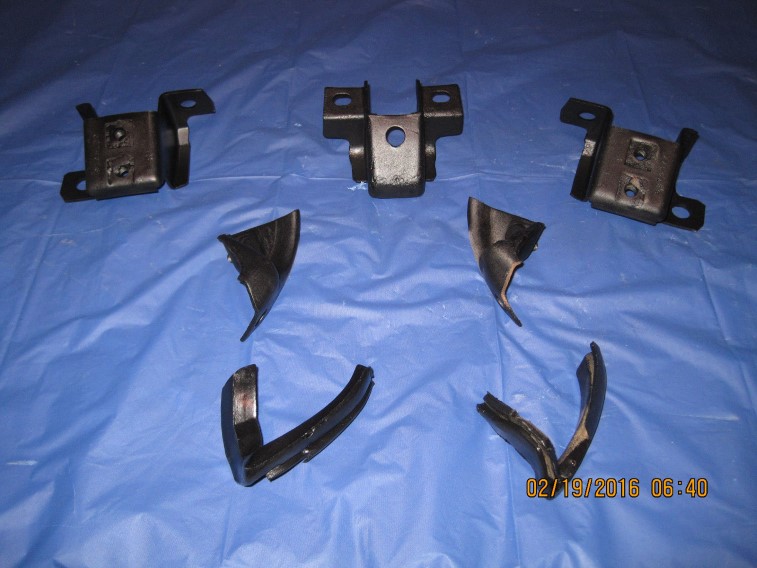
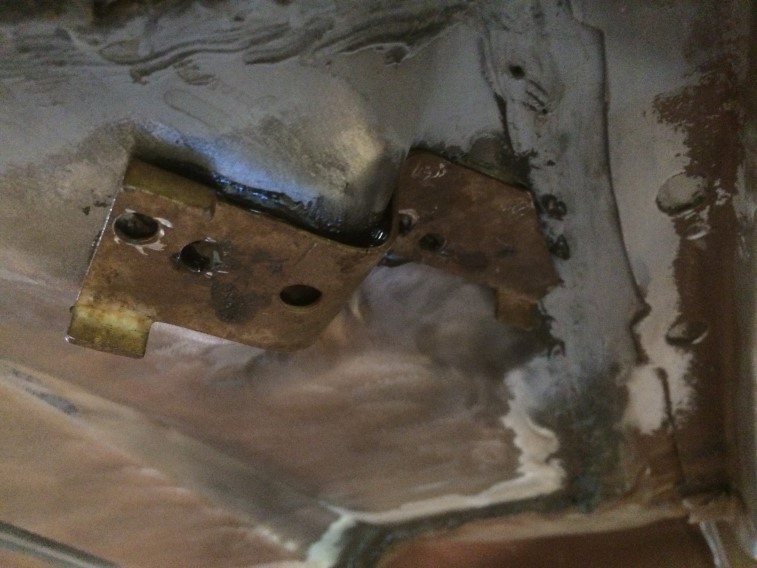
This is the bracket:img_2263

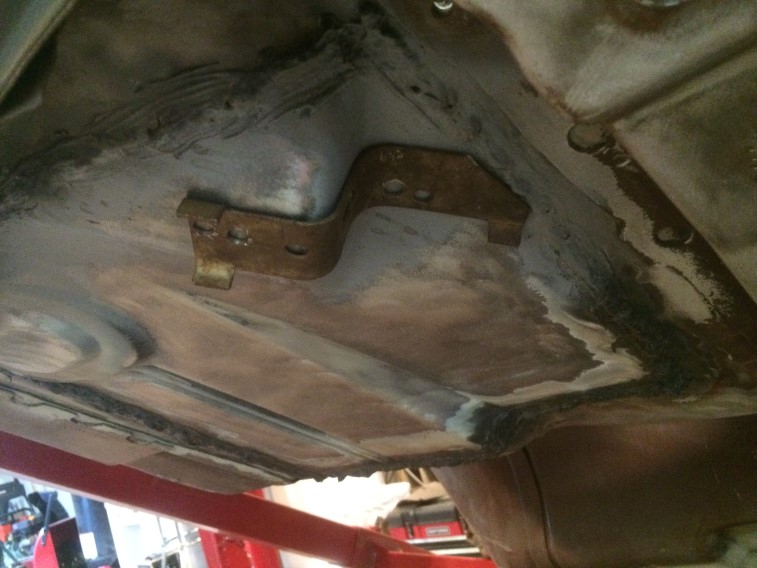
Still experimenting:img_2264 img_2265

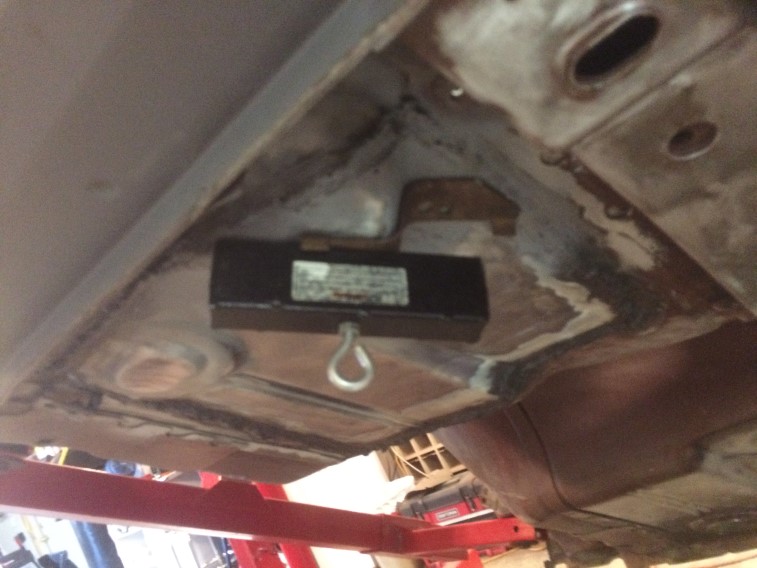
Then I figured I would cut up the rag to loose some weight:img_2266 img_2267

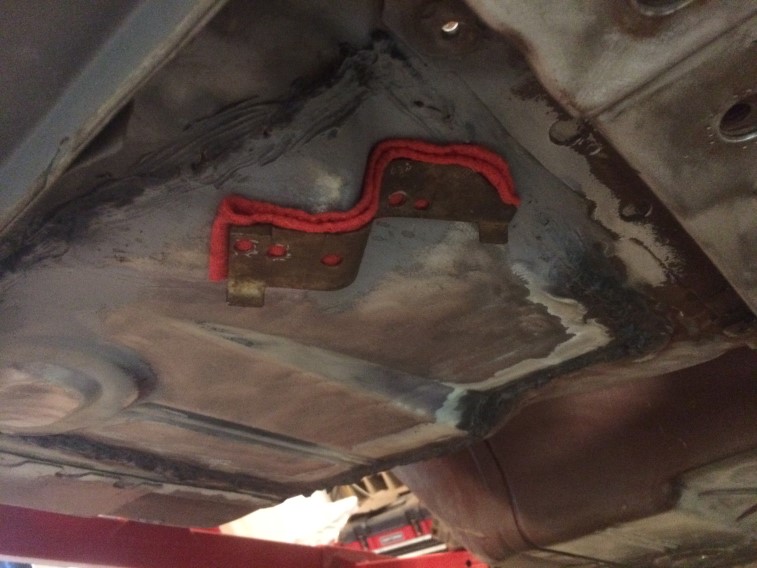
So after a lunch break, I played with some scrap metal after applying the adhesive between the 2 pieces which was fairly strong:img_2268

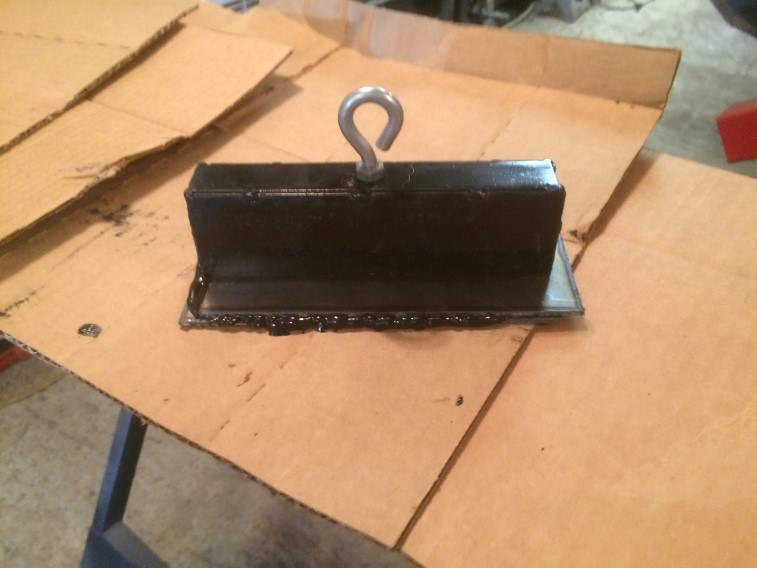
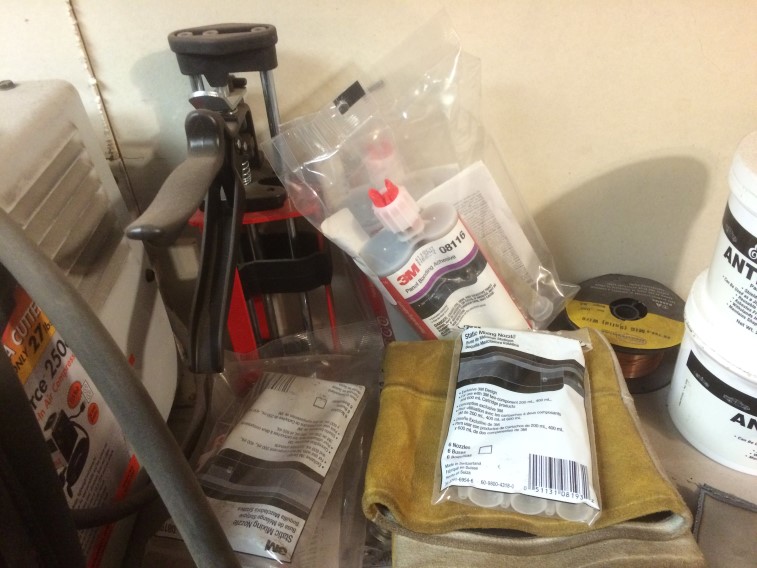
This is the adhesive gun…  They suggest leaving it and removing the tip after it is dried.  Should be able to use within 2 weeks after opening.img_2269

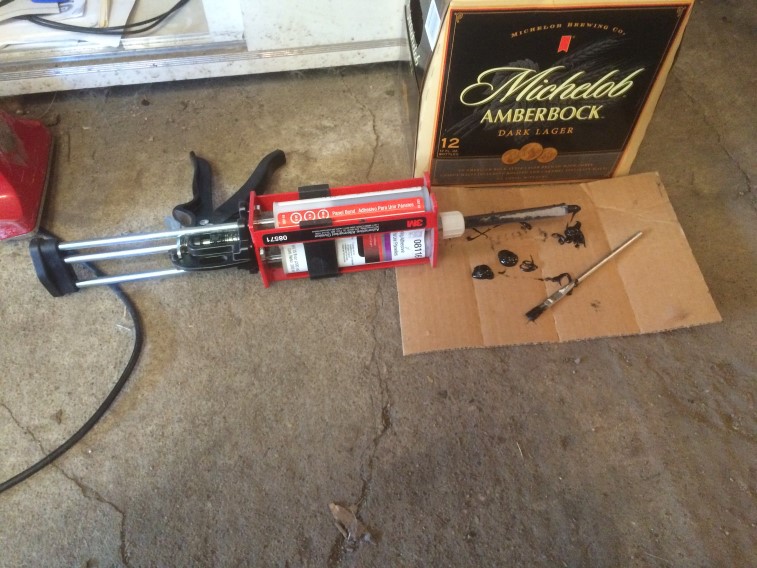
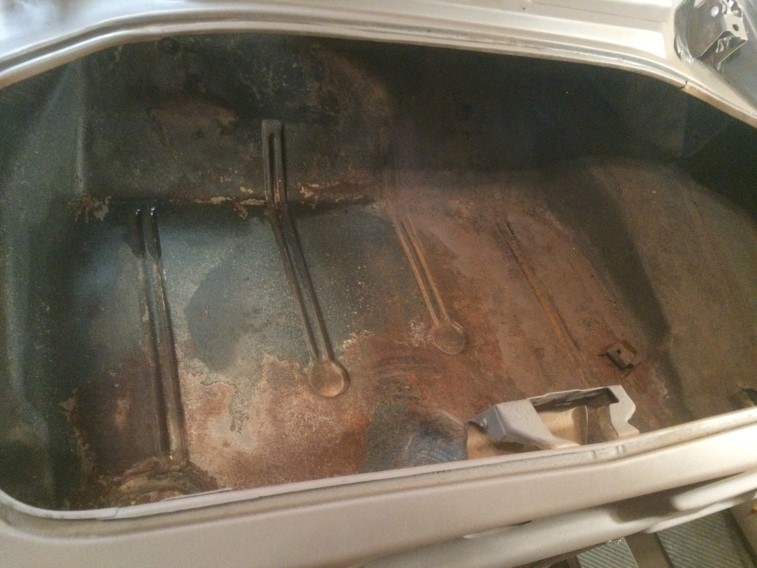
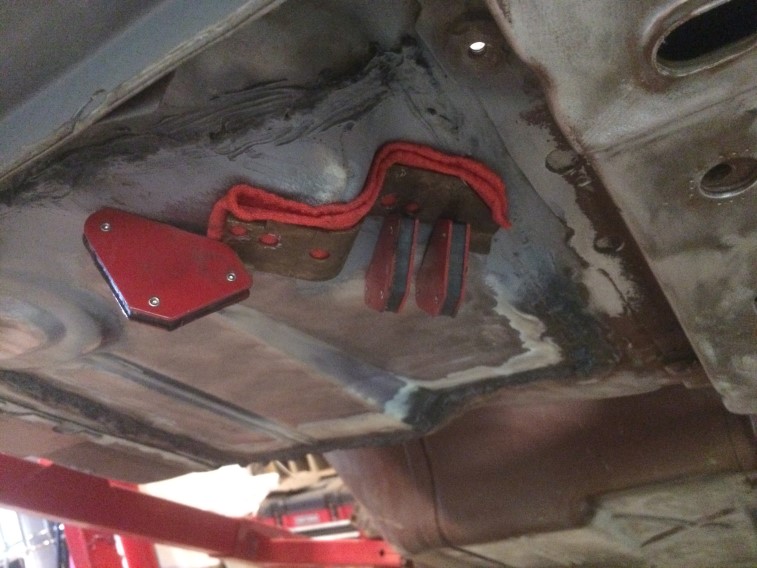
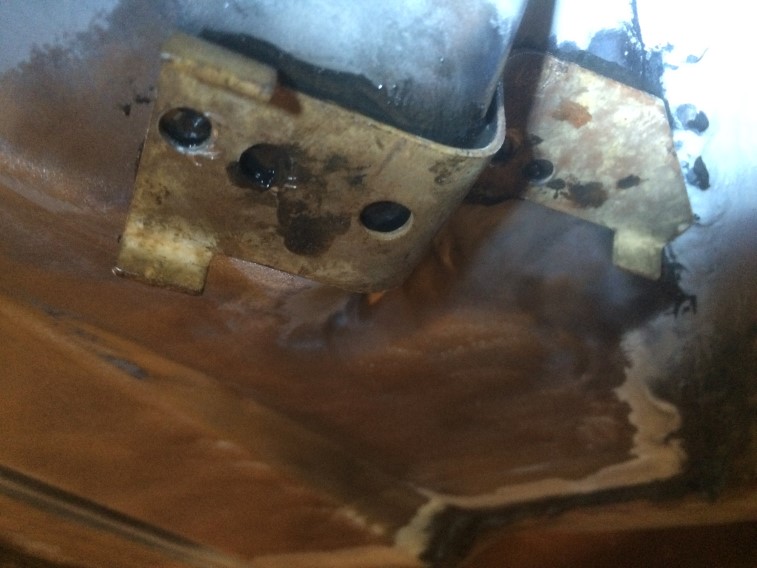
Settled on the 2 magnets on top.  After applying the adhesive:  (the holes are from when I removed it from the original floor.  There is another hold in the middle for the cable to go through which I will have to drill out).img_2272

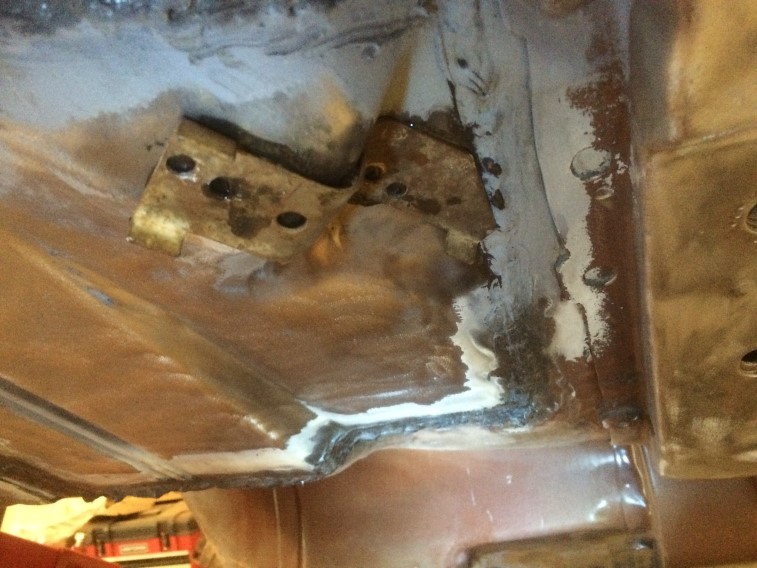
This is how much I used for those 2 small pieces.   Luckily I still have 2 more tubes of adhesive!img_2273 img_2274 img_2275

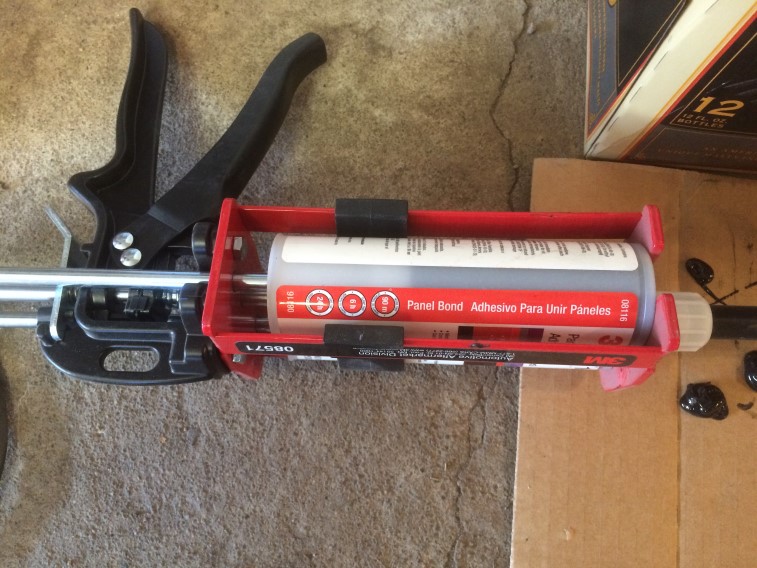
Need to leave it clamped for 6 hours and after 24 hours it should be good to go!

10-18-2018 Update (Trunk)

Did a little more with the trunk tonight.  I did get the rest of it cleaned the other night and started to strip it tonight.  I decided I am going to scuff the rest and use POR-15 Floor & Trunk kit on the trunk next Summer when I finish the bottom floor.

The rust has pitted the metal, but hasn’t rusted through so I won’t need to replace the trunk.  The drivers toe area was kind of like this and I used the same thing on that area with good results.

img_2215 img_2216 img_2217

10-16-2016 Update (Floor)

The street side of the car floor is now either stripped or scuffed (areas I couldn’t reach with stripping tools).  Next will be the inside of the trunk, then a little more body work.  I started cleaning the trunk before starting to strip\scuff it.

Rear trunk area:

img_2211

Inside trunk – left side (driver’s side) cleaned.  There is a little surface rust, but doesn’t appear to be too bad – will know more one it is stripped.img_2212

Went to Harbor Freight for some supplies – rivets.img_2213

Also bought some more 3M body adhesive for a couple of non-structural areas instead on welding.img_2214

Will be taking the week after this (the last full week in October) off to work on the car – will see how far I get.  Ideally I would get out there a little bit during this next week – will see!

10-02-2016 Update

Not a lot to report this weekend – although I am thinking of going another direction with my tires.  I have some nice after market rims I was going to use, but now am thinking of going with some 14×7 Rally wheels.  I have three that I took in to remove the old tires off of and it turns out one of the three is actually a 14×6 rim.  One of the other two 14x7s is slightly bent along the rim which I will have to look into if it can be and is worth repairing.  There appears to be plenty others available.  They still need the center caps and rings that snap on to be complete.

img_2183

Also been taking inventory and selling off some of the excess parts I know I won’t be using.

Doug Bratton's Personal Blog