
I saw the oil in the air compressor was a little low, so today I changed the oil in the air compressor. Had to run to Lowes to get some oil. Then made another trip to Menards and Lowes to get some trouble lights – decided one was not enough! I also worked on my welding helmet. When I bought it, I added a magnifying lens which really messed with me when I was welding on the car since I was out of range for the lens… So I took the lens out and that made it much better! Tomorrow will be back to grinding down some welds and if time permits do some more welding! Thanks for visiting and have a Happy New Year!
Monthly Archives: December 2012
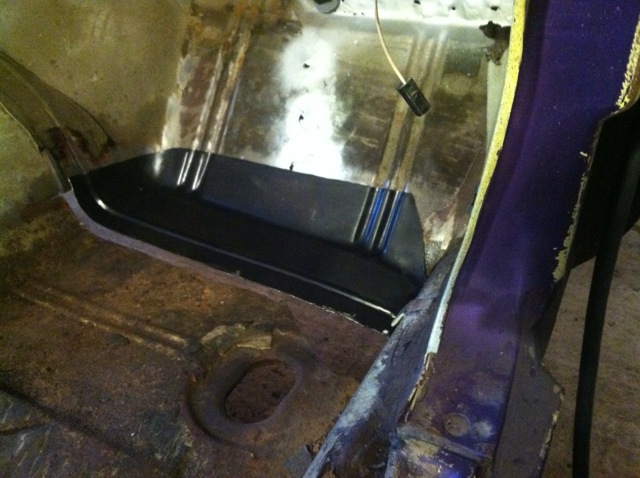
Toe Boards Dec 28, 2012
Started welding to fill-in some of the tears and holes from removing the firewall brackets:
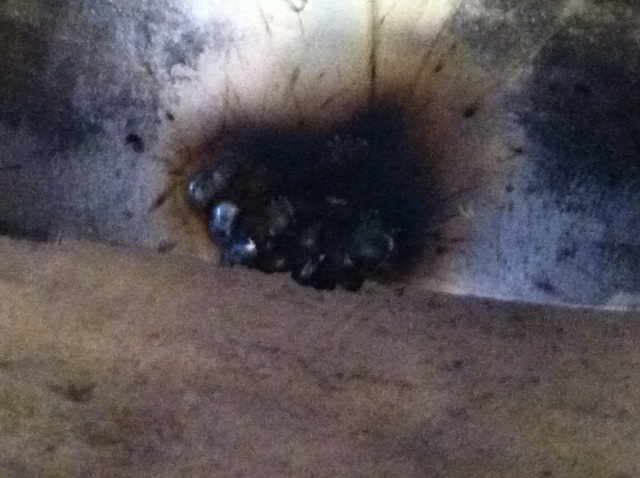
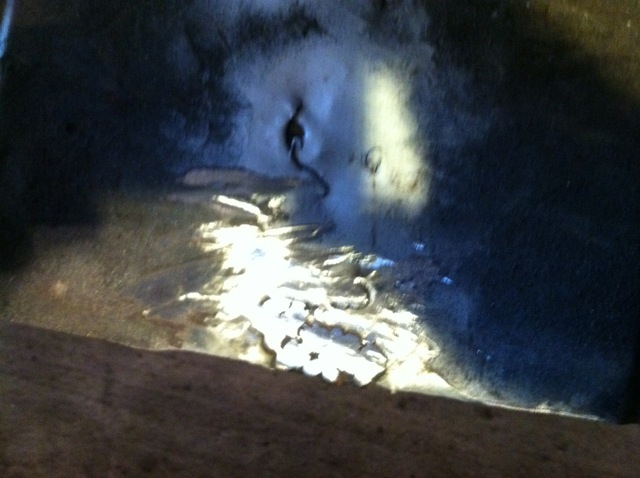
I am getting some burn-through and pinholes. After doing some googling, looks like I need to ensure both sides of the metal are clean and got some other tips to try. These are some links that I found helpful:
http://www.chevelles.com/forums/showthread.php?t=130848
http://www.redpowermagazine.com/forums/index.php?showtopic=58063
http://autobodystore.com/forum/showthread.php?2947-welding-small-holes
Part of the differences between what I had practiced on and the car is the metal I am welding is in an awkward location to access and the back side (engine side) wasn’t cleaned and has some contaminants.
So something that I didn’t think would take so long is once again taking longer than I had hoped for!
Toe Boards Dec 27, 2012
Went out to the garage and worked a bit more on the toe boards… Decided to trial fit one of the firewall brackets to help me judge the best fit for the toe board patch:
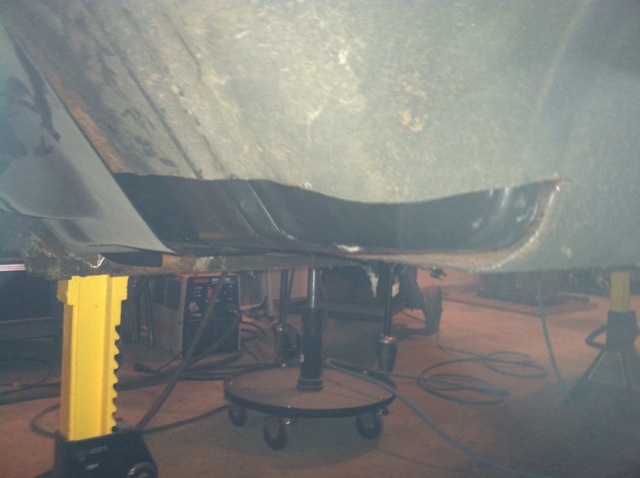
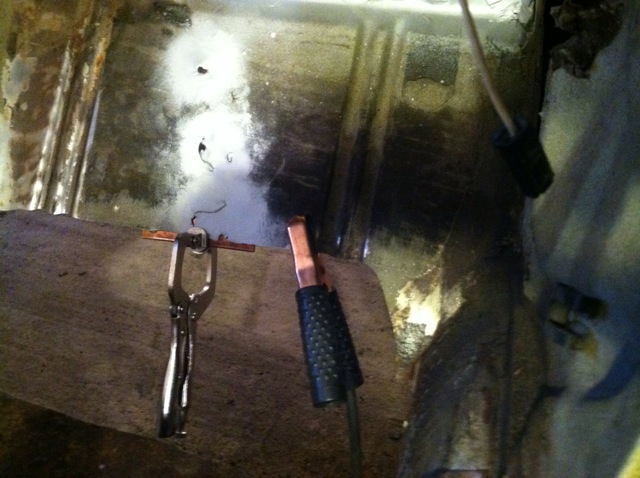
Also started practicing some welding to fill in the holes in the toe boards before adding the patch panel. The sheet metal going in is of the same gauge as what is in there, so I grabbed some scrap to play with and also used a copper backing as you will see:
Side that had copper plate backing:
Toe Boards Dec 16, 2012
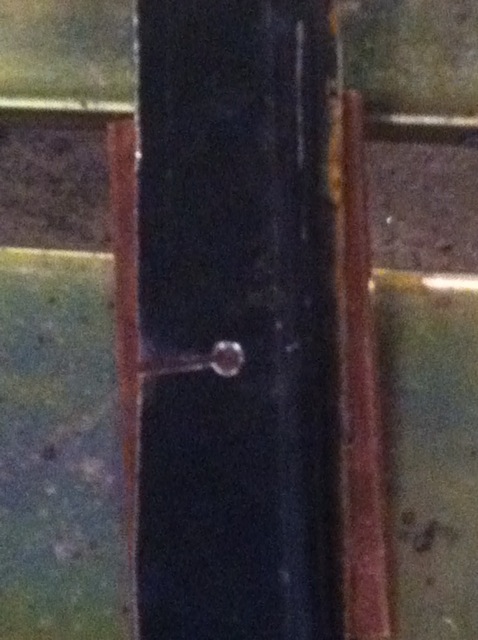
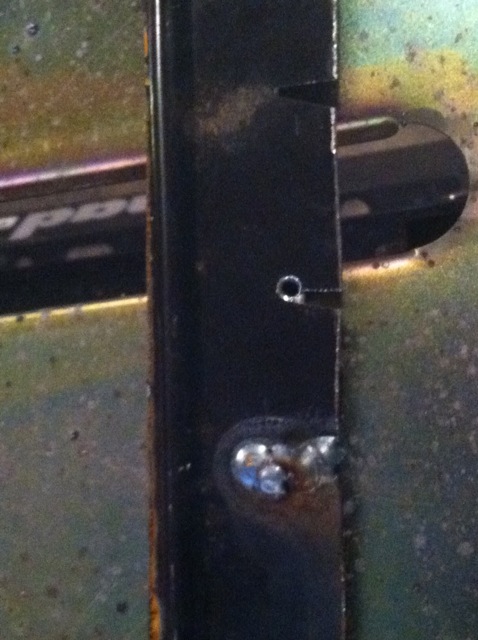
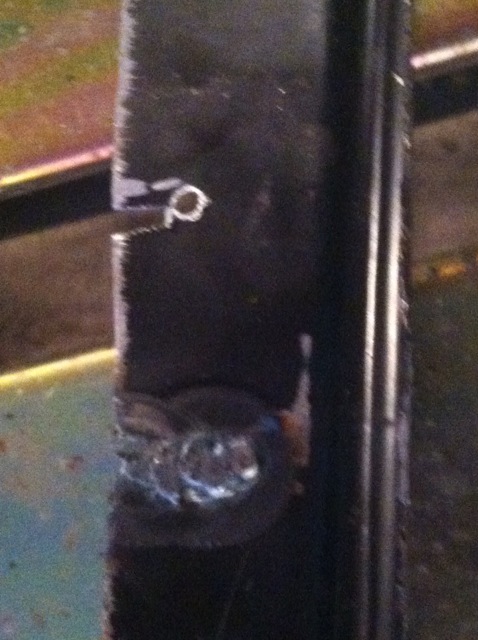
When removing the firewall brackets, there were some tears and holes from the removal process:

I wanted to take advantage of having the hole for accessing to smooth things out. There was a tear right where I need to cut which I wanted to repair:

So – I went to Harbor Freight to buy a hammer and dolly kit to use rather than ordering one from the internet and waiting. I still might do so to get a higher quality one later, but this met my needs for now:

After using the hammer and dolly to get it somewhat flat again:


Then I ground around what I will be welding with a wire wheel brush:

Used some Eastwood Metal Wash to clean the area and sprayed with some U-Pol weld-thru primer. It was roughly 30 degrees outside, so I kept the garage thermostat set to 70 all morning, then turned off the heater and sprayed two coats 20-30 minutes apart. I used a fan to help air out the fumes and after an hour or so, turned the heater back on and all was well!

I also changed the wire in my welder from .030 (from the jig) to .023 for the car sheet metal. I will brush-up on some spare metal and then weld-up the holes. Then I should be able to do a final cut and weld in the toe-board patch! Might be able to get some more done throughout this next week starting on Wednesday.
Dec 11, 2012
No updates yet – check back on Monday as I should be able to work on the camaro this weekend!
Toe Boards Dec 6, 2012
Got a little more done Thursday evening. I don’t know what this goop was – if it were seam sealer or something else, but there was goop in the grooves that needed to be removed:

So I used my angle grinder with a wire wheel attached:

and it took that goop right off. NOTE: Make sure your wearing a hat and eye protection as this junk flies everywhere!

I removed some seam sealer from the side so I could see what I needed to line up against for proper fitment:

Checked for better fitment again:

Cleaned up the edges a little more:

Now for some more clean-up, final cutting, and to weld it in place… I need to change the wire in my welder from the thicker .030 I used in the jig to something more suitable to use on the sheet metal.
Toe Boards Dec 5, 2012
Well, I trimmed off the remaining curved lip on my patch panel…
Marked it with tape for a straight line…

Didn’t need to remove much. What was left over minus the width of the cut-off disc:


I am really pleased with how it looks. The left side still wants to pop-up so I might have to get a spare hand (to hold it down) when marking what to trim from the car. I’m not planning to do any more trimming on the patch panel. Just some final cuts from the car and then prepping the metal and welding it in… Then there is the other side!
Toe Boards Dec 4, 2012
This has been bugging me for a while now – I have been wanting to trim the top lip off of my new patch piece, but have been struggling with how much I could trim. Placing it in the car was problematic as the lip was preventing it from being flush and kept it raised and wouldn’t sit in there straight:

Then the light went on and I placed the piece that I had cut out of the car and used that as a reference:

I will be able to trim that lip off and have room to spare! So after I trim the lip, I will position the new piece and trim the opening in the car around what is left. Then I will be able to butt-weld it in place and can start on the other side. I will also be able to place the firewall bracket to use as a rough guide as well!
Toe Boards Dec 2, 2012
Used the air hammer to remove some of the floor-pan and did some grinding of what was left. I was happy I went with the new air hammer as the feathered trigger really helped me to control it when working by the rocker:

Checking for fit:

After a little more trimming:

There is a curved lip that I still need to trim around the edges:


After another round of trimming (still need to trim the top part – Doesn’t look like I have much to work with on the right top portion:

See the lines for a rough estimate:

