3-25-2017 – Inner Fender

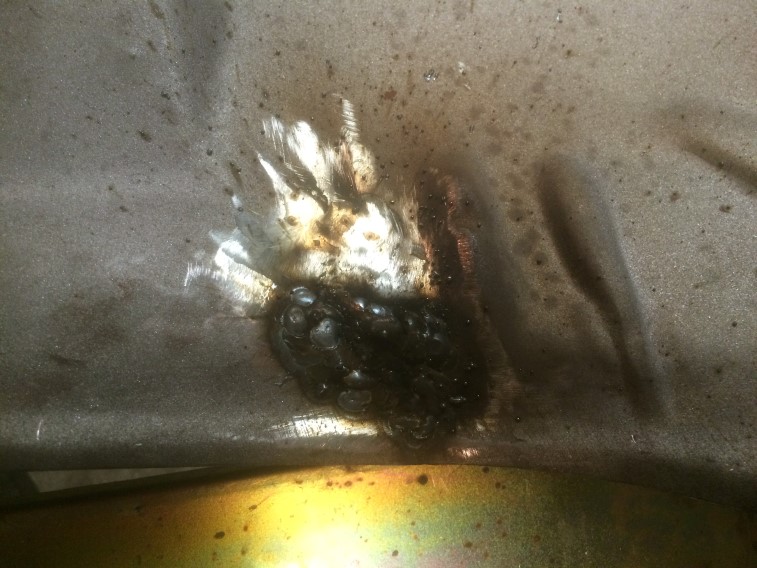
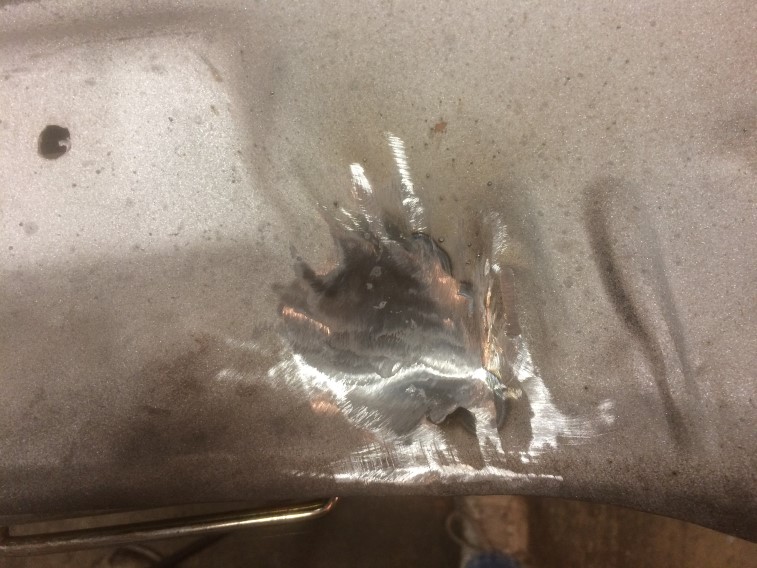
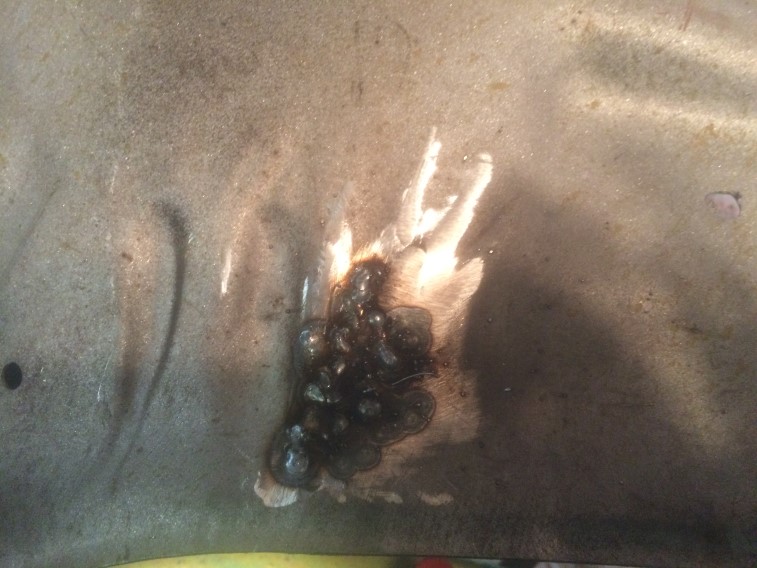
After a bit of cussing, I have it pretty much welded-up again.  The issue was even though the hole was small, the surrounding metal was pretty thin and kept enlarging the hole as I welded it up.  A lot of short blasts and cooling off with air.  Hope to grind it down tomorrow, but will not be as picky about how smooth I get it and will coat with some evercoat to seal it up.  I used my copper backing plate which considerably helped…

Hope to sand it down tomorrow,..

Also need to replace my water trap in my air line as I detected a leak in it today – more cursing…  🙁 

3-19-2017 – Inner Fender

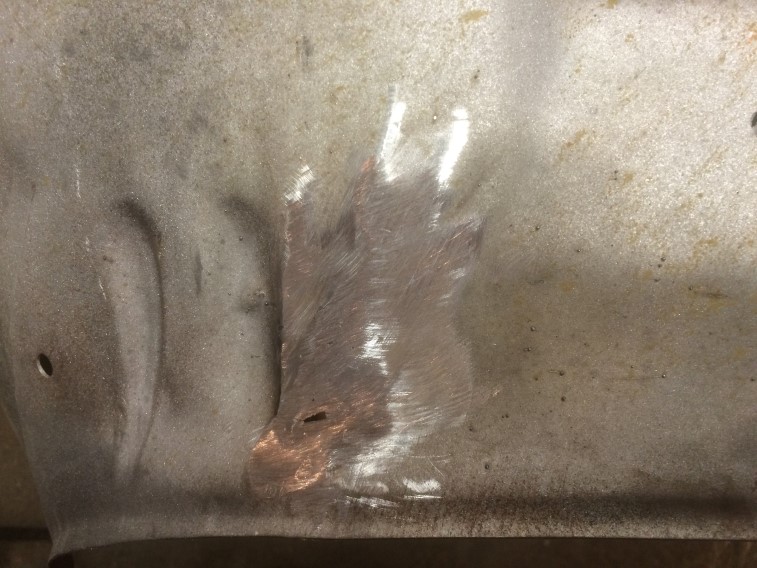
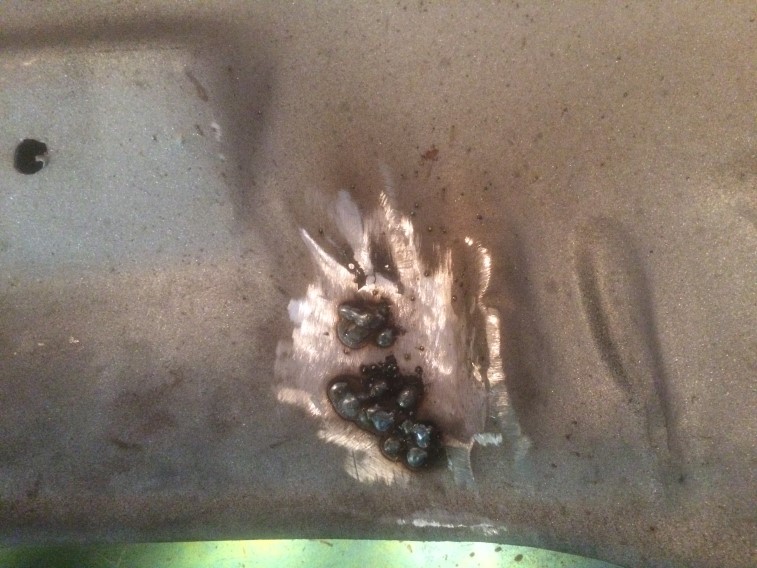
Broke out the welder today – haven’t used it in a year.  Was going to find some scrap metal to practice on first, but couldn’t find the right thickness, so dove right in to the inner fenders, touching-up a couple of spots.  Not a single burn-through, so I consider it a success!  Next is to re-sand them and hopefully there won’t be any more spots needing touched-up – it gets difficult to spot the areas needing touched-up the more you weld.

Inside:

Outside:

3-18-2017 – Inner Fender

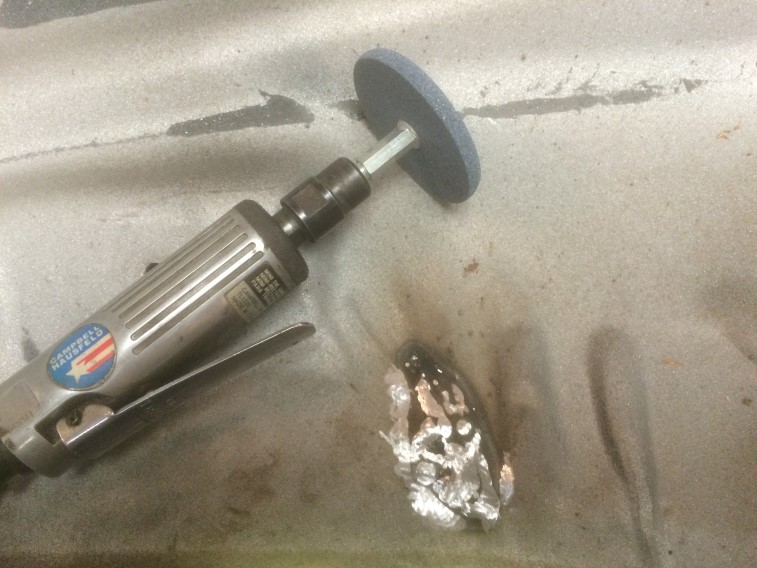
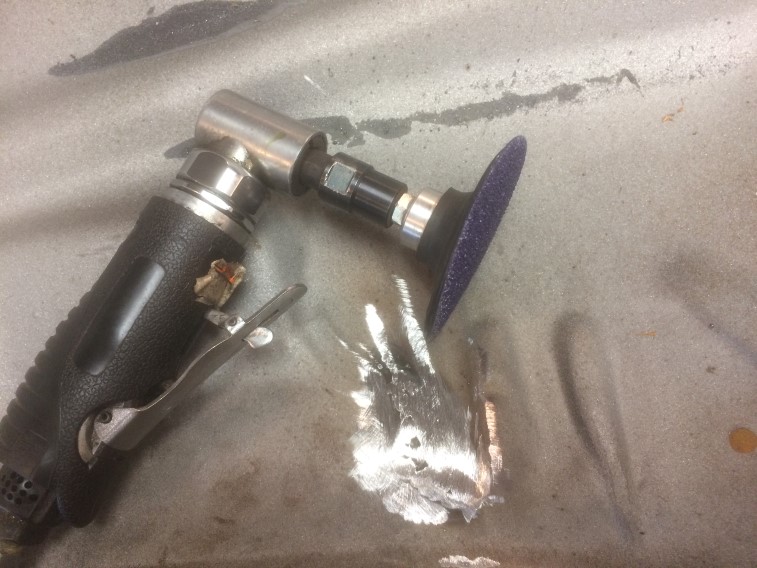
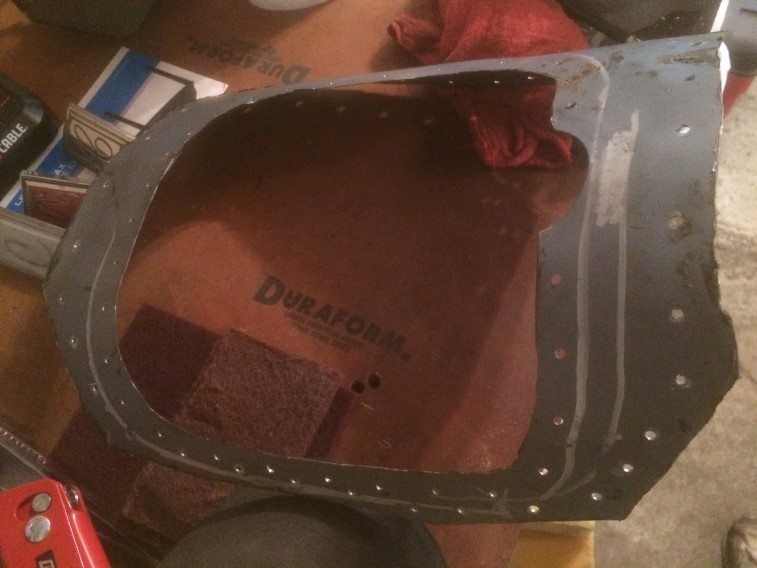
After about a year, I pulled out the inner fender that had a small crack\tear in it that I was welding up.  Was able to grind down the welds – there are still a couple of areas I want to touch-up with some welds before I can put them to rest.

Outside where I left off:

Grinding with the stone:

36-grit:

80 grit – you can see some of the areas I want to touch-up to make smooth:

Insdie where I had left off:

This is the grinder I initially used:

36-grit:

80 grit – also has a couple of spots I will touch-up.

Hope to get some more time in tomorrow.

3-11-2017 – 4-speed shifter hump

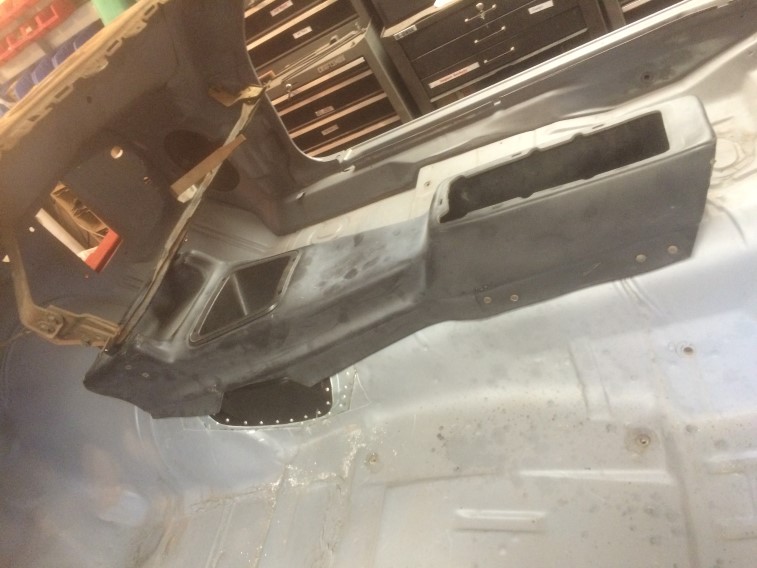
Doing some final confirmation of my measurements before cutting the hole tomorrow.  I think I am as ready as I can be…  Won’t be doing the transmission until 2019 and want the floor to be done before that.  The goal for 2017 is to have the bottom of the car complete so I can work on the suspension next year – I attached the console to all of the mounting points and looks to be spot-on:

Tomorrow I will be cutting this out – I will be using 3M bonding adhesive soon along with the rivets to ensure I can get the placement I want.

3-4-2017 – 1973 Camaro RS Braces

ok – so I already have a complete set of these braces, but the long fender bars are NOS.  I was able to obtain another set which all of the pieces are used OEM which is what I will mount on the car keeping my NOS bars.  This is the first set I have: https://dougbratton.info/blog/2015/12/1973-camaro-rs-braces/

Here is the new set I just obtained – they were required on the 1973 RS Camaro due to stronger government rules: