I’m only able to get out to work on the car a few hours per day. Sunday, I started to make the first pass of removing the sealant from the A/C box using a scraper & heat gun.
Before:
After heat gun – initial pass:
I did make some progress:
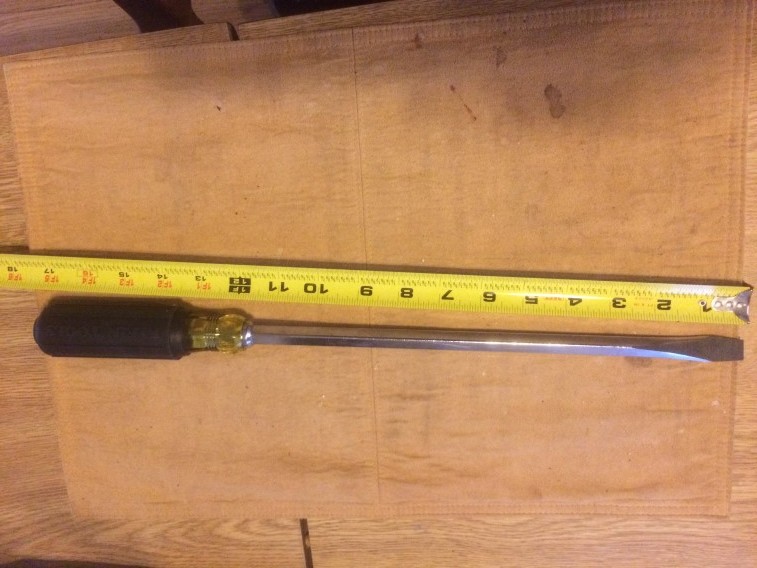
Ordered a larger screw driver for the hood bolts on the cowl area. They are about 3/4″ and this screw driver’s tip is 1/2″ – so I am hoping to make a dent in that Wednesday and see how it works!
Doubt I will get out to work on the car tomorrow as I will need to roof rake and shovel the snow from today’s storm… Hopefully I can get out there on Wednesday!
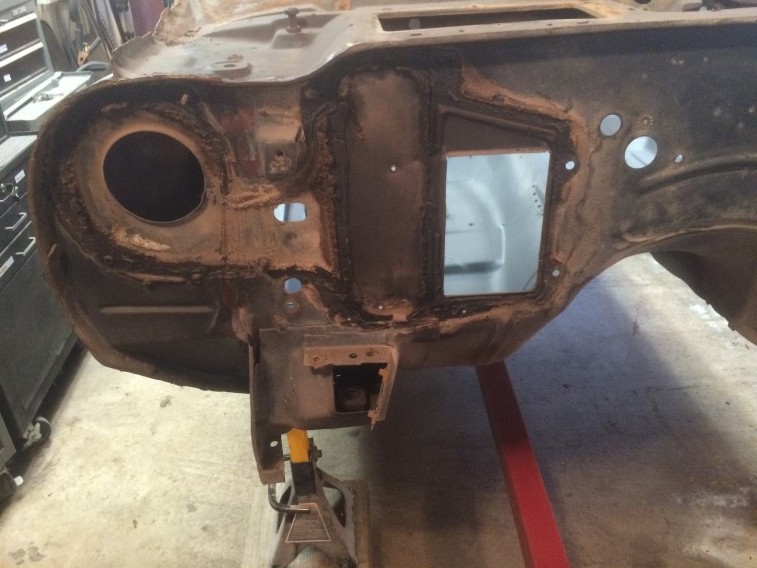
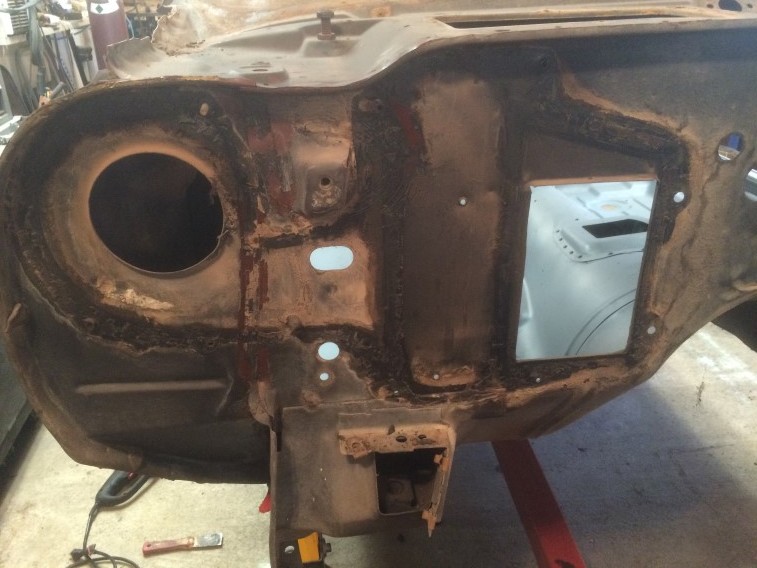
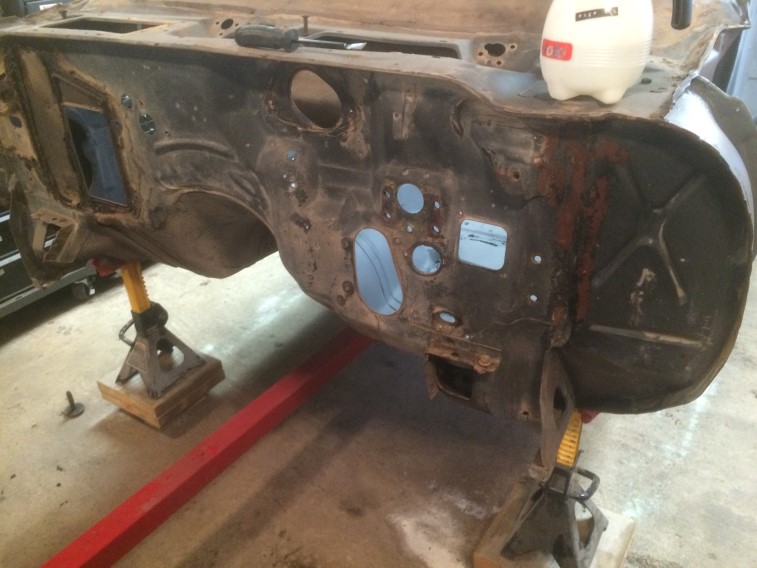
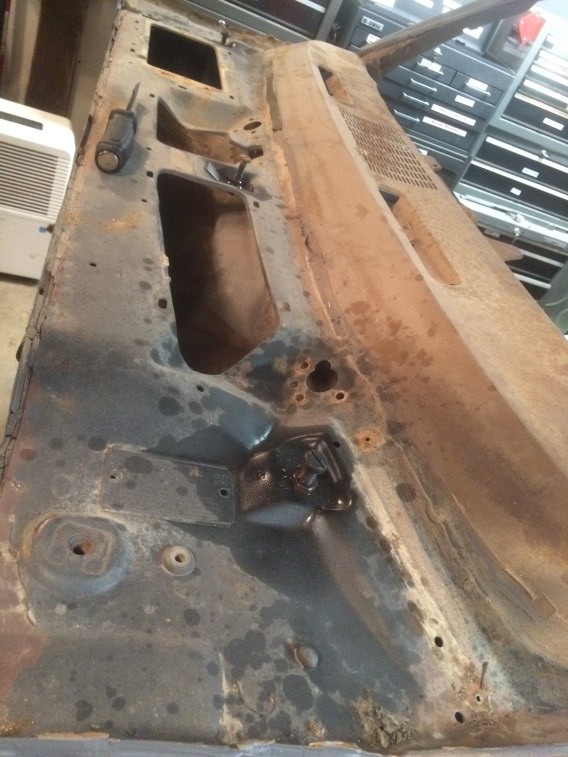
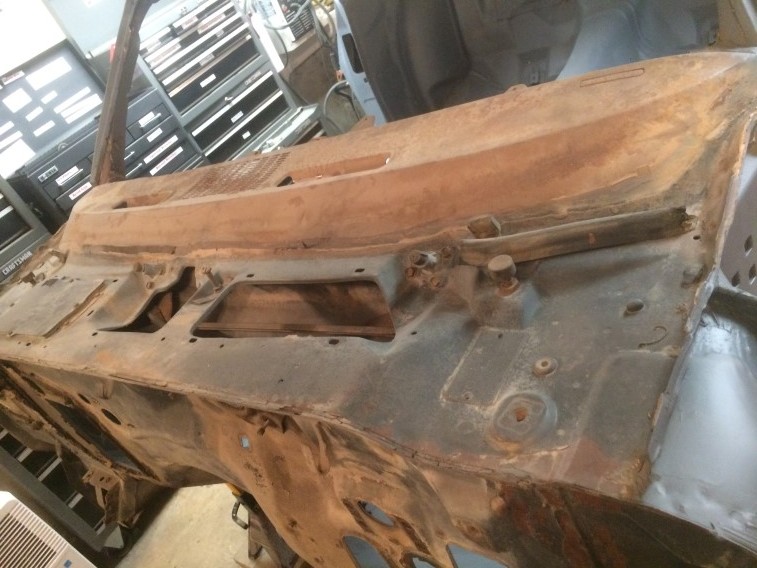
Started cleaning and wiping down the firewall – Recall that the car was from Arizona – there was a lot of sand to remove.
Before:
Before:
After:
Need to take the heat gun and turpentine to remove the gunk from the other side where the A/C box was and still more wiping down to do before removing the paint.
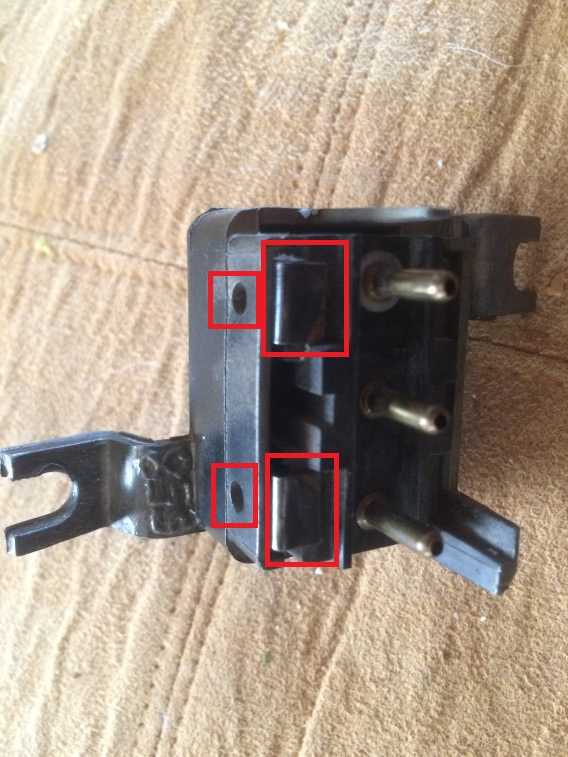
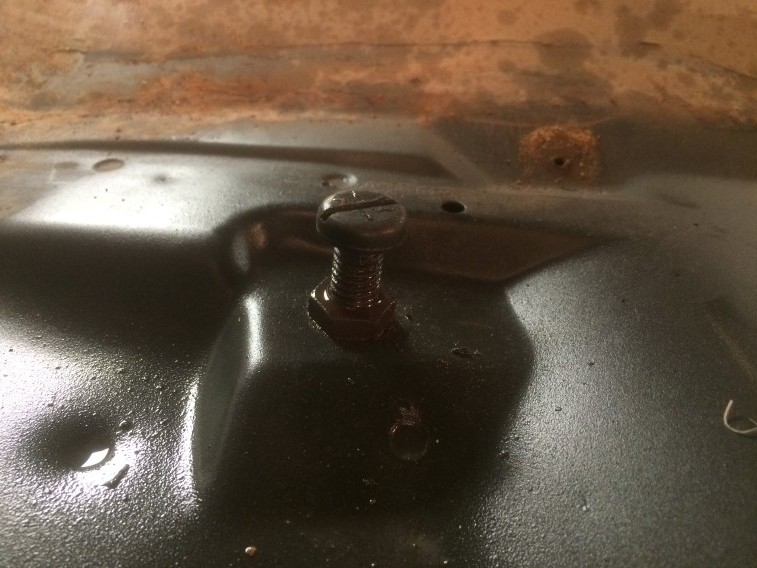
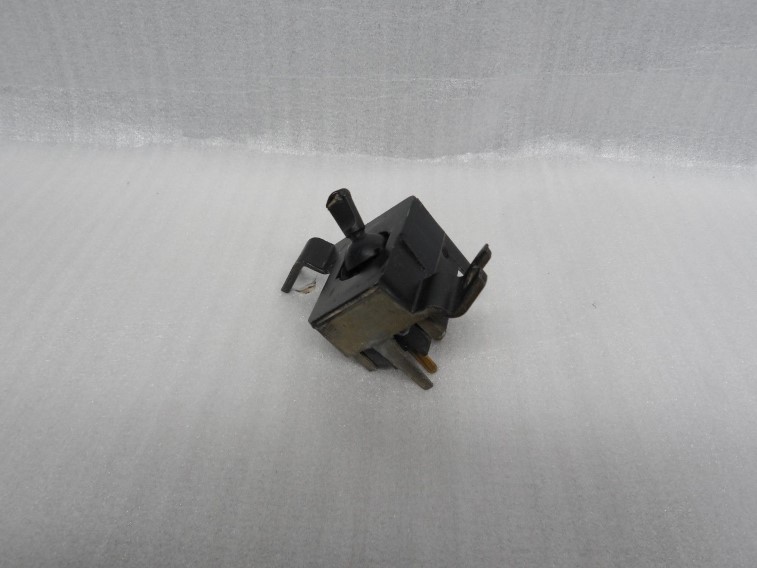
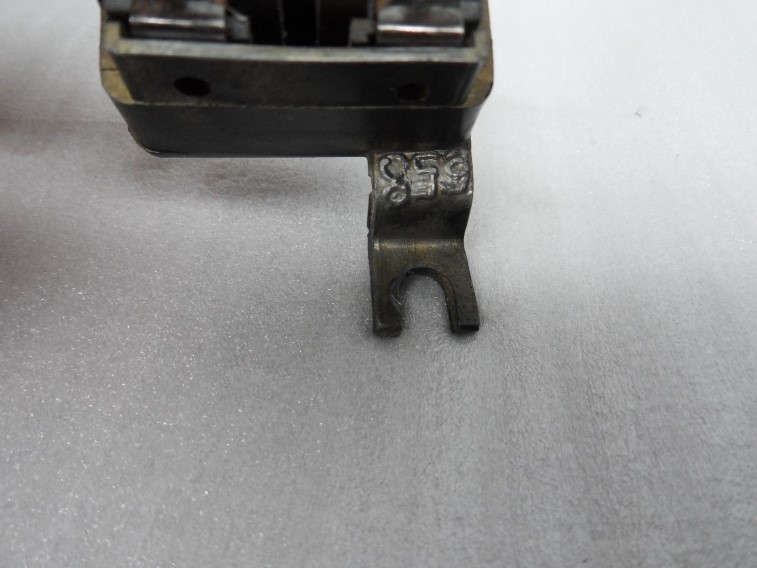
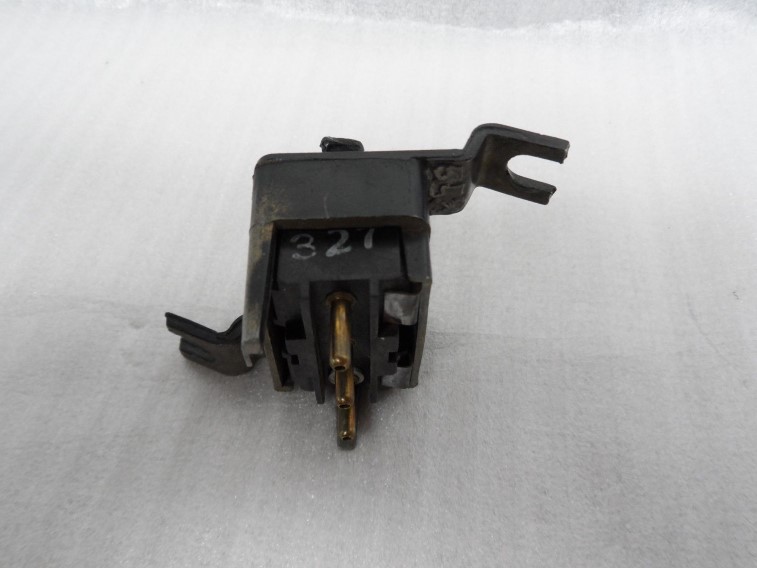
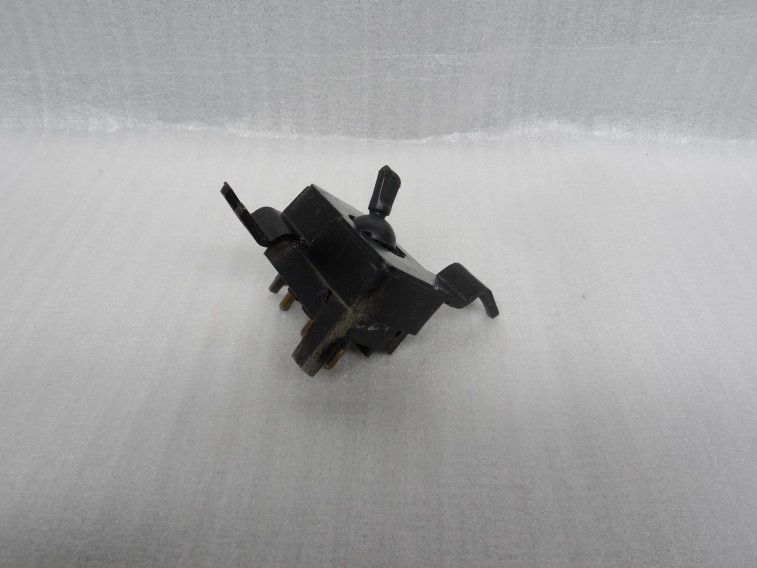
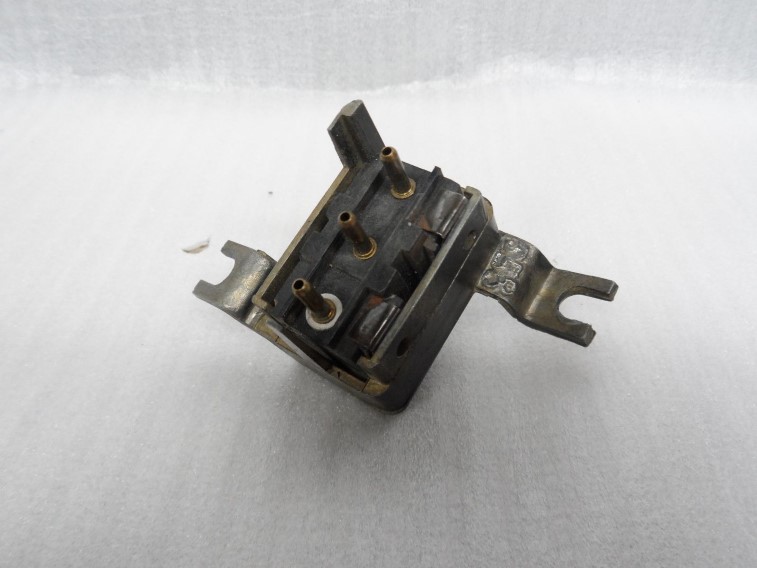
I replaced the rear defogger switch with a nos one I bought. I had to figure out how to remove it from the housing.
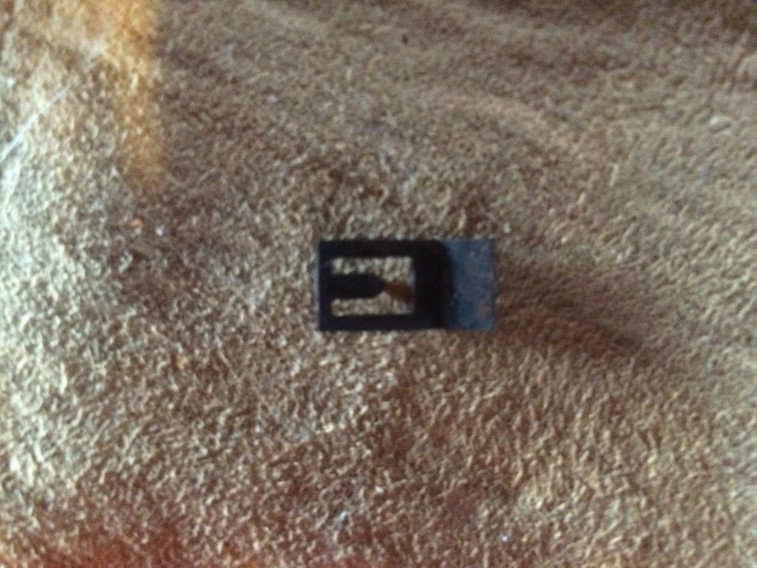
Notice the holes. Need to get a pick or small screwdriver and press near the top of the hole. There is a clip that is holding it in and you need to compress the clip to remove. On a 73 Camaro, there are 3 clips to do this on. When it comes time to install, simply press the clip back in until it catches. Also notice the prong with the silver ring – it shows you how to orient things when putting back in.
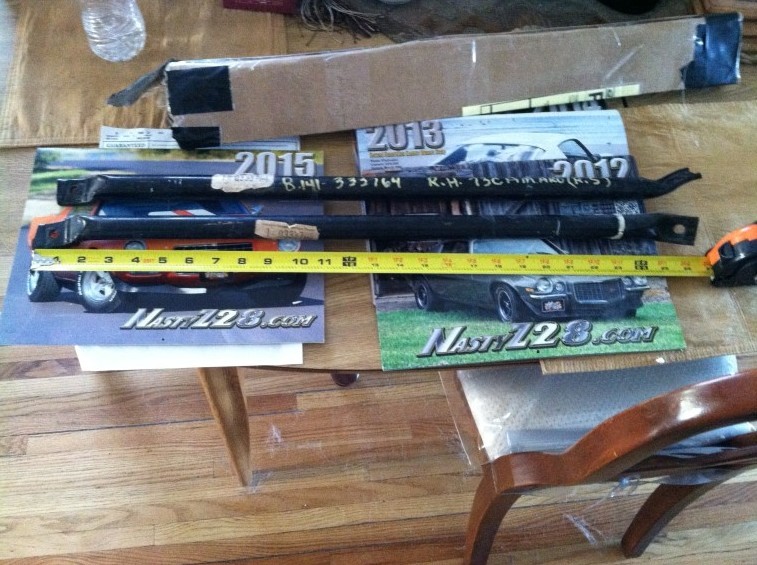
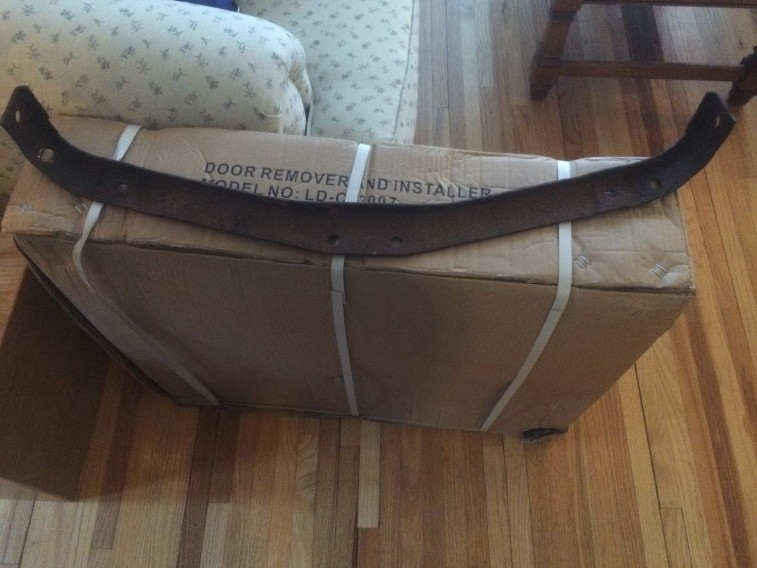
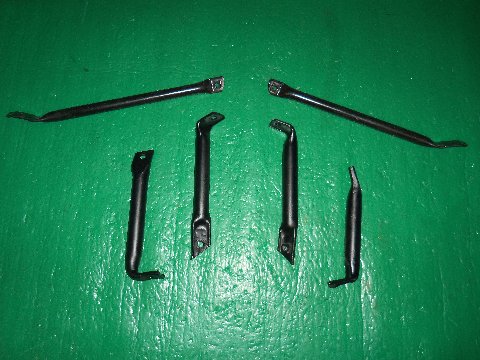
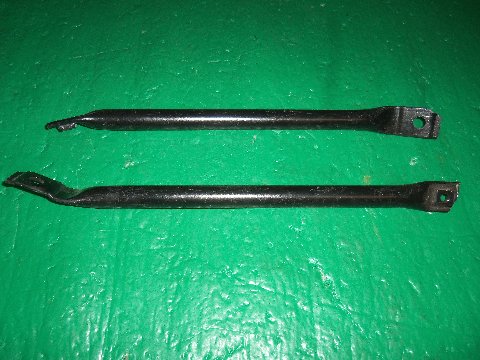
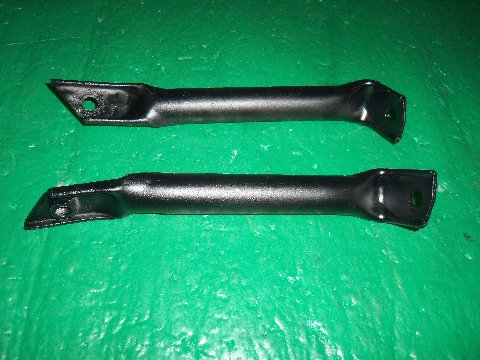
It has taken me a year, but I finally have all 11 pieces of the government mandated braces for a 1973 Camaro RS. It was a year ago, I was able to find a pair of NOS long fender bars and now I have the remaining pieces! These are very hard to find all 11 pieces!
Got a little work done on the firewall the other day. There was still a little stripping down of parts to do on it. The hood adjustment bolts were stuck, so I started spraying them to help loosen them up. Also ordered a new wide tip screw driver to use on these. Hope to get some more garage time in this weekend!
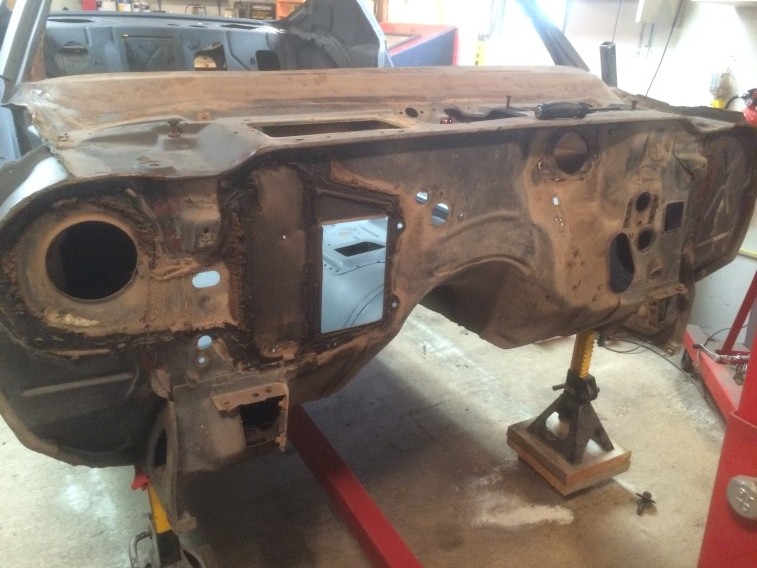
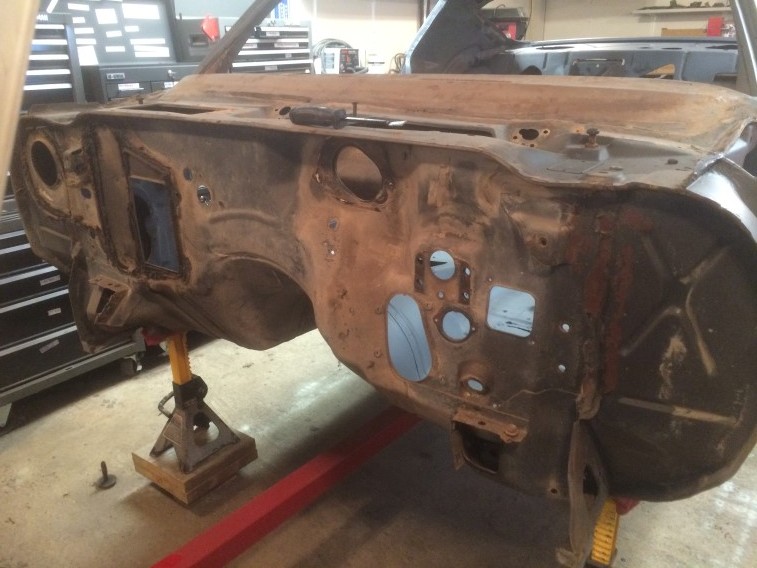
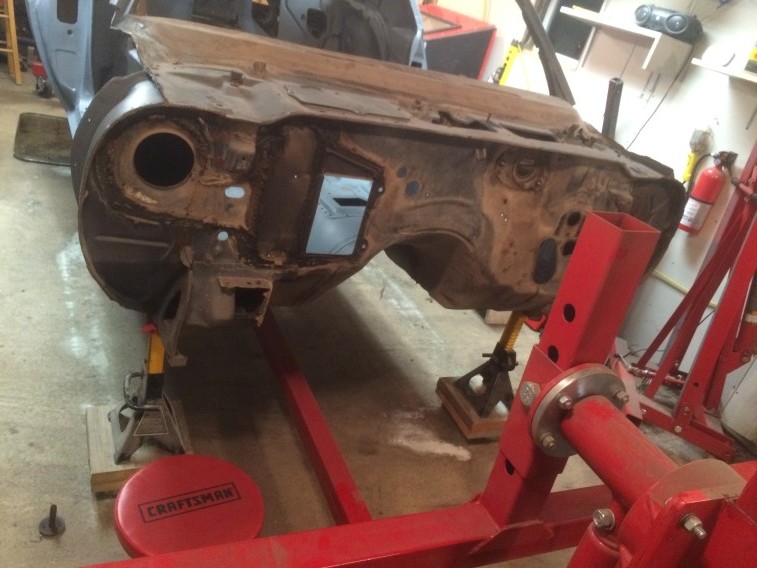
Got out to the garage tonight. Took the car off of the Rotisserie and moved it to give me access to the firewall so I can begin cleaning and stripping the dash/cowl/firewall area:
Made some room to move around:
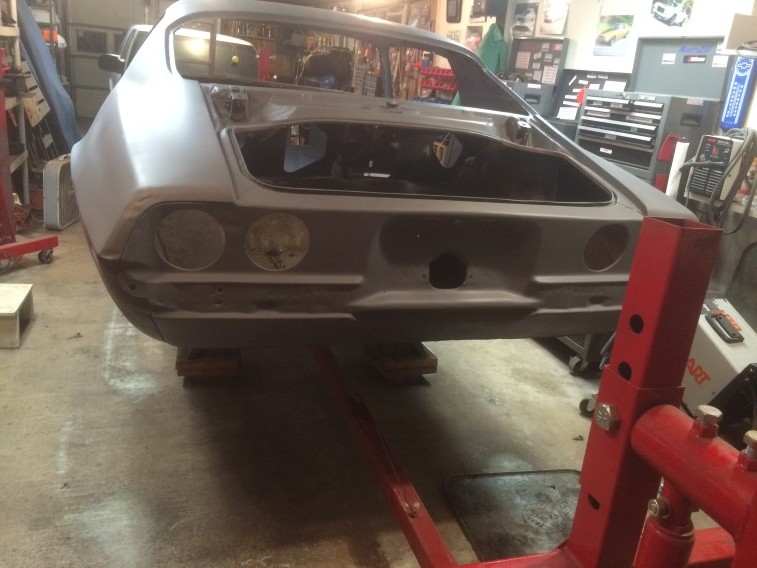
Will re-mount the rotisserie to the bumper mounts when I start on the street side of the floor:
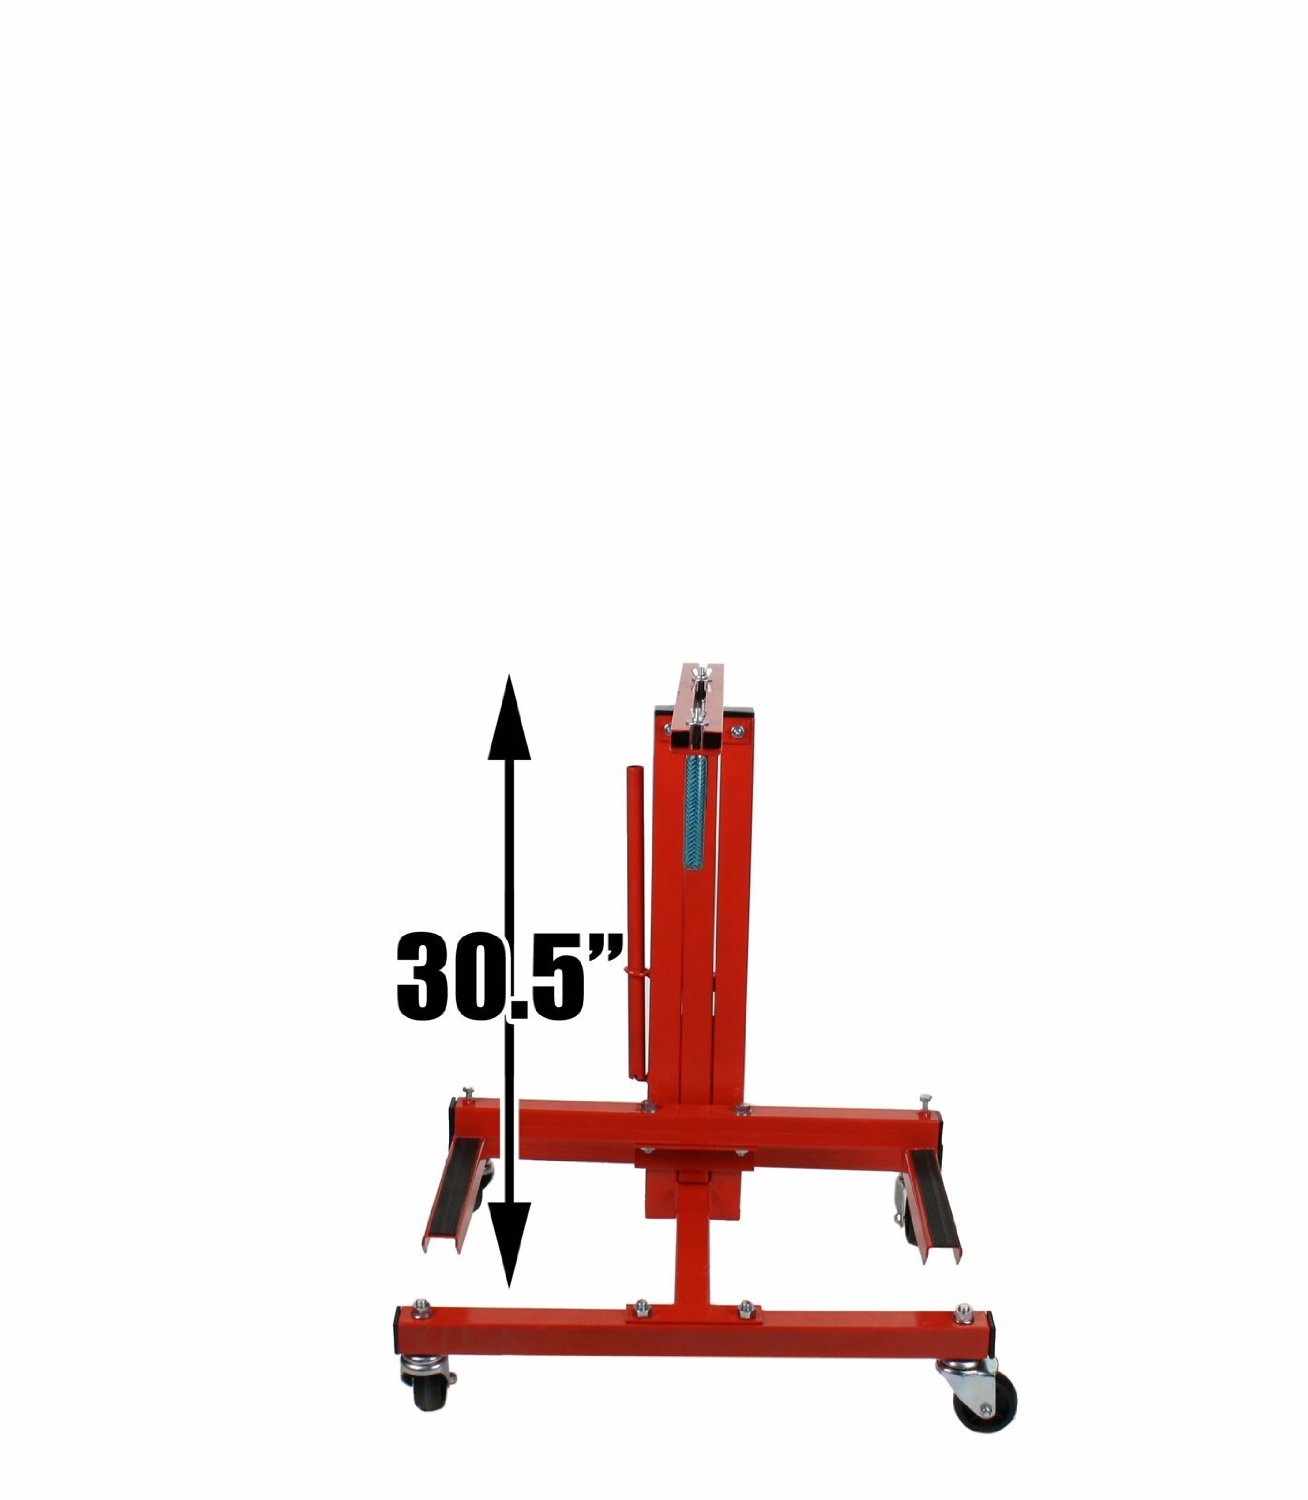
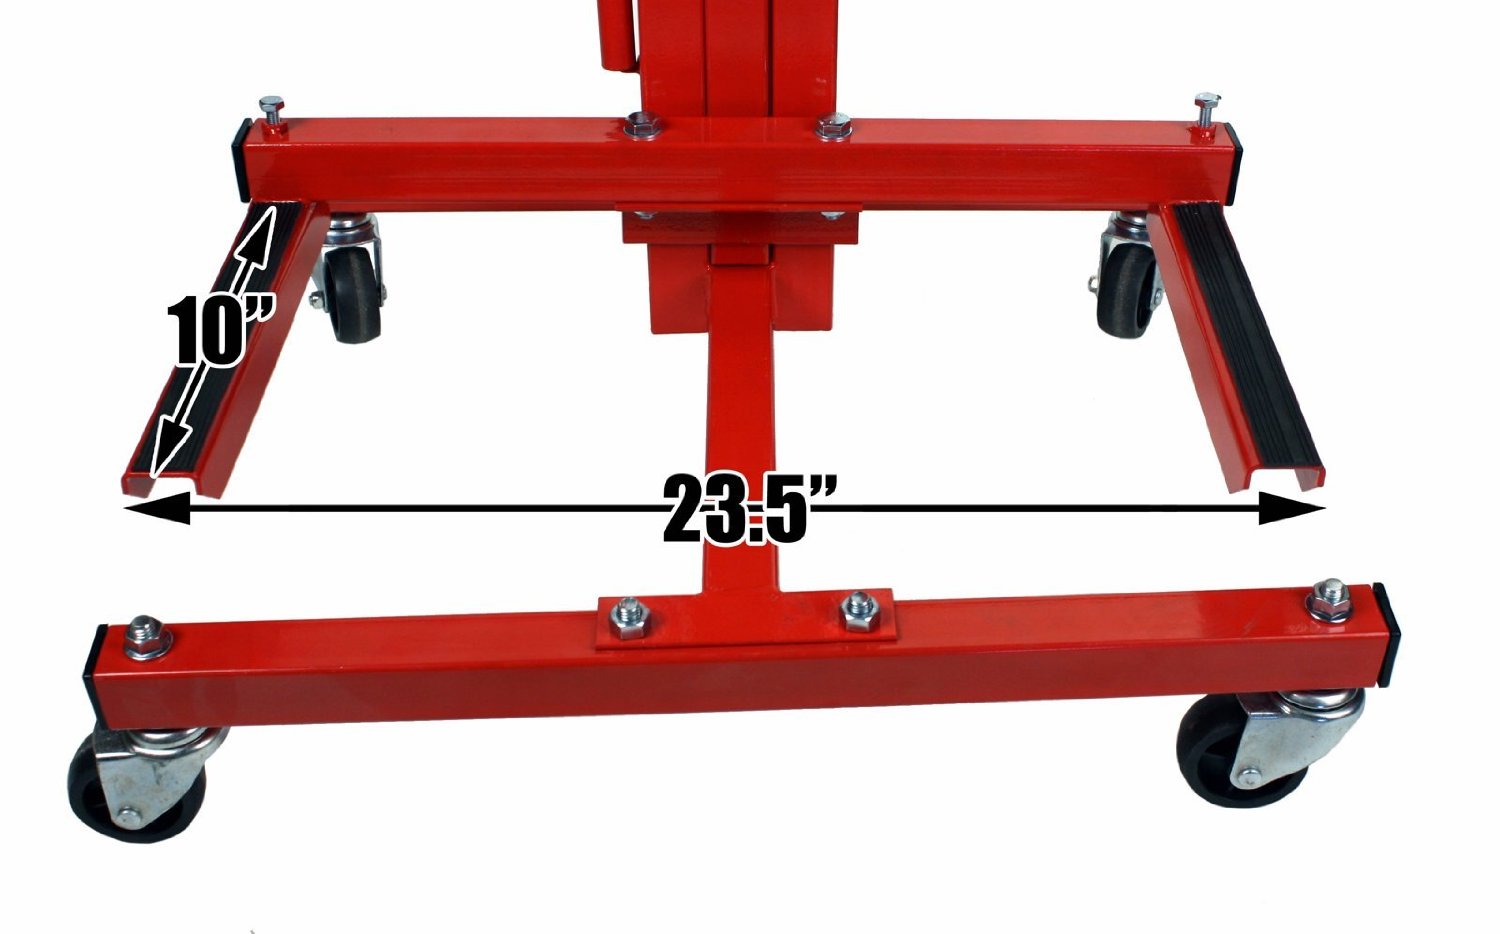
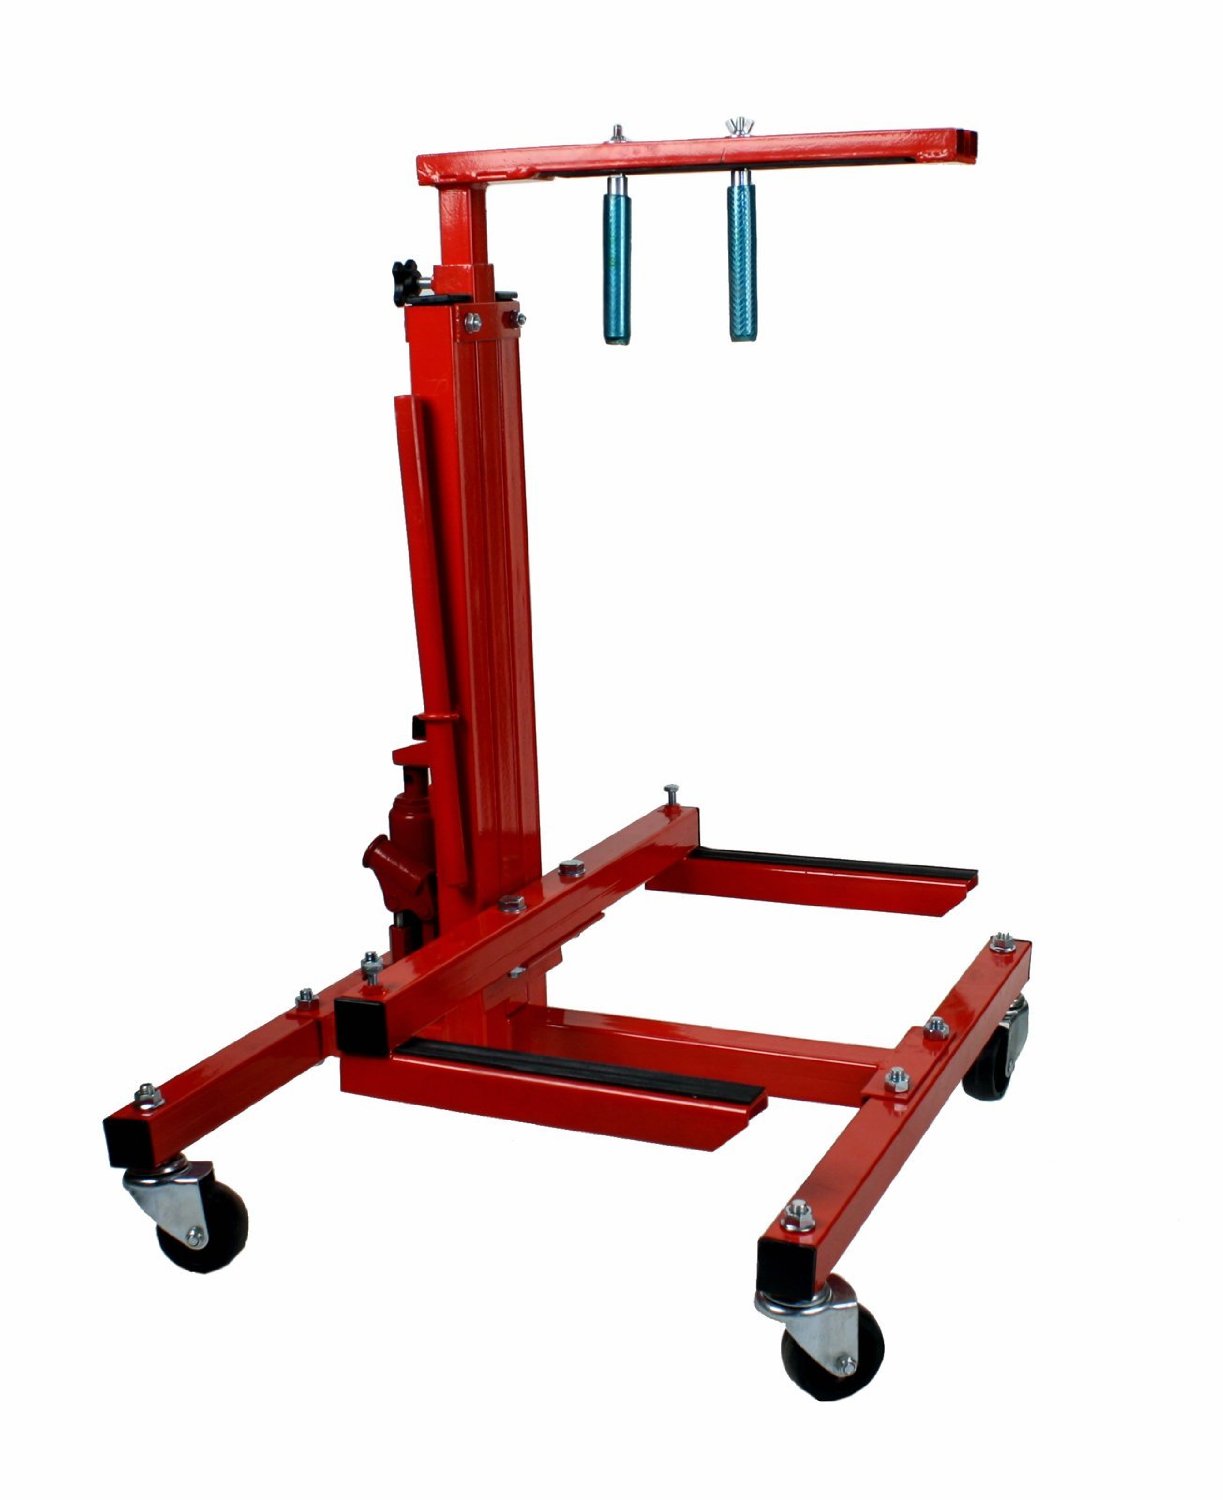
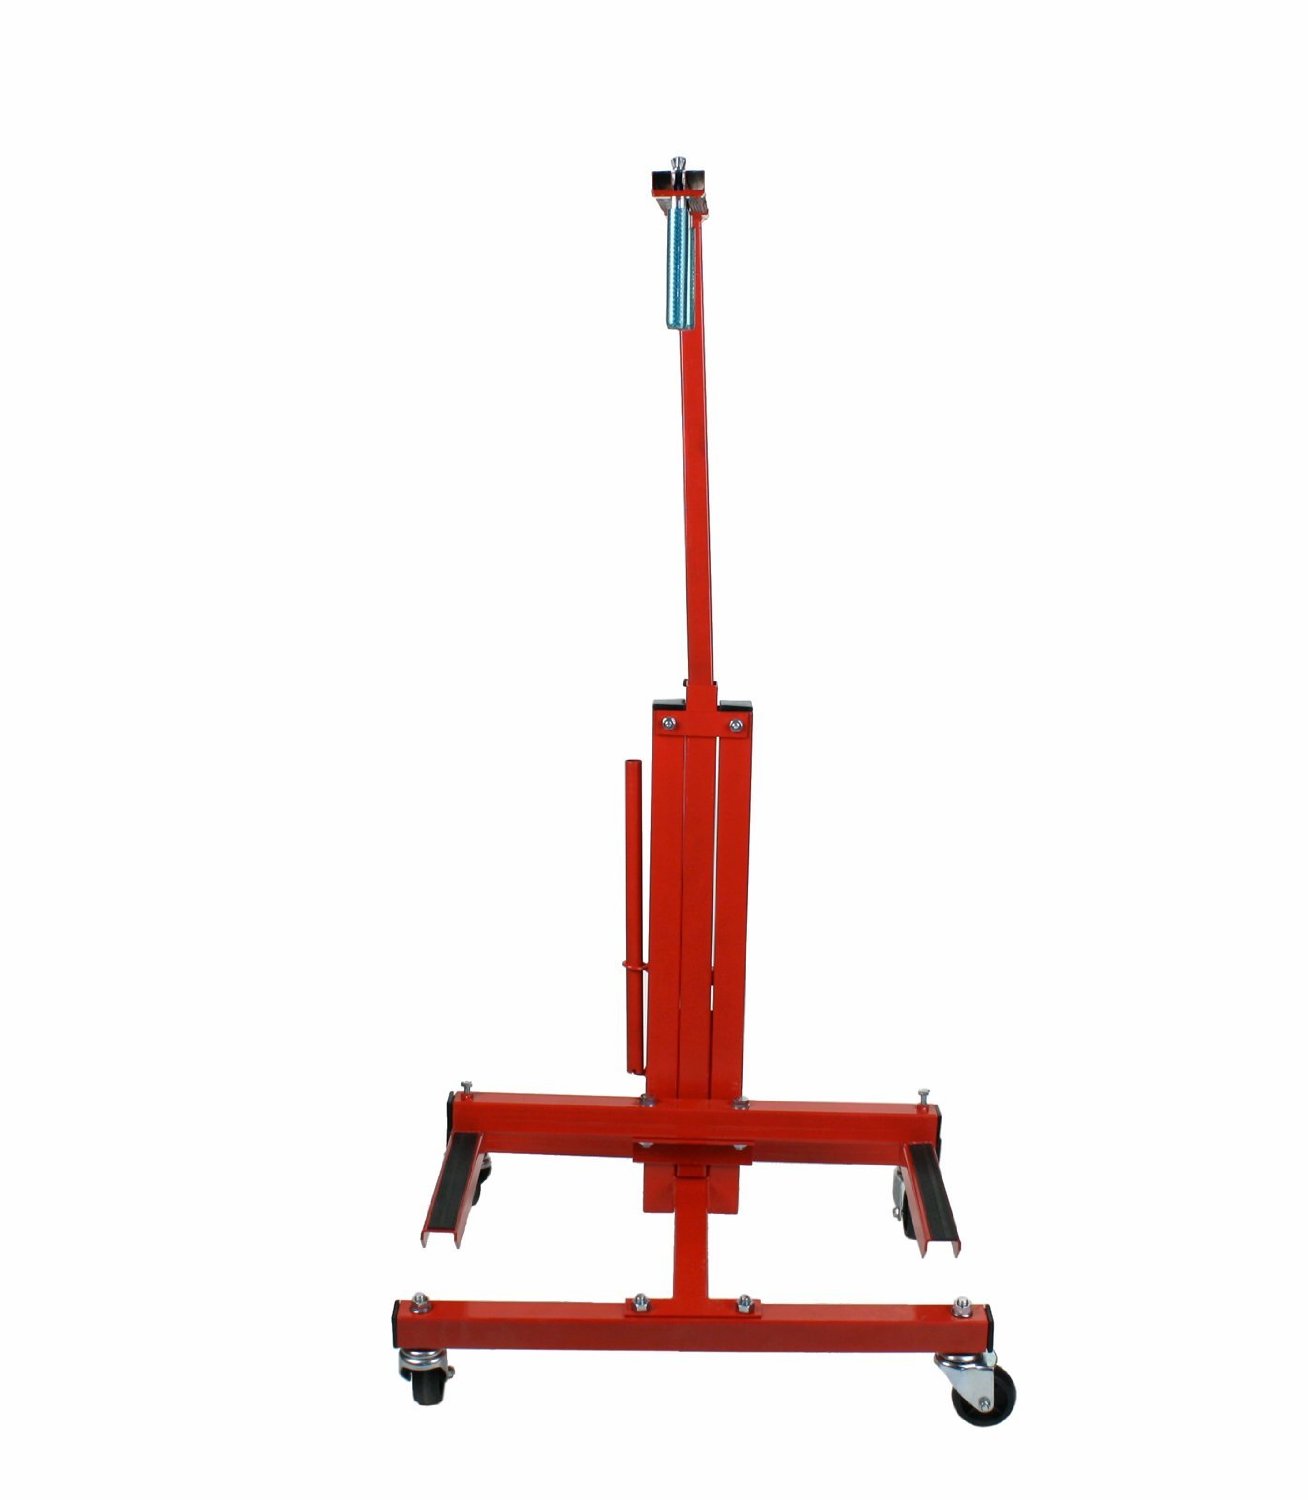
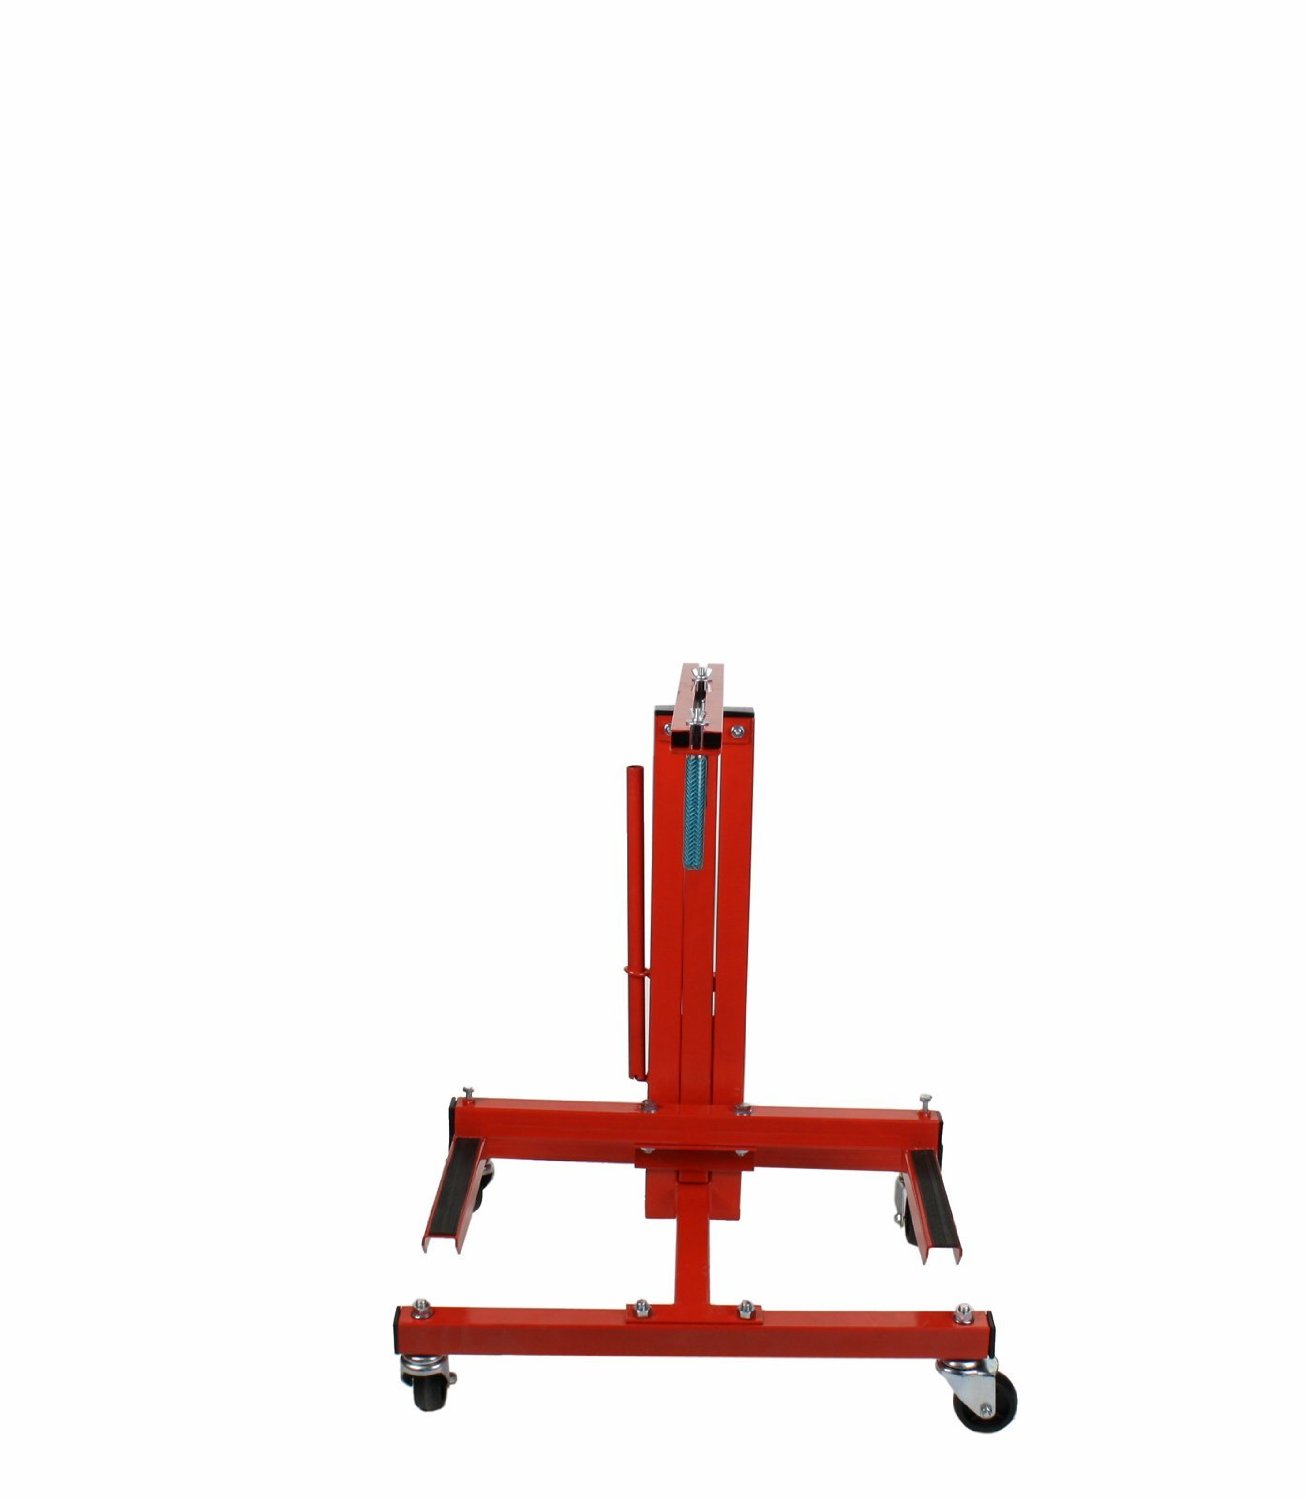
For now, plenty of room to move around – can’t get much lower with the rotisserie. I am looking at a new lift though.
Now to remove any remaining items, clean and strip.
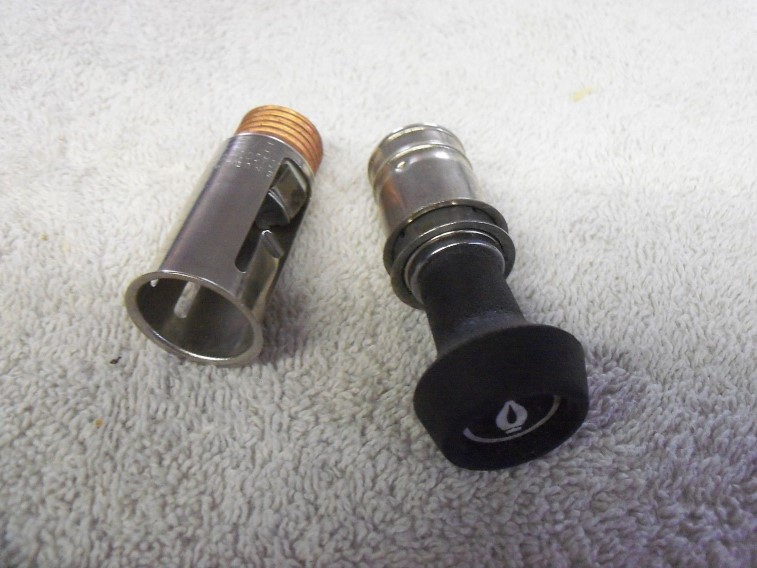
Bought a NOS Casco style cigarette lighter and a used defogger switch – I needed some clips from it to use on my nos switch to mount it in the holder. Hope to have that write-up this next week.
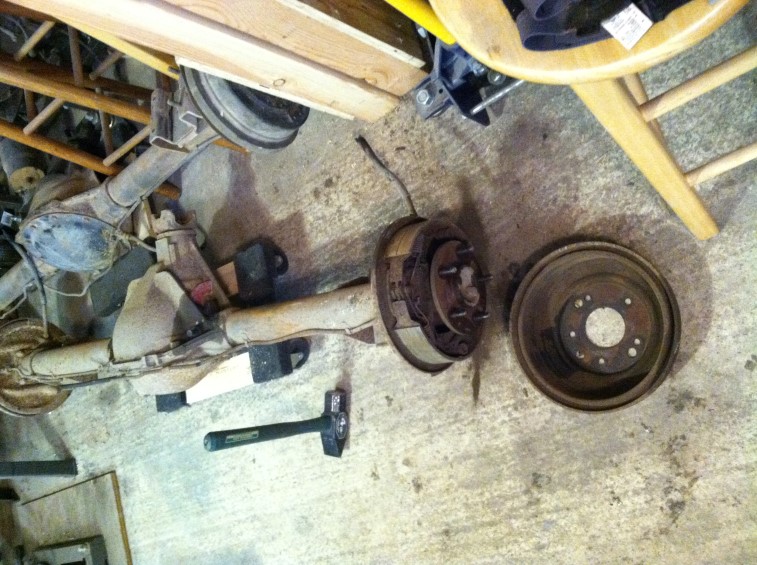
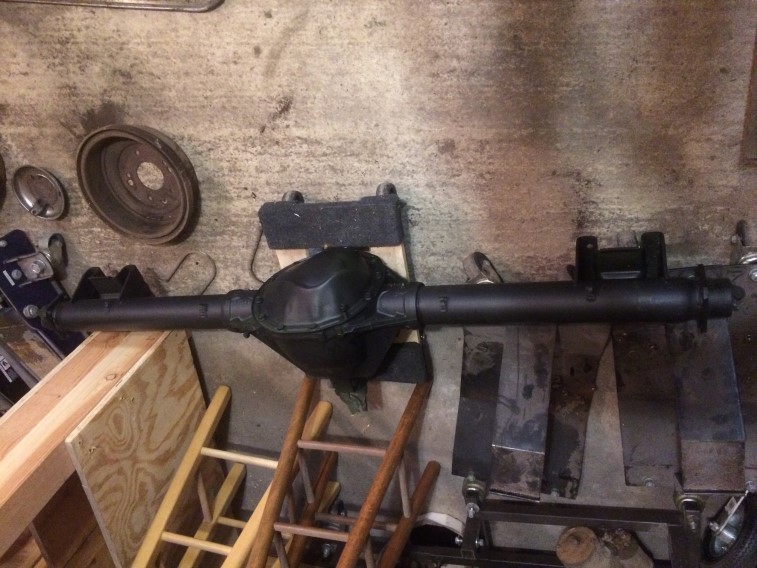
The 12-bolt has been sand blasted & has been Epoxy primered… This was done by someone else (the friend I bought the engine from knows someone who did this for me) – I will paint this Spring once it is warm enough. Tried to find a before picture:
and after – it looks even better in person!
I will need to clean the inside again before rebuilding it.