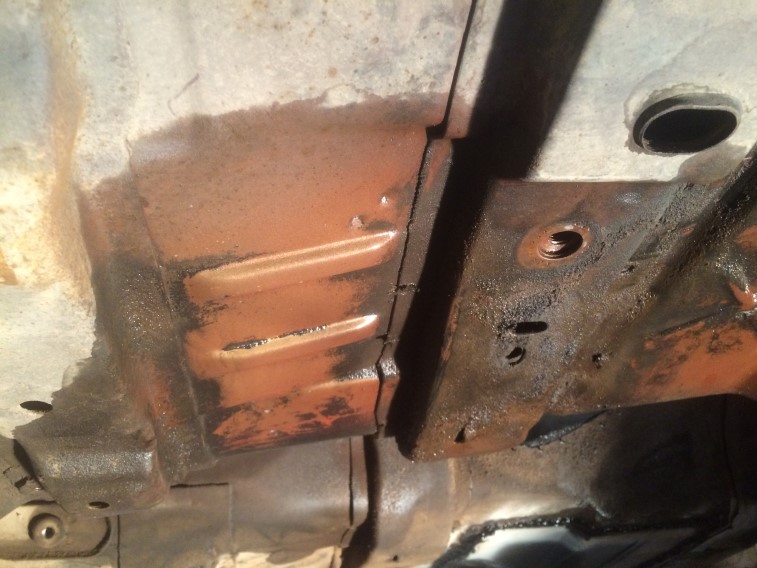
Did a little more scrubbing tonight – still more to do on this section. There is some baked on oil that is being stubborn.
You can really see the oil stains when it is wet. This might take a while (several sessions).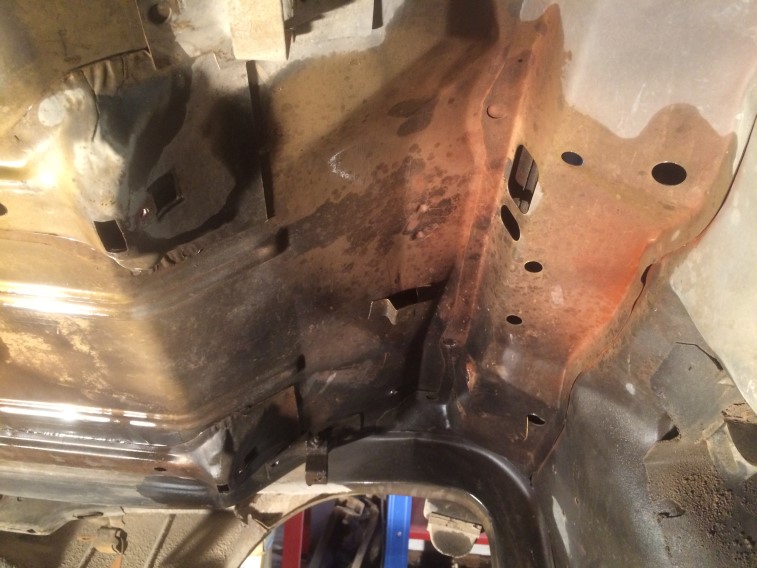

Did a little more scrubbing tonight – still more to do on this section. There is some baked on oil that is being stubborn.
You can really see the oil stains when it is wet. This might take a while (several sessions).
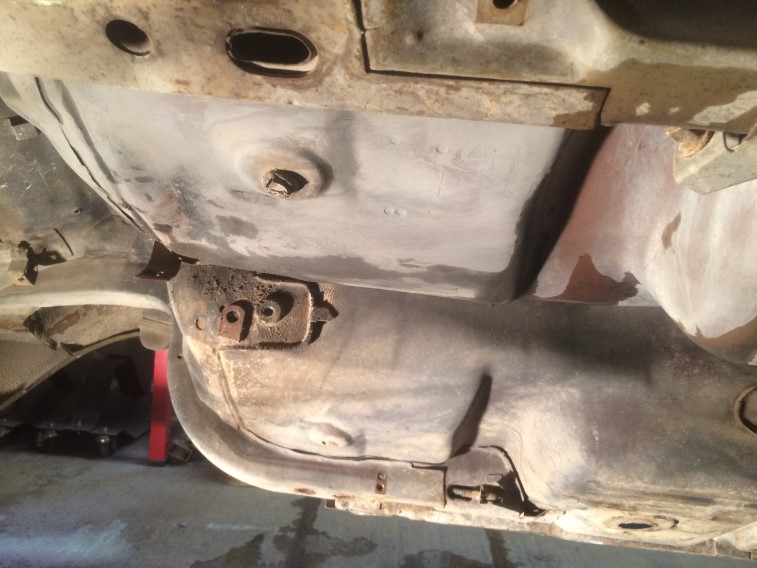
Got a little more done on the floor after work today.
Before:
After: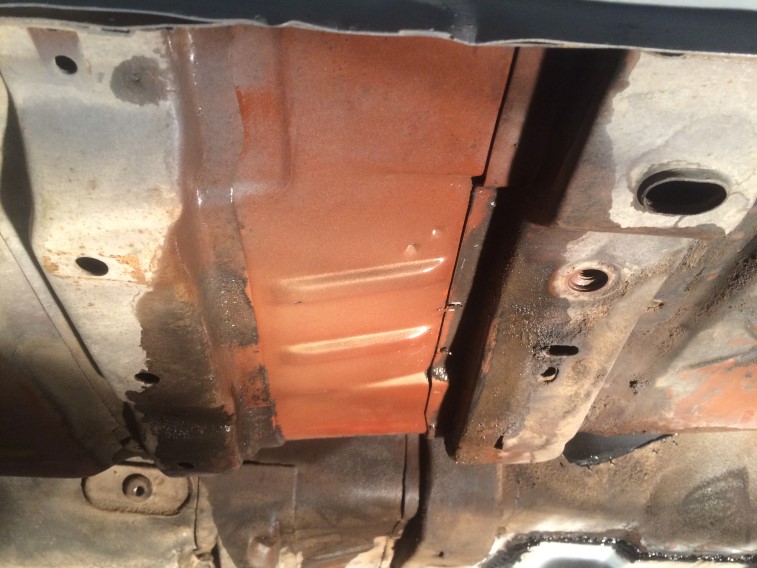
After: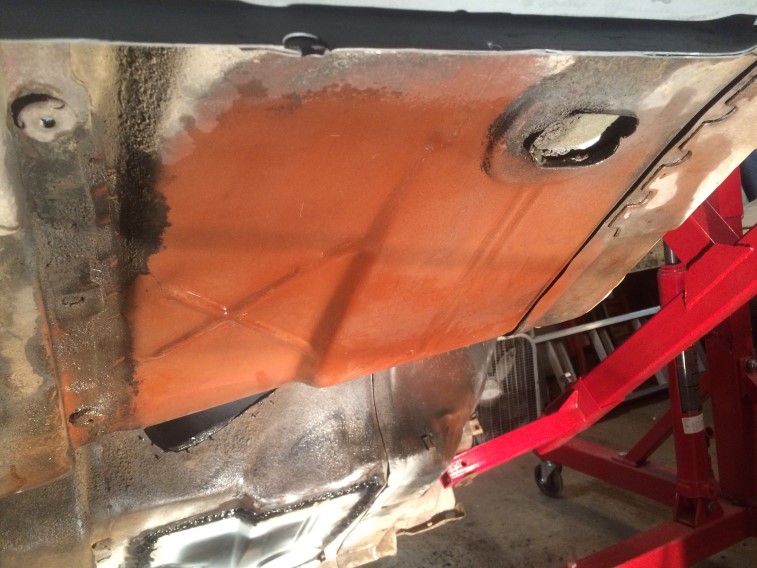
After: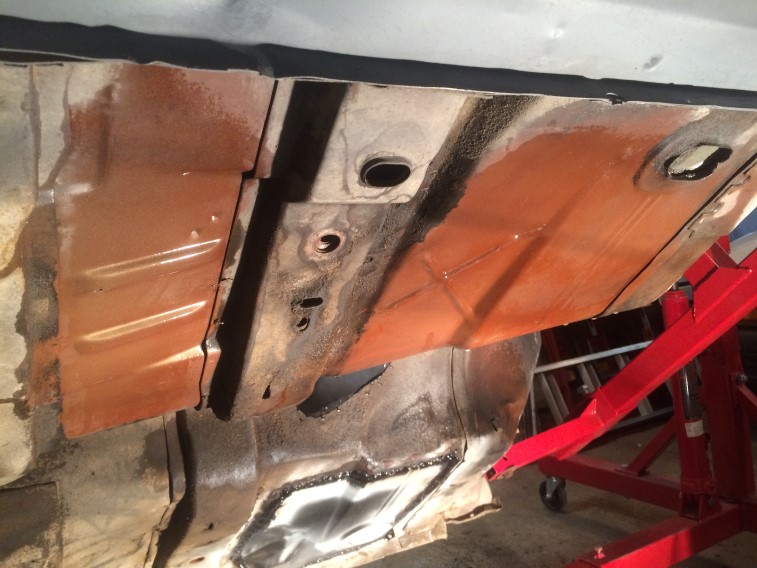
I still need to go back and hit the braces. Having a variety of scrubbing brushes and maintaining a good supply of hot water definitely helps!
Made a little progress this weekend. Started scrubbing the bottom of the floor. Used a bucket, pump sprayer, and brush. Also combined a little PurplePower in a few times. Slow going and sore arms!
Before:
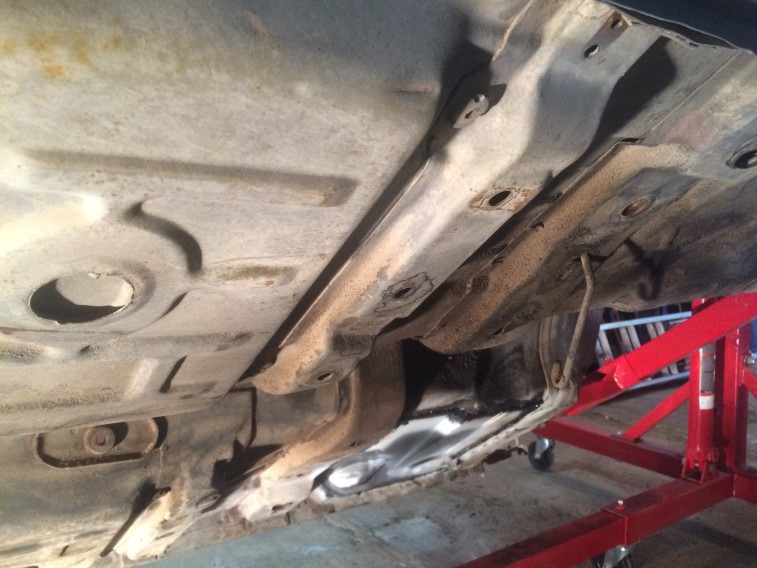
Making progress: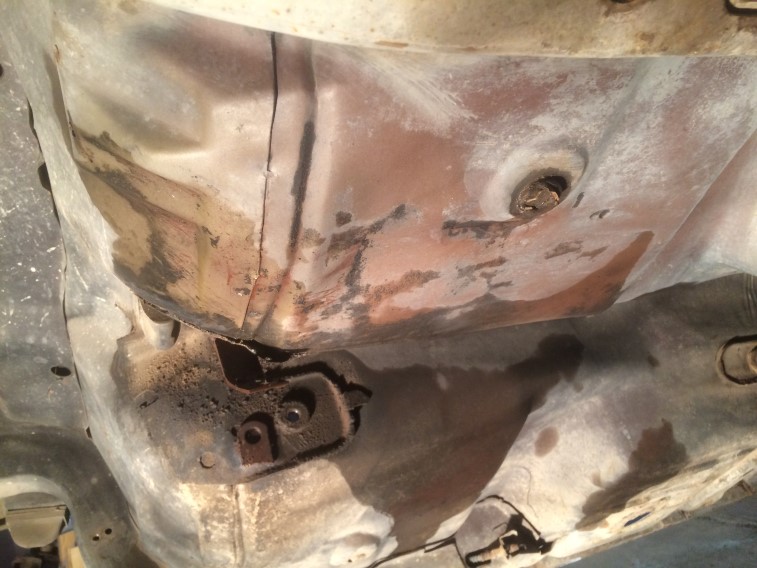
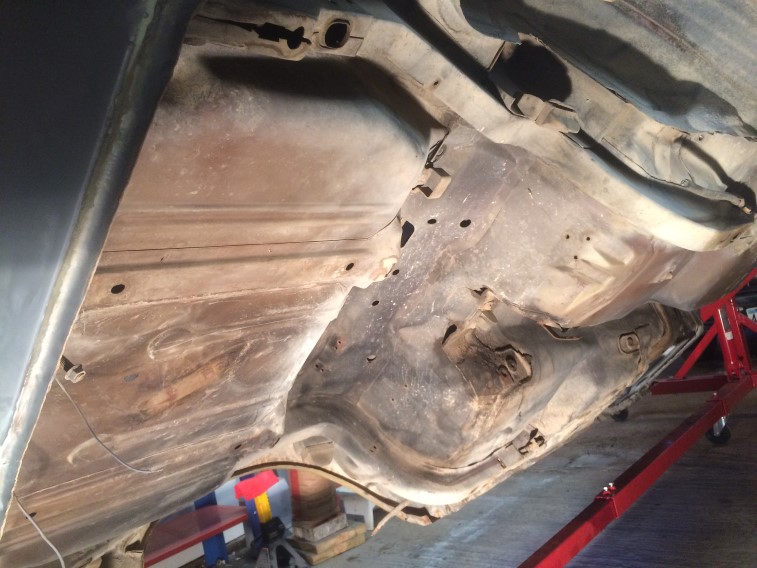
Happy with the results! Getting an idea of what the rest will take and about how long. Also, it will be better to do it in a bunch of shorter sessions rather than all at once! This is the passenger side rear seat area.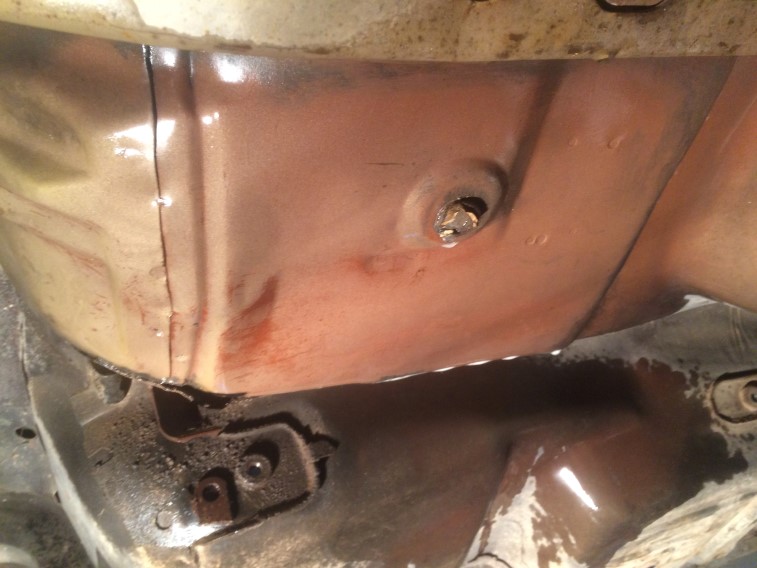
Rear passenger foot area: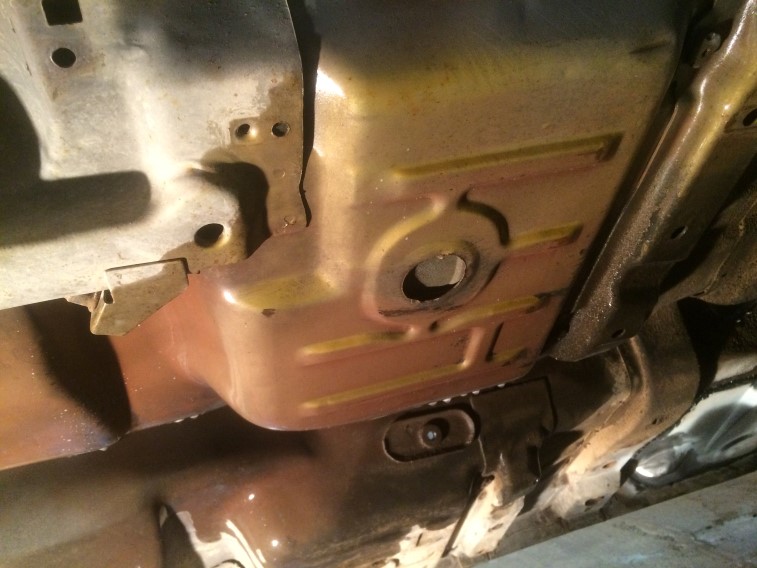
Looking towards the rear of the car: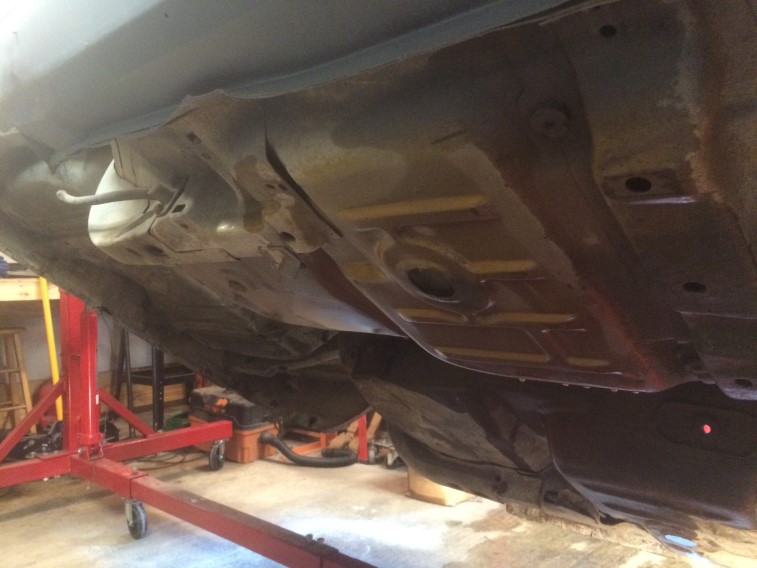
Looking towards the front: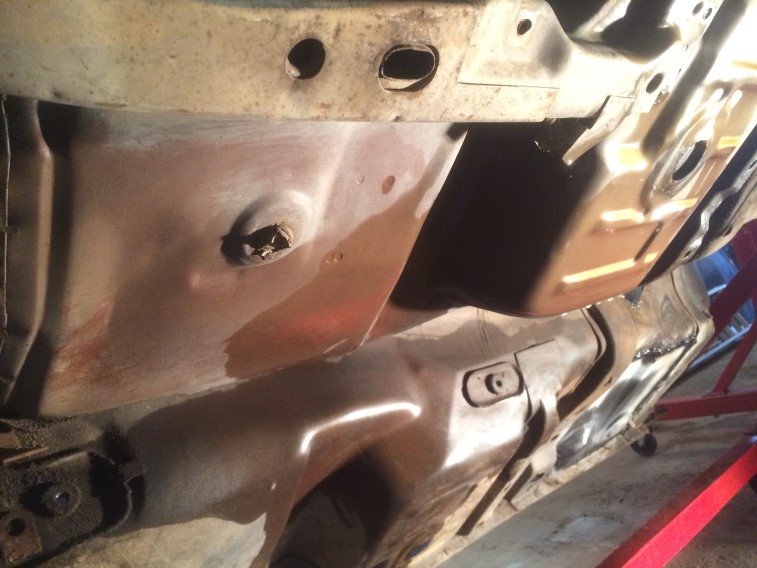
Next will be the front half of passenger floor: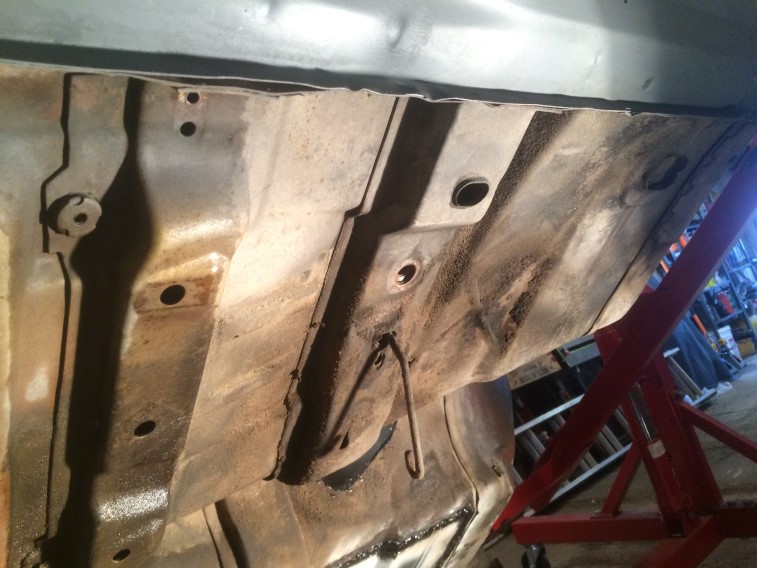
Before: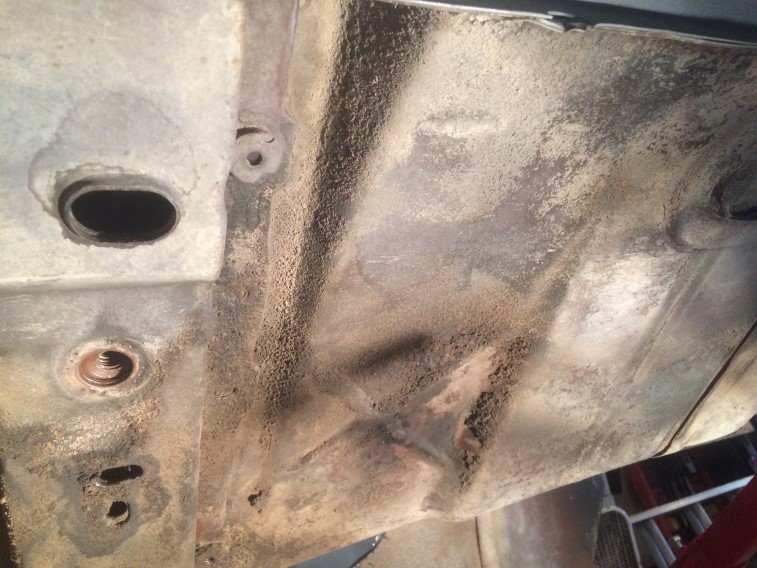
I wanted to get a head-start and an idea of what is required. Still more to do, but progress. Also had to go buy some more brushes.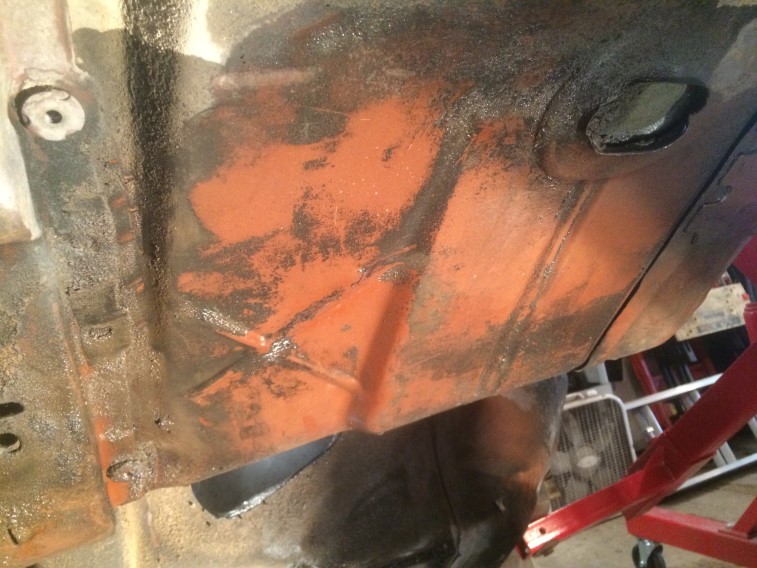
This is going to take a while to clean!!!
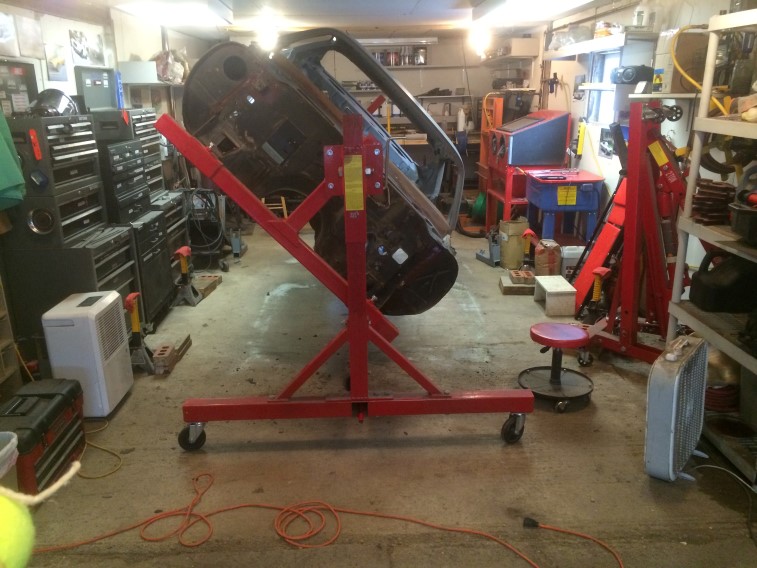
I have been looking for information on my crank style rotisserie from Northern Tool. I found one topic here and more recently a video for a rotisserie kind of the same style here:
They talk about if you are really putting your back into cranking the car on it’s side, you should re-adjust for a better center of gravity so it turns easier. The cranks have shear pins which could break if you are cranking too hard. I asked a question on this page and will see how they respond to how much weight the crank can hold.
Hopefully someone will find this useful.
I have been researching tools for removing the undercoating. I have narrowed it down to 2 tools:
This is one: Dent Fix DENDF701 Metal Blaster Mbx Kit
You can resharpen using a grindstone and running in reverse.
Course wheel for undercoating
Medium wheel for heavy rust
Fine wheel for paint
Here is another idea:
I plan on giving both of these a try – luckily, I only need to work on the wheel wells and not the entire car!
Made a little bit of progress this weekend. The weather was nice on Friday, so I took the day off to roll the Camaro outside and power wash the floor. The Camaro was on the rotisserie which enabled me to move it outside. The one issue is the front half of the garage has bad cement on the floor. I was able to use a pry bar to persuade it along in the rough spots.
I was able to determine that my car only has undercoating on the wheel wells and not the rest of the floor which will make it easier to strip. I still need to clean it with some PurplePower and Wax & Grease cleaner before stripping.
From the back of the garage:
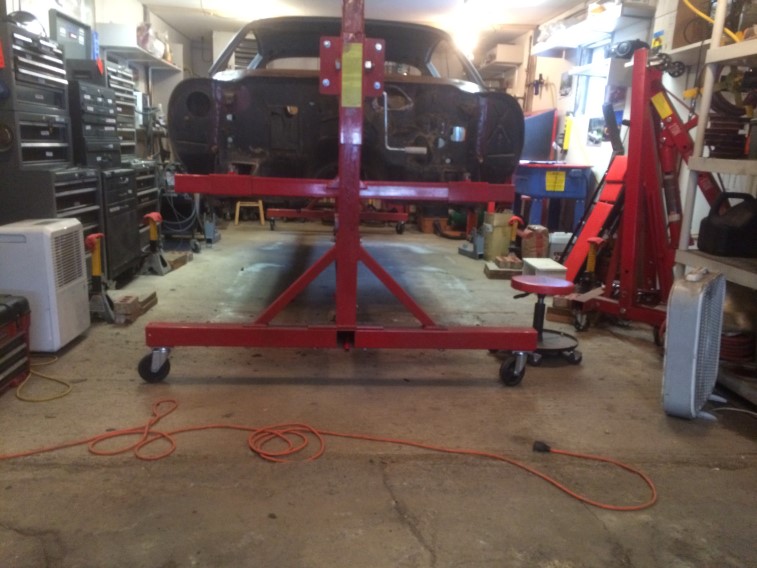
through the front half: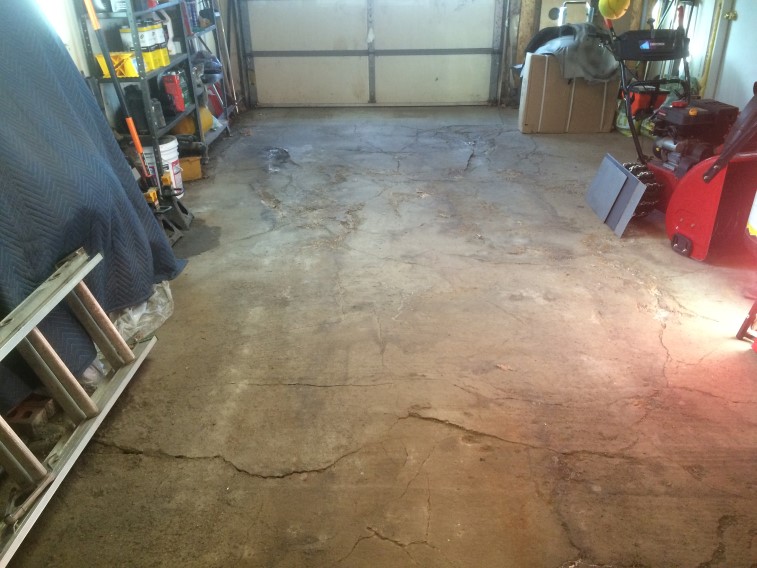
the bad parts of the floor: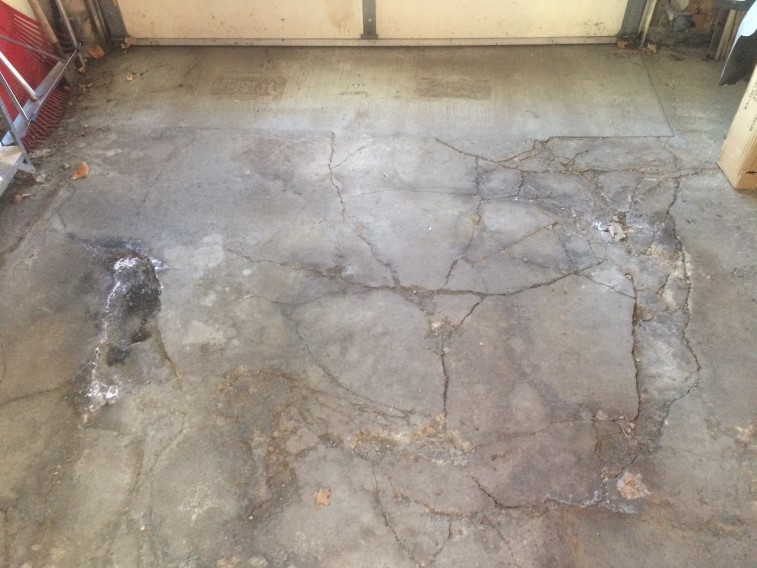
Getting there!: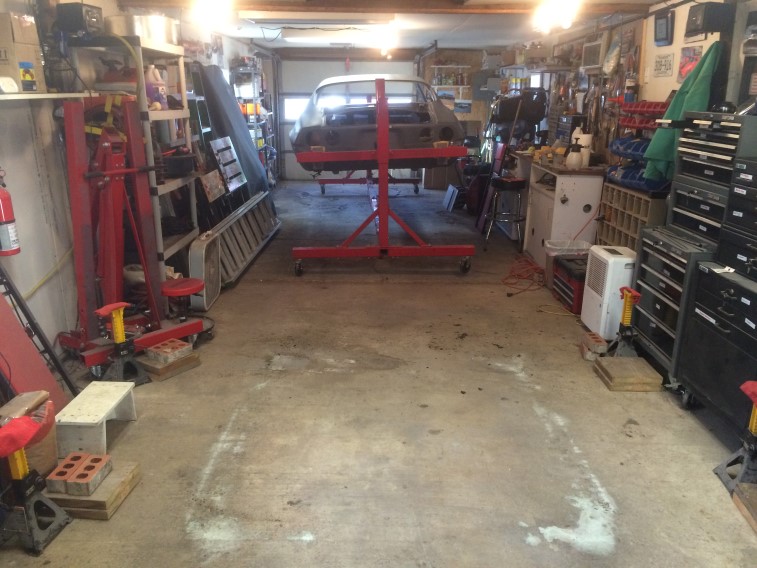
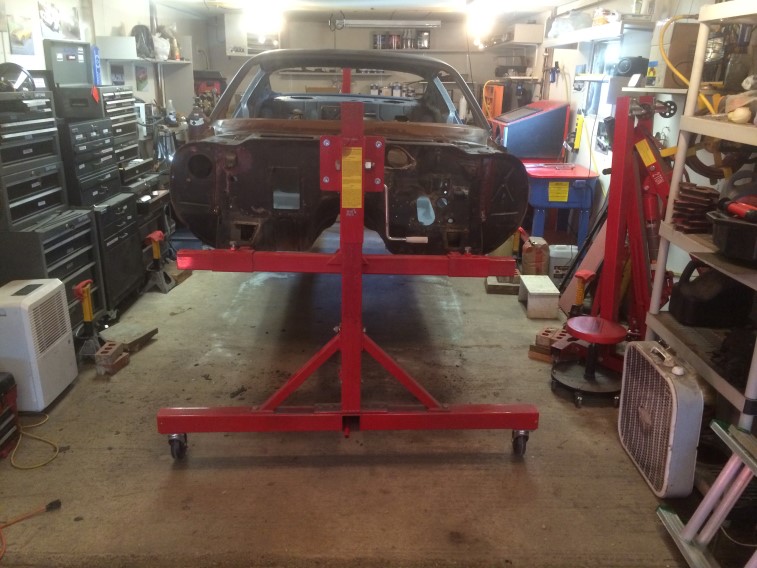
and she is outside! Went nice and slow going through the garage door as it was fairly narrow – suggest having 2 people to keep things straight if you are doing this. Ready to power wash!: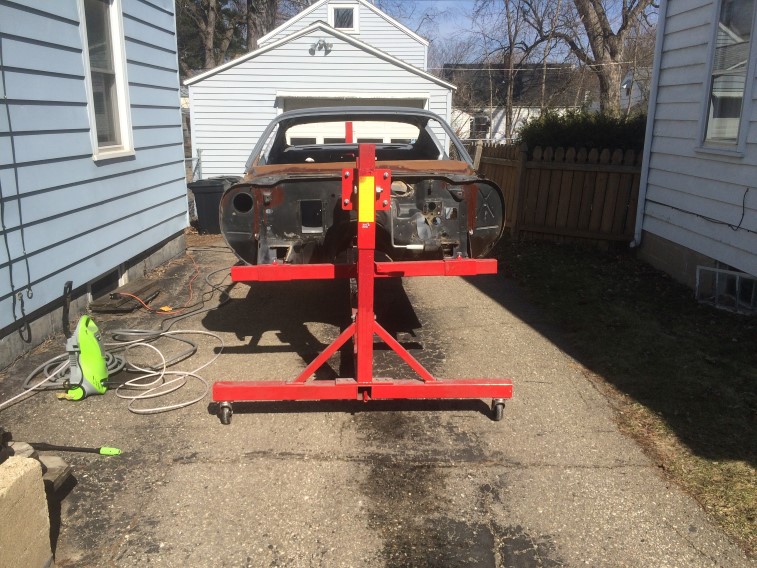
Notice the leaf blower which I used to help dry the car faster.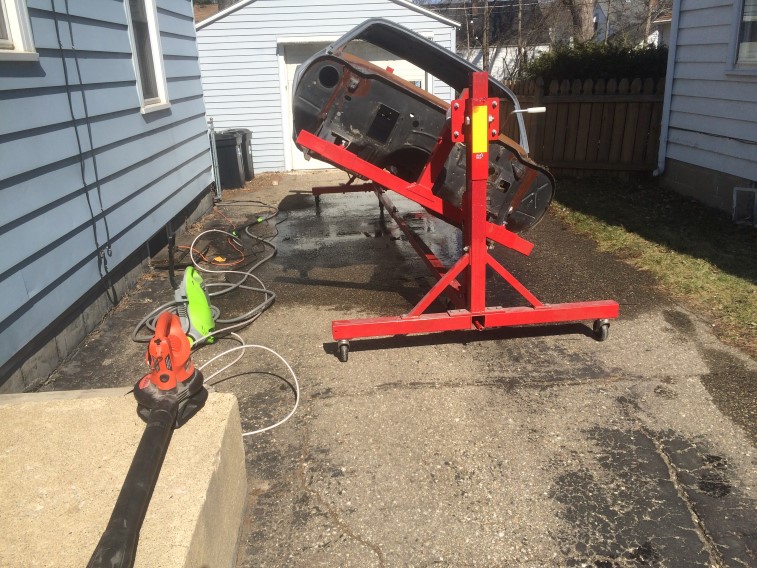
About a half day to move it outside, power wash, dry, and move back to it’s resting spot.
Spent a little time in the garage this weekend. Tightened the rotisserie bolts and raised off of the jack stands:
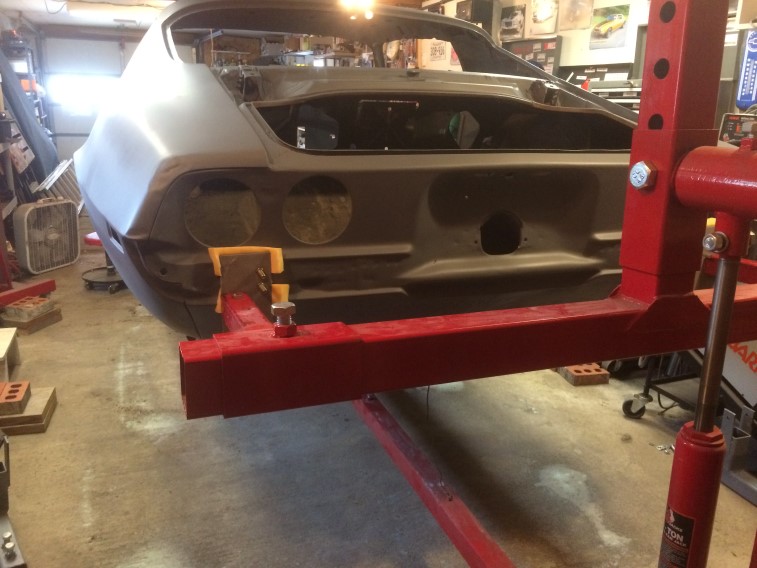
Not yet sure if I will re-adjust. Seems to be ok for now.
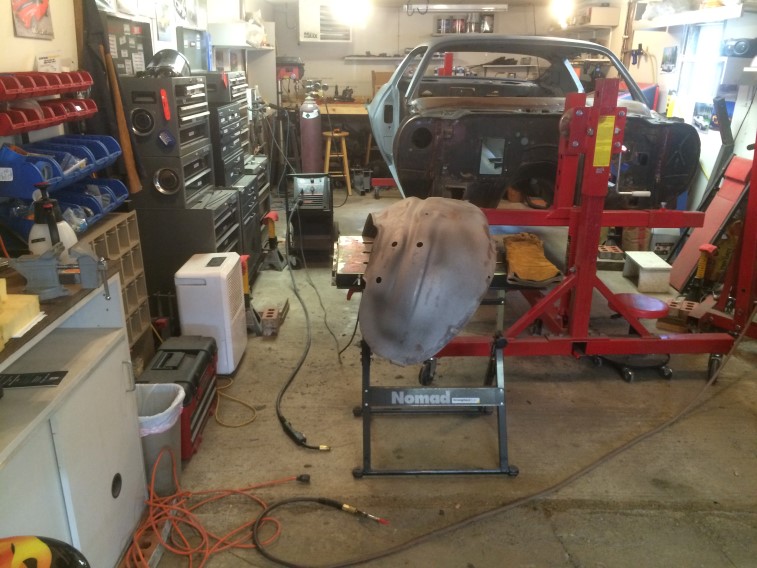
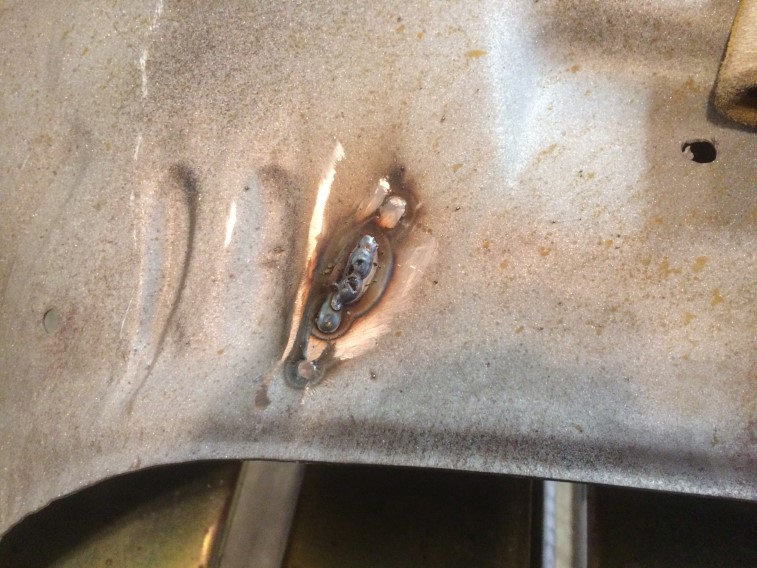
With the car on the rotisserie, I was able to push it to the side to pull out the welder and work on the inner fender:
Initial weld:
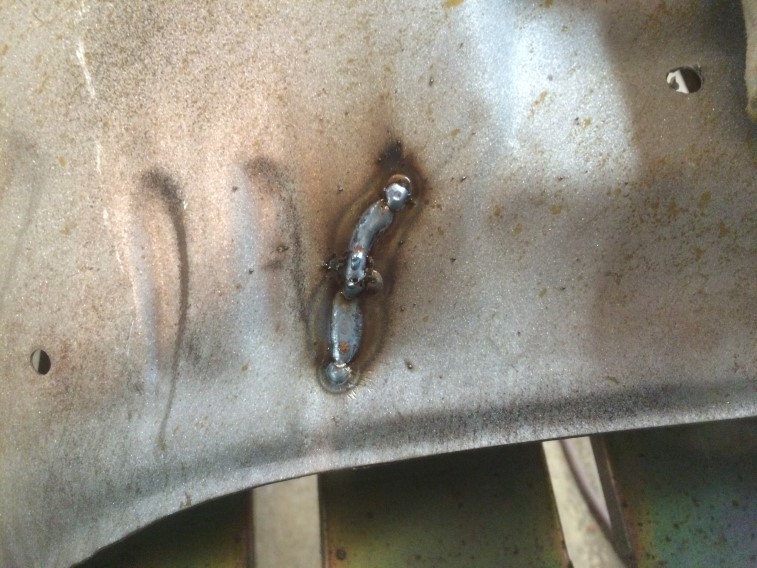
Grinding the weld:

Filling in a few spots:
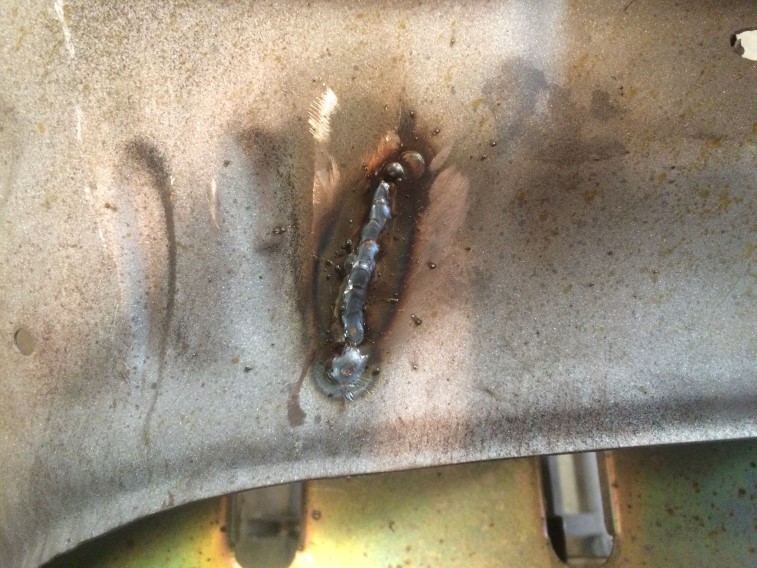
More grinding:
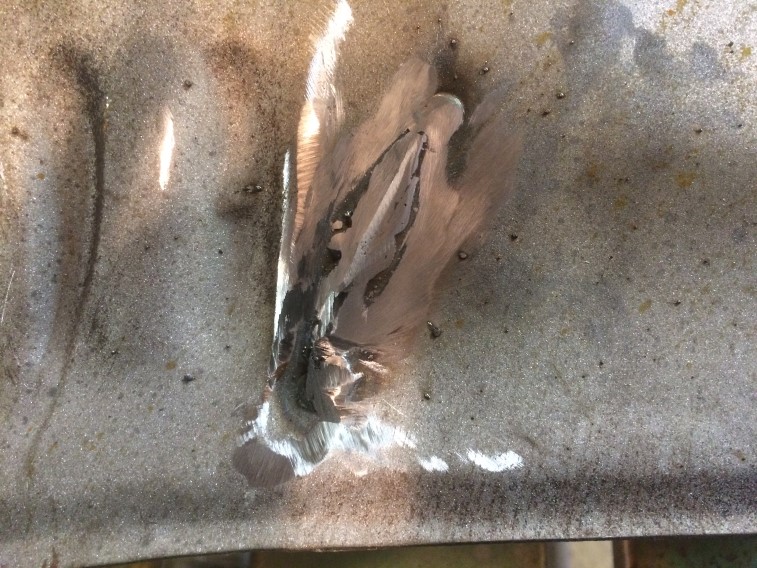
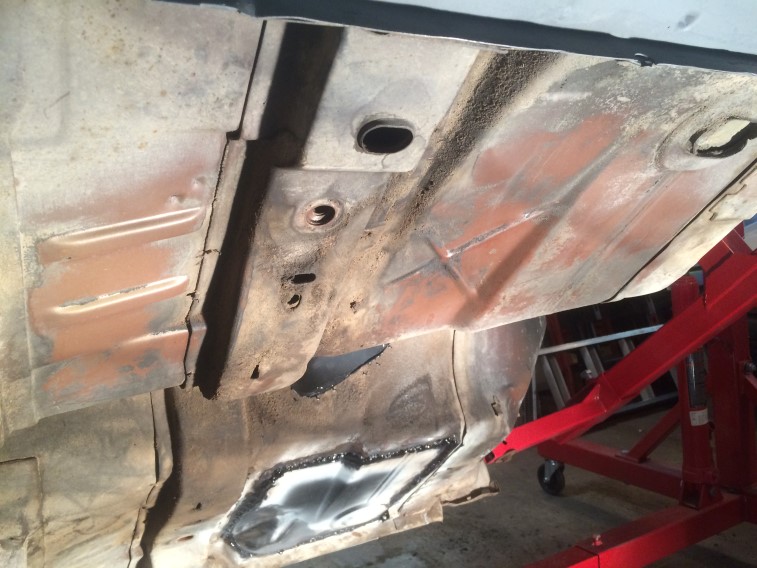
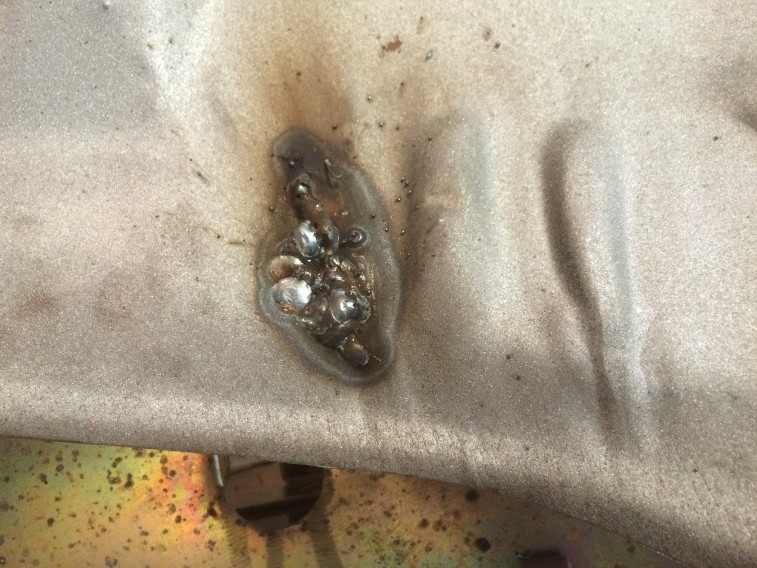
Flip the inner fender to work on the other side. Burnt through a couple of spots and said a few choice words I can’t repeat here:
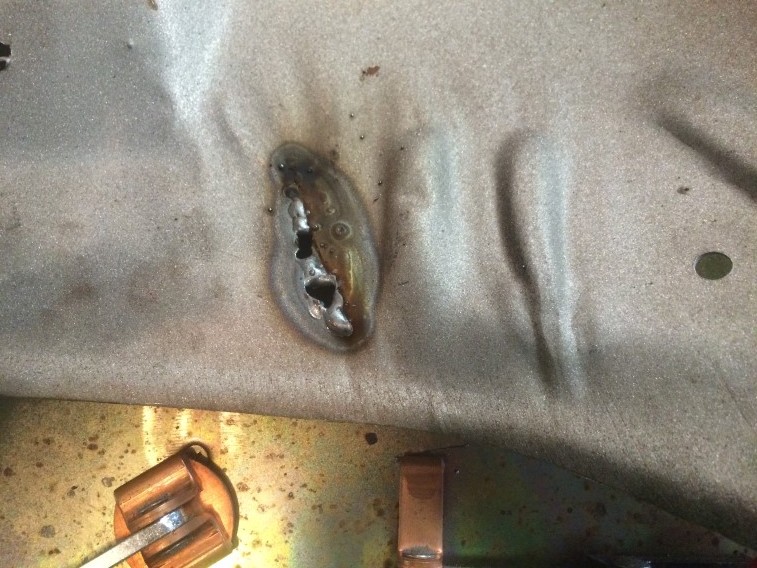
Used my copper backer (above) to assist me in filling the holes – not the prettiest, but it will work:
Other side:

Called it a session at this point. Hope to get out there more this next week to finish grinding and any more welding touch-up after that. Hope to roll the shell outside within the next week or two so I can power wash the bottom of the car prior to stripping.