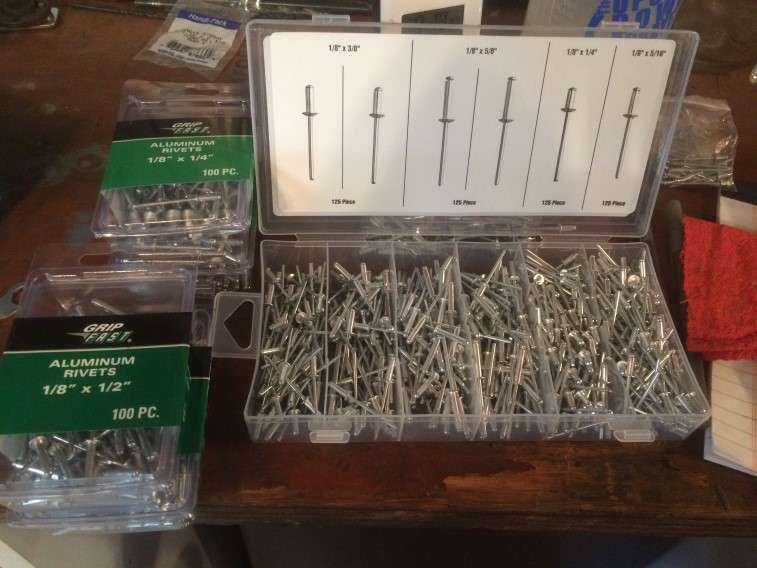
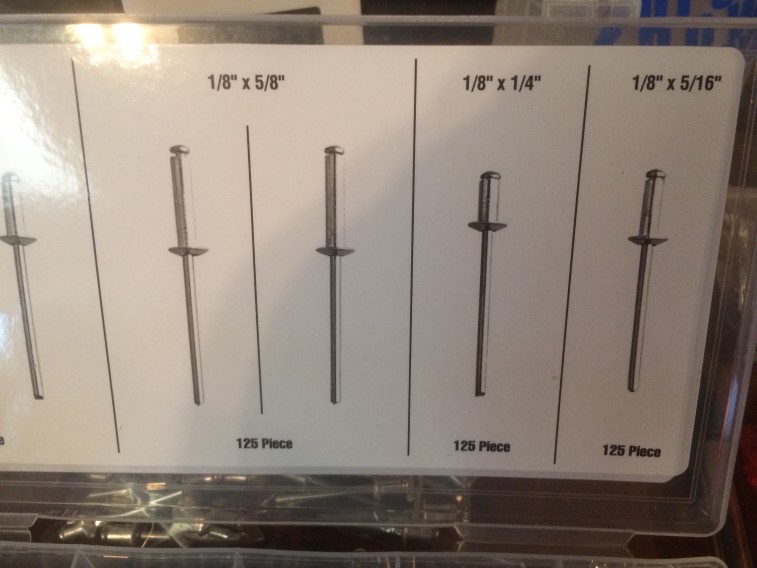
Made a little progress on the trans hump patch… First task was to find a rivet with an appropriate diameter – using this website as a reference. I ended up going with a 1/8″ x 1/4″ rivet.
Using a 1/8″ drill bit, tested things on the old shifter hump: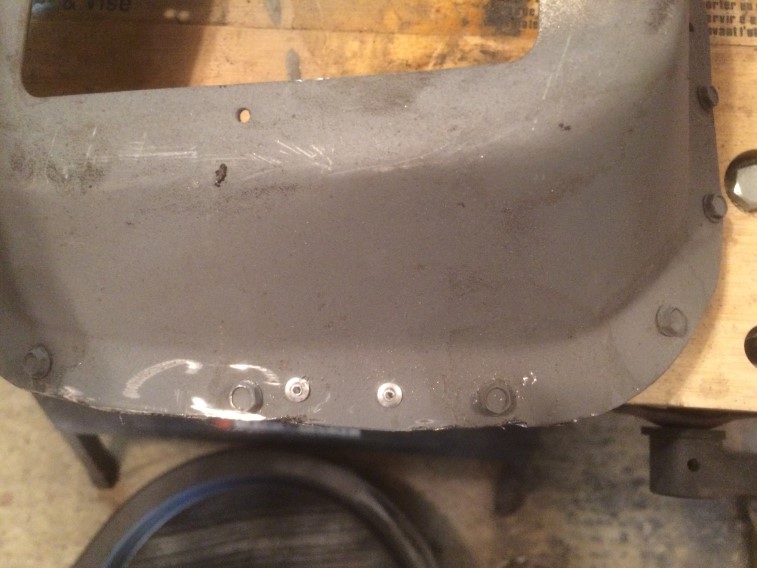
Drilled rivets out:
Now to dive into things realizing I can drill the rivets out and weld-close the hole if I messed things up… Re-studying the placement and starting with the area with the smallest space: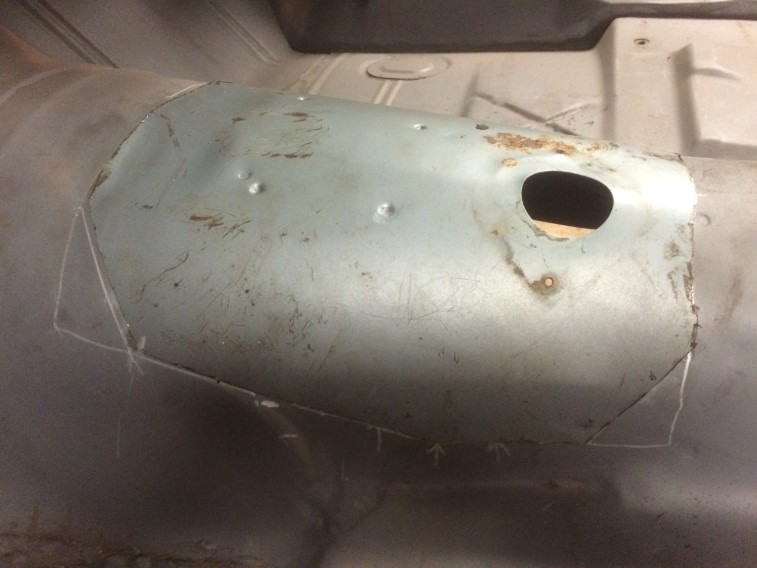

Getting a measurement (less than 1″).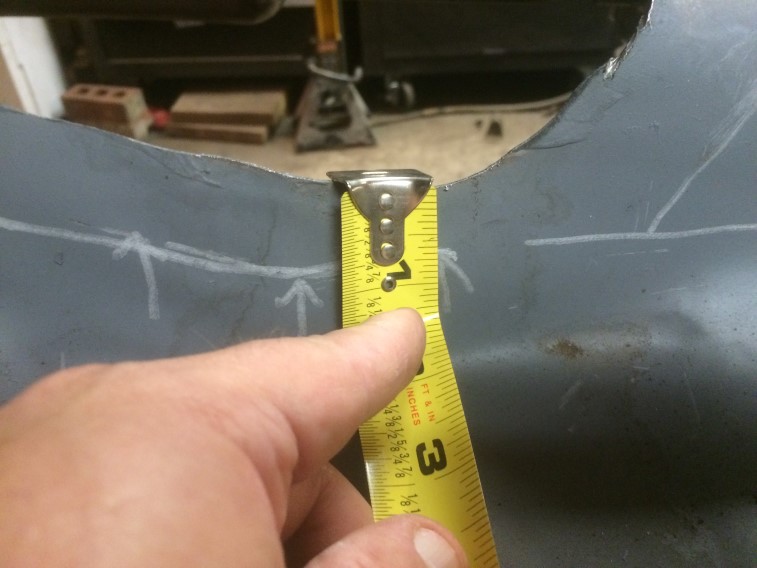
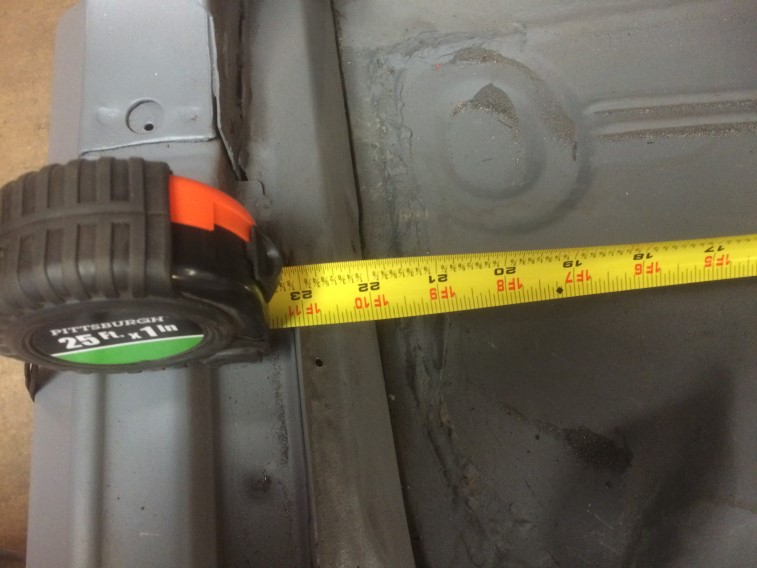
Reference mark: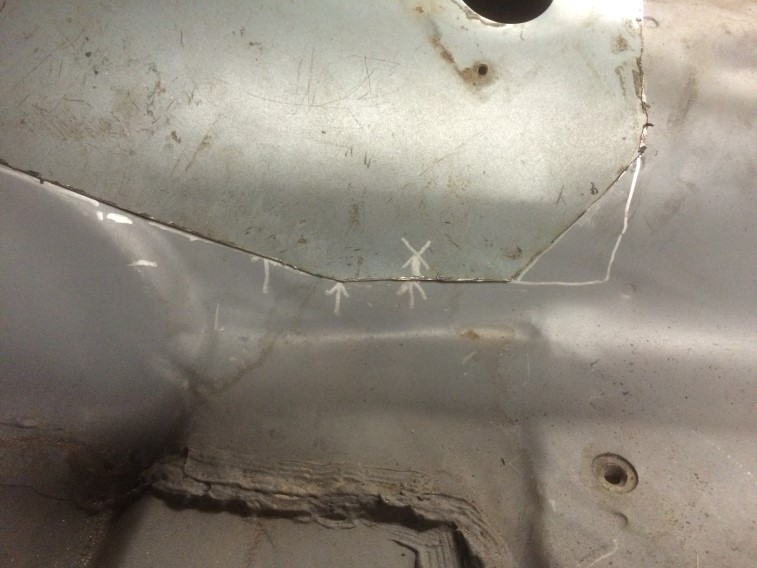
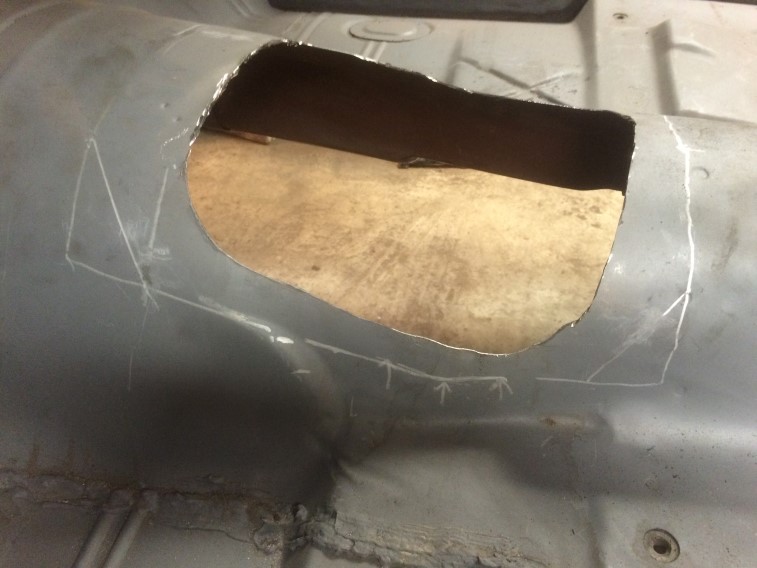
Getting an idea of where the shifter hump will go:
The dot marks the spot: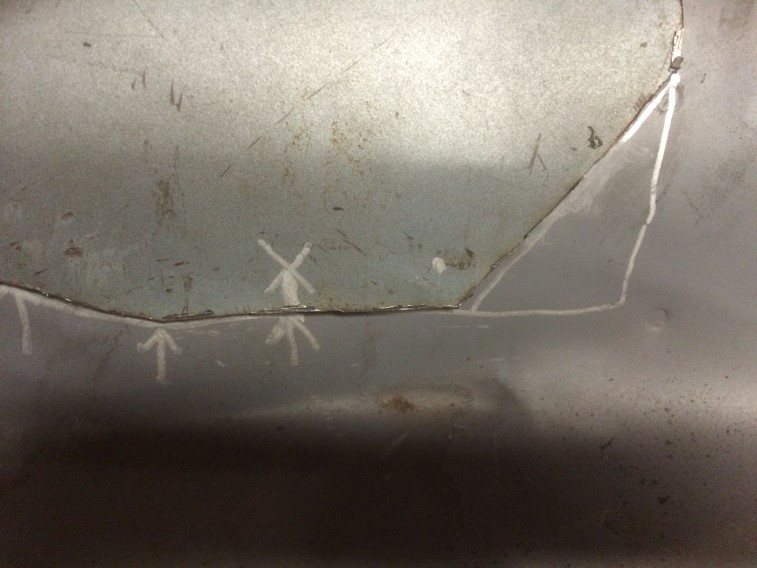
Drilled hole:
marked the hole: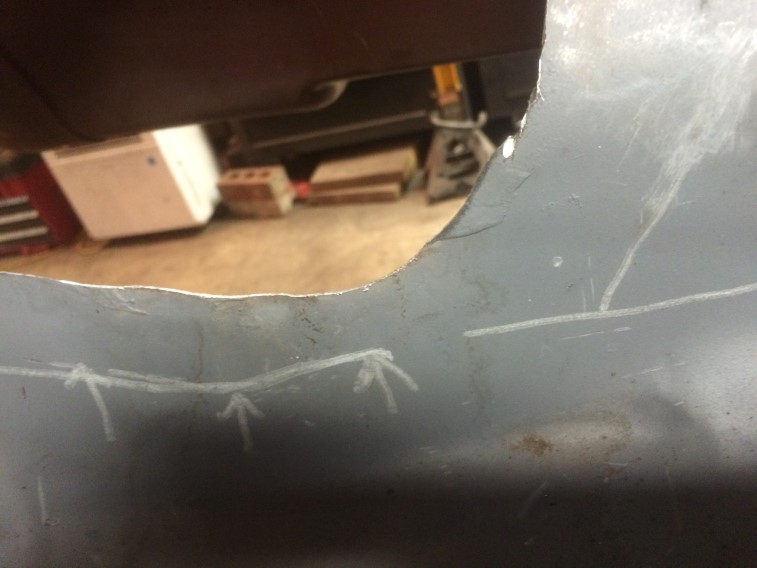
Worse of the holes drilled and marked: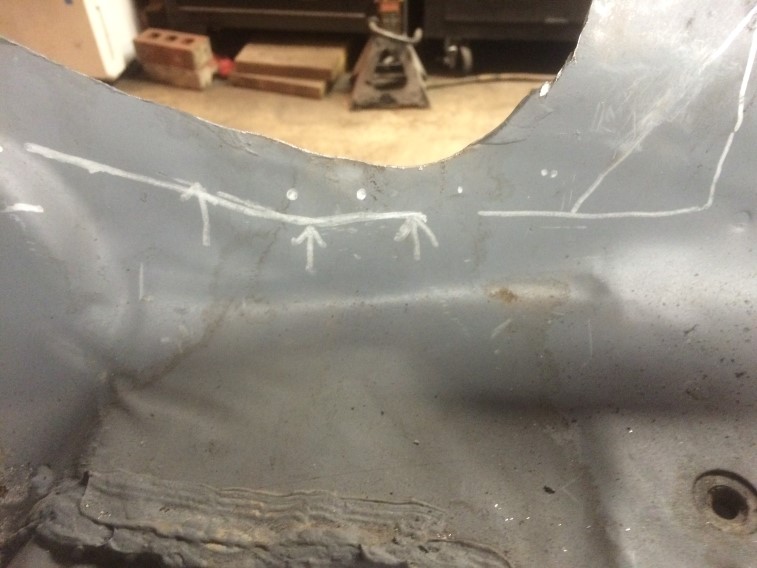
About as much fun as drilling out spot welds!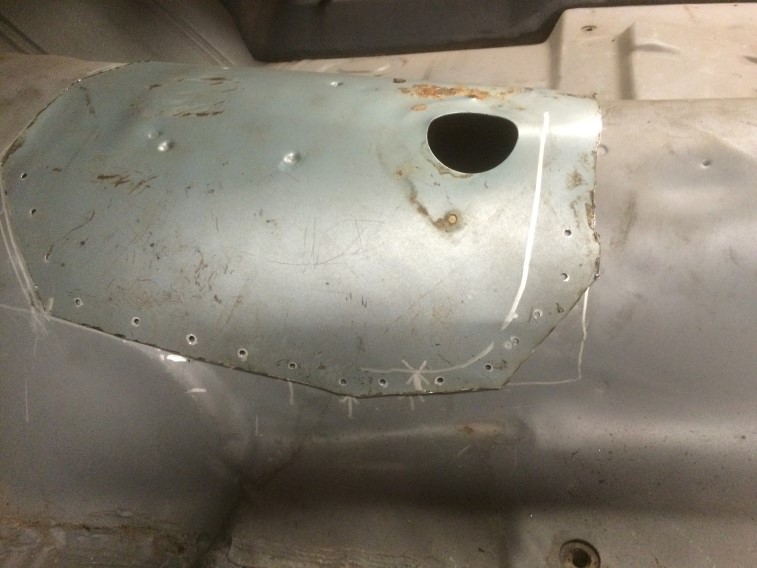
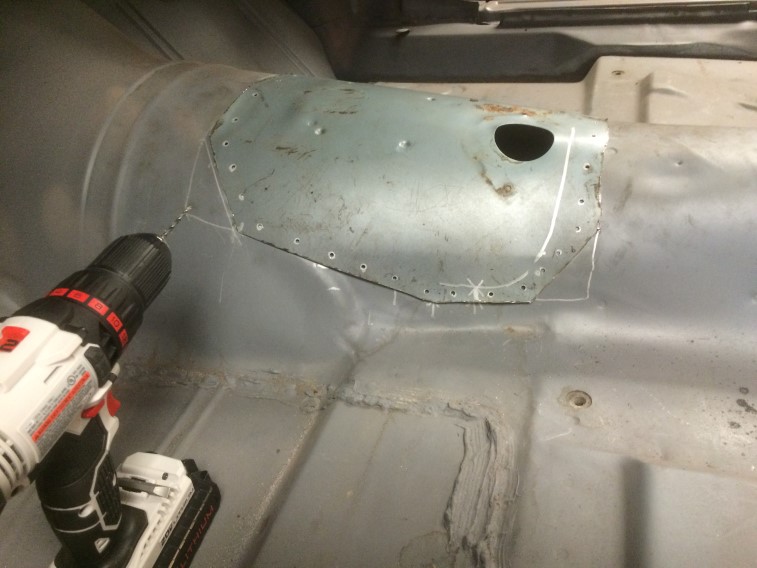
So after drilling all of the holes on the patch first, I started drilling and riveting the patch in. Using a rivet as each hole was drilled: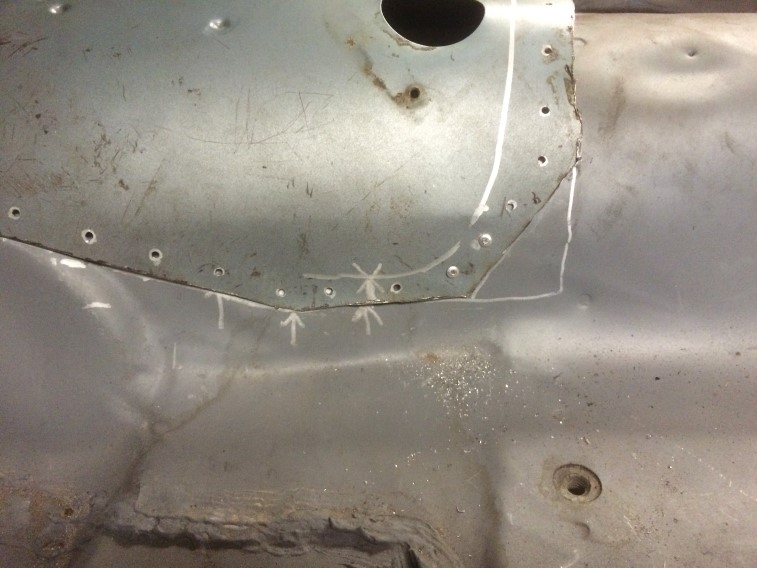
Worse section done: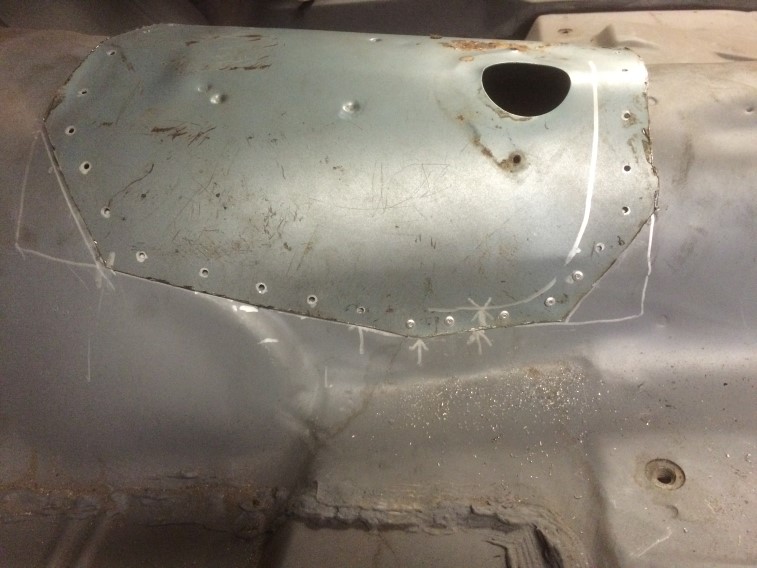
Of course, all of these rivets will have to be drilled out when I use the 3M bonding as a final step.
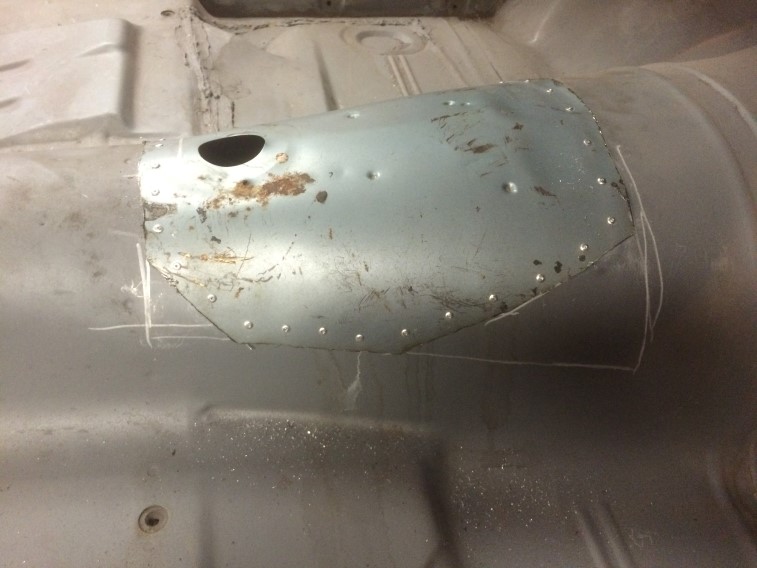
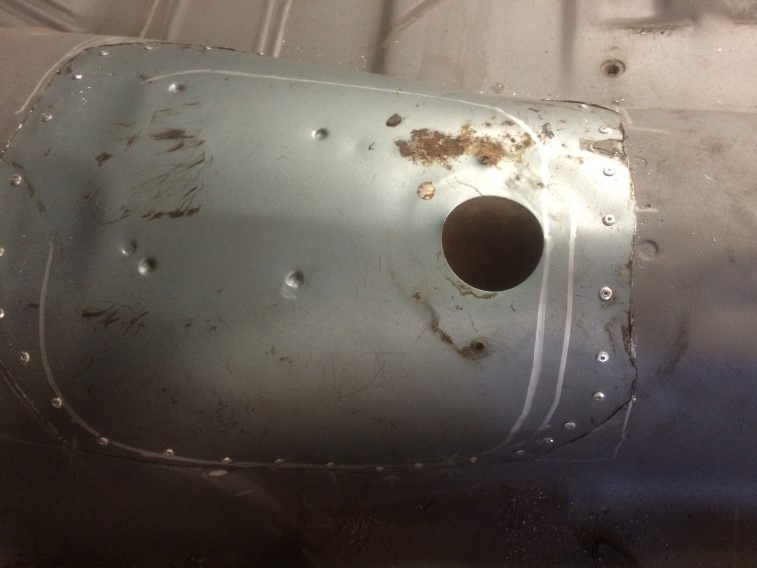
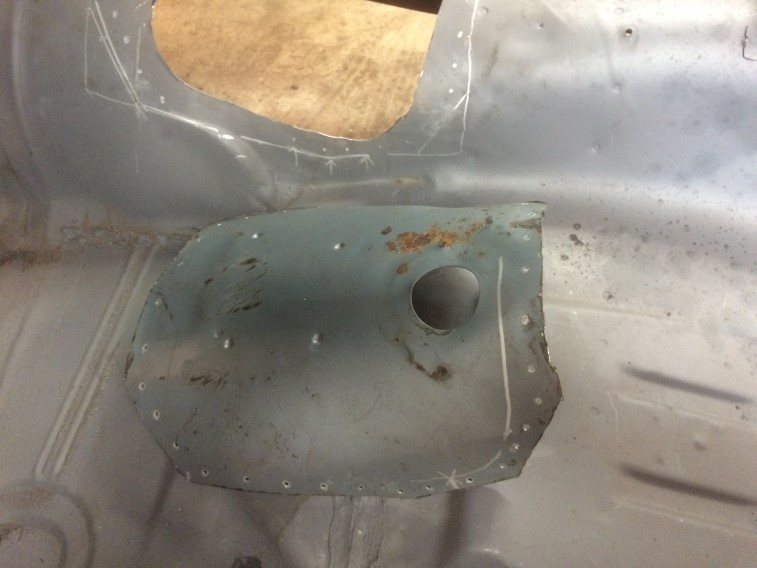
Getting an idea of placement. The patch will have to be massaged into place – currently not a tight fit. I have posted the link before, but this is the link I am using for the stock measurements: http://nastyz28.com/forum/threads/4-speed-hump-measurements-from-a-72.234718/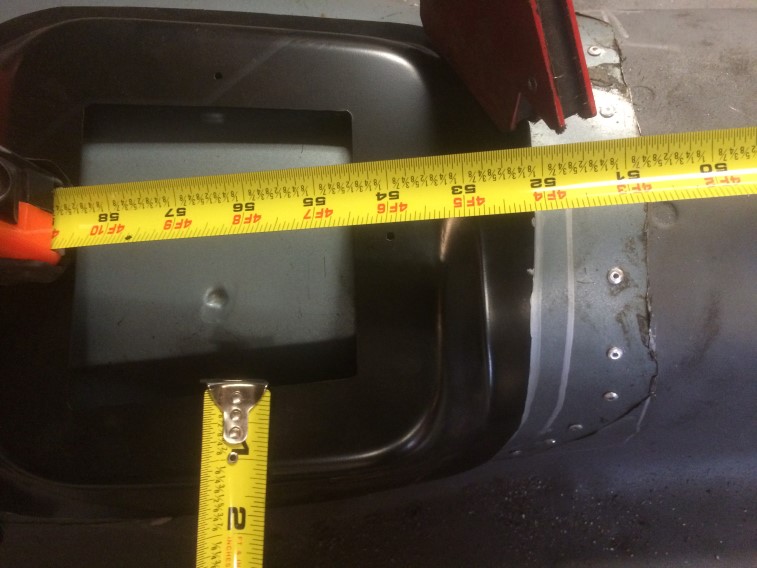
Next step will be to confirm the measurements and massage the shifter hump patch in place and also rivet in. I will also be using the center console as a reference before riveting in, Hopefully next weekend I will get that done. The marks below show roughly when it will go: