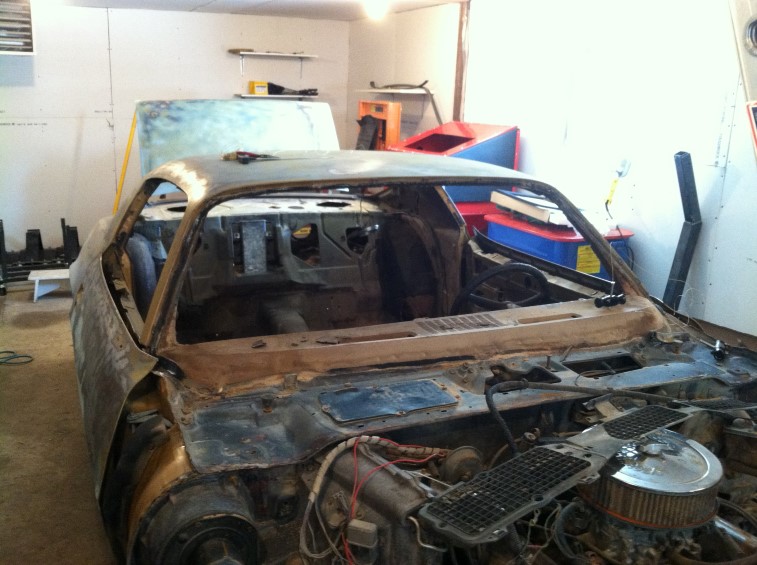
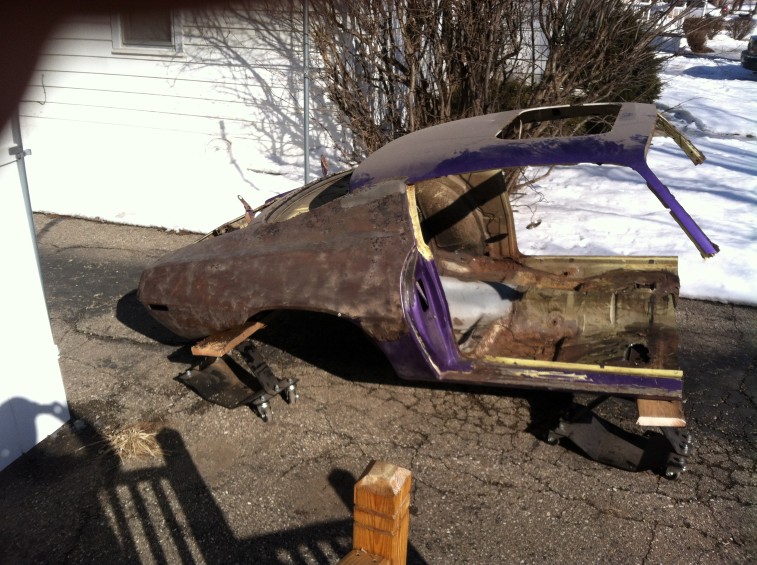
Switching gears on the project. After pricing out all of the sheet metal I need to complete this project, I researched my options and found a car in Arizona (same year Camaro) that is pretty much rust free for the same price as the sheet metal (including shipping). The person selling it is a NastyZ28.com member and had it listed in the local Craigs List:
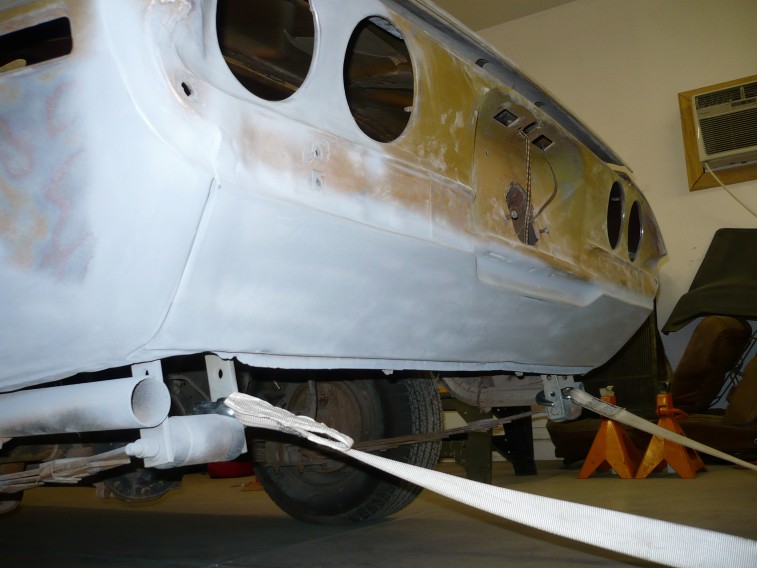
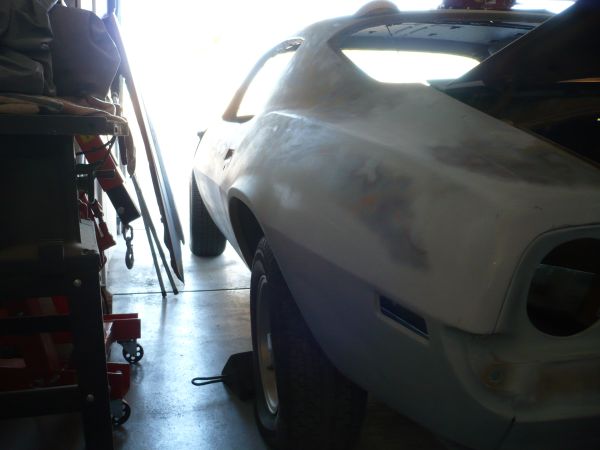
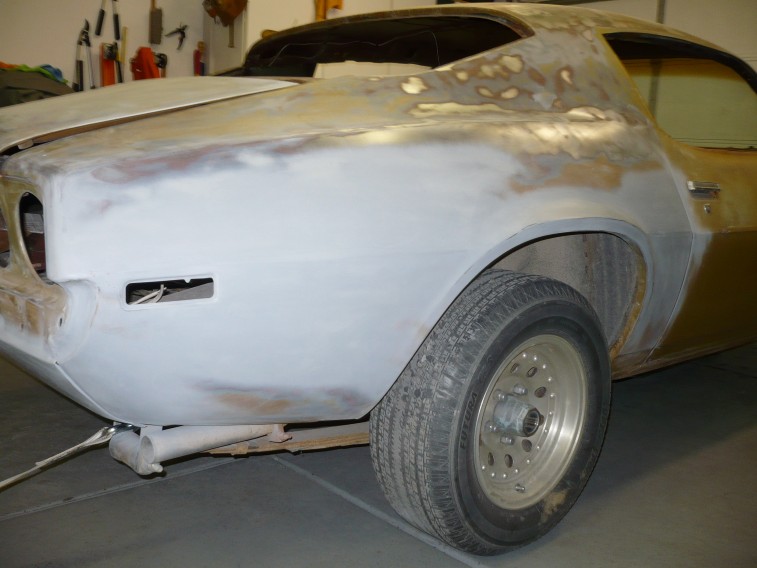
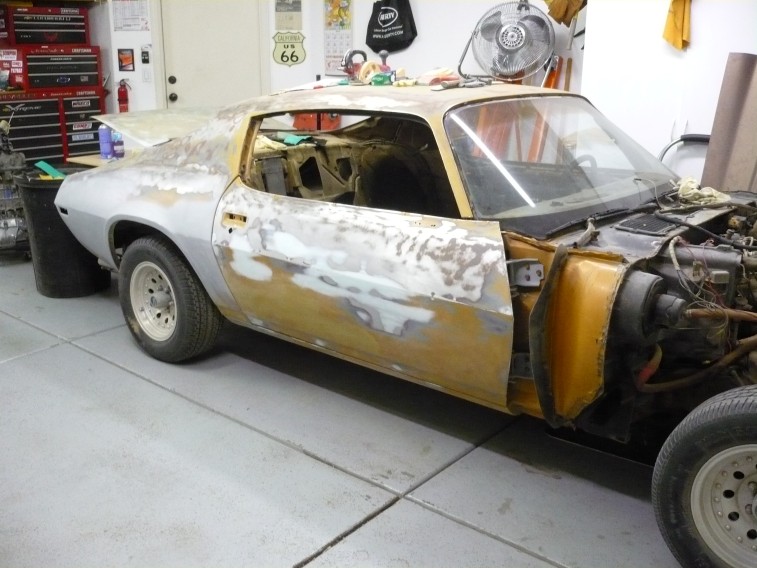
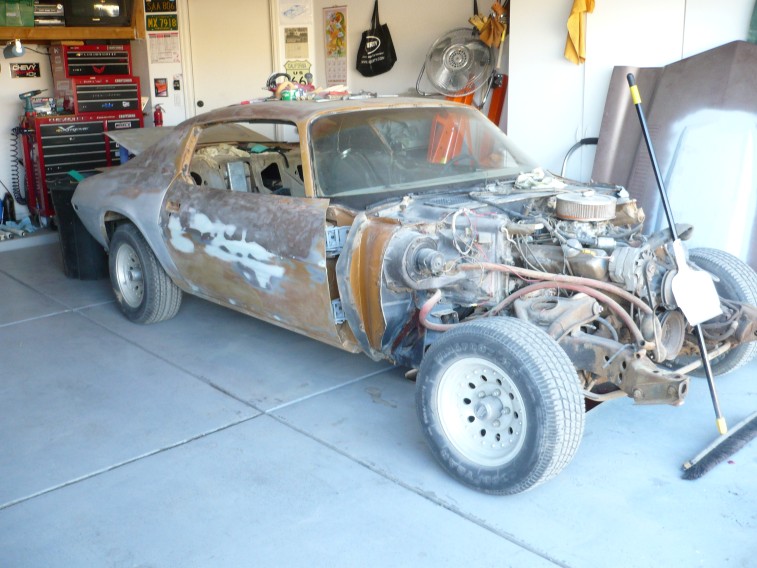
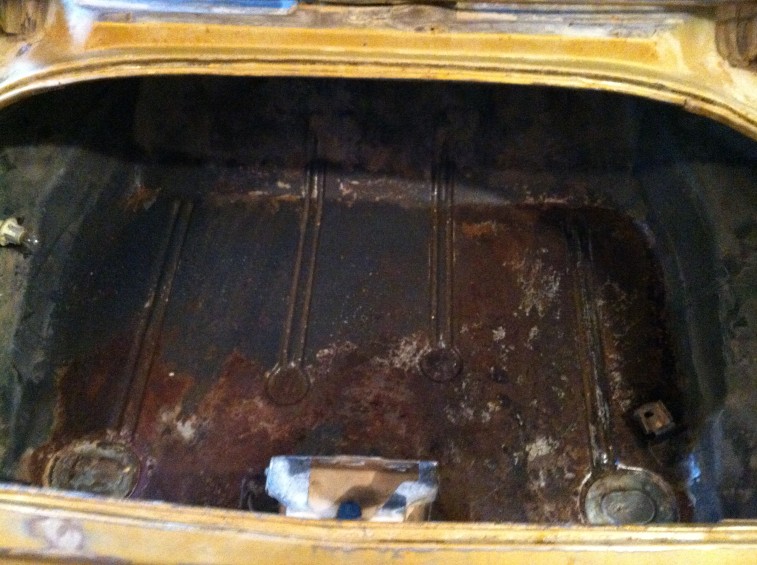
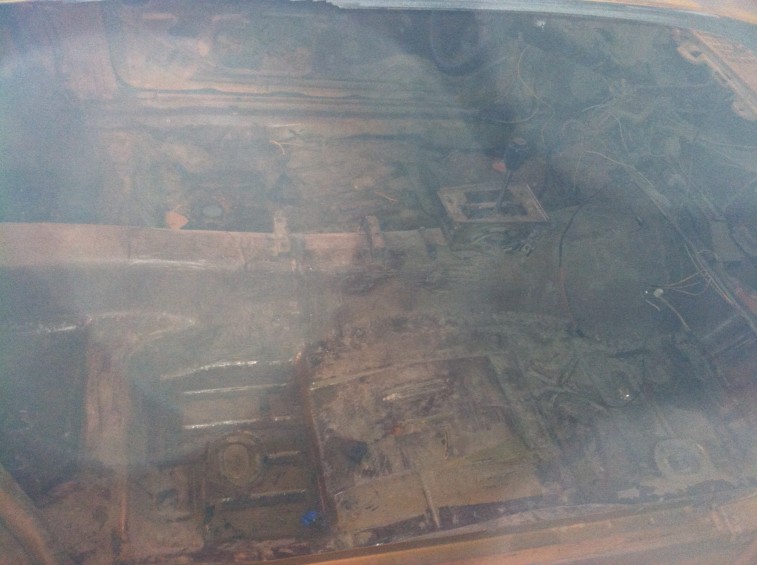
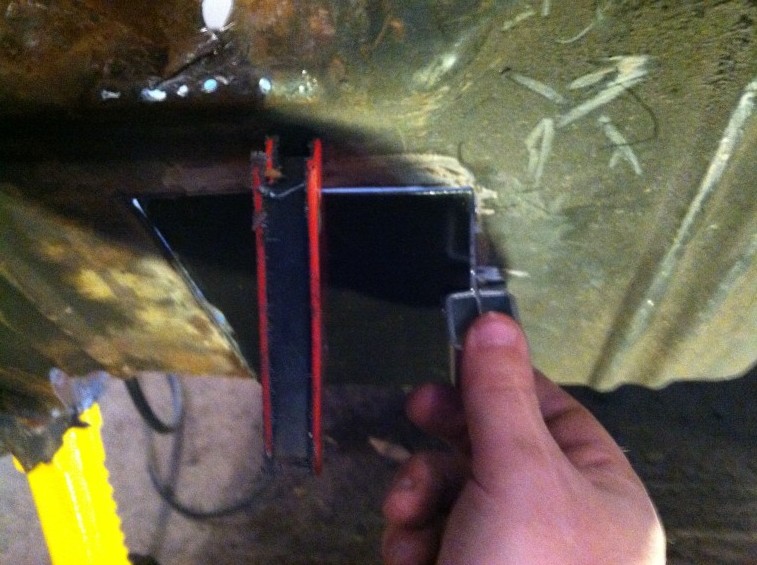
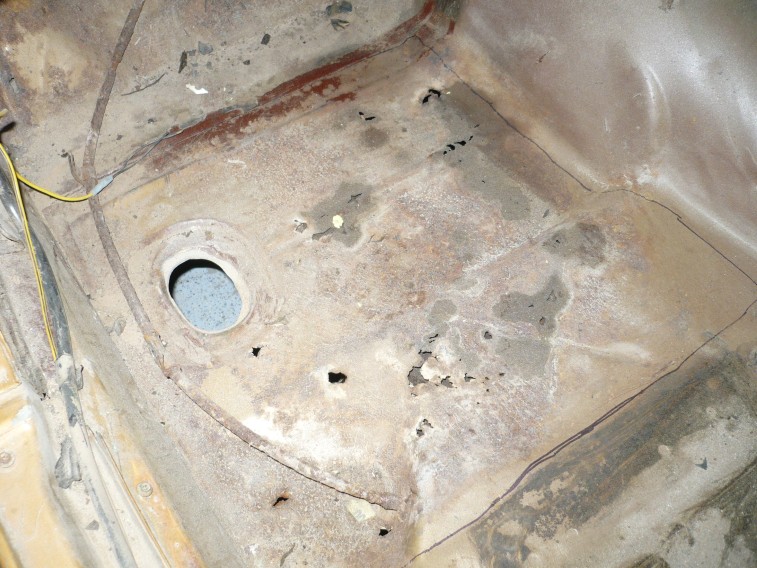
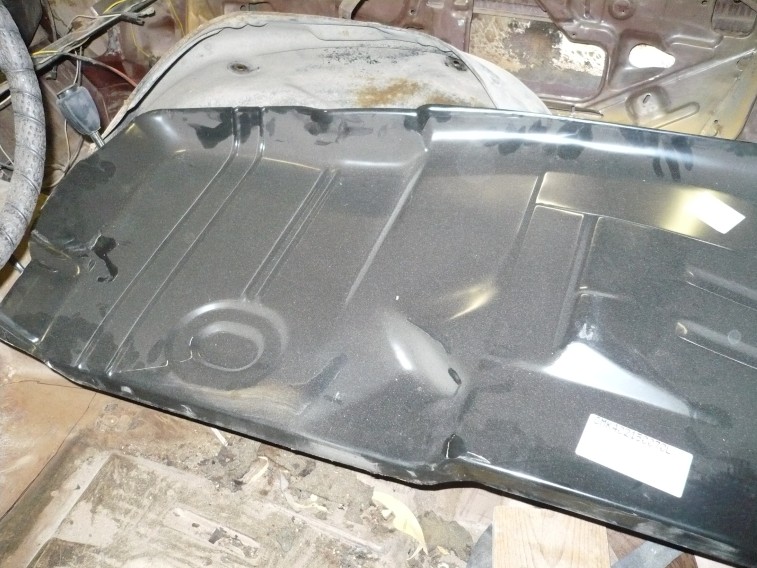
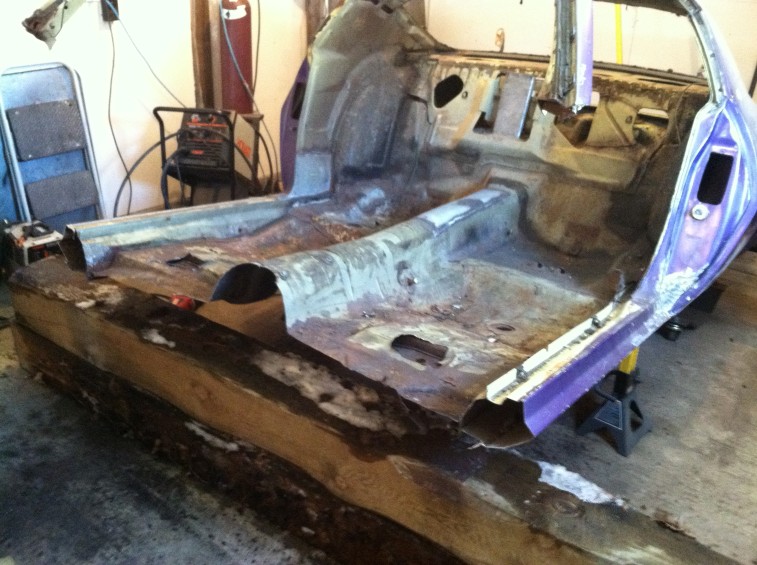
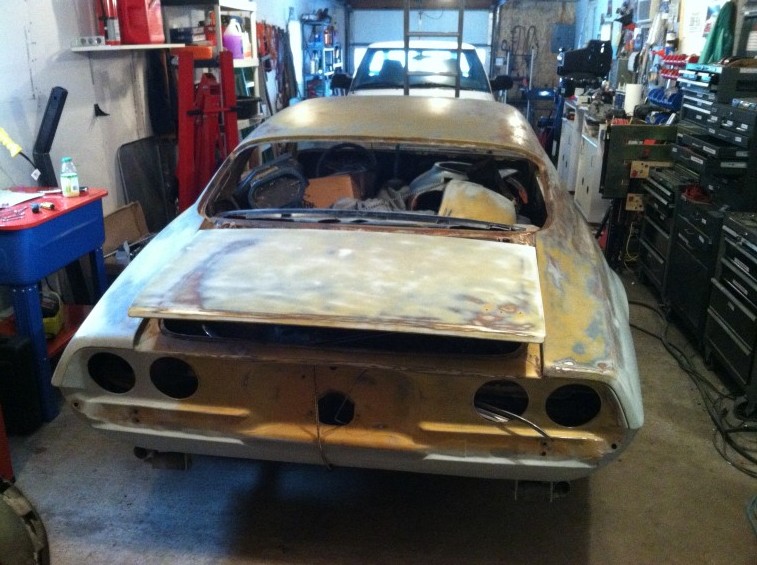
Pretty much a rust-free shell needing a small patch in the floor – also included pan for patching:
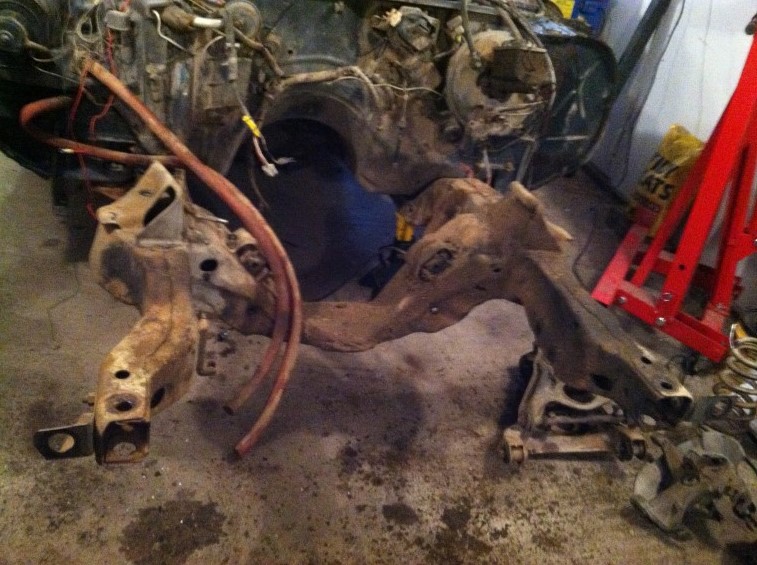
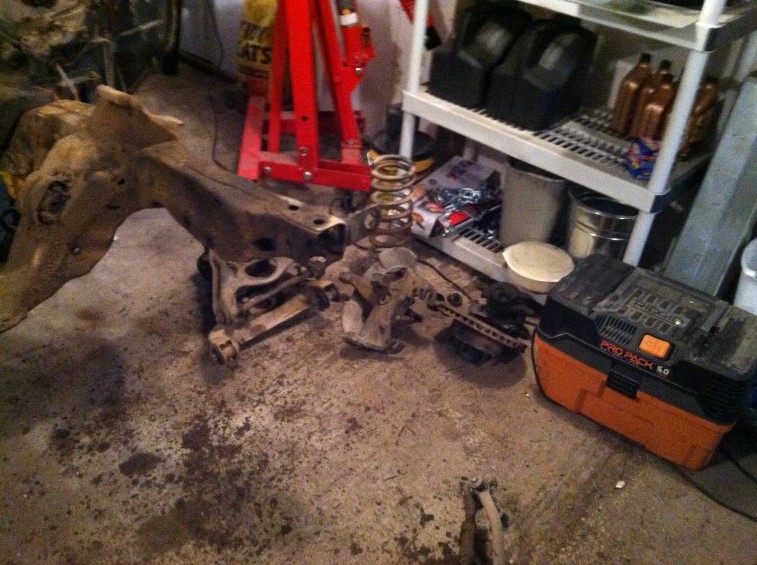
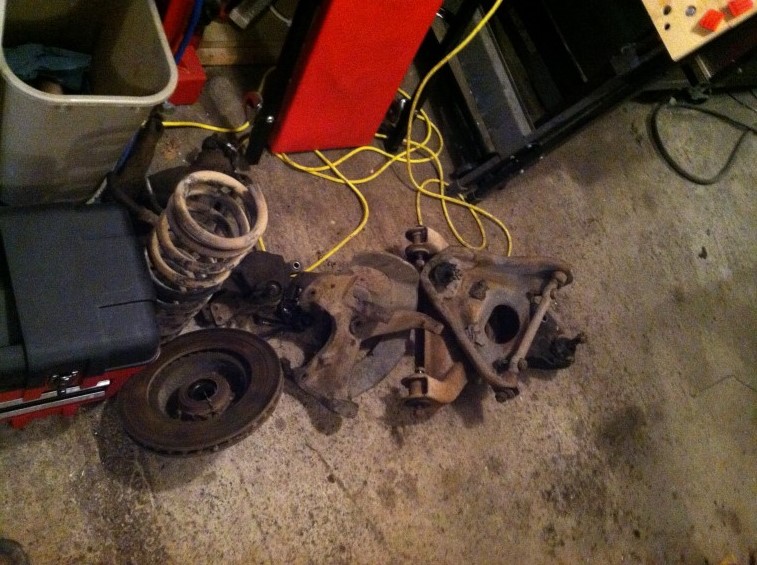
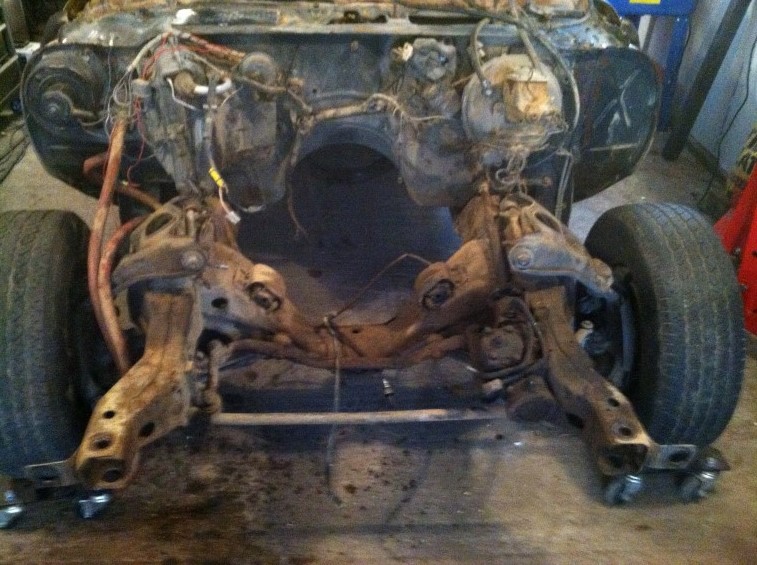
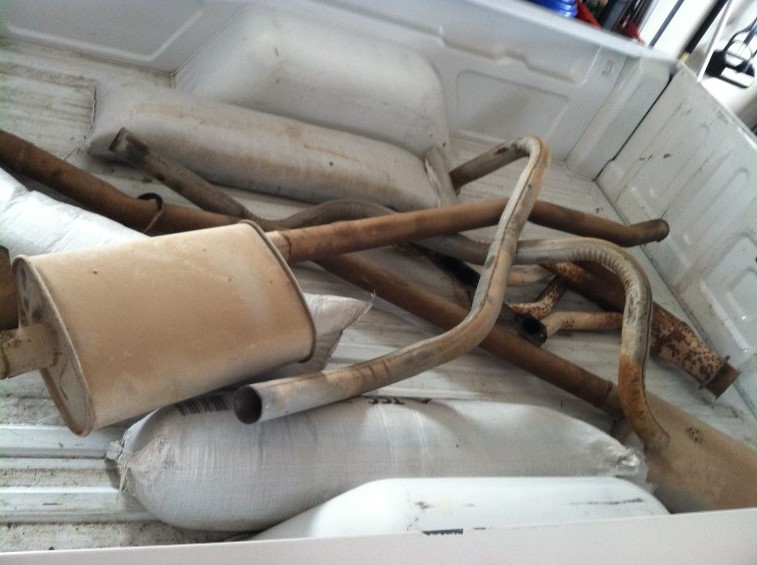
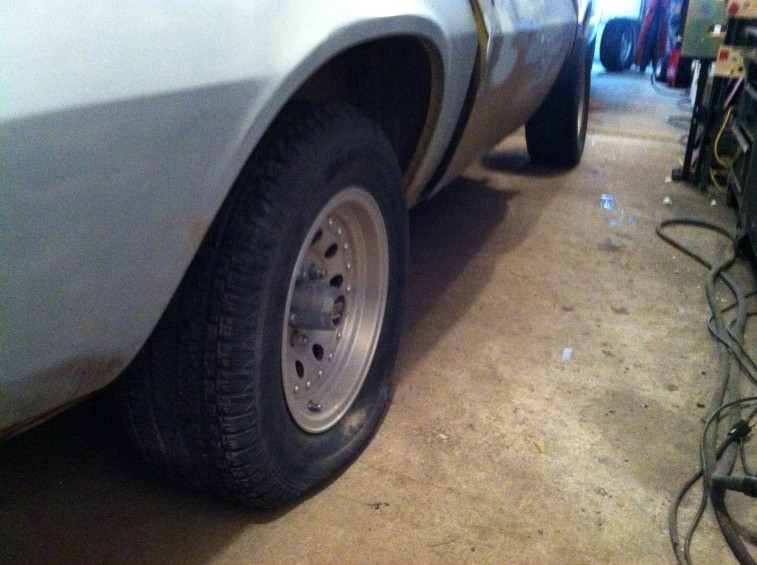
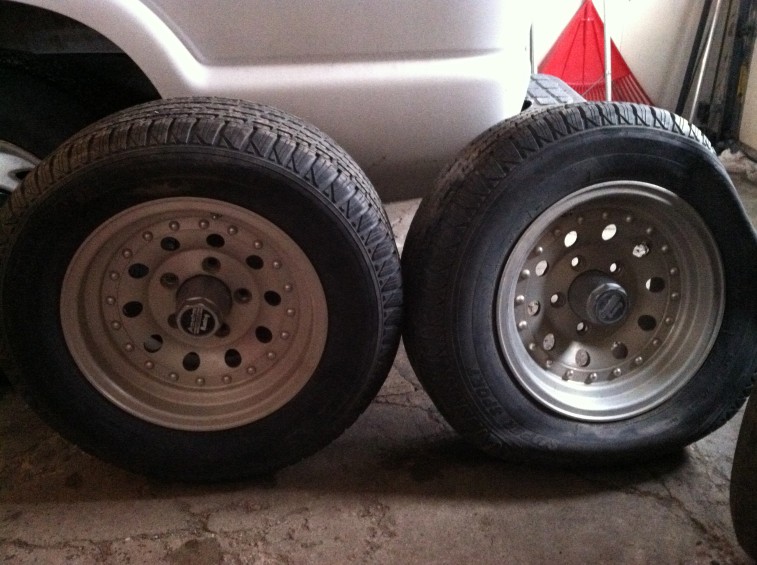
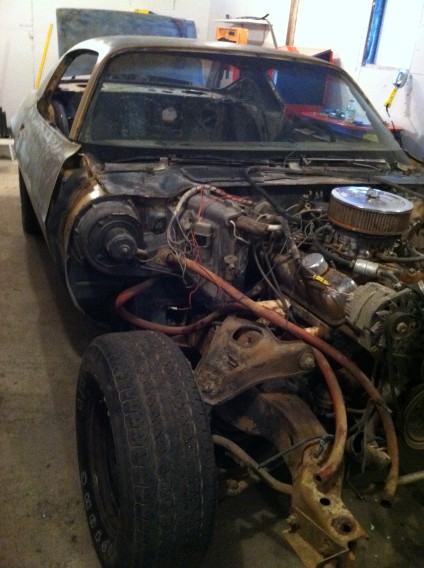
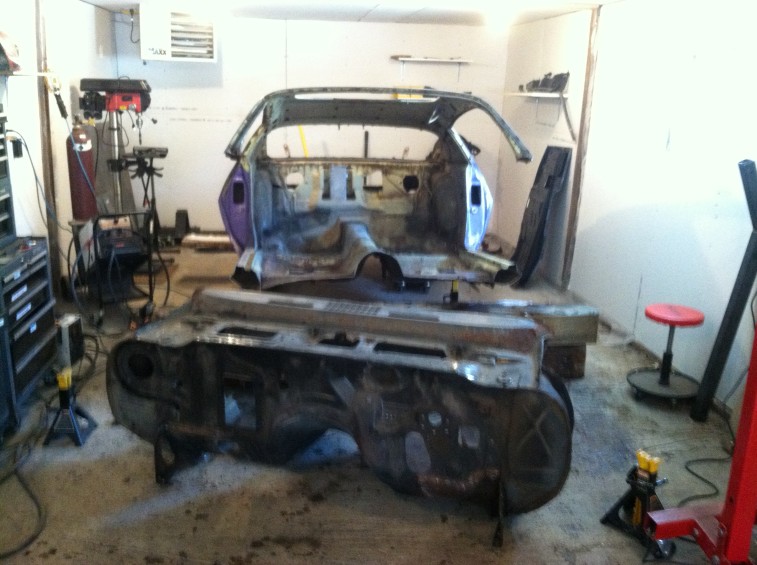
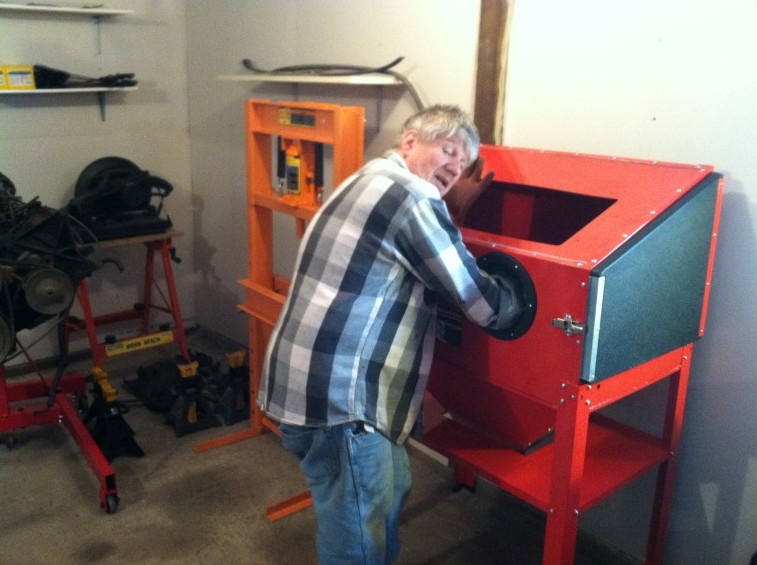
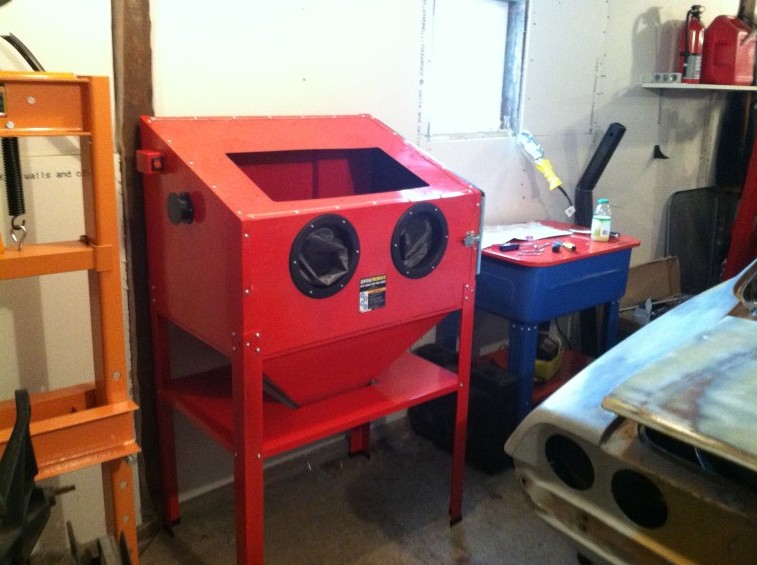
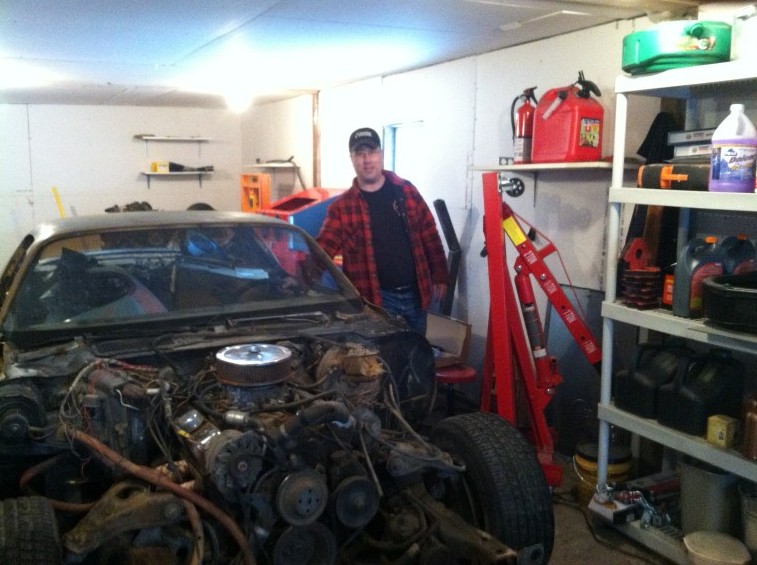
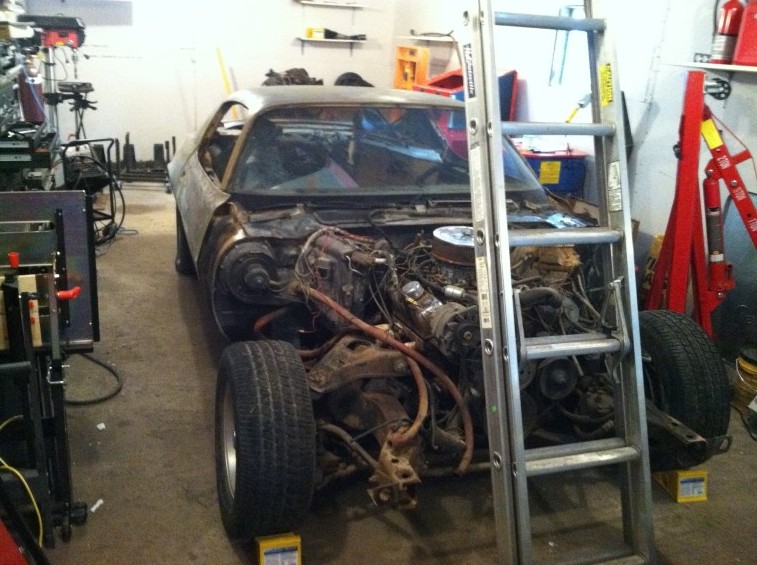
I had my folks who live in AZ go out and look at the car, then purchased and arranged for it to be hauled out to me. While all that was going on, I sold some parts off of my old shell and cleared out some space in the garage:

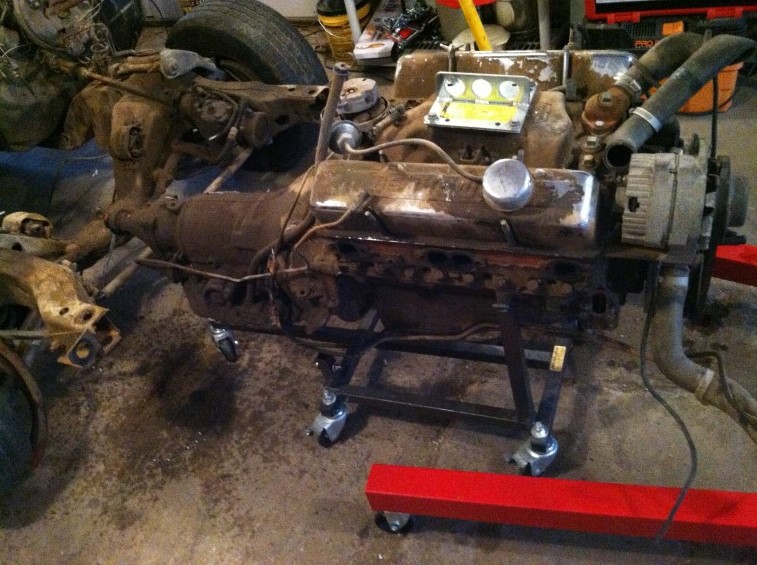
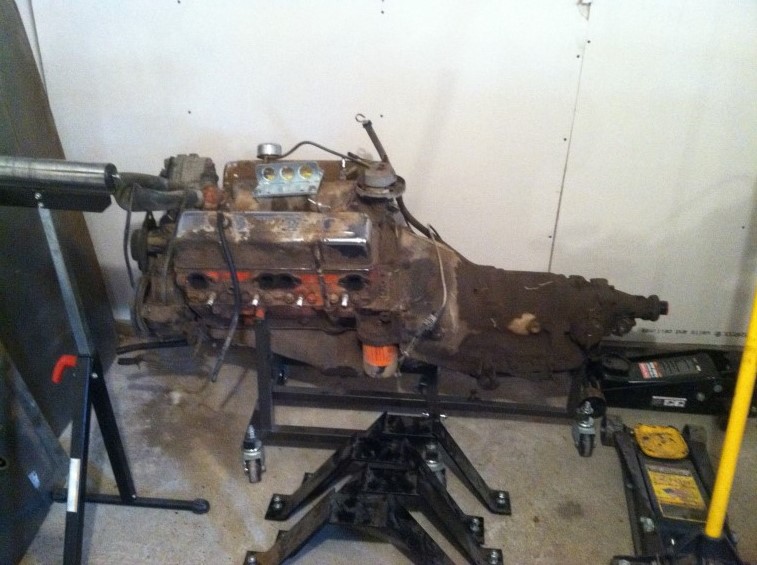
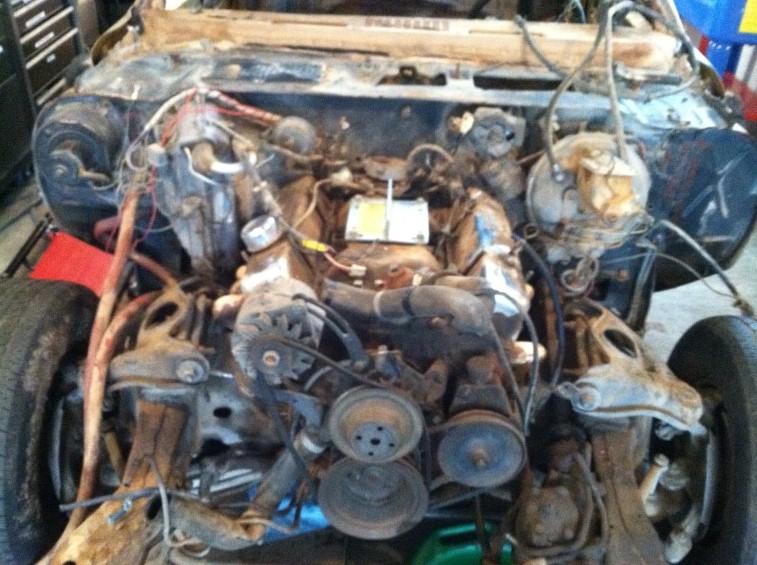
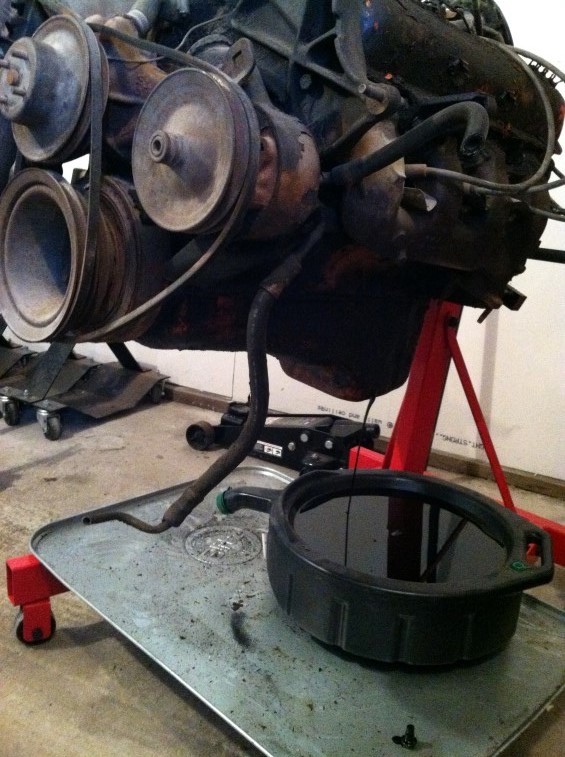
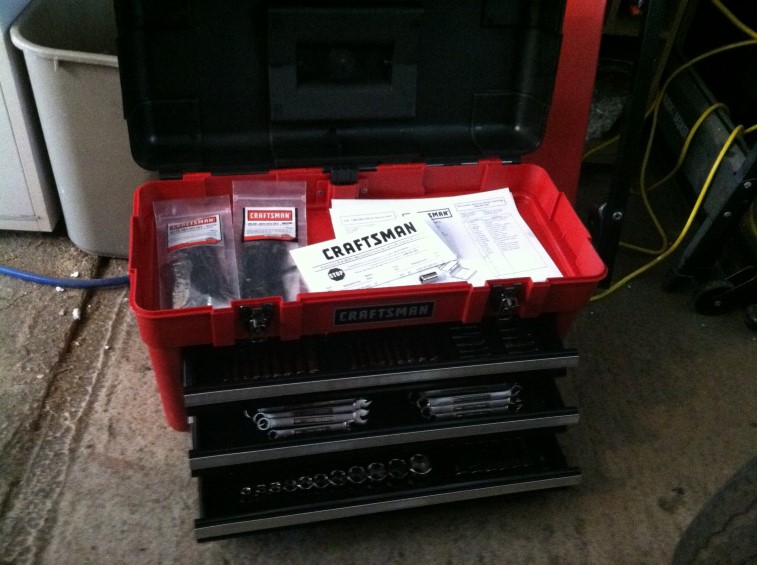
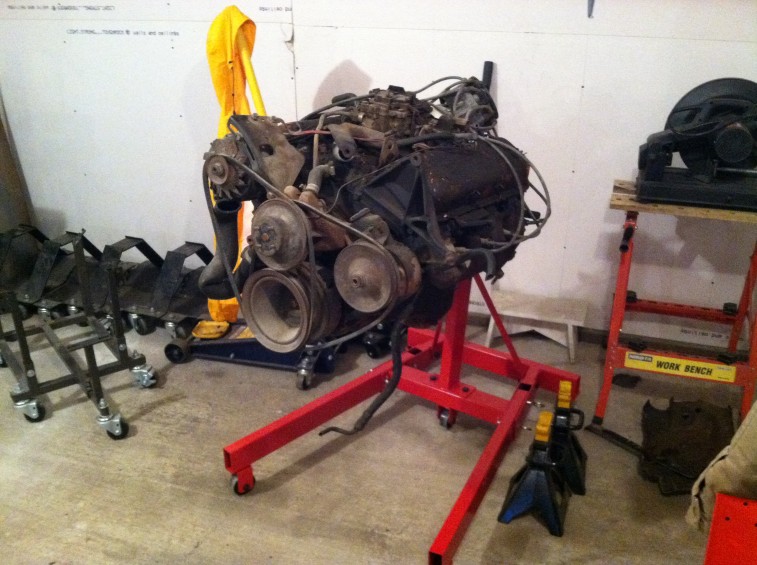
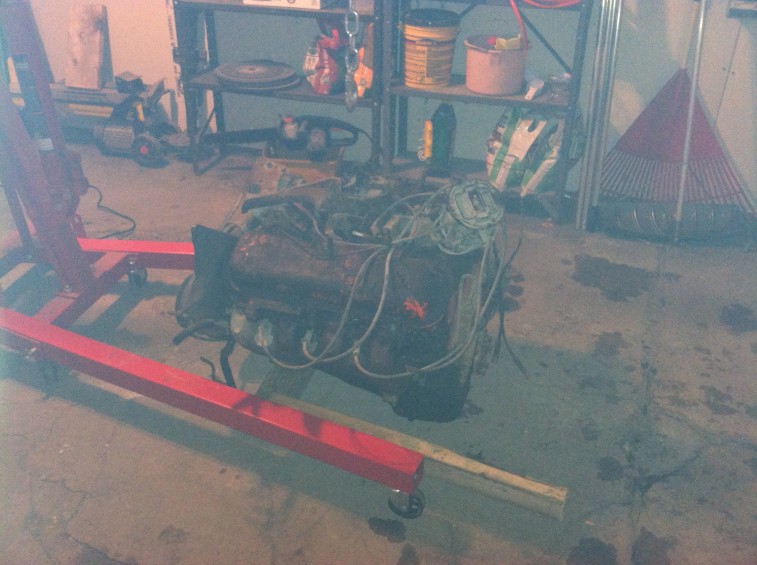
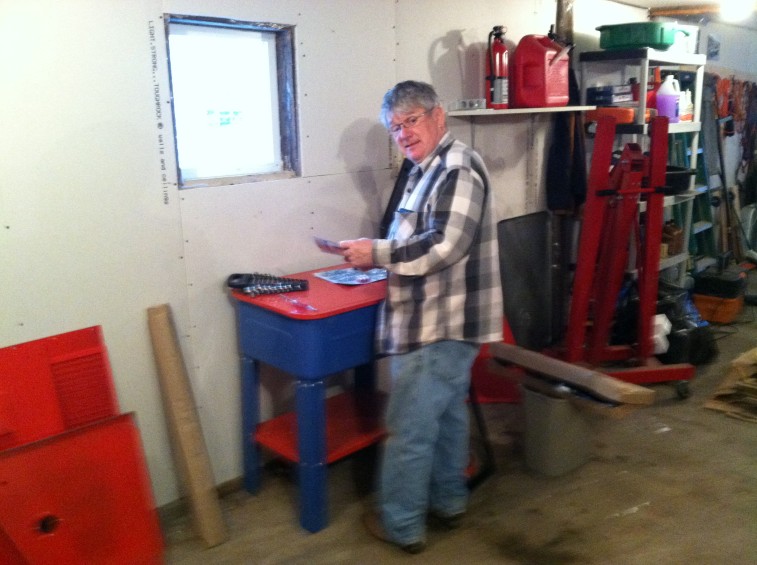
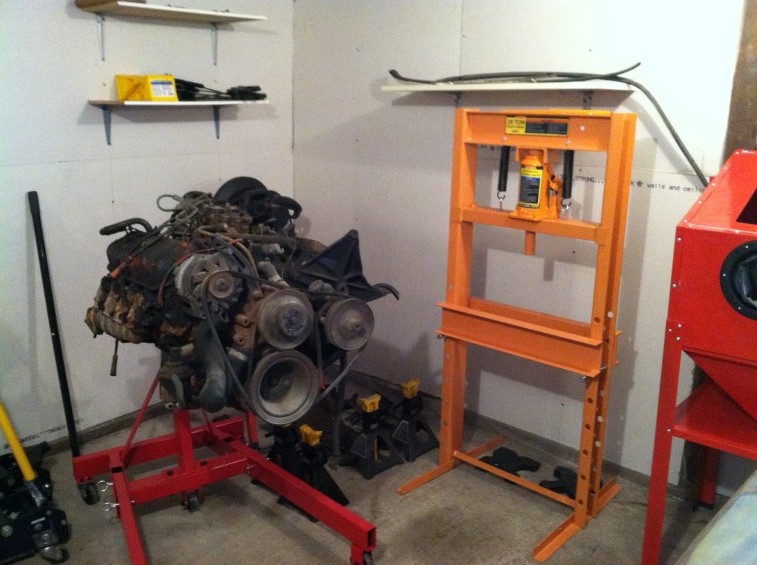
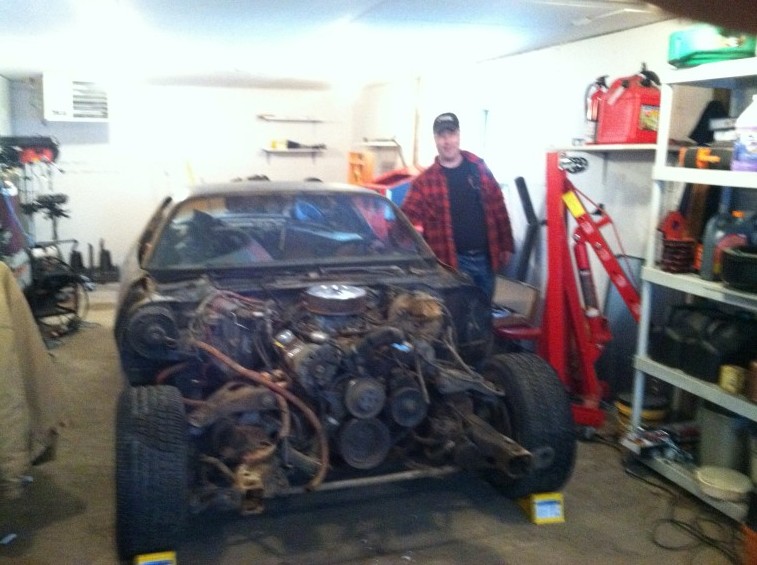
Also purchased a 454 engine and a few more tools for the garage:

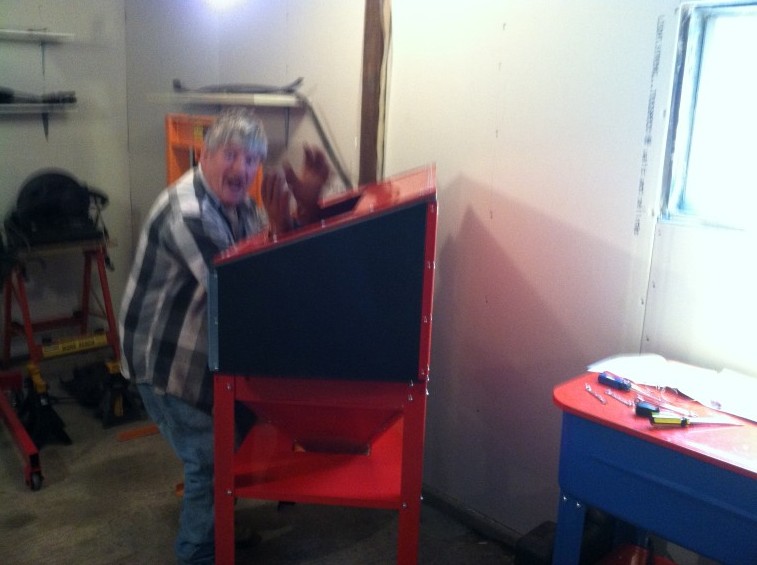
My neighbor:
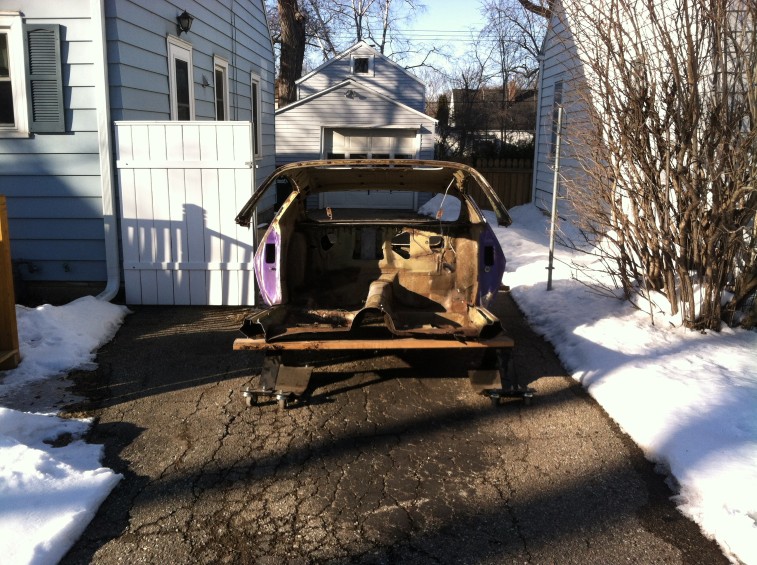
The truck arrives:
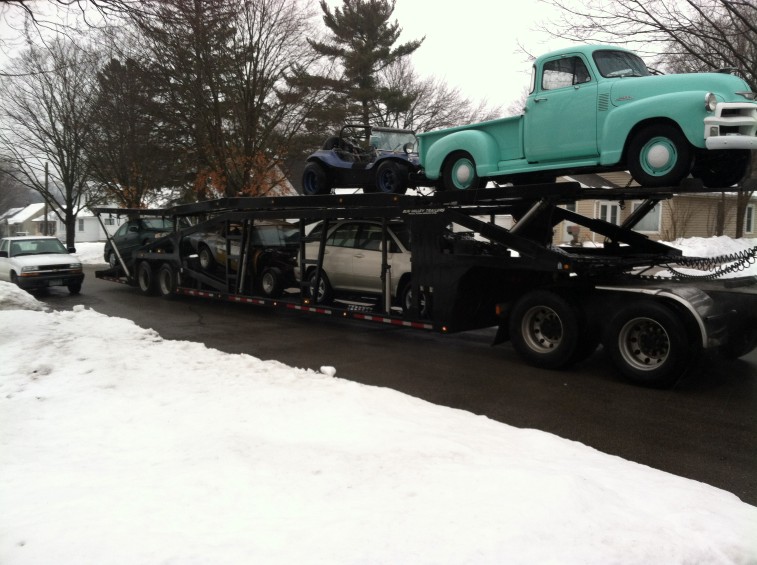

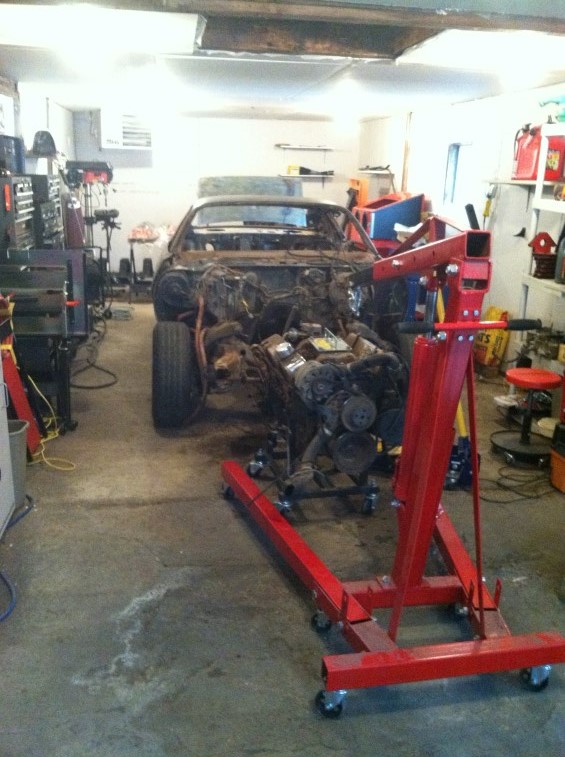
Car’s new home (good thing the neighbors helped!):
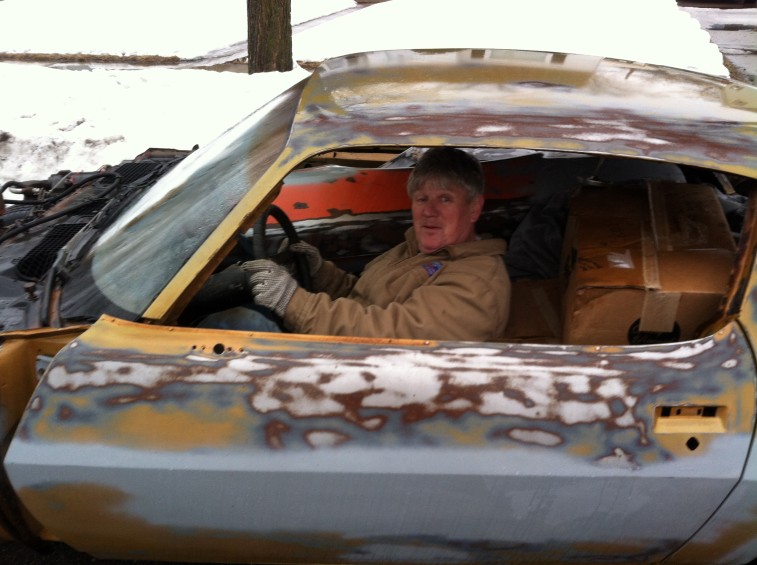
Me:
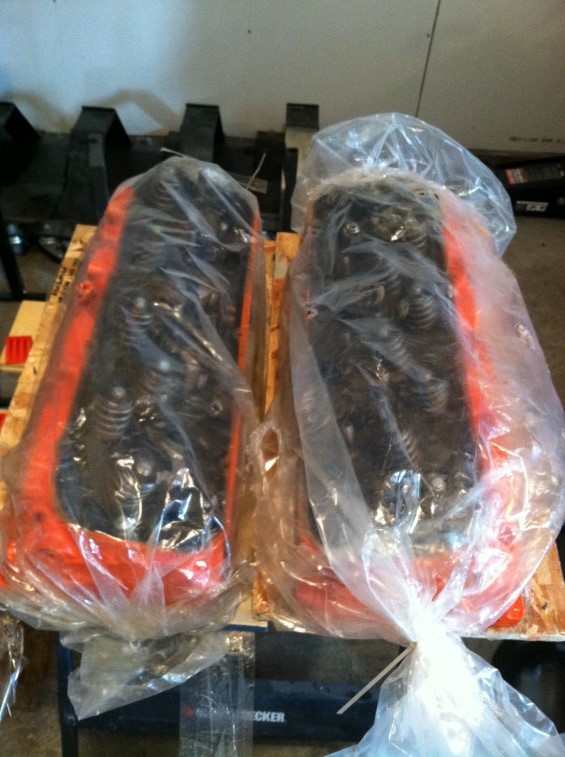
Now I have to unpack and see what all I have. Then work on that patch panel, strip the car down and get it on the rotisserie for the first coat of primer! Still waiting for the new title and plates to arrive in the mail within the next three months. I also need to update the blog menus for the new project!