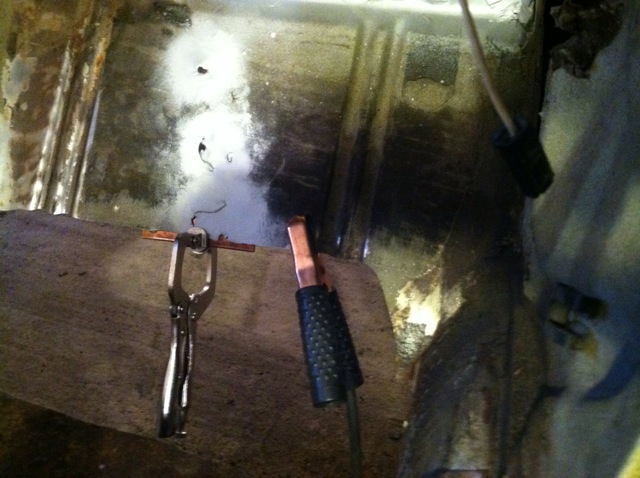
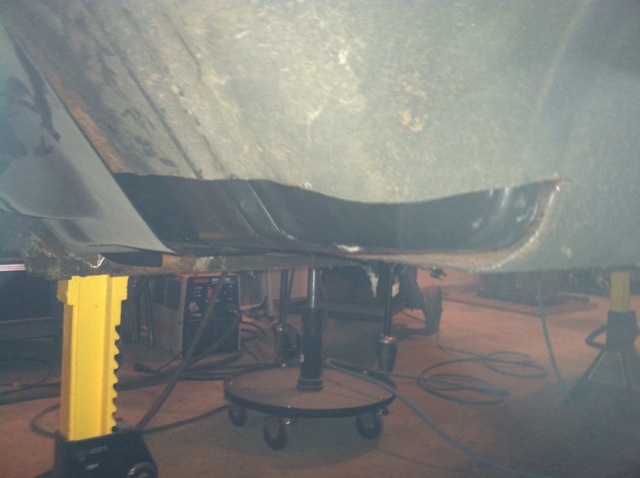
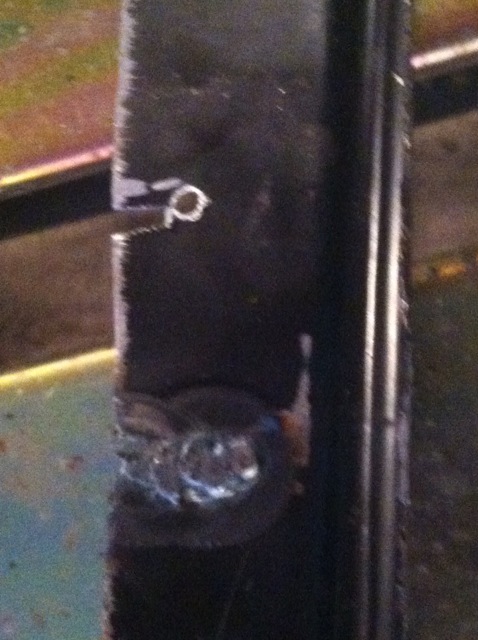
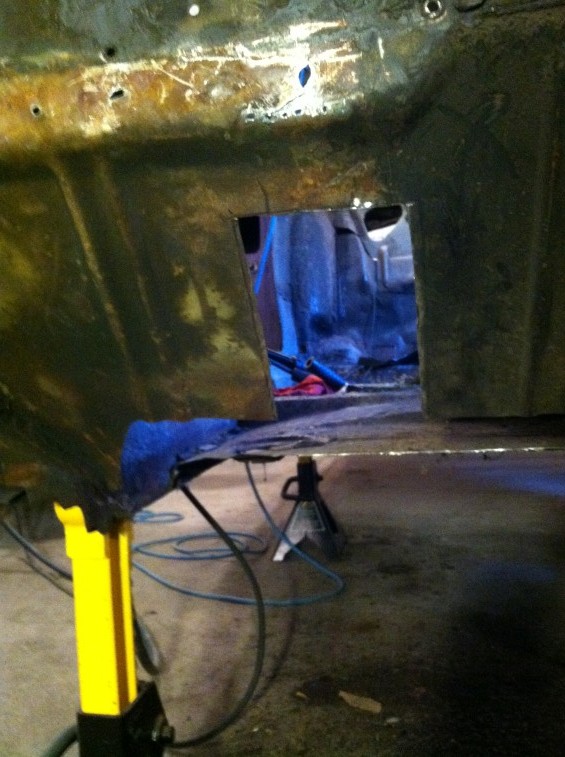
Got some work done on the passenger toe board today. Decided to go another route and patch the rough area rather than trying to fill-in the holes. Used the extra pieces of the half floor pan from what I cut out the toe board patch. It is the same gauge metal.
First – rough cut the opening:
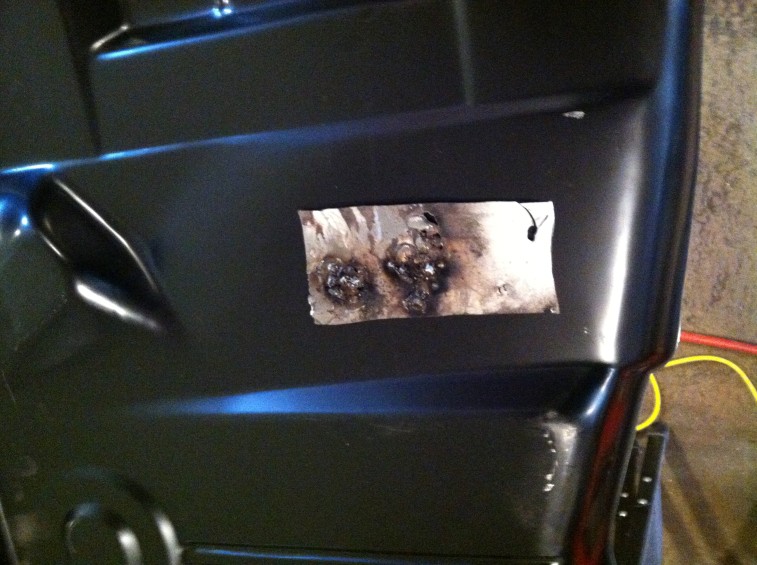
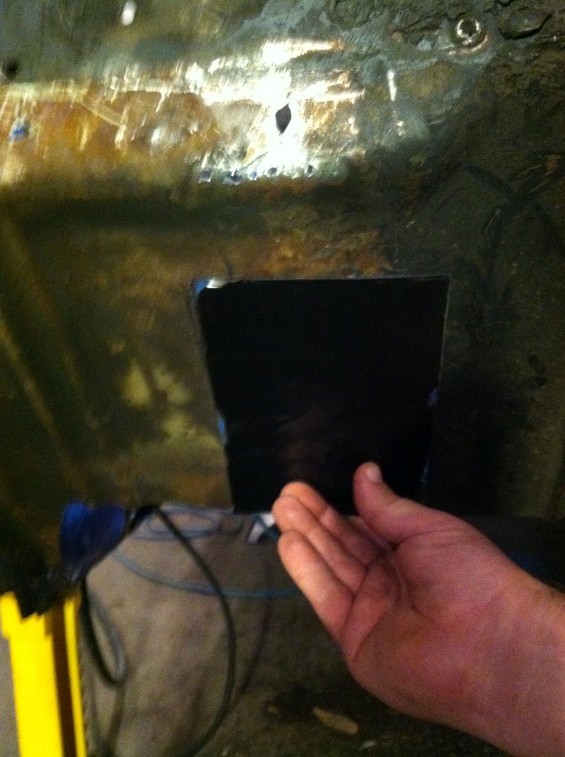
Next, place the cut out piece on the patch panel to be cut out for reference:
Cut around the outside of the tape – I want the patch panel to be larger than the rough cut area:

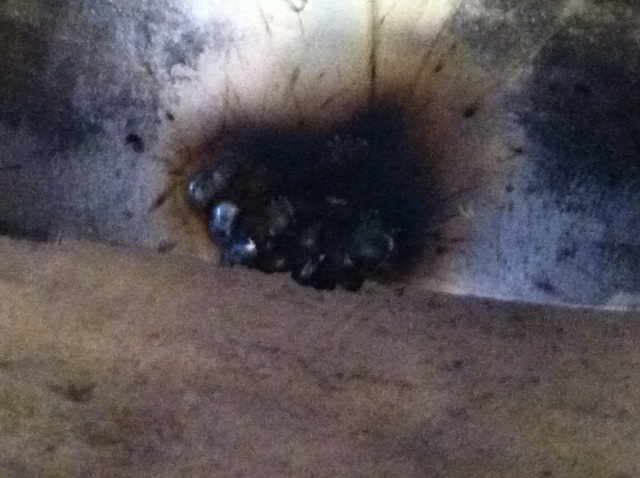
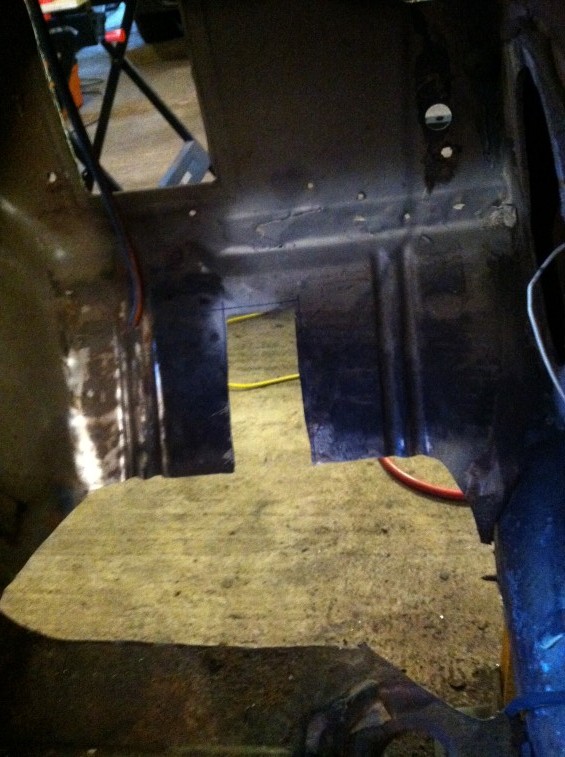
Mark what needs to be cut out on the toe board:
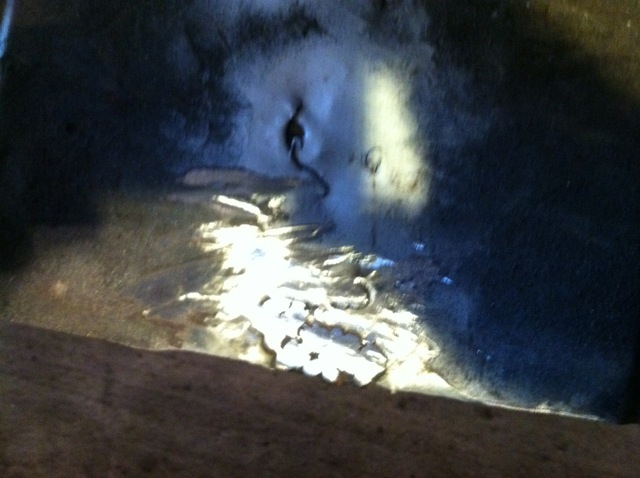
Cut inside the marks to give some wiggle room:
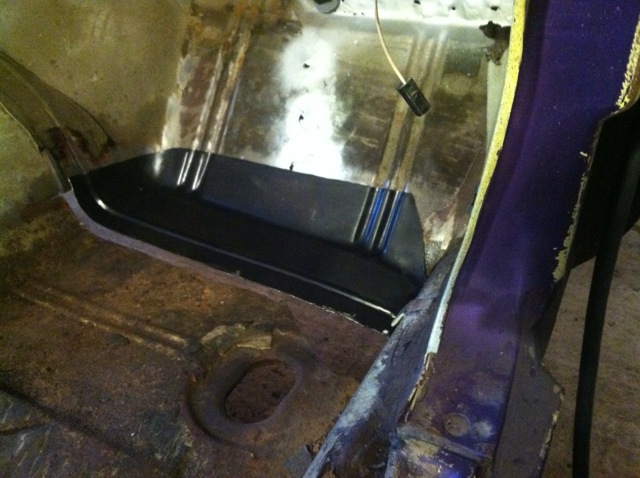
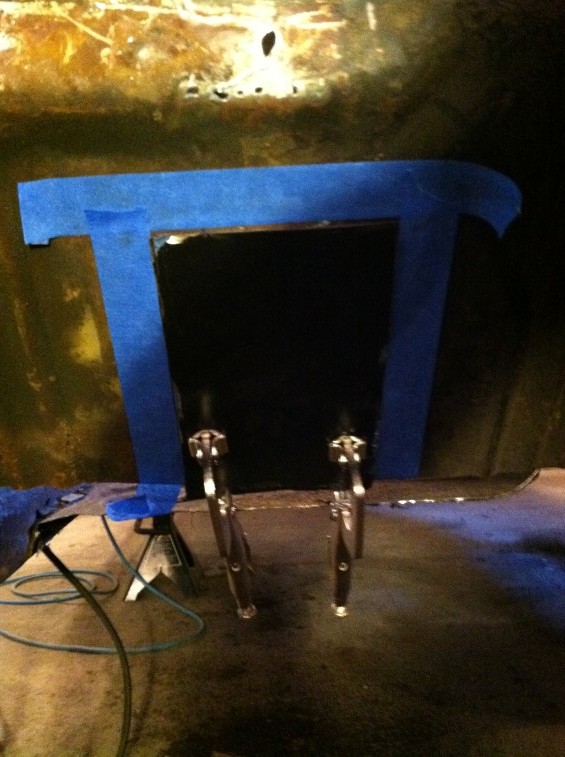
Double-check the patch panel covers the cut out hole:
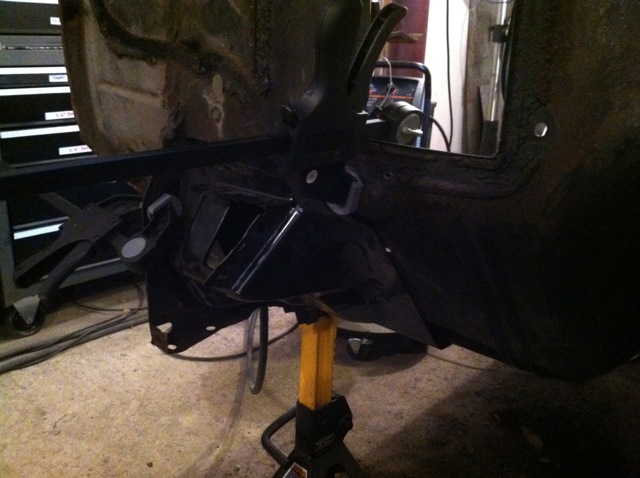
All that remains now is to grind down the opening to fit the patch panel and then clamp and weld. I need to order the proper grinding discs – hope to have by next weekend so I can finish it off then!