Category Archives: Camaro

Undercoating Removal

I have been researching tools for removing the undercoating.  I have narrowed it down to 2 tools:

This is one: Dent Fix DENDF701 Metal Blaster Mbx Kit
You can resharpen using a grindstone and running in reverse.
Course wheel for undercoating
Medium  wheel for heavy rust
Fine wheel for paint

Here is another idea:

I plan on giving both of these a try – luckily, I only need to work on the wheel wells and not the entire car!

Power Washing Floor

Made a little bit of progress this weekend.  The weather was nice on Friday, so I took the day off to roll the Camaro outside and power wash the floor.  The Camaro was on the rotisserie which enabled me to move it outside.  The one issue is the front half of the garage has bad cement on the floor.  I was able to use a pry bar to persuade it along in the rough spots.

I was able to determine that my car only has undercoating on the wheel wells and not the rest of the floor which will make it easier to strip.  I still need to clean it with some PurplePower and Wax & Grease cleaner before stripping.

From the back of the garage:

IMG_1912

through the front half:IMG_1913

the bad parts of the floor:IMG_1914

Getting there!:IMG_1915

and she is outside!  Went nice and slow going through the garage door as it was fairly narrow – suggest having 2 people to keep things straight if you are doing this.  Ready to power wash!:IMG_1916

Notice the leaf blower which I used to help dry the car faster.IMG_1917

About a half day to move it outside, power wash, dry, and move back to it’s resting spot.

3/6/2016 Update

Spent a little time in the garage this weekend.  Tightened the rotisserie bolts and raised off of the jack stands:
IMG_1899

IMG_1900

Not yet sure if I will re-adjust.  Seems to be ok for now.

IMG_1901

With the car on the rotisserie, I was able to push it to the side to pull out the welder and work on the inner fender:

IMG_1902

Initial weld:

IMG_1903

Grinding the weld:

IMG_1904

Filling in a few spots:

IMG_1905

IMG_1906

More grinding:

IMG_1907

Flip the inner fender to work on the other side.  Burnt through a couple of spots and said a few choice words I can’t repeat here:

IMG_1909

Used my copper backer (above) to assist me in filling the holes – not the prettiest, but it will work:

IMG_1910

Other side:

IMG_1911

Called it a session at this point.  Hope to get out there more this next week to finish grinding and any more welding touch-up after that.  Hope to roll the shell outside within the next week or two so I can power wash the bottom of the car prior to stripping.

2/29/2016 Update

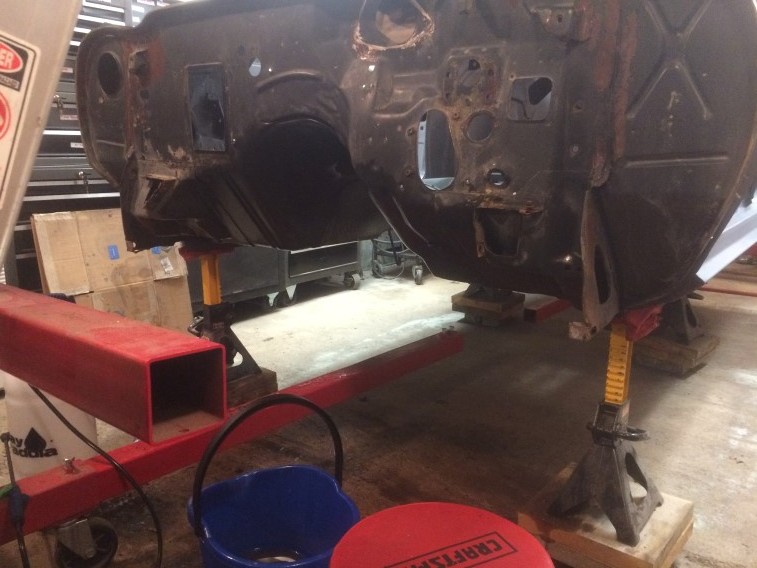
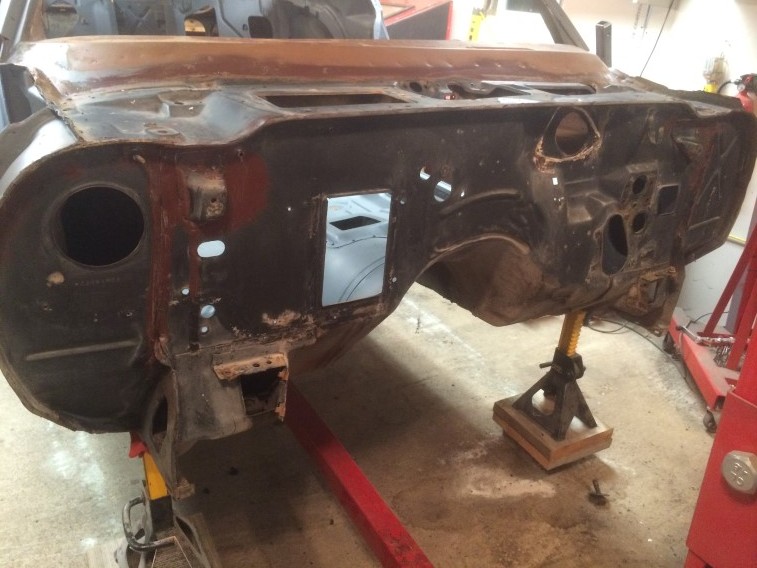
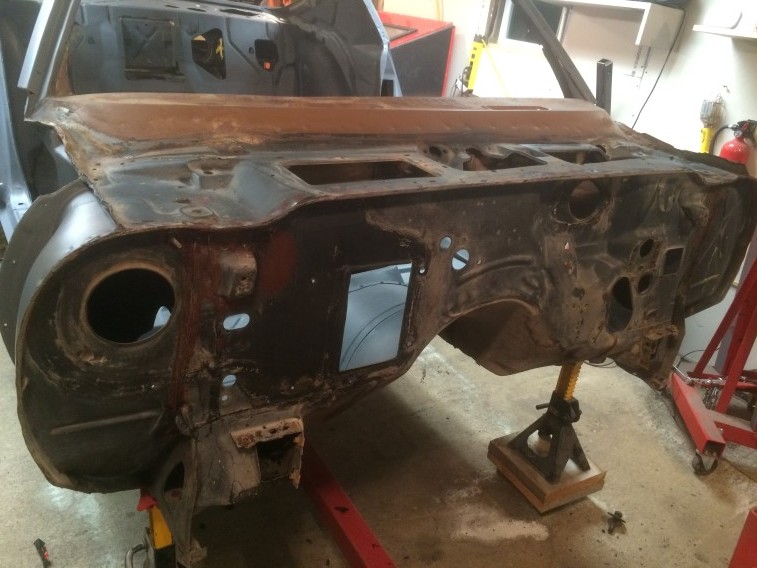
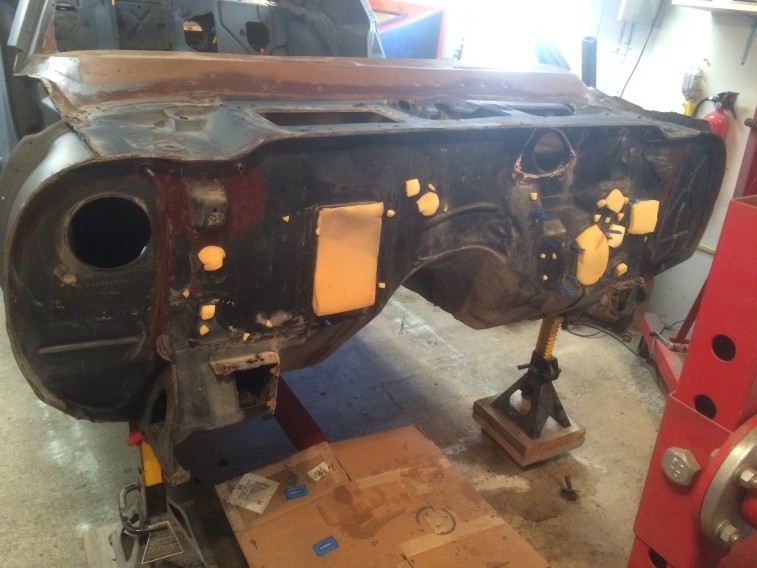
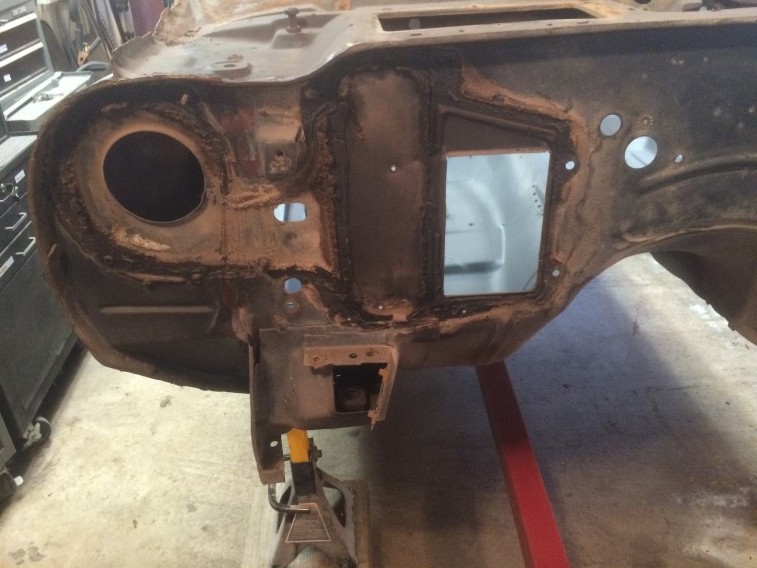
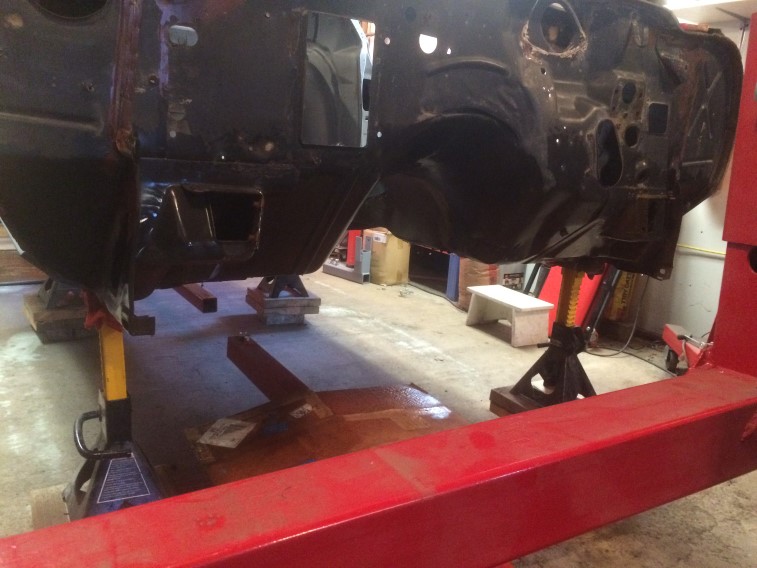
Made a little progress this week.  First an picture of the firewall after cleaning:

IMG_1833

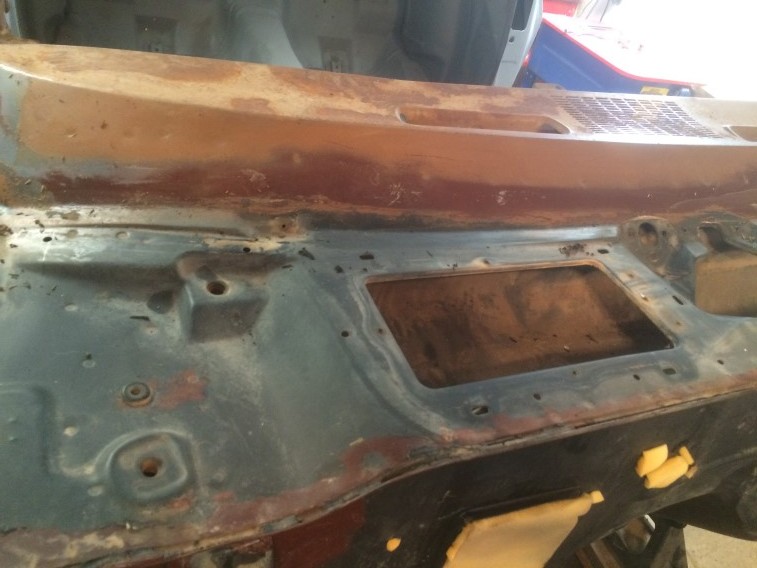
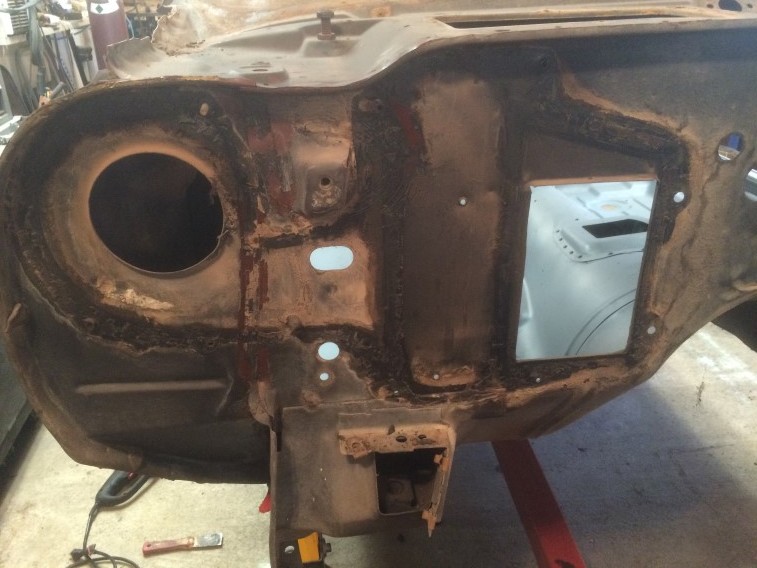
Still need to attack the inside of the trunk:IMG_1834

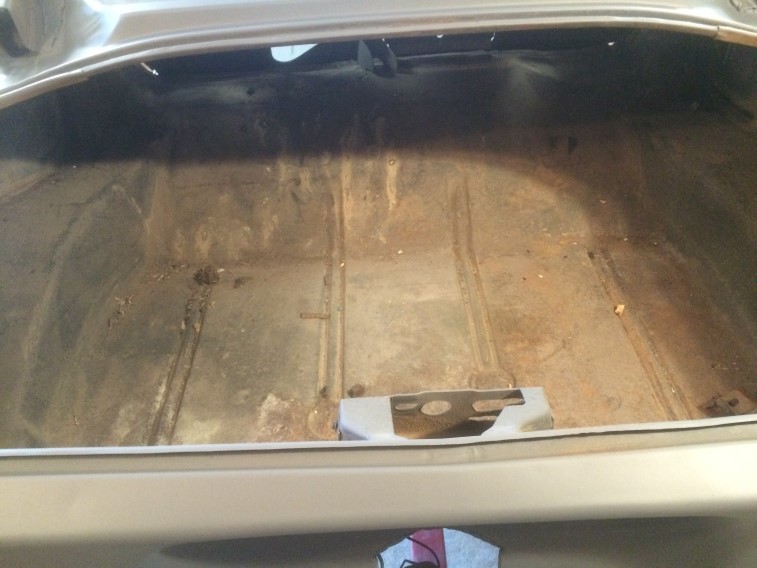
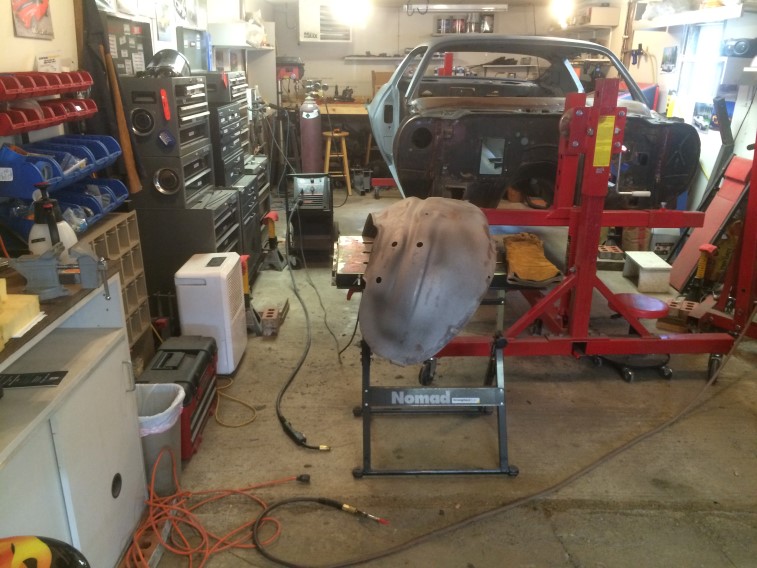
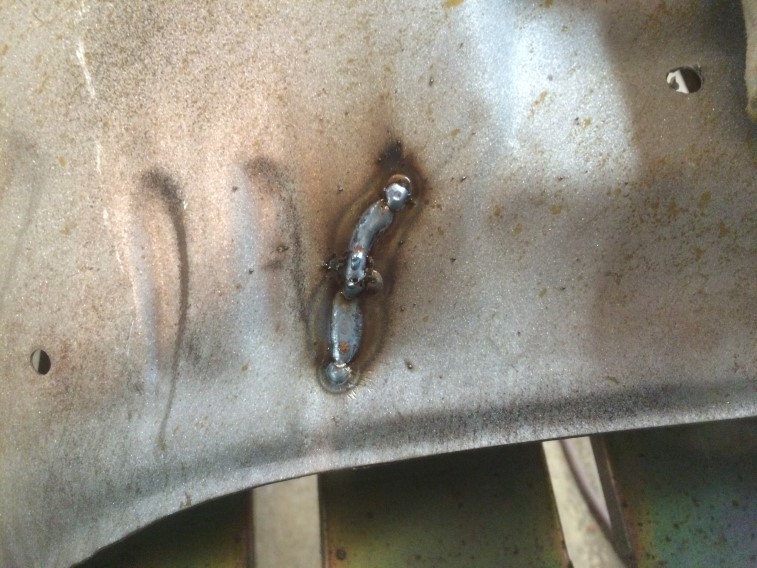
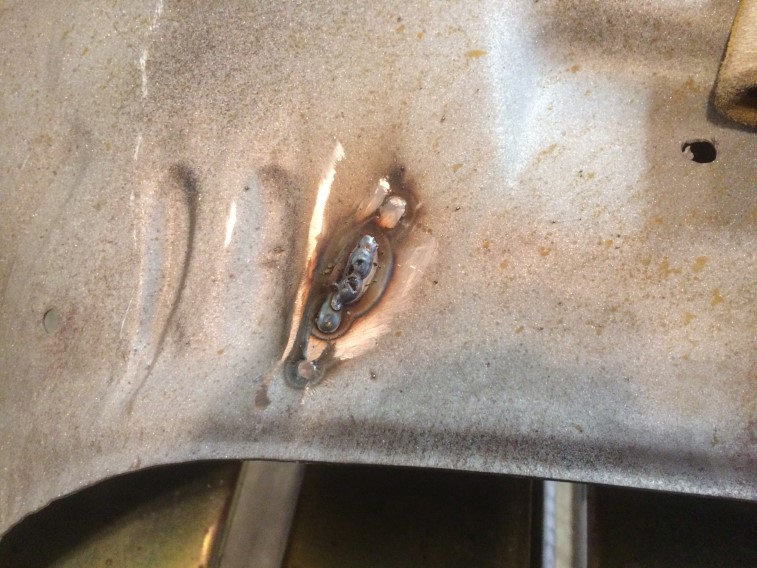
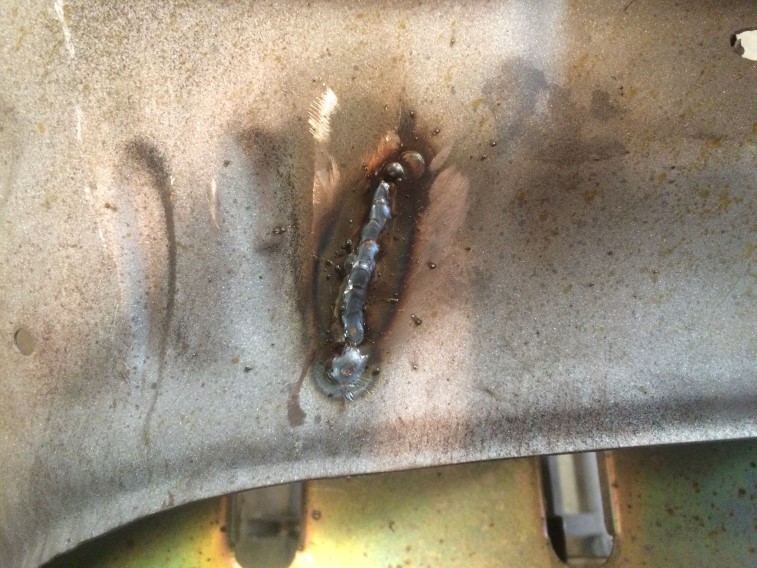
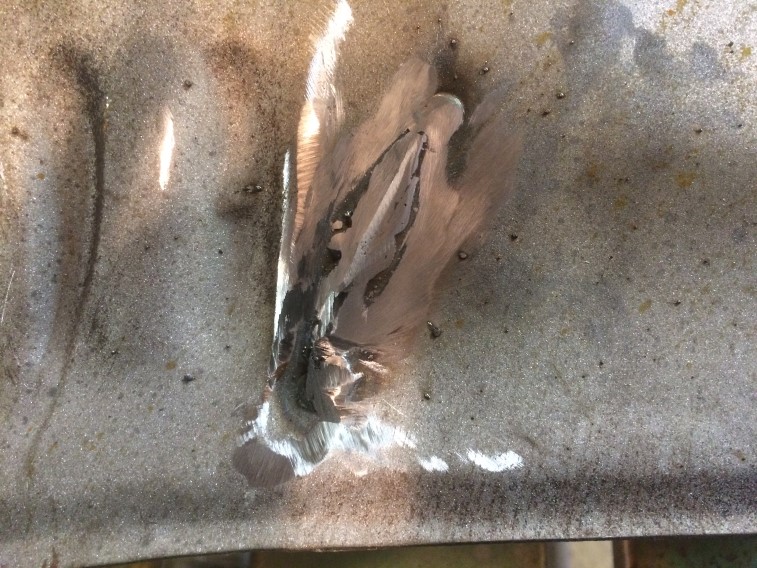
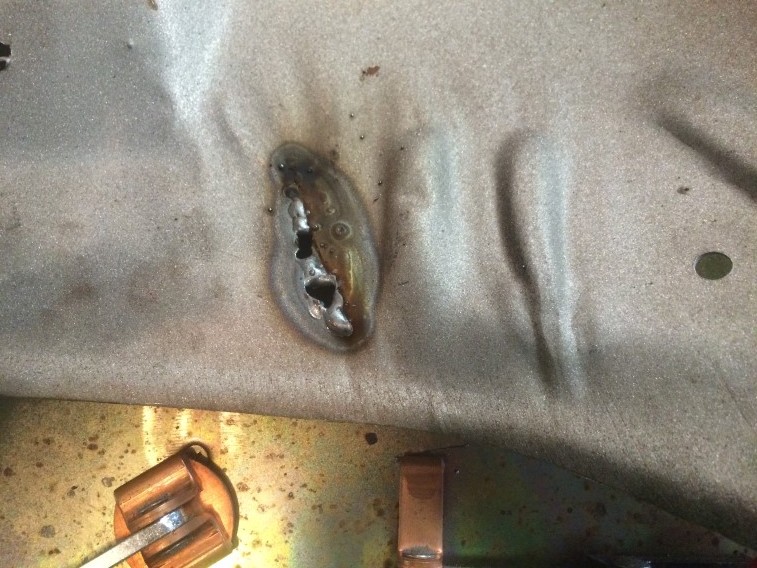
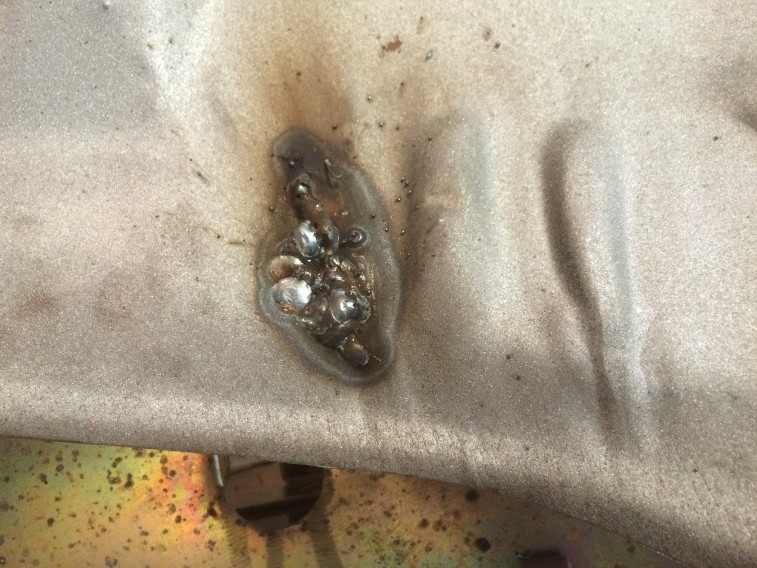
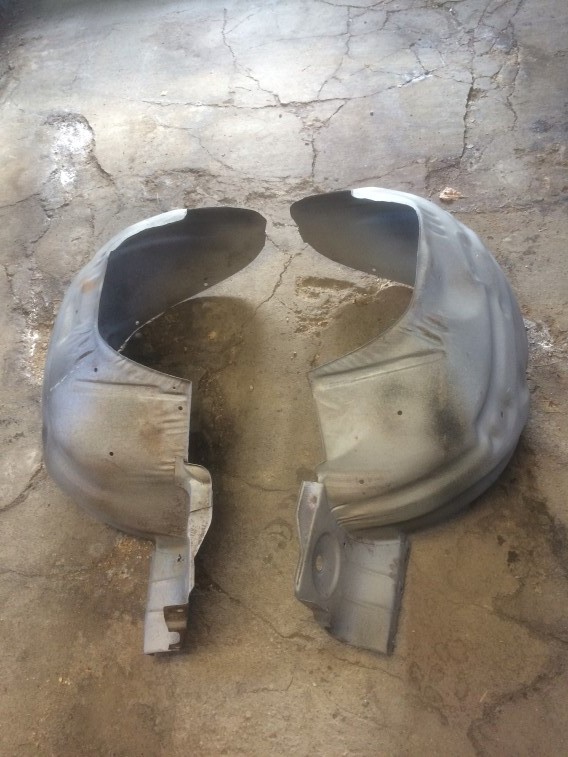
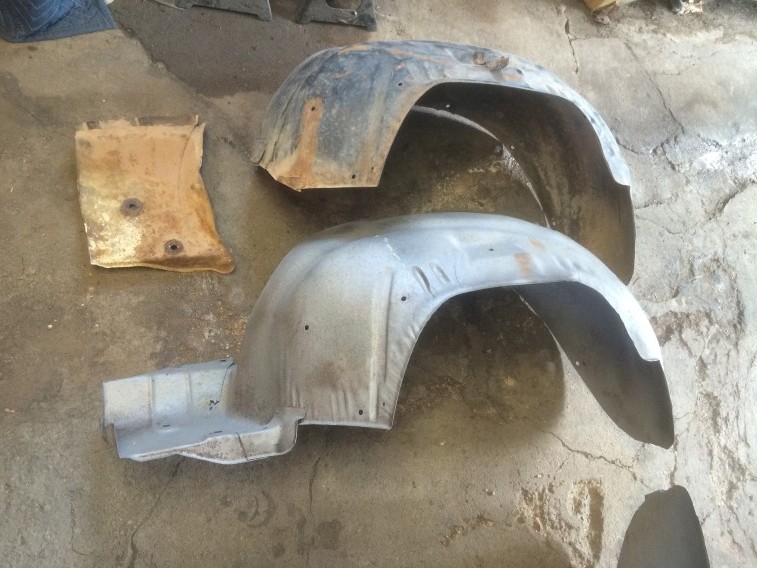
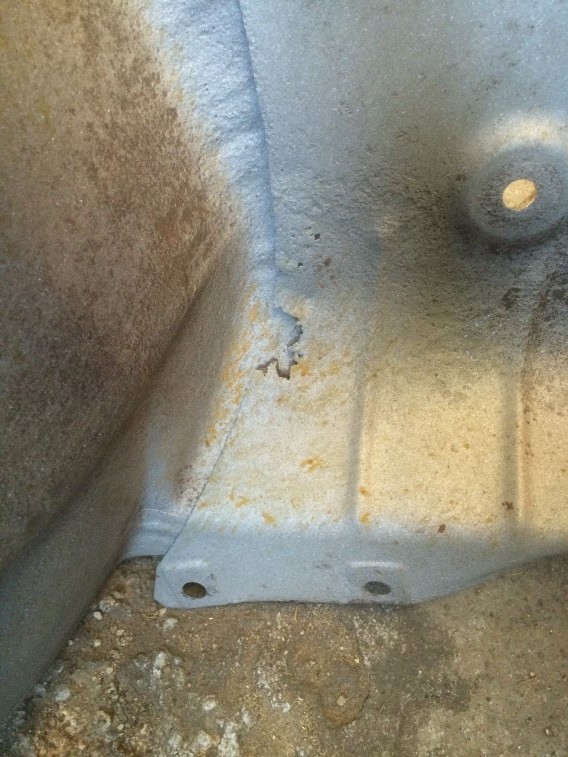
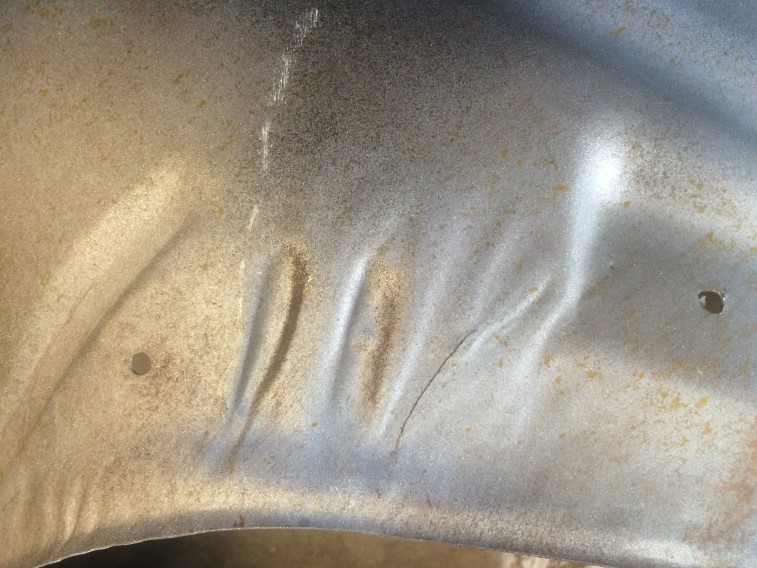
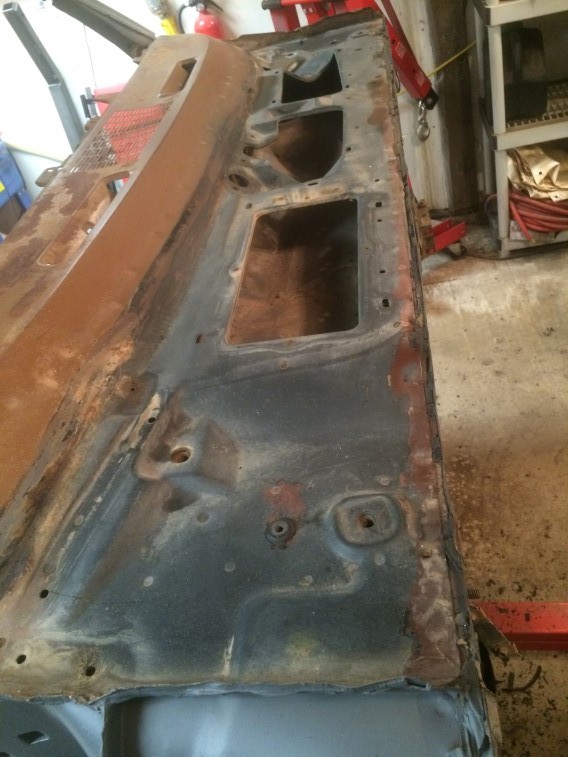
Did some work on the inner fender.  The crack needed to be smoothed out with a hammer since it was kind of overlapping.IMG_1885 IMG_1886 IMG_1887

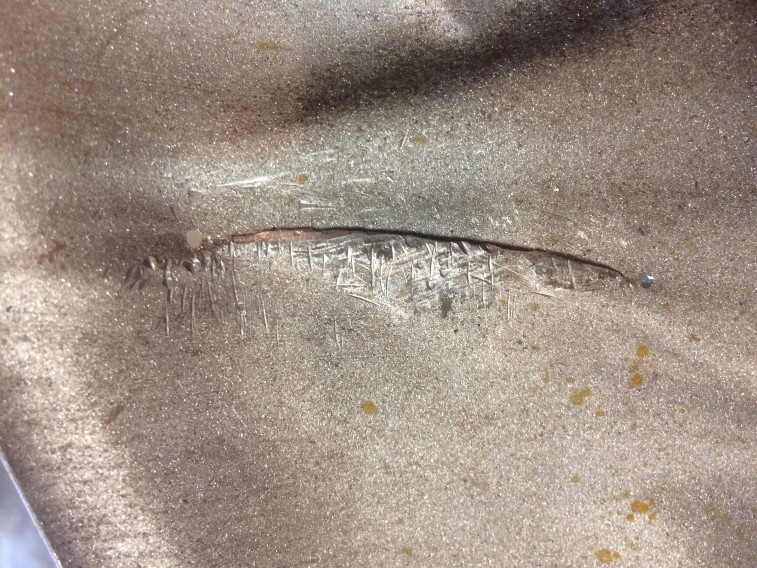
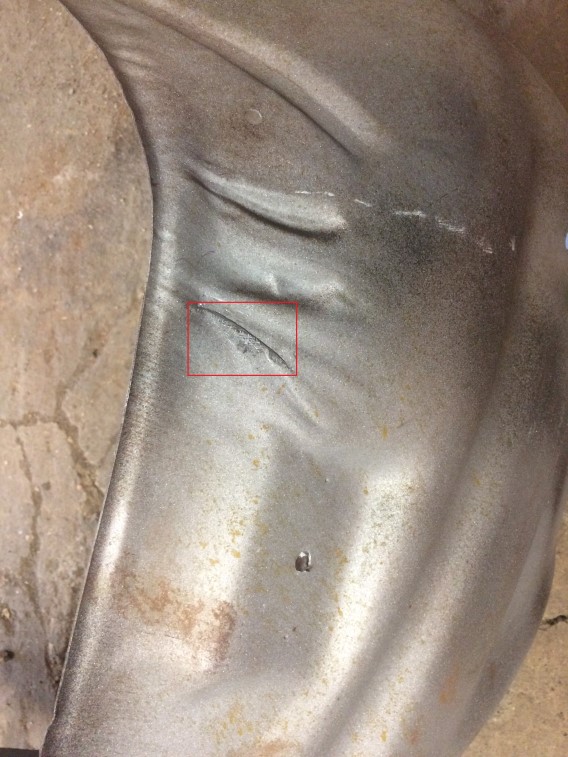
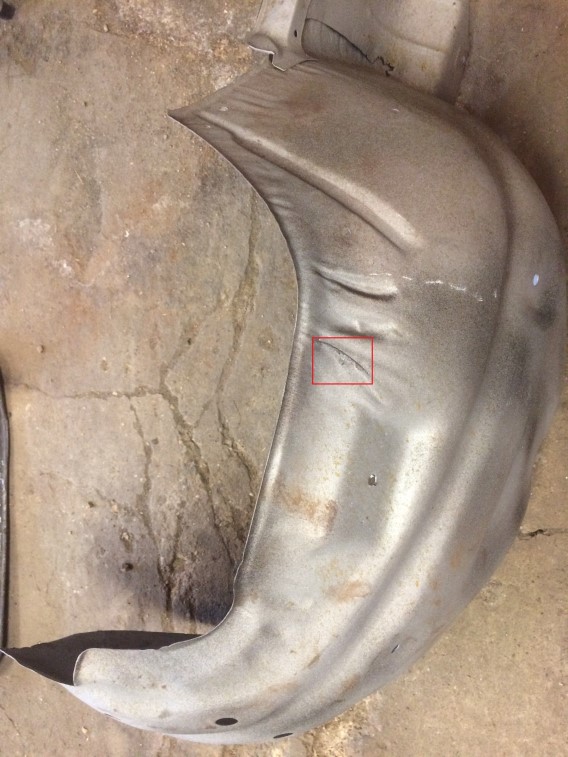
Still need to weld the crack on the inner fender.

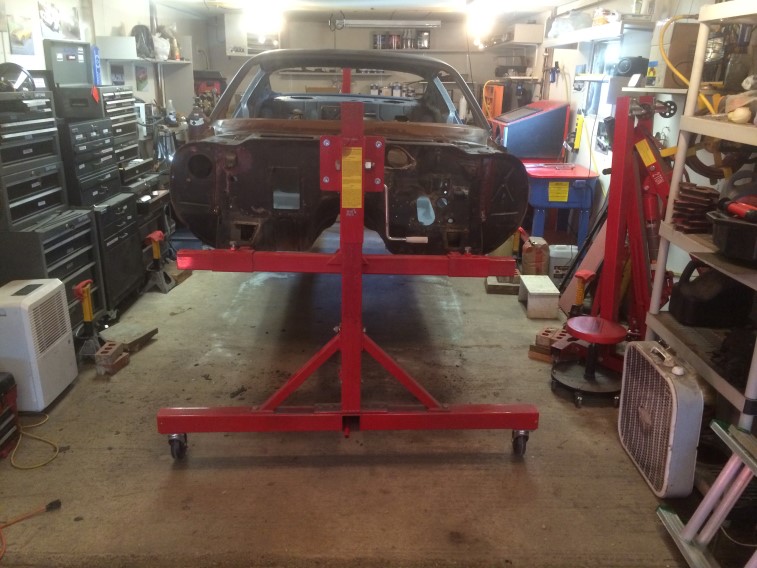
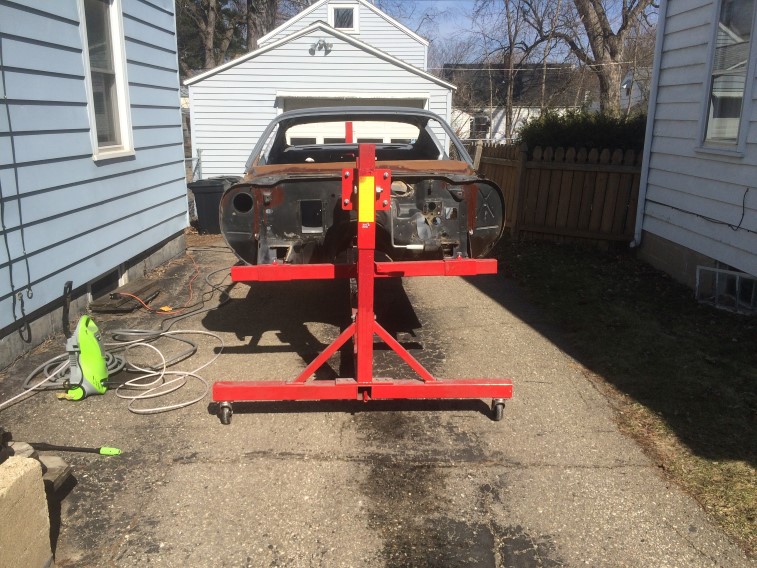
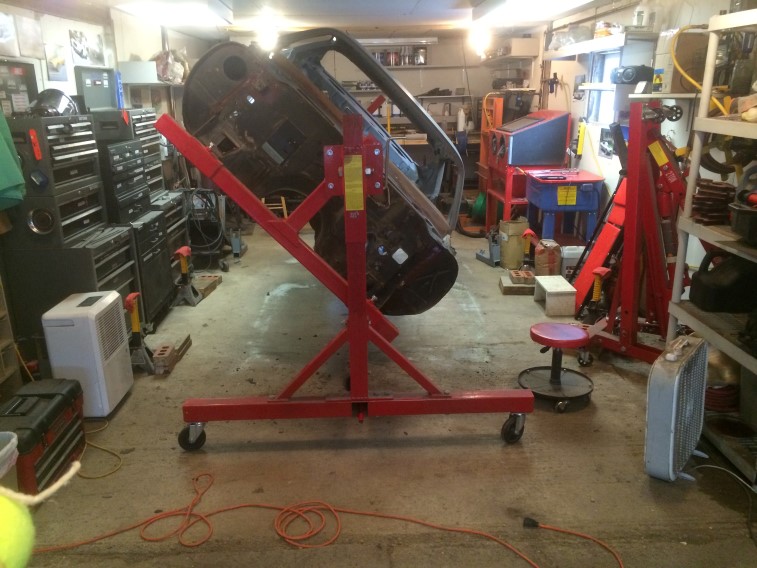
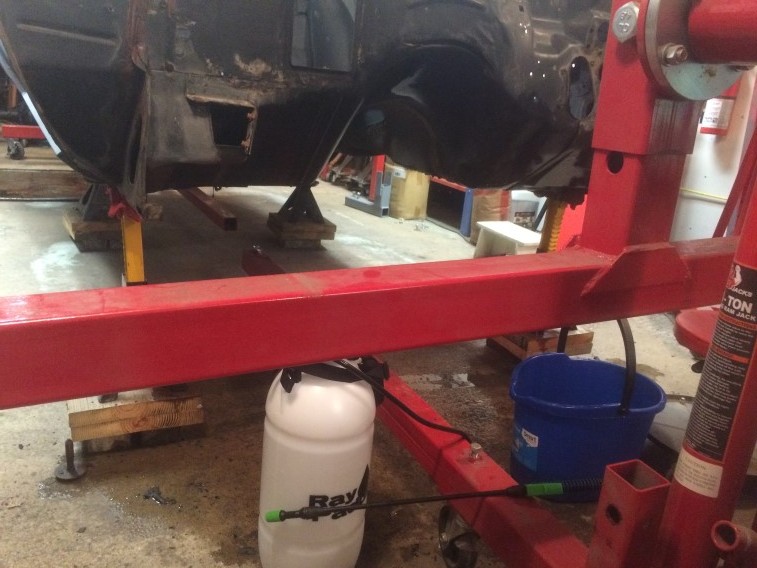
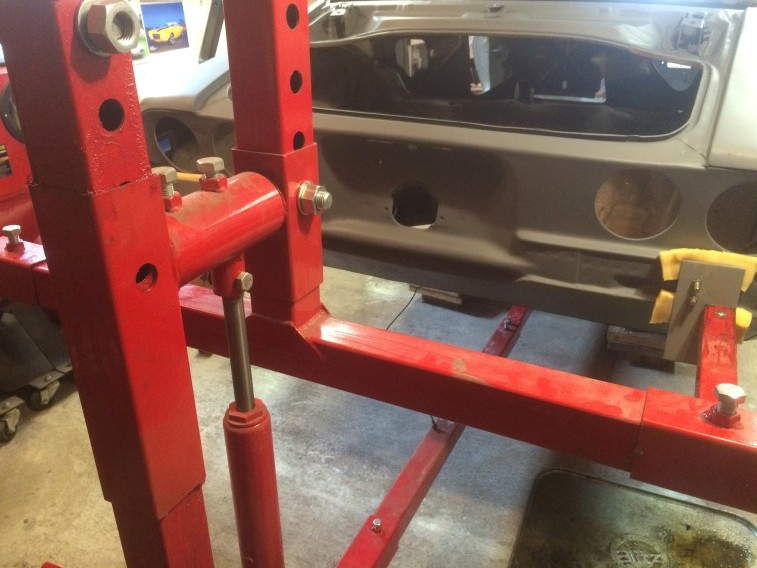
Swapped out the brackets on the rotisserie for the rear (it was mounted on the leaf spring mounts with different brackets).  Was nervous that the holes I had drilled out would match the bumper mounting holes – they did – woo-hoo!IMG_1888

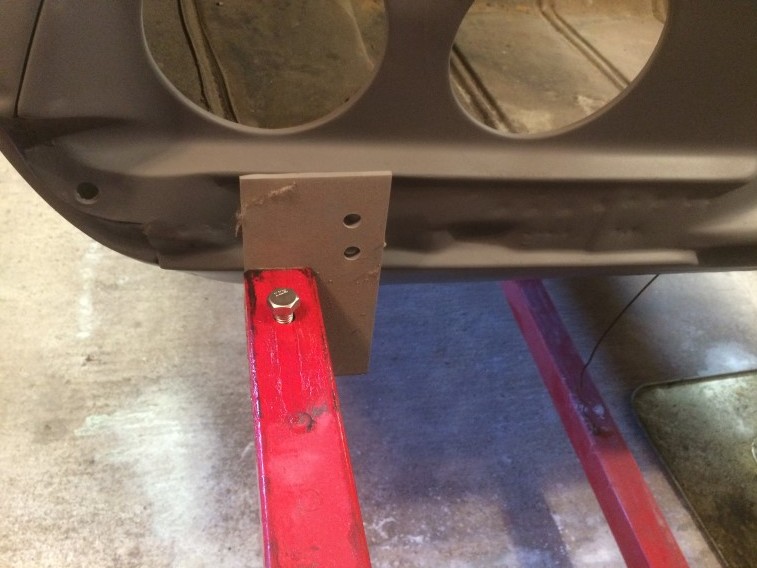
Kept everything loose on the rotisserie after I put the car on jack stands.IMG_1889

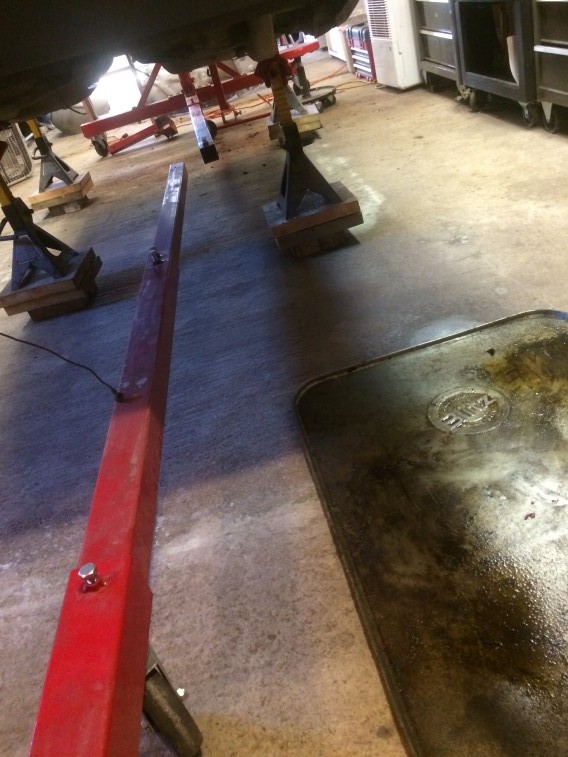
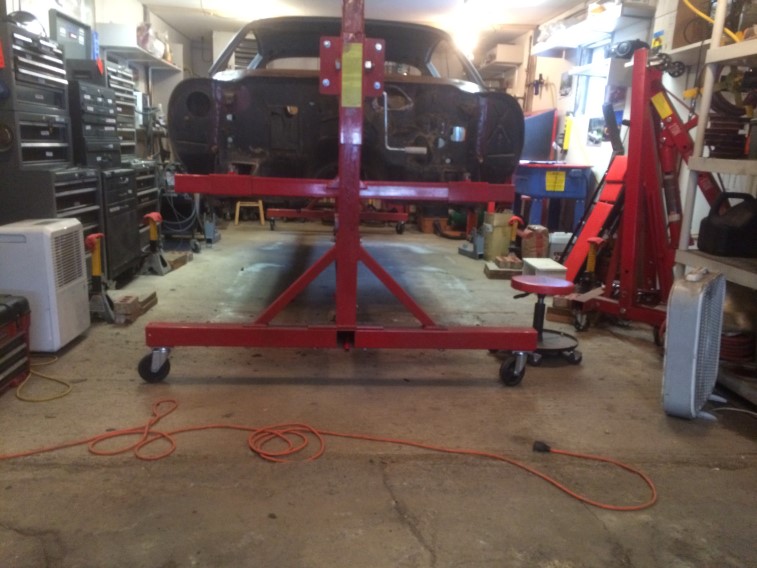
I ended up using some grease on the bottom bars as they were difficult to slide.  I had used the grease on the upright sections already:IMG_1892

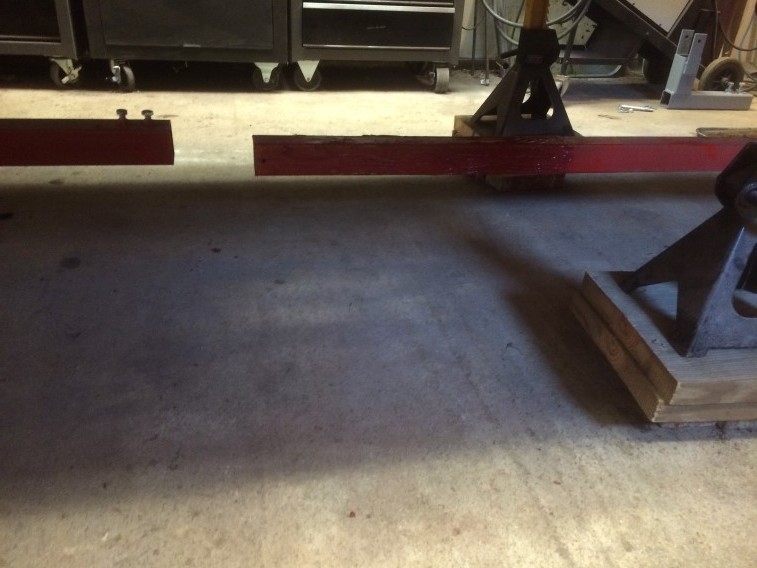
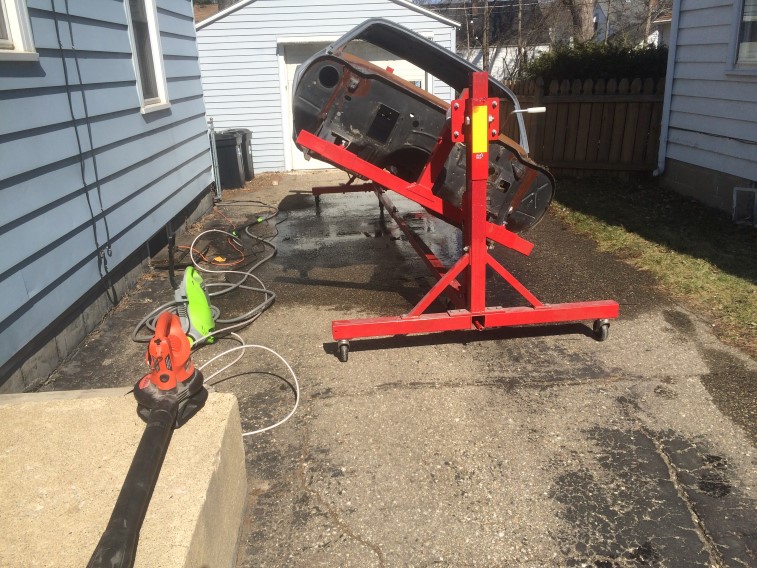
Keep in mind, I am doing this myself.  I was nervous about bumping the car off the jack stands as I lined things up.  I ended up lining the front and back up, center bar in place (still loose), then used the subframe bolts to mount the front of the rotisserie to the subframe mounts:IMG_1893

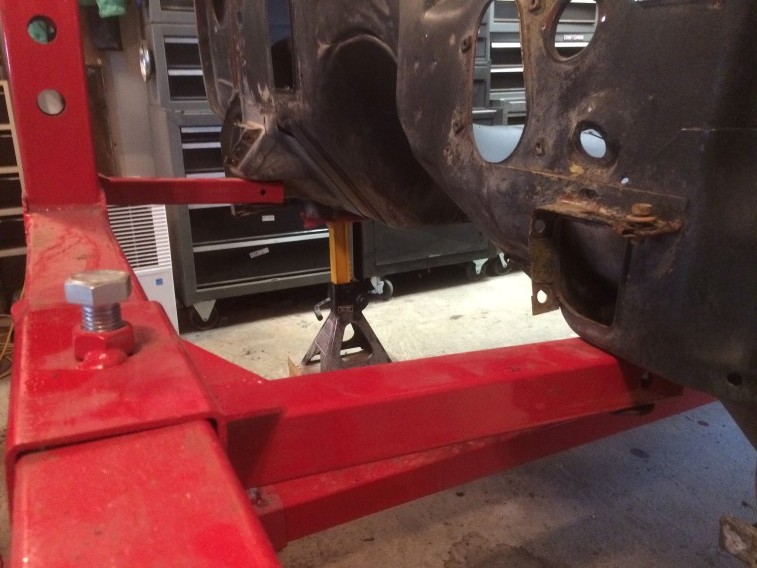
I also blocked the wheels on the back end:IMG_1894

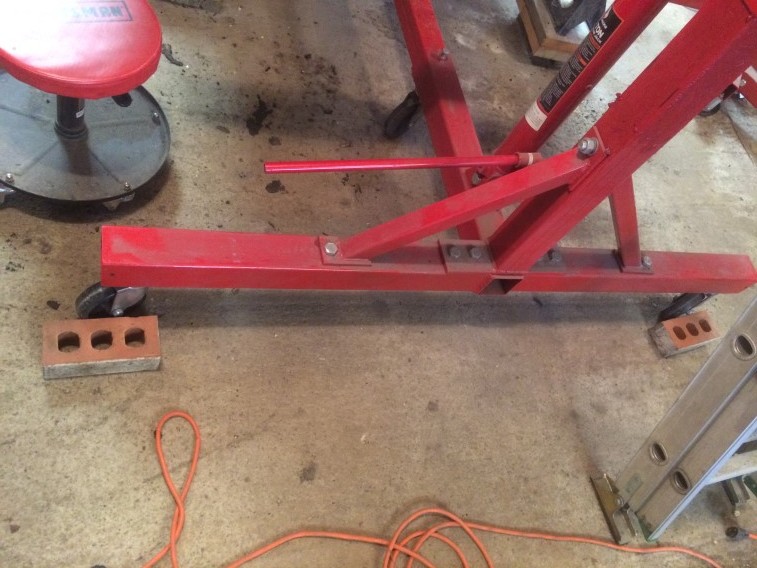
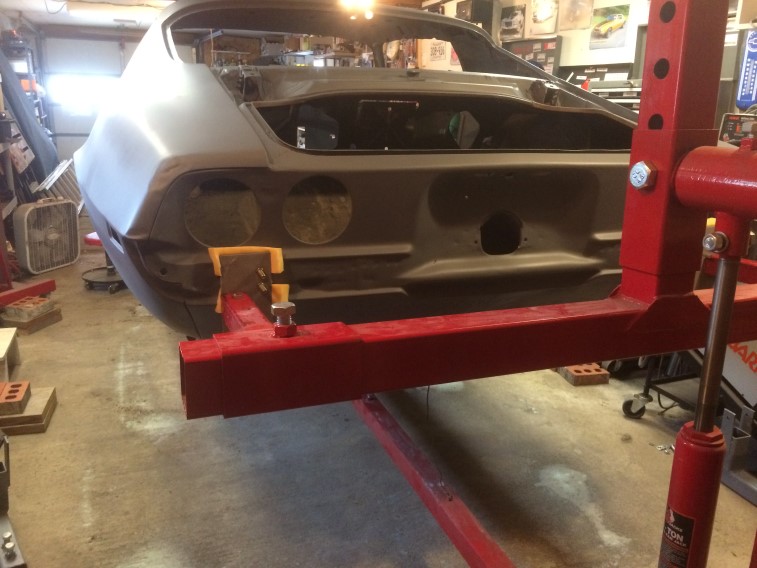
I had to go get some 3″ bolts (longer than what I had) and used some spare foam to protect the primer as shown below:IMG_1895

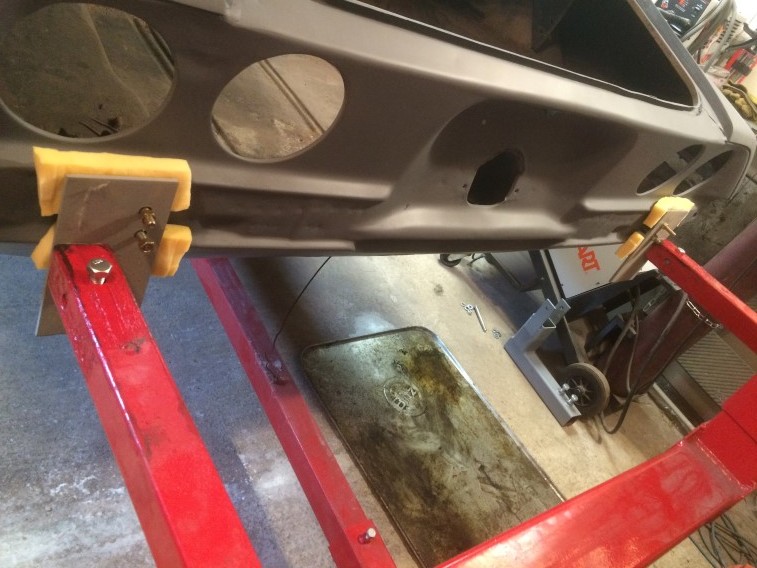
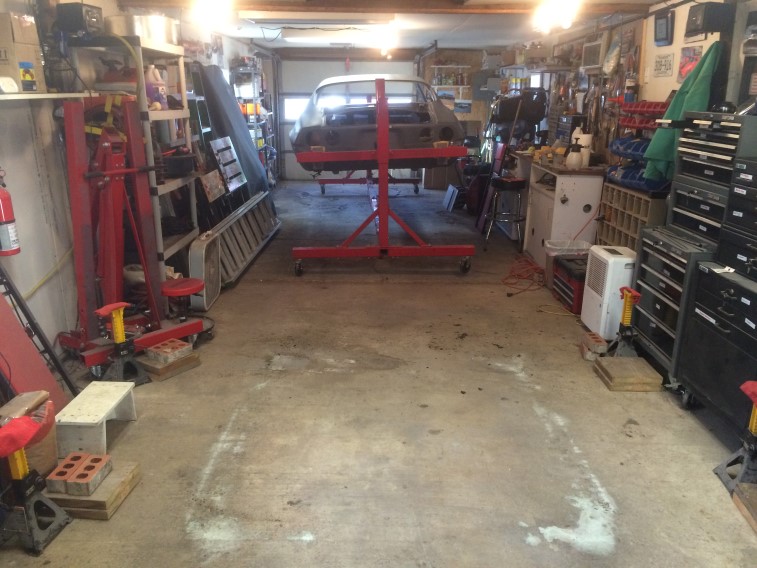
I then adjusted the pivot point in front to match the rear which is now higher.  I am not sure if I will like this when I go to rotate – might re-adjust when I rotate the body.IMG_1896 IMG_1897

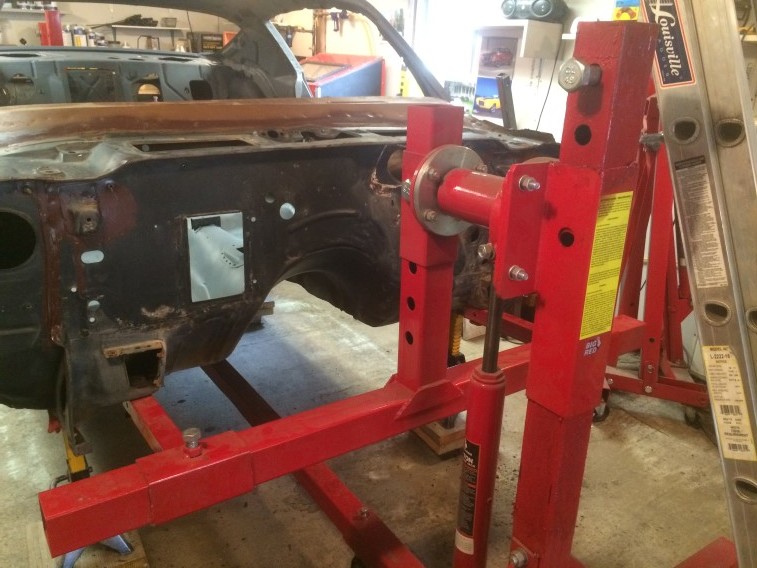
I still have to tighten things up before lifting the car.  Next steps is to weld the crack on the inner fender and take the car outside to power wash the bottom of the floor.

2016 Daytona 500 Prep

So I have not been working in the garage lately as I have been helping a friend prepare for a Daytona 500 party which will be tomorrow.  Hope to get back to working on the Camaro next weekend.  When they announce “Gentlemen Start Your Engines”, we fire up my 427 BB.  We will start it before the party so it is ready to go and warmed up.  I shot some videos and pics from today:

Picture of my 427 Chevy Big Block:

IMG_1839

This is my buddies garage where he keeps his Chevelle and where we have bee cleaning:IMG_1836

This is connected to the house and other garage and is where he works on stuff (Chevelle is to the left) – notice the lift:IMG_1837

Videos of engine from today (Turn the sound up):

https://www.youtube.com/watch?v=ggC2nO3C1wk

https://www.youtube.com/watch?v=mKGsQcpFMzc

https://www.youtube.com/watch?v=xP_DhIqEAX0

https://www.youtube.com/watch?v=1zELN_wF1jQ

Firewall – 2/3/2016

Washed the Arizona sand and grime off of the lower toe area of the firewall.  I also wanted to confirm there wasn’t any under coating on this area which there wasn’t.  Should only be on the bottom of the car.  Got some dirt off – dirty water!  I used a pump sprayer and bucket with a brush.

IMG_1830 IMG_1828 IMG_1829

The next step will be to use PurplePower on it before wax & grease remover.  Then I can strip this area before re-mounting it on the rotisserie to work on the bottom of the car.  I also hope to work on the trunk before re-mounting it on the rotisserie.

Inner Fenders

Picked up a pair of OEM inner fenders today.  They were about an hour away and I was able to purchase them for $70 – a fraction of the cost of a repo fender.  They were sand blasted about 5 years ago, so I will have them sand blasted again and Epoxy primed by the same resource that did my 12-bolt.
IMG_1815

The broken piece is what I had to work with.  I didn’t feel like trying to weld it back on.
IMG_1819

There is one bad spot – I have not yet decided if I will patch it or not.IMG_1816

There is also a small crack that I may weld up.IMG_1817

The black one looked to be in ok shape, but I am not sure if it was a repo or not – it came with the car.  Of course the one I need to fix up is the one I don’t have an extra of.IMG_1818

Firewall – 1/18/2016

Spent a little time in the garage tonight.  Wiped down the firewall and determined I don’t need to use any more Purple Power on it.  There is still some seam sealer in a few spots that I want to remove and a couple areas to use some paint thinner on before stripping it down to bare metal.  There is still the bottom part of the firewall to tackle where it transitions to the floor board.  I will have to tackle that at some point and I am trying to decide if I want to do that with it on the rotisserie or while it is off.  Latest pic after wiping it down after the Purple Power:

IMG_1809

Firewall – 1/17/2016

ok – so I have been working on cleaning the firewall before I strip it down to bare metal.  I have used a combination of wax & grease remover, paint thinner, and a heat gun with a scraper.  Made some progress on the passenger side:

IMG_1800

Was able to remove everything from the cowl area.  There was still some glue from the windshield to remove:IMG_1801

After using some paint thinner and scraper – also removed some of the paint down to the primer:IMG_1805

The grease was so bad, I ended up using some Purple Power.  This is non-flammable so was able to use it with the heater going in the garage.  Not when I was using the paint thinner, it was warm enough to turn off the heater long enough for the fumes to dissipate.  I used a mixture of 2 parts water to 1 part purple power.  Also gave it to applications rinsing it with water after each application a couple minutes later.IMG_1804

As it is now…  Note I plugged all of the holes in the firewall to keep it off the primed inside shell.  The next step this next week is to go back over it with some wax and grease cleaner and see how much grease is left over.  Might have to use some more purple power with a stronger mix\ratio.  Once it is cleaned to my satisfaction, I will strip it down to bare metal – then attack the bottom of the car!IMG_1806

Firewall – 12/27/2015

I’m only able to get out to work on the car a few hours per day.  Sunday, I started to make the first pass of removing the sealant from the A/C box using a scraper & heat gun.

Before:

IMG_1777

After heat gun – initial pass:IMG_1778

I did make some progress:IMG_1779

Ordered a larger screw driver for the hood bolts on the cowl area.  They are about 3/4″ and this screw driver’s tip is 1/2″ – so I am hoping to make a dent in that Wednesday and see how it works!IMG_1781

Doubt I will get out to work on the car tomorrow as I will need to roof rake and shovel the snow from today’s storm…  Hopefully I can get out there on Wednesday!