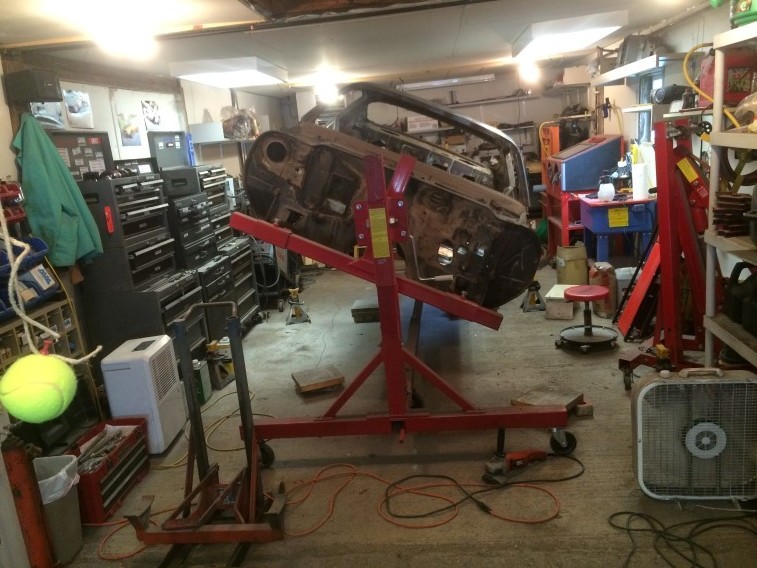
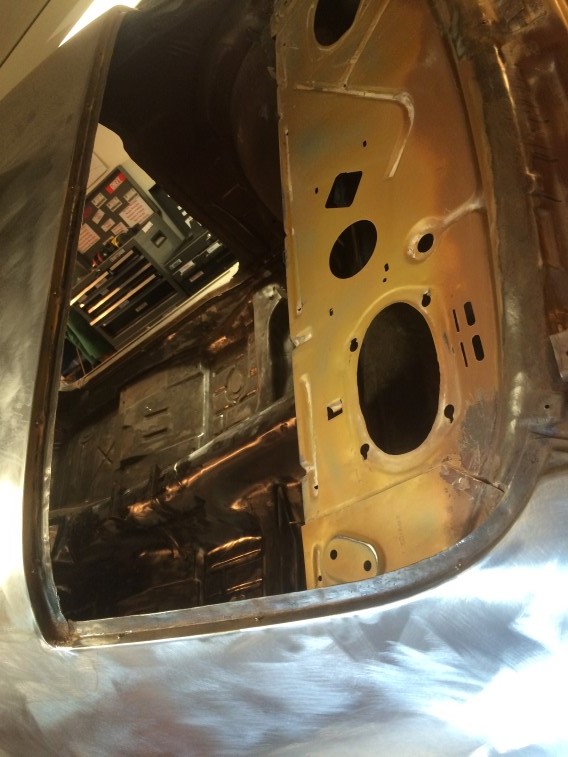
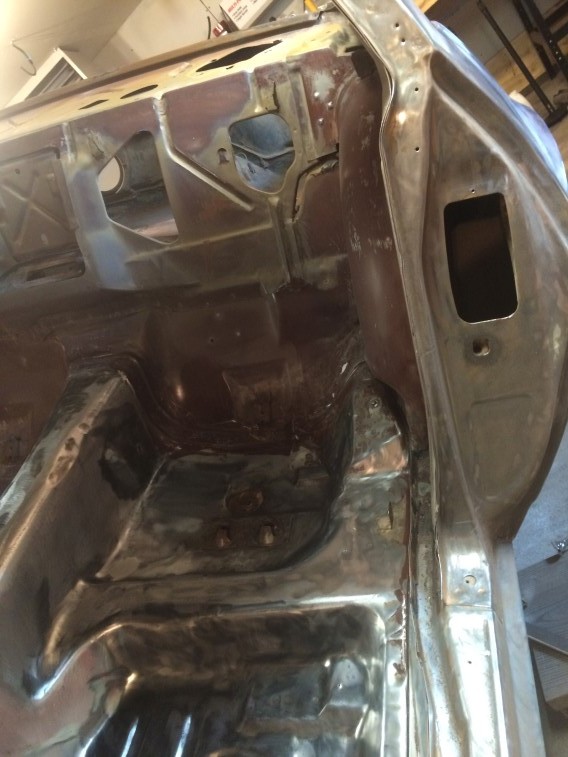
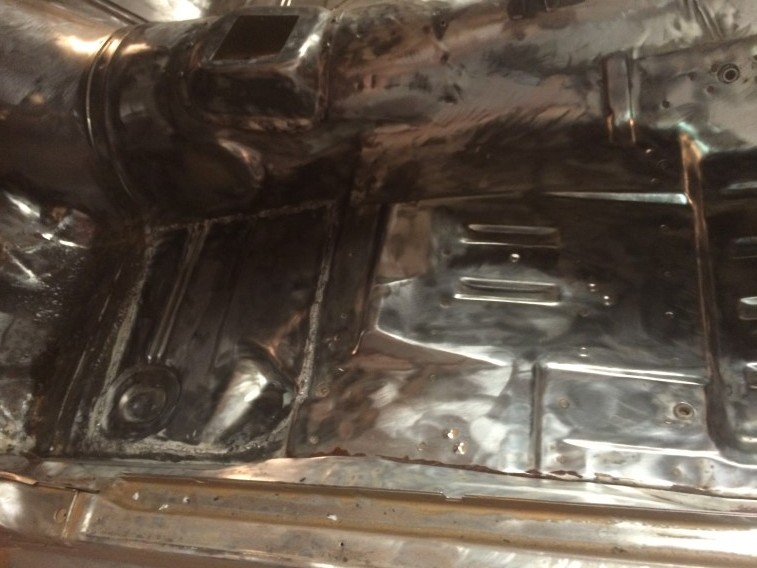
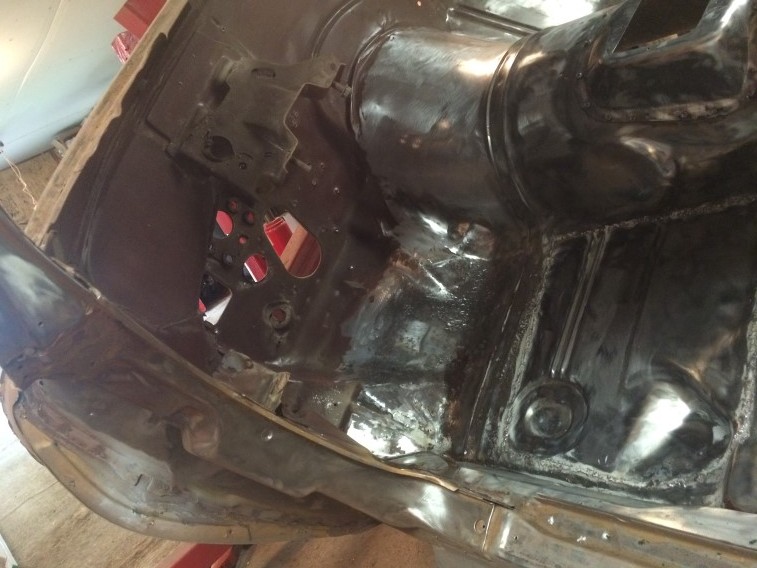
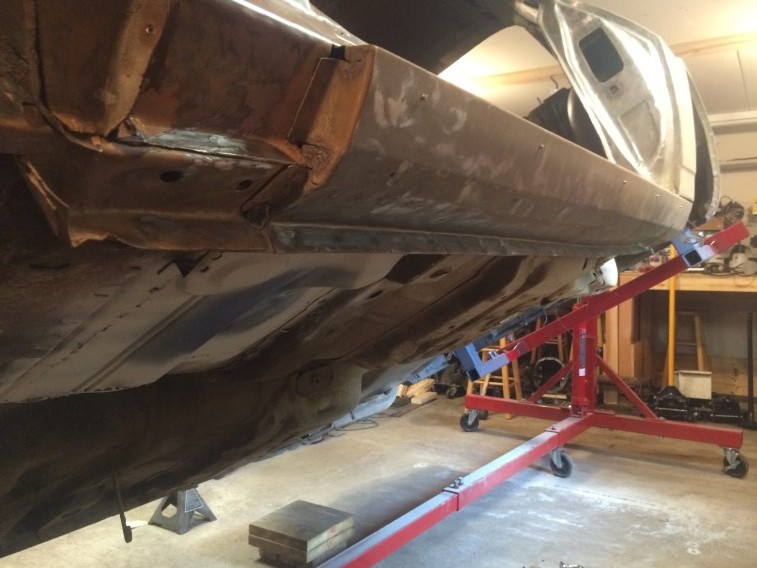
Documenting the process of mounting my 73 Camaro on my Northern Tool Crank Rotisserie. I am doing something different this time in trying to better adjust the center of gravity. There were several rotisseries to choose from, but Northern Tool gave me free shipping and the rotisserie was already painted, so I went with that unit. When I had it balanced at first, then the cranking got harder as the car turned sideways, so this is my attempt to improve that.
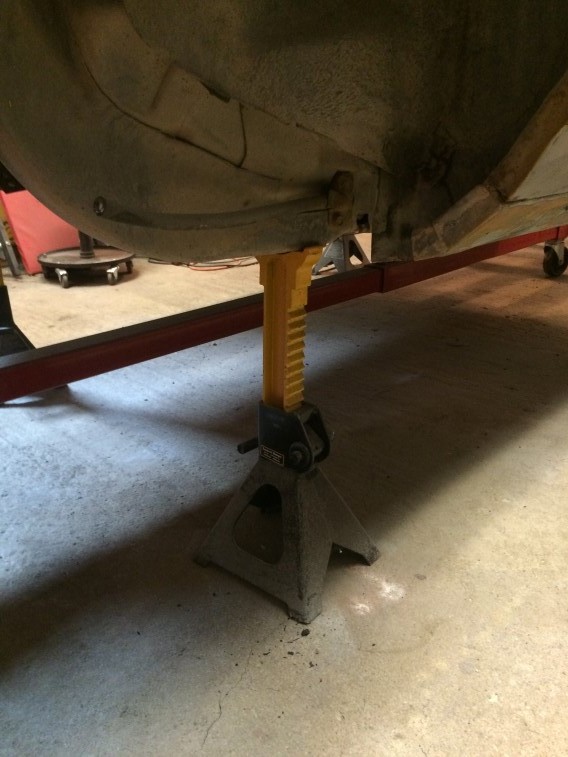
The front jack stands are placed under the firewall on both sides. The height is dictated by the height of the jack and jack stands to the highest possible position: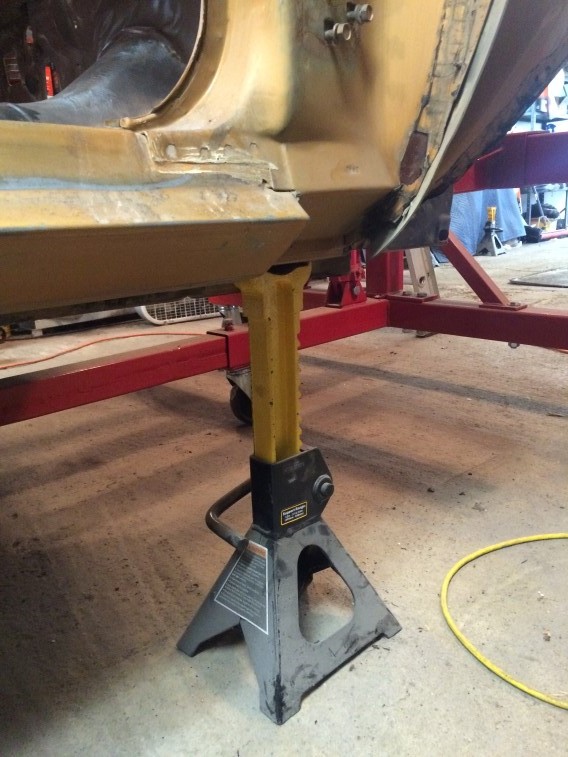
The rear jack stands are under the rear frame rails on both sides:
All four jack stands: 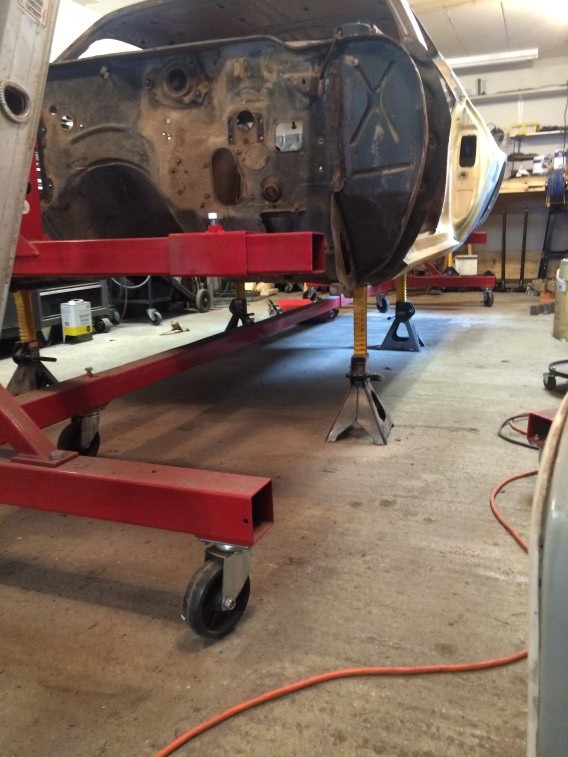
The rotisserie arms are bolted to the sub frame mounts using the bolts from the sub frame: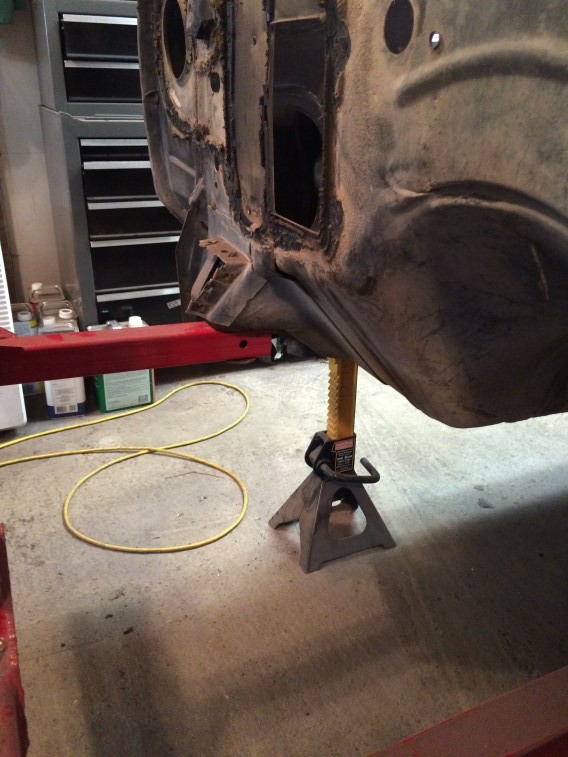
There is a cage nut inside that the bolts are fastened to: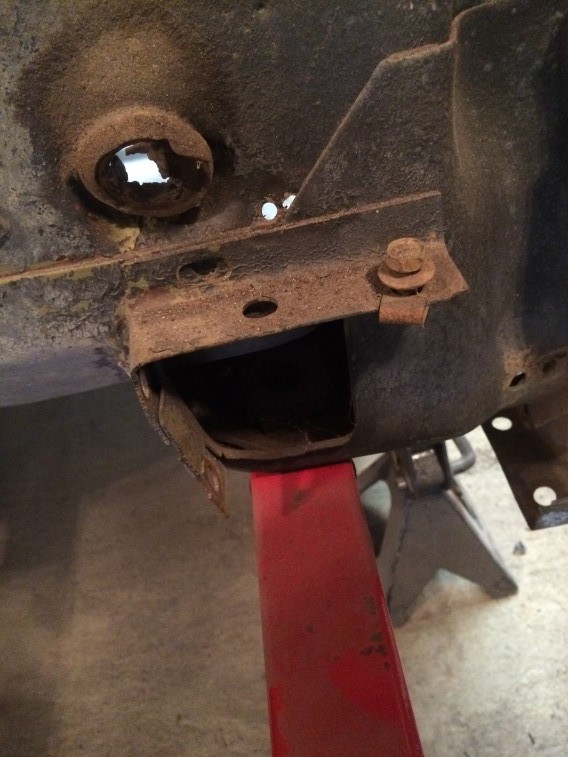
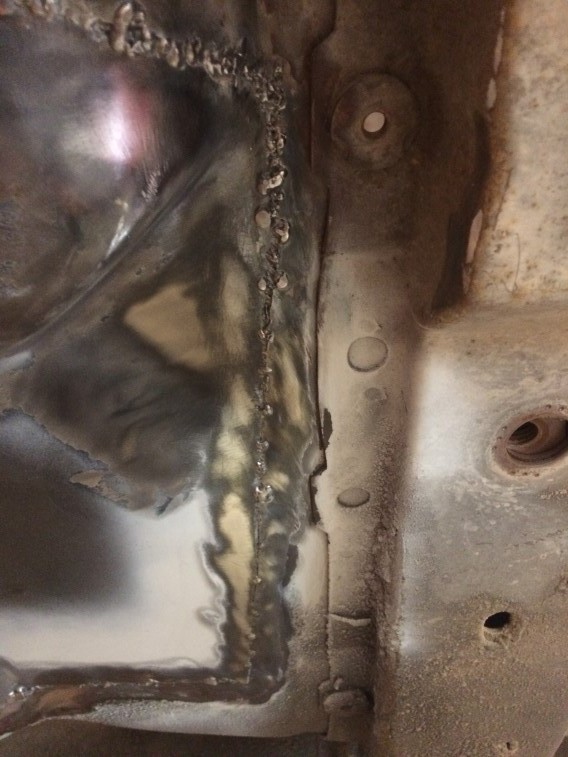
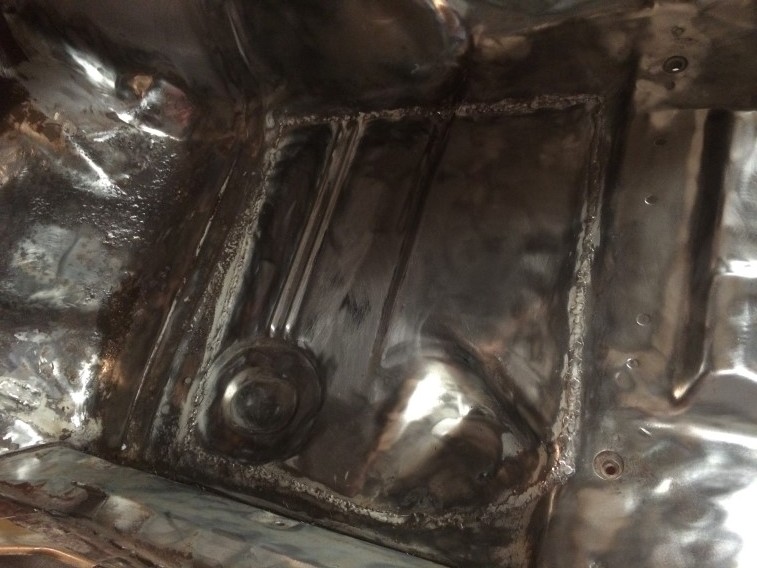
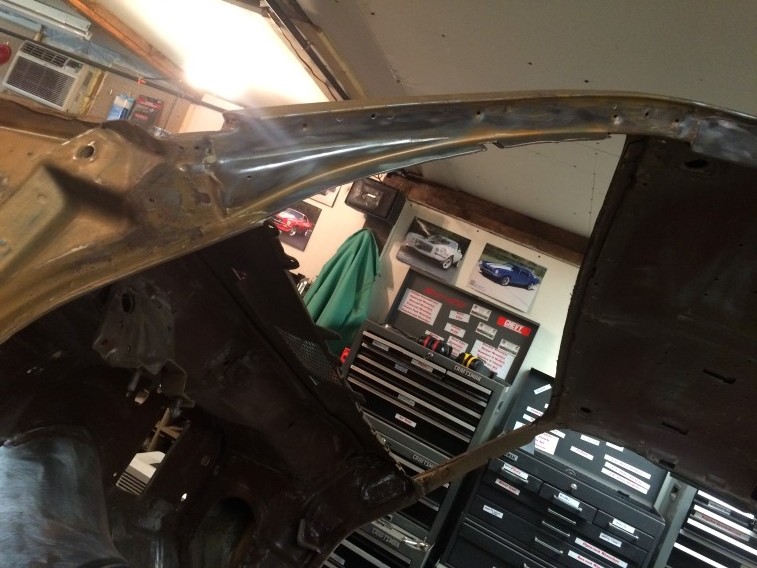
Rear shackle brackets are from accessible systems and there is a bushing inside the rear leaf spring mounting point: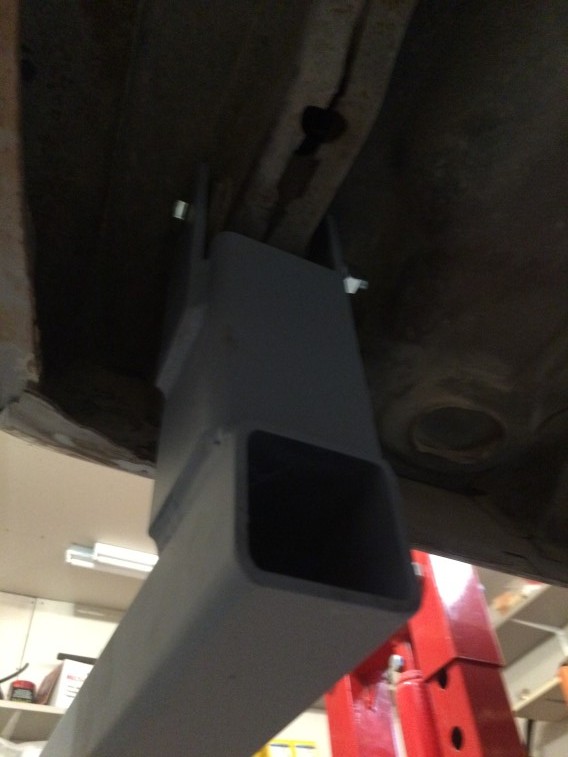
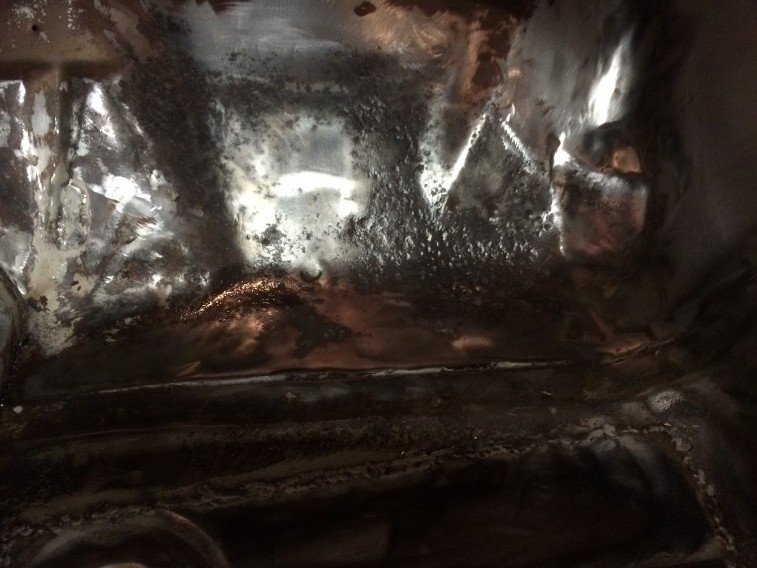
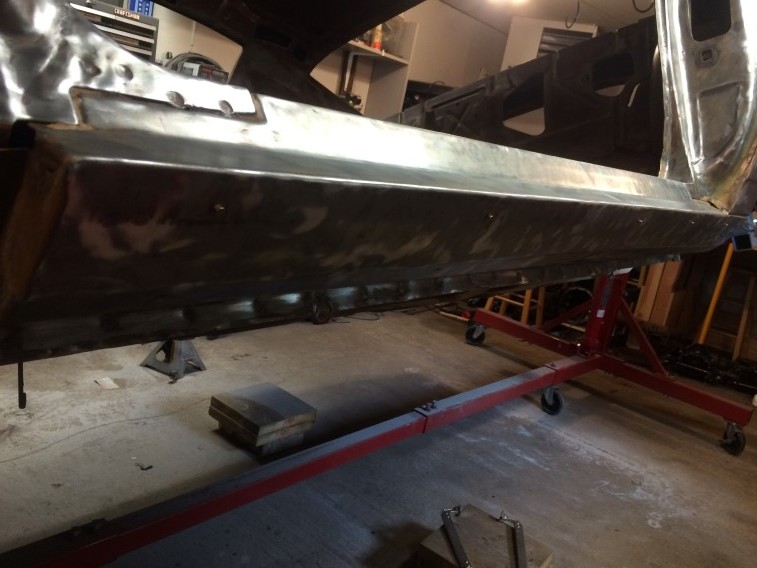
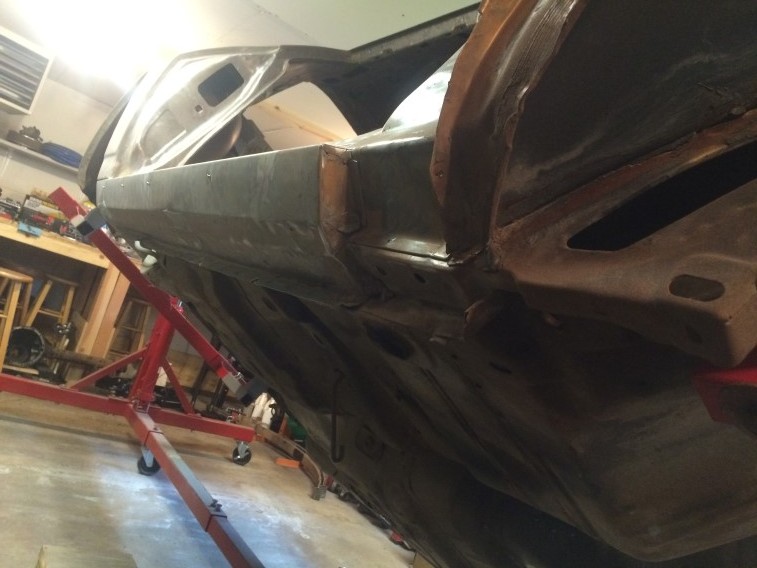
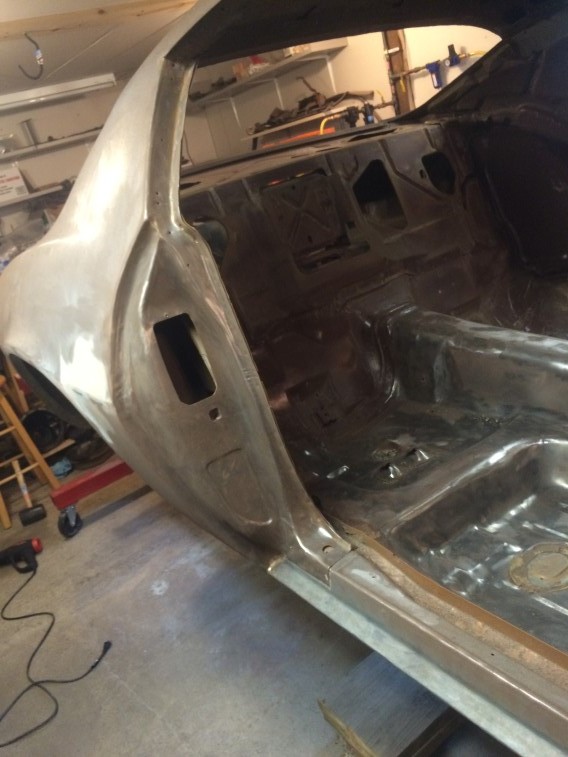
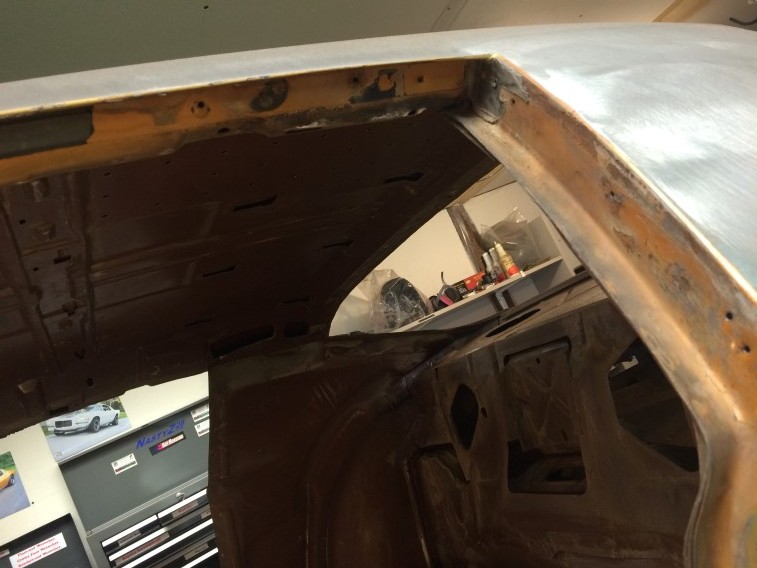
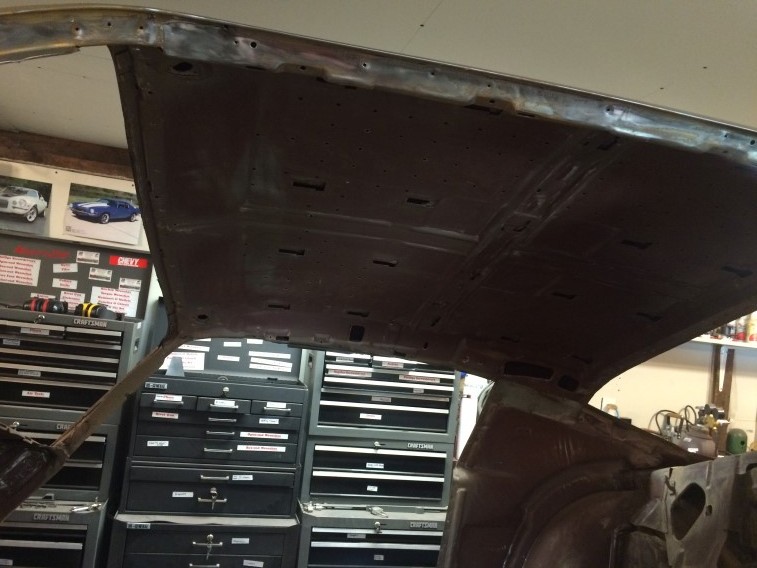
Pic of rear end: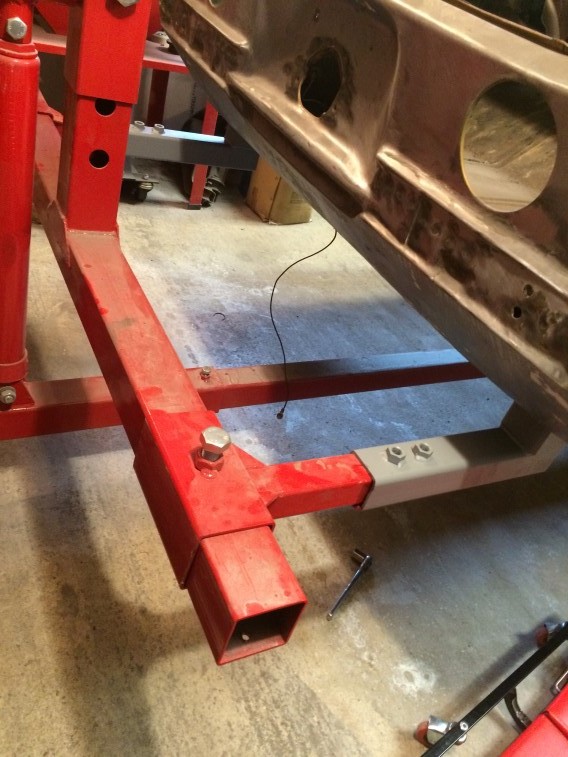
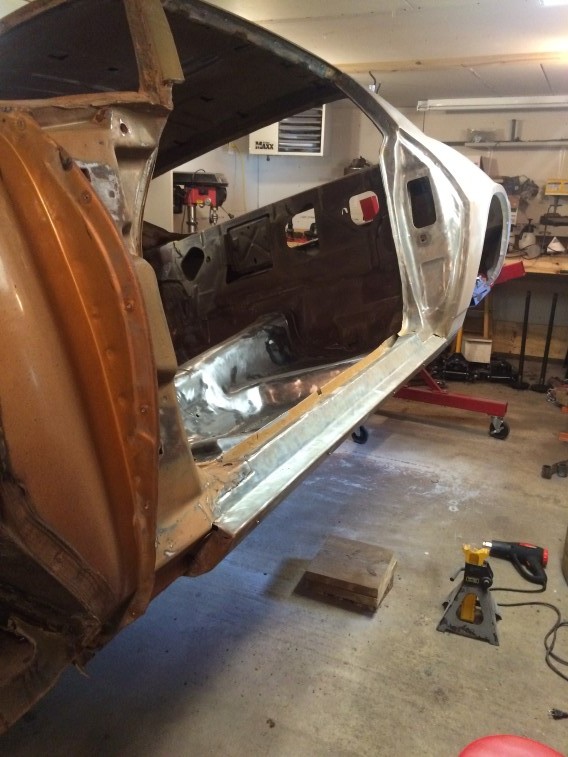
I also tried to center the mounting ends so the car is centered to the rotisserie: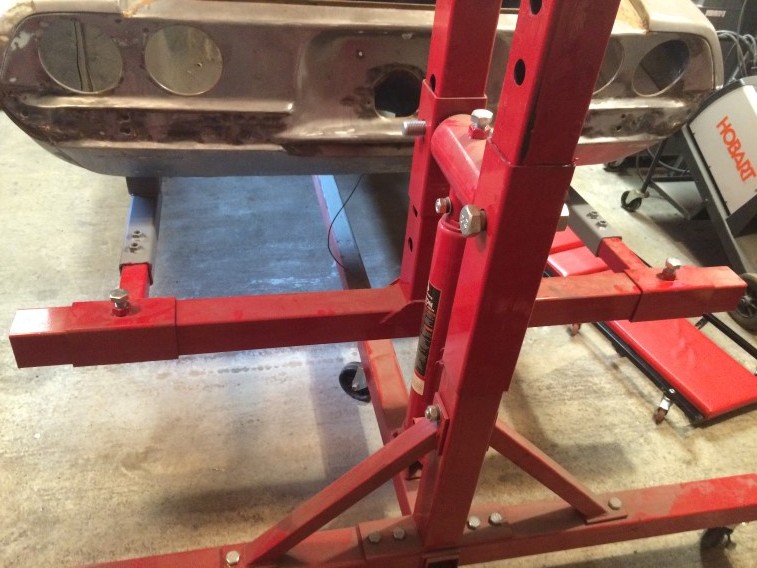
Same with the front: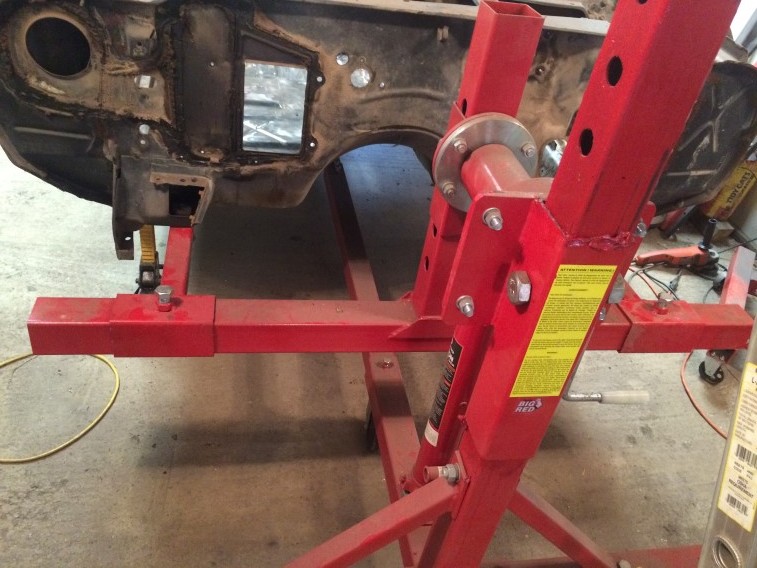
Now to adjust the mounting points on the side closest to the car which adjusts the center of gravity: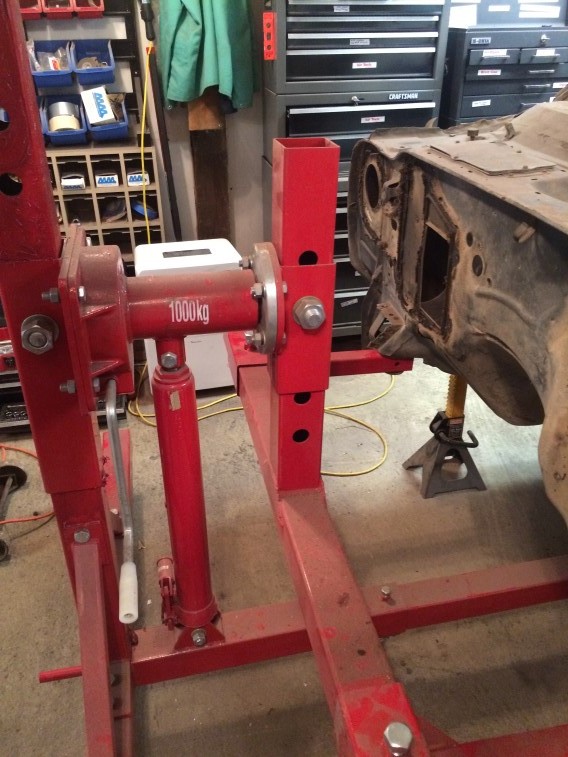
and the back: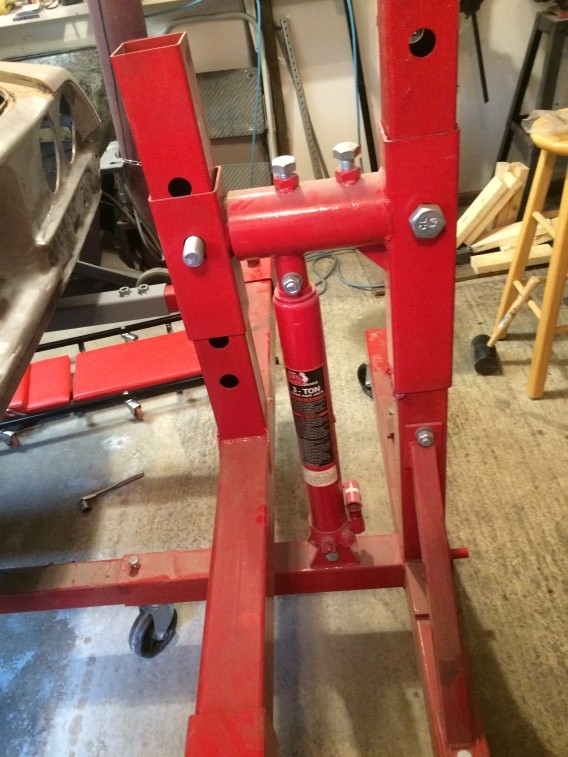
I jacked the car up using the rotisserie, added some bricks and boards under the jack stands and lowered the car on the higher jack stands to release the weight on the rotisserie. Now this requires a second pair of hands as I held the arm attached to the car while my buddy adjusted the rotisserie jack to the next set of holes which improved the center of gravity: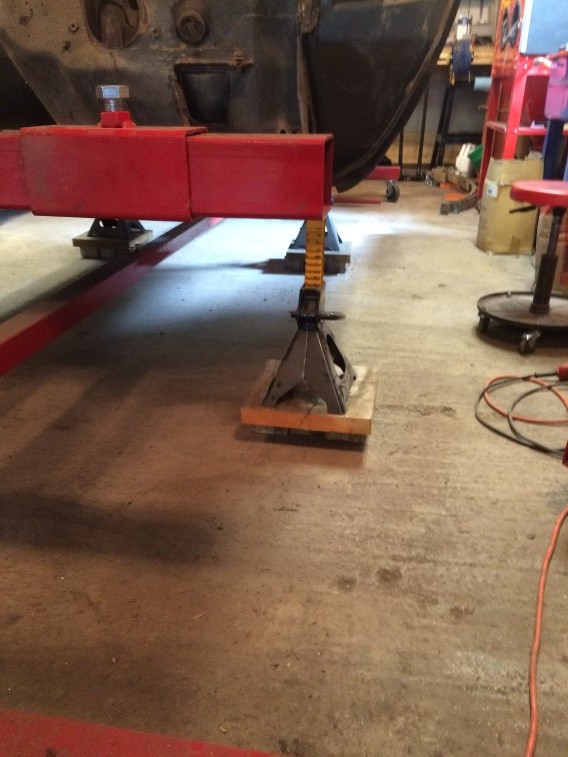
Rotation is much easier now: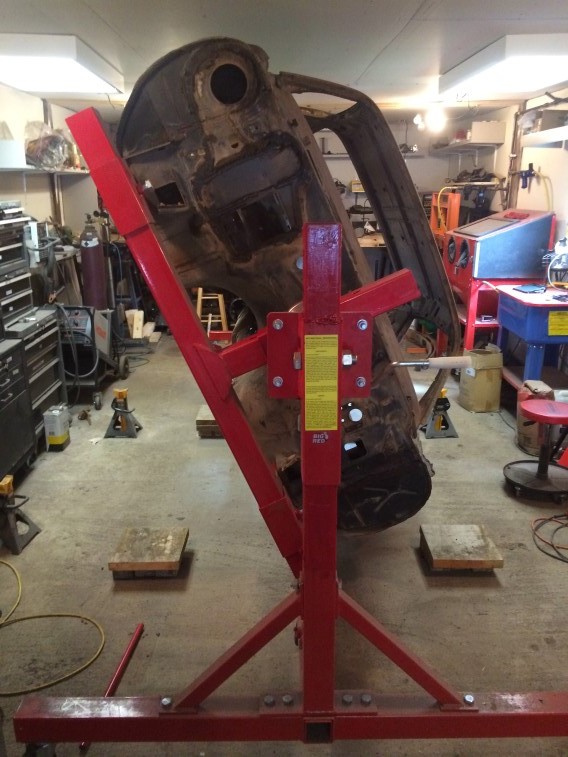
For reference for the better center of gravity: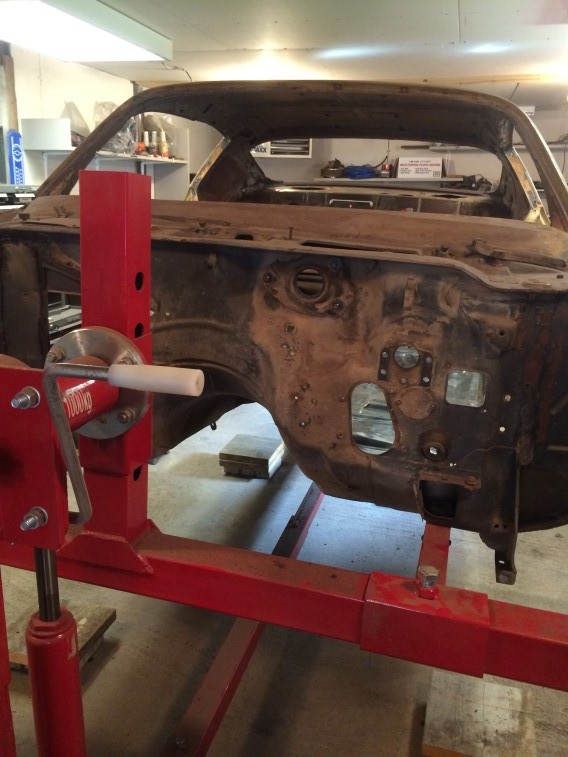
Back: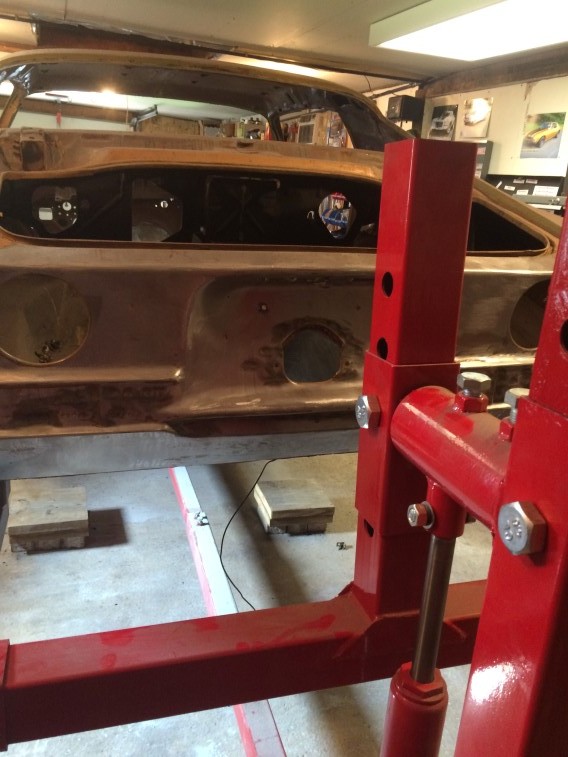

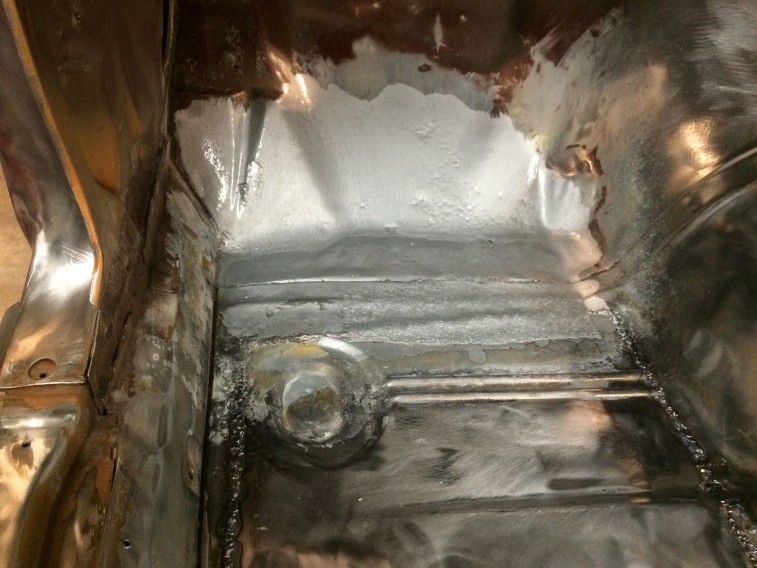
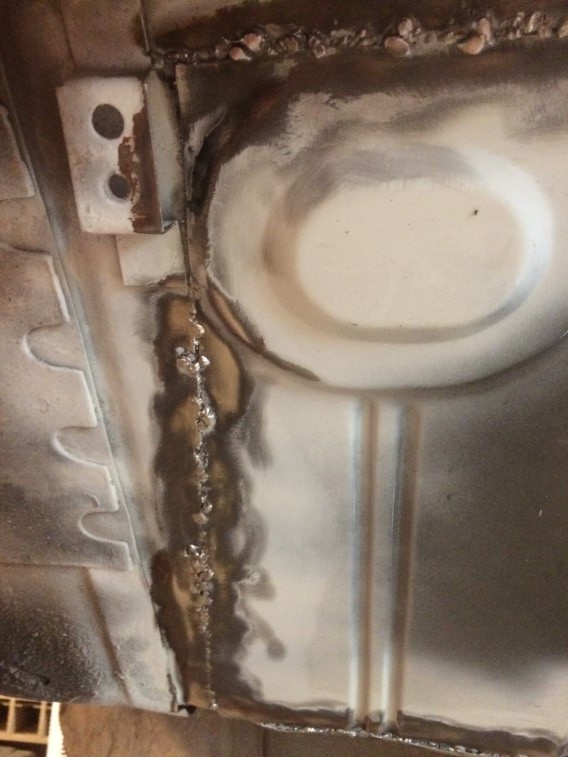
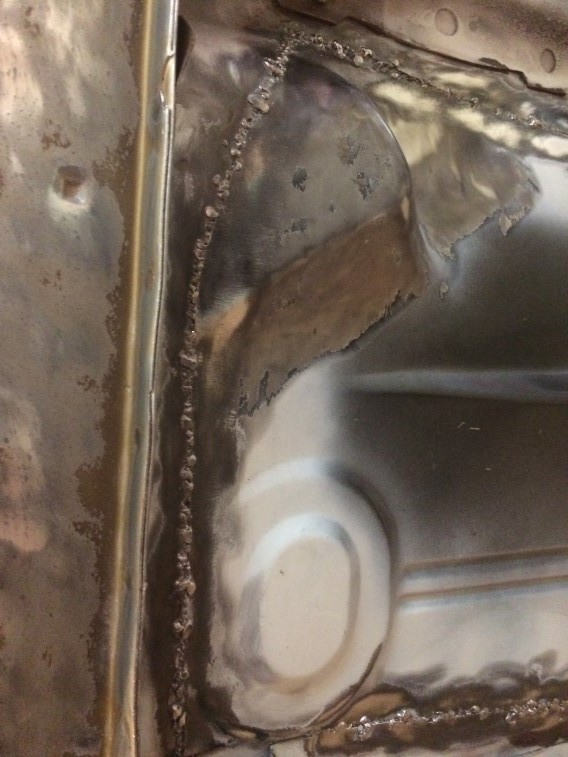
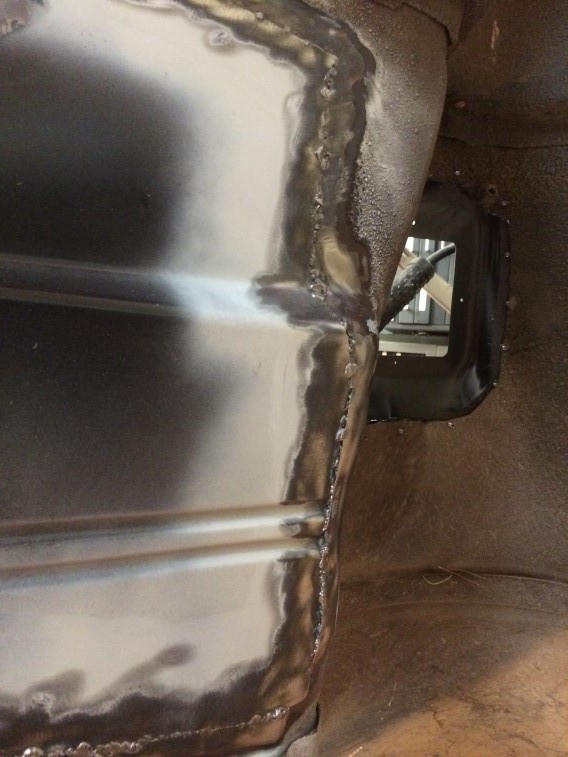
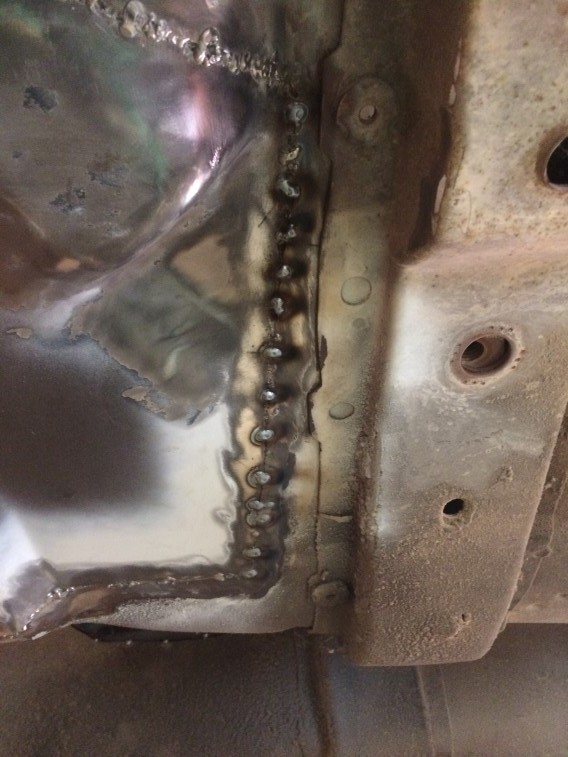
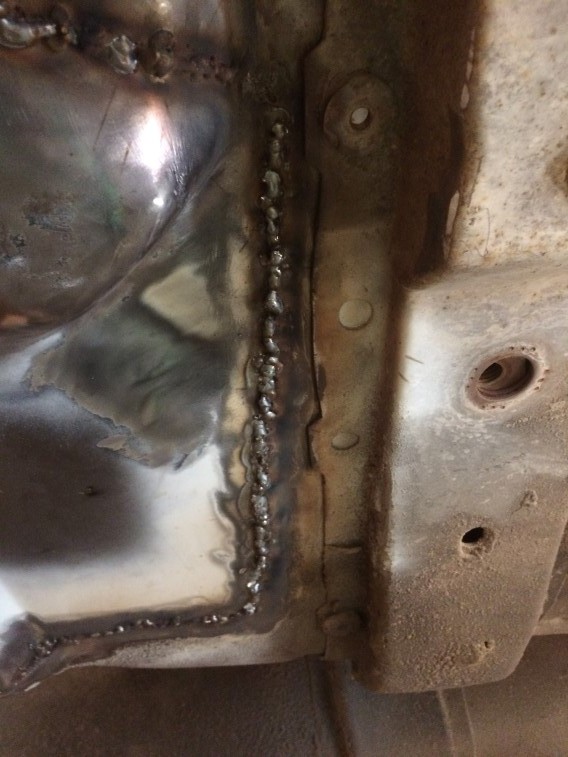
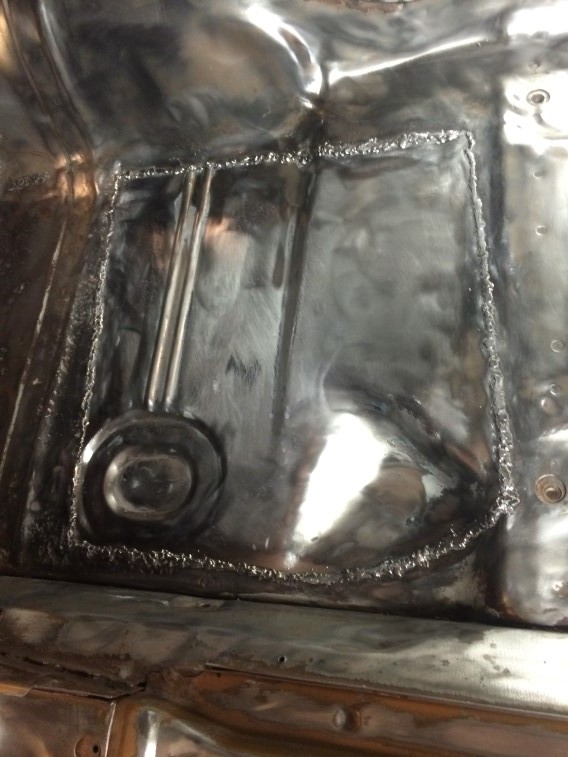
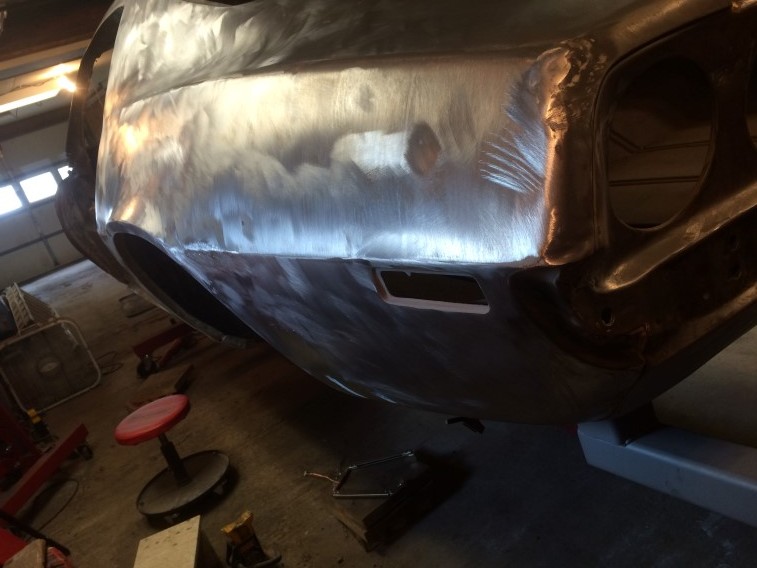
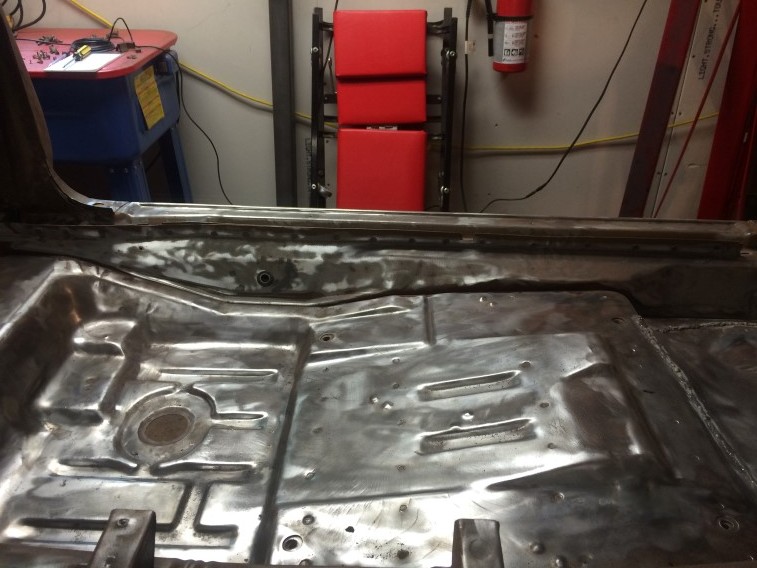
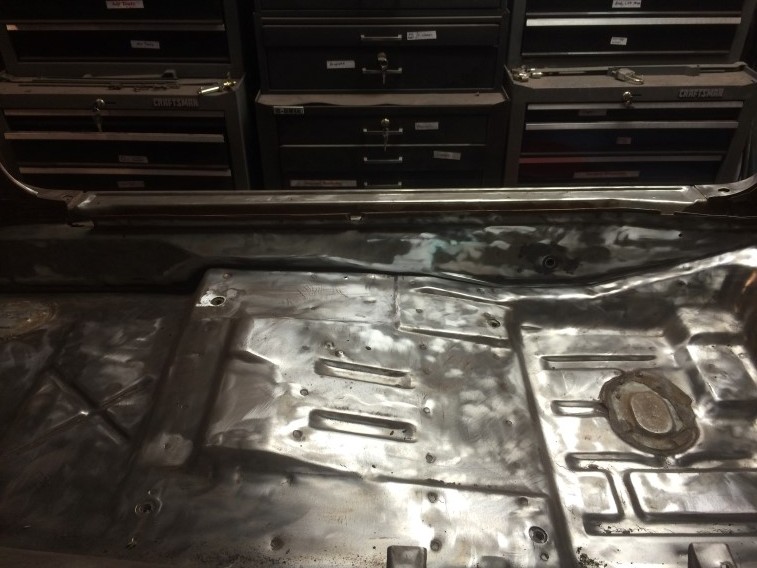
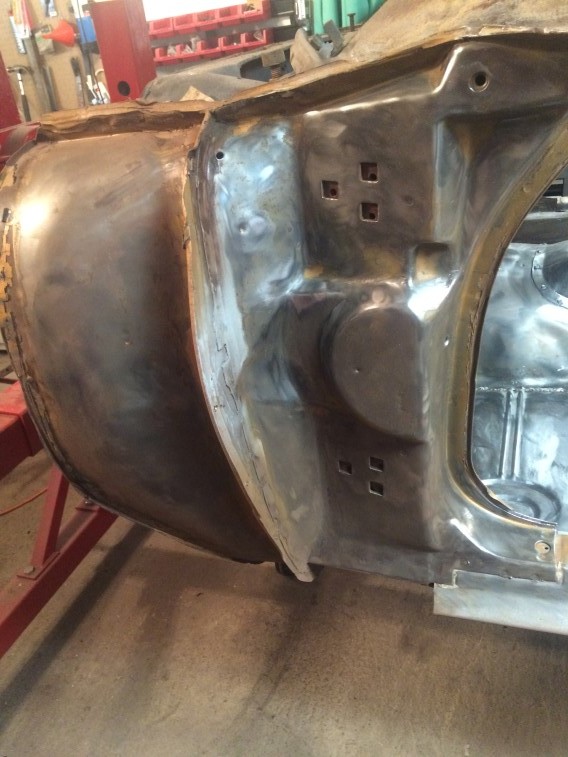
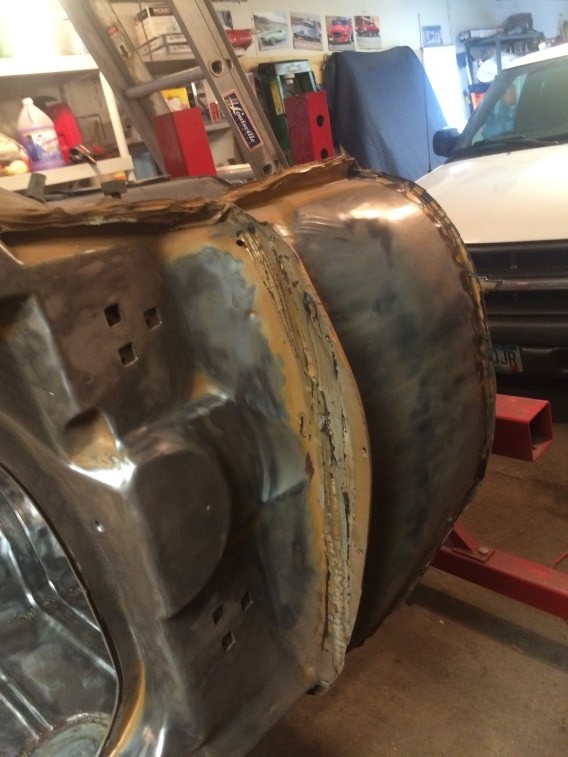
 I still need to scuff this once it is dried then prime over it.
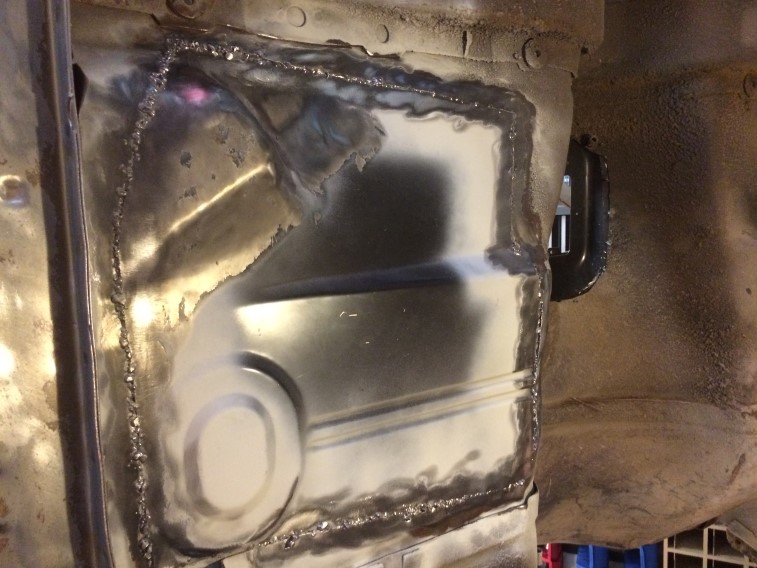
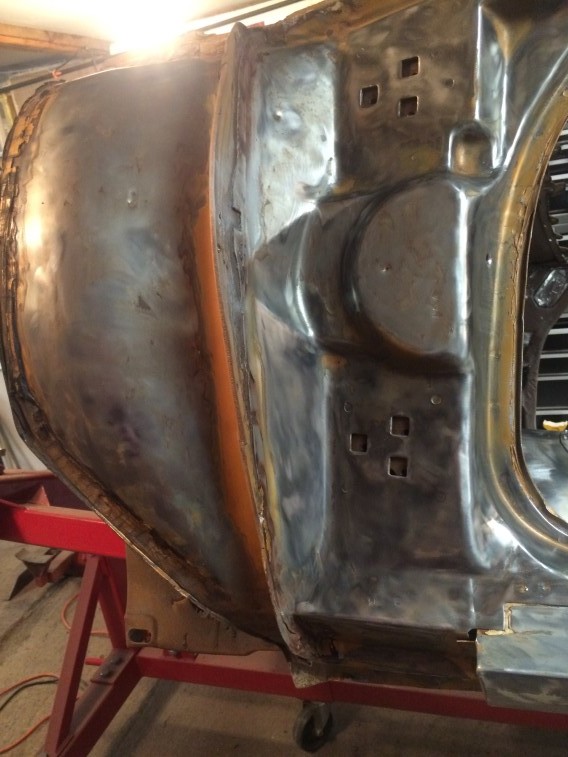
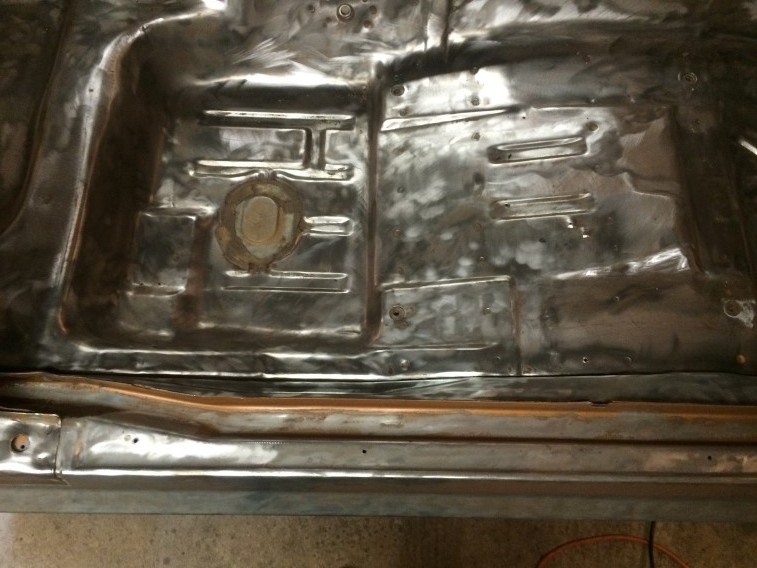
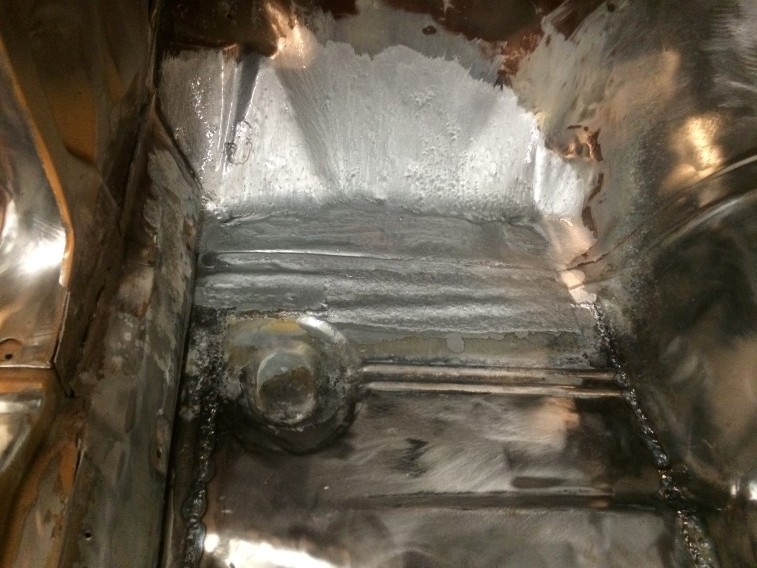