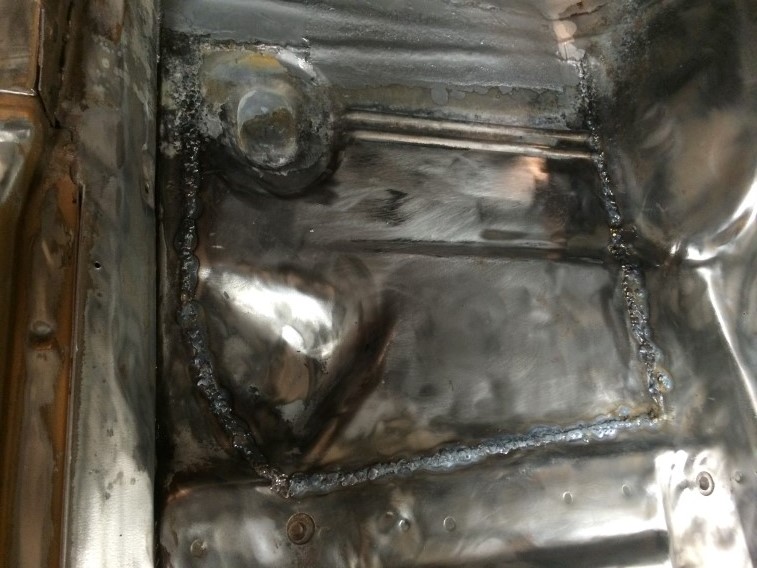
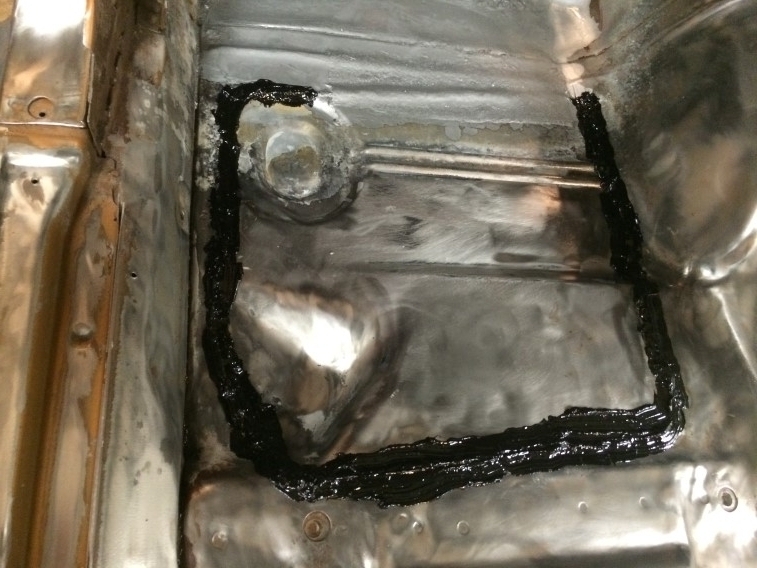
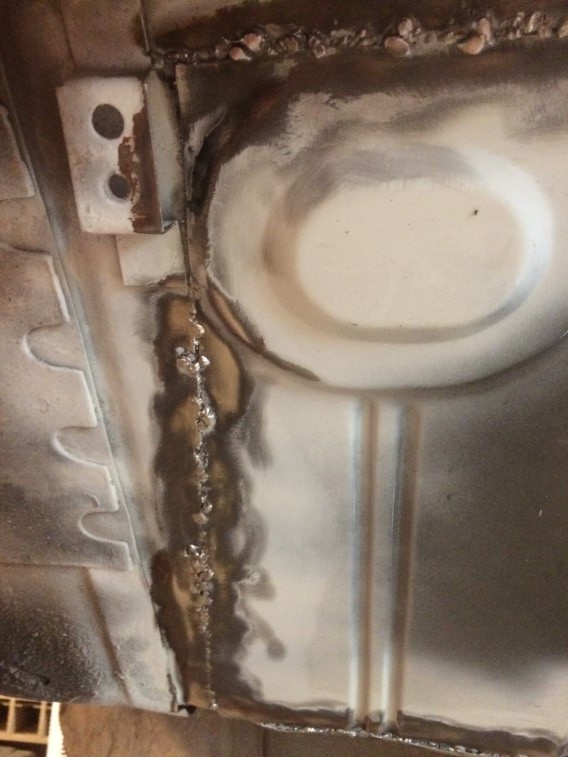
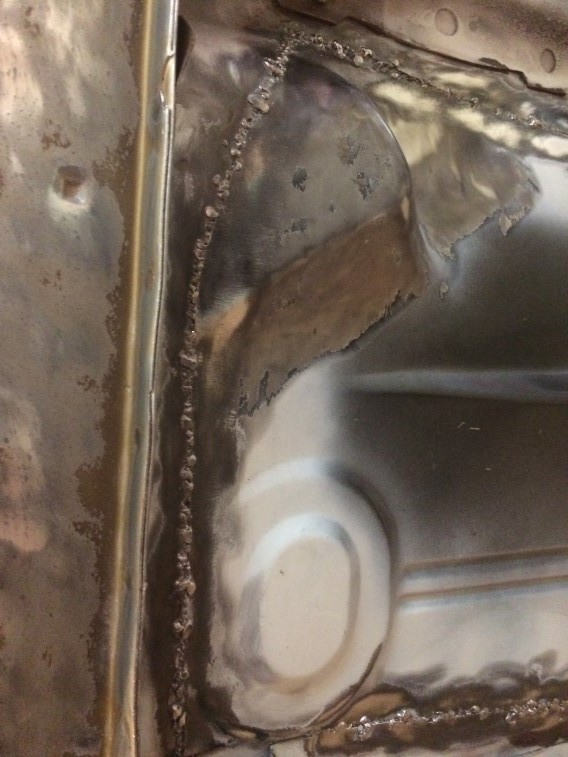
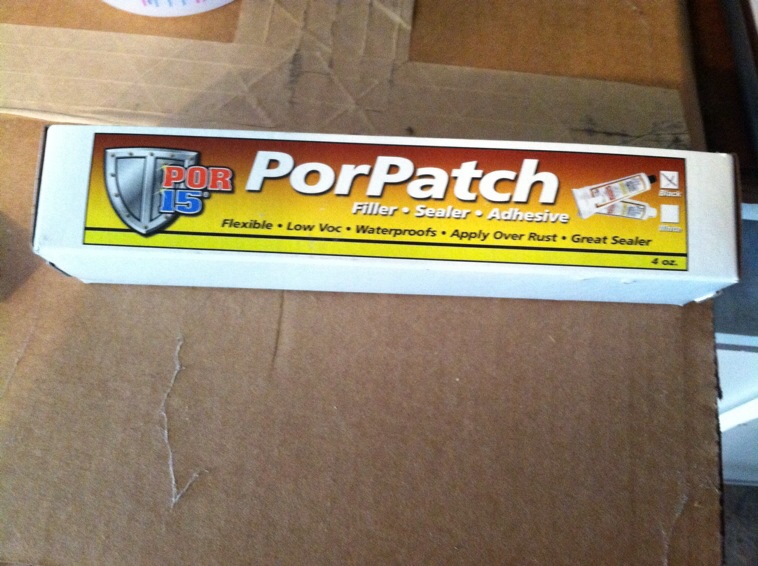
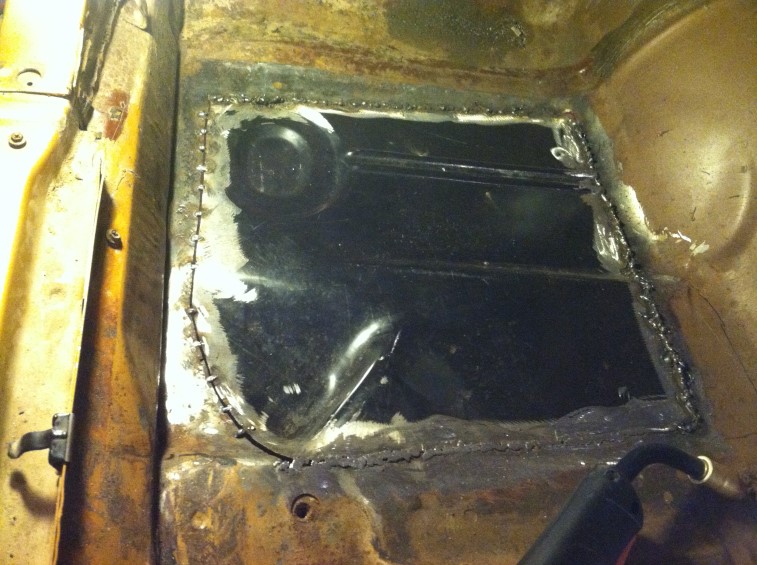
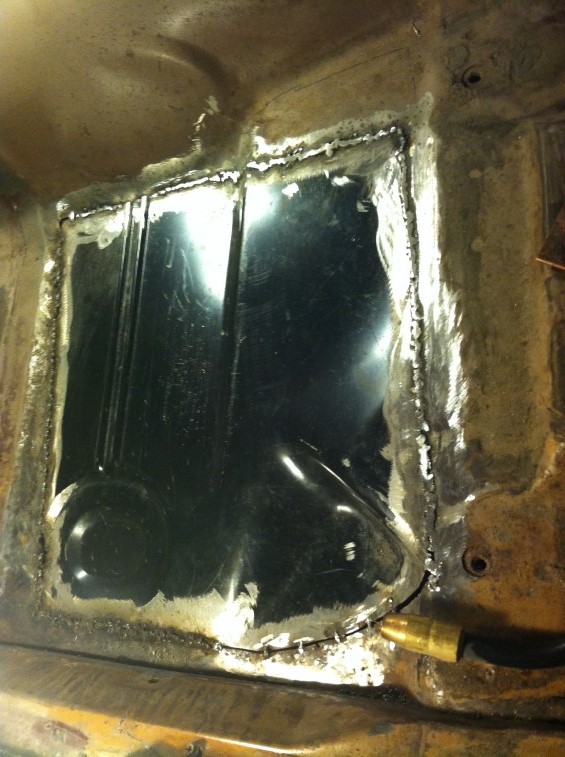
It has been a while since I last updated my progress. Will make several updates today. First, I used por-patch on both sides of my patch panel (click image to cycle through the pictures). This comes in a tube and I ran a bead along the welded area, then used an acid brush to smooth it out. This sealed and pin holes that might be left over from welding.
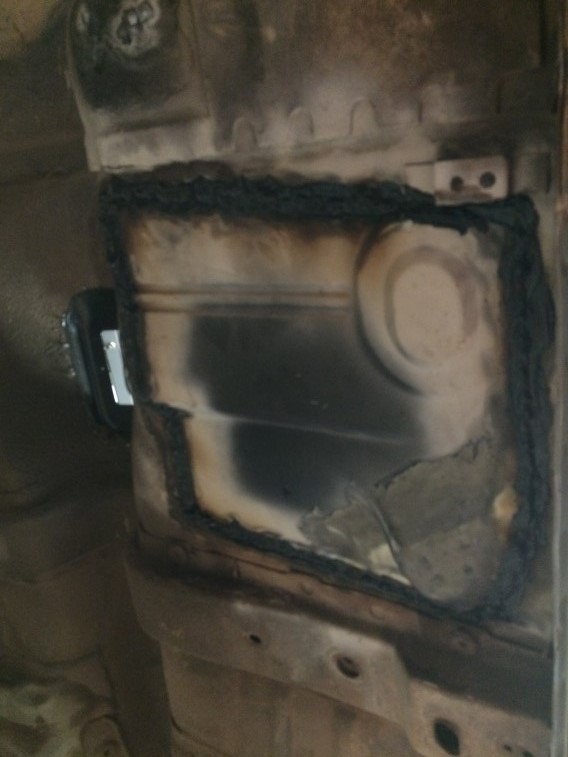
A before shot of the pitted metal in the driver’s side toe area. I didn’t want to patch this, so I decided to use POR-15 on it. (Paint Over Rust – POR is a rock hard coating to prevent further rust. I used POR-15 Silver along with some mesh from the kit for a small portion by the patched panel to help strengthen the area. Before:
First coat:
First coat dried:
Second coat 4-5 hours later:
Second Coat dried:
Third coat (within 24 hours): I still need to scuff this once it is dried then prime over it.
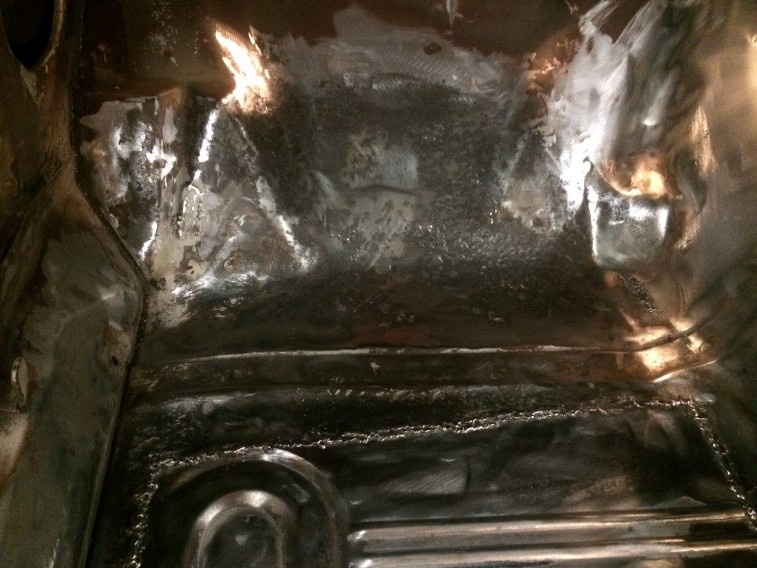
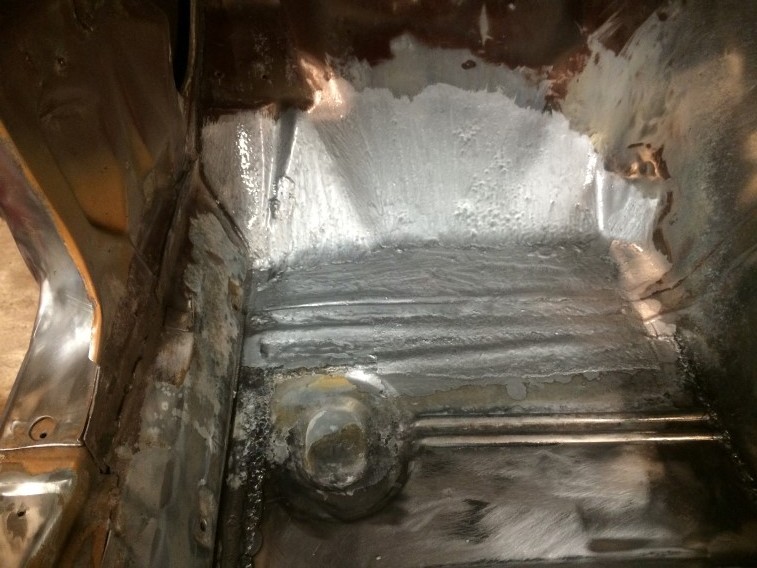
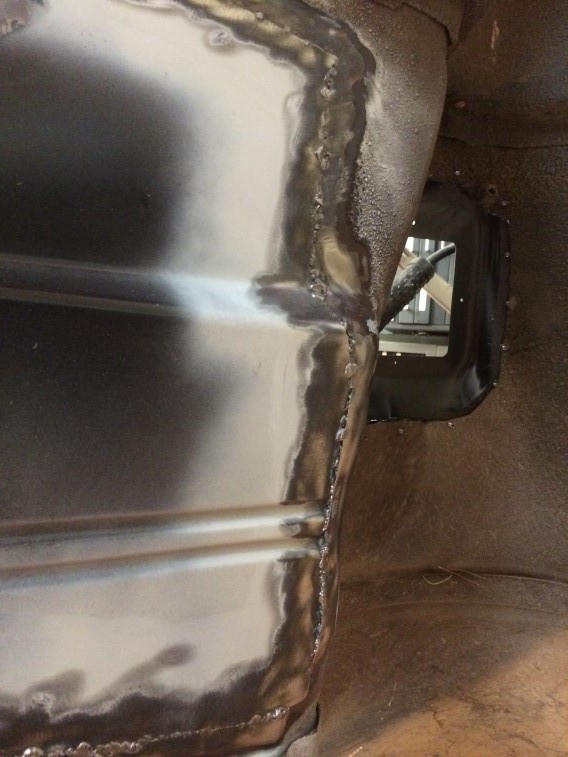
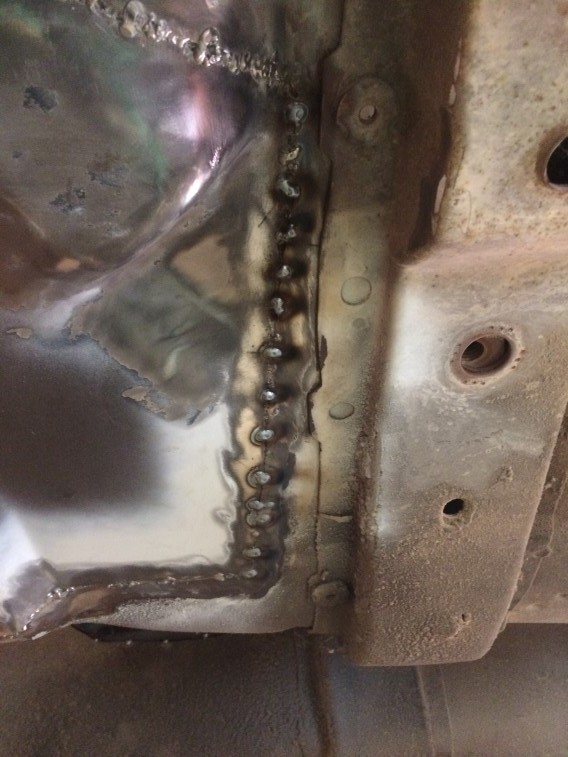
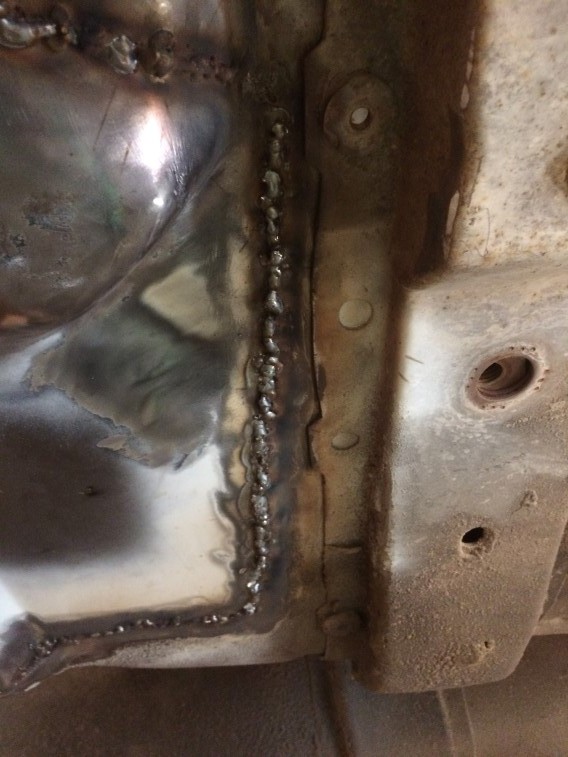
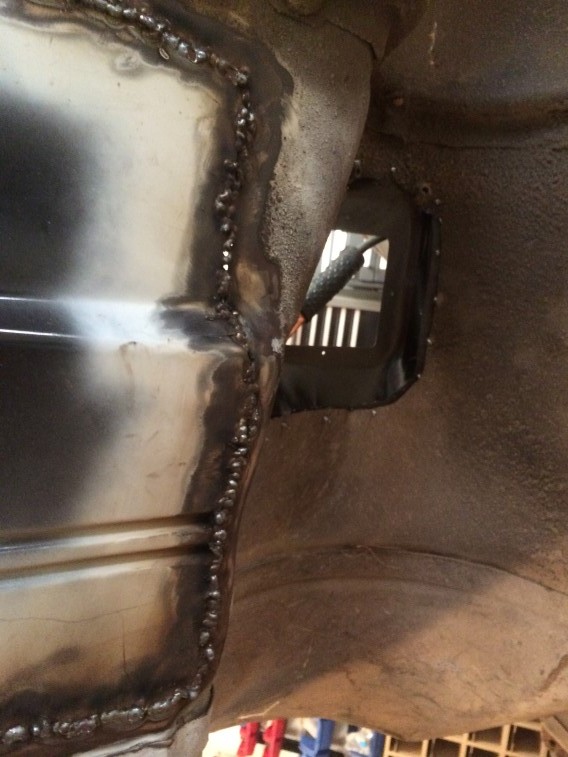
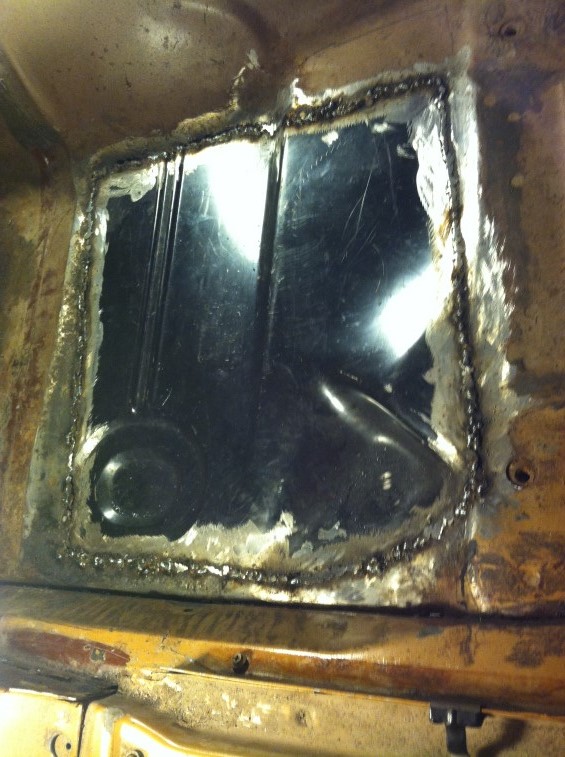
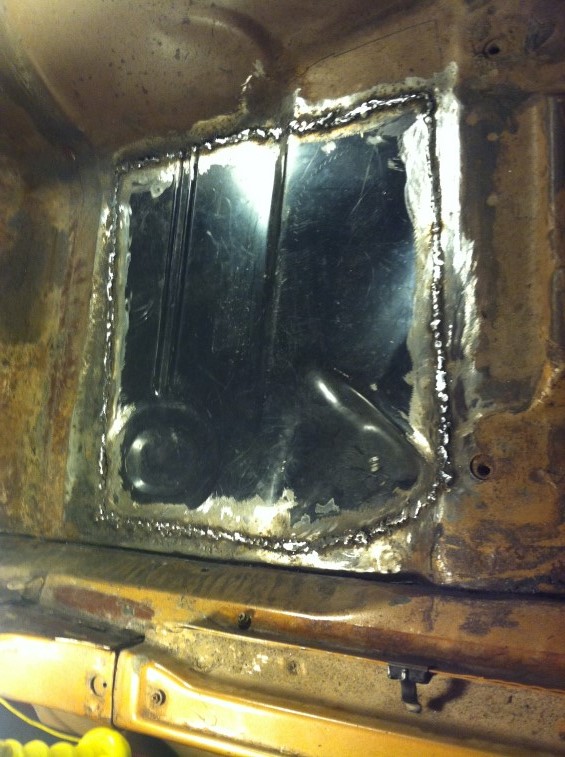
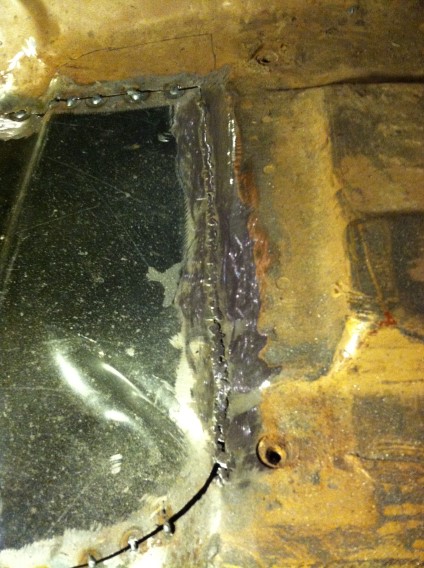
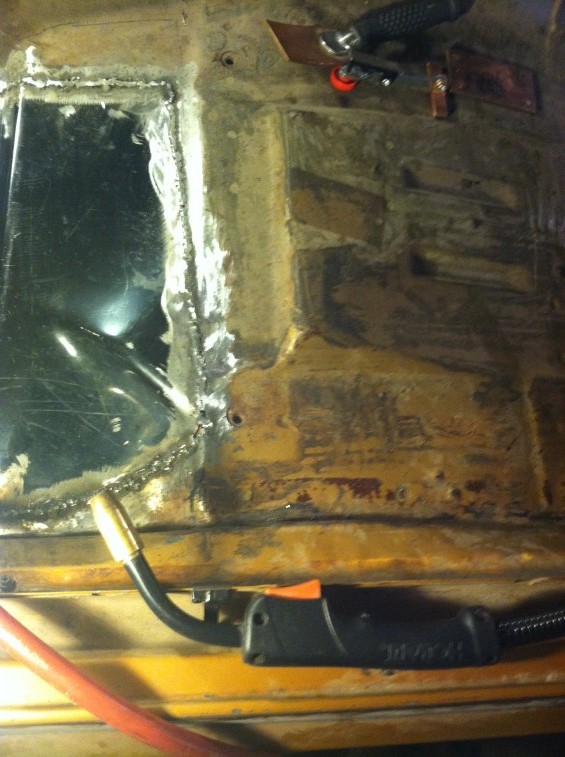
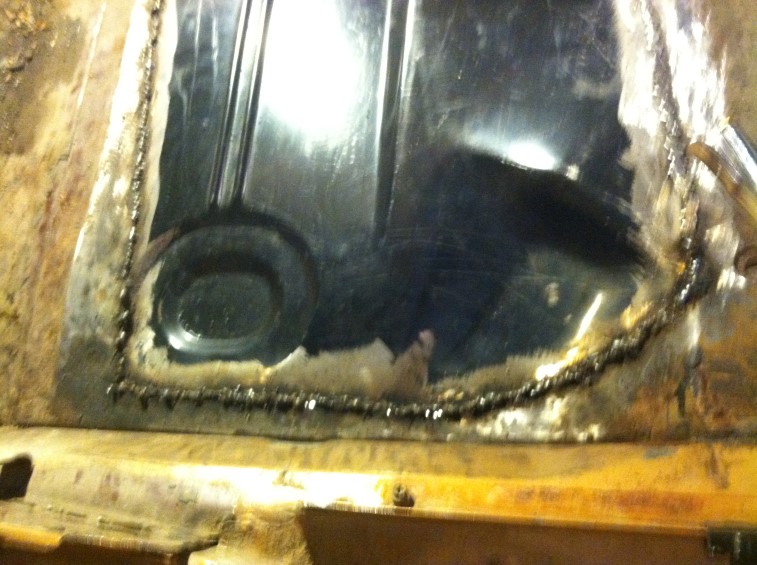
Only took me a half day to re-weld the patch panel from the bottom while on the rotisserie. I must be getting better at welding.
Before pics:
Starting with a few tack welds:
After pics:
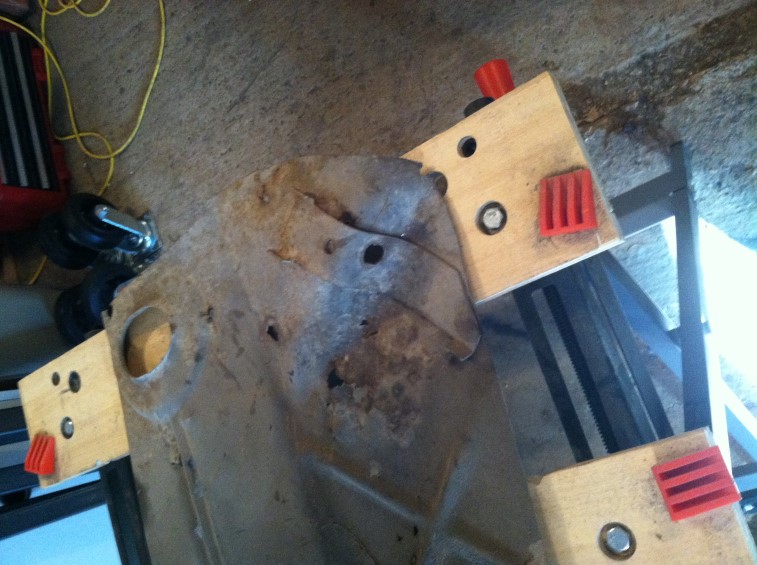
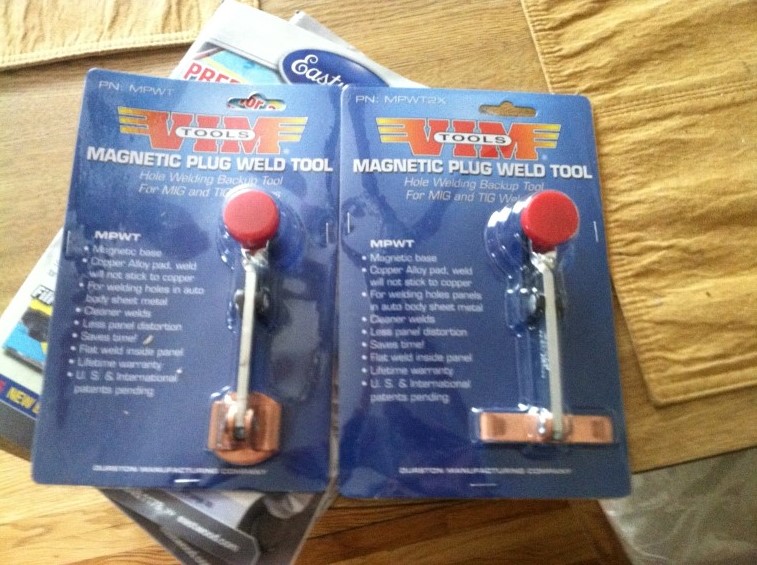
There were a couple of holes that needed to be closed. Using this tool from Eastwood to use as a backing while welding them shut:Next, I will be tackling the drivers side toe area with POR-15.
Wrapped up my cleaning and organizing of the garage, shed, and 2nd floor of garage. Now focusing on re-welding a few sections of my prior floor patch work. Before I welded from the inside of the car, and now I plan on going from the outside (bottom) of the floor while it is on the rotisserie. Today was cleaning and grinding the welded sections both on the inside and inside, then cleaned. Taking next Thu & Fri off, so hope to be done with my re-welding by the end of next weekend. The side close to the trans hump area was difficult to get the welding nozzle at, going from the bottom, should provide me with easier access to the areas I want to re-weld.
I read about using POR Patch as a sealer over welds. I am going to use this on the floor board patch. I discovered that it is out of stock on-line, but there is a authorized reseller in Red Wing an hour away. They only had one, so I went and bought it…
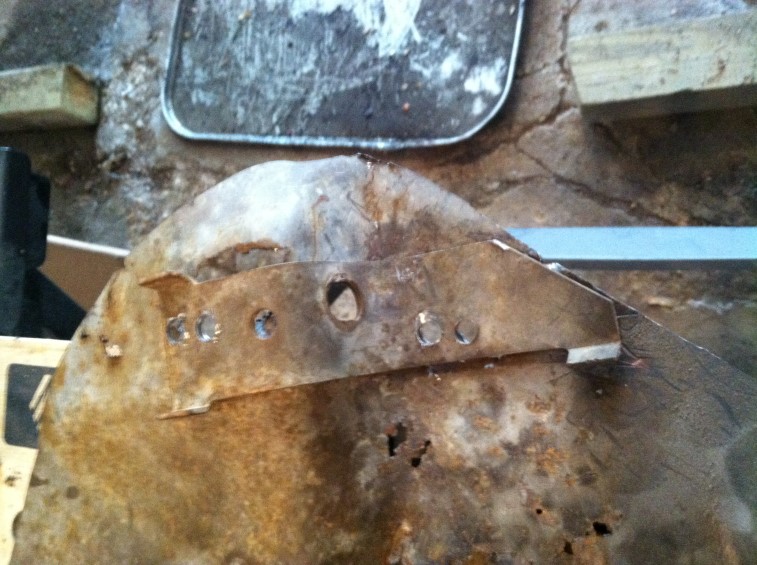
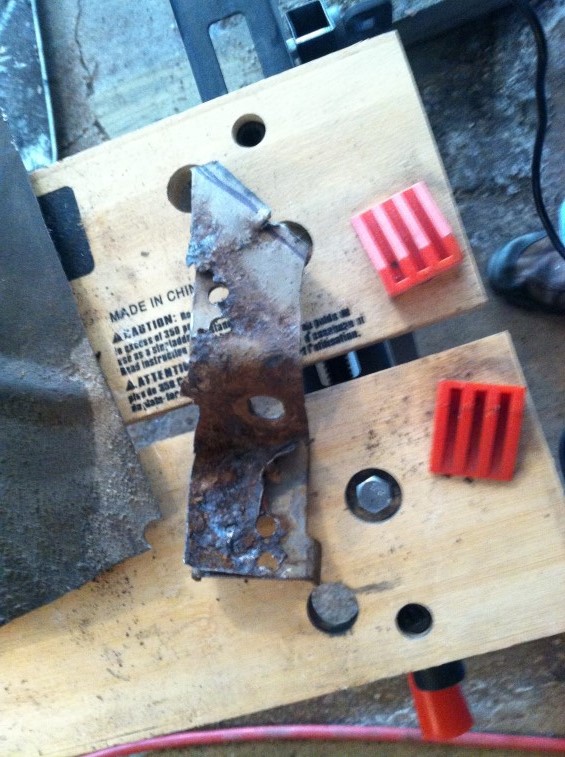
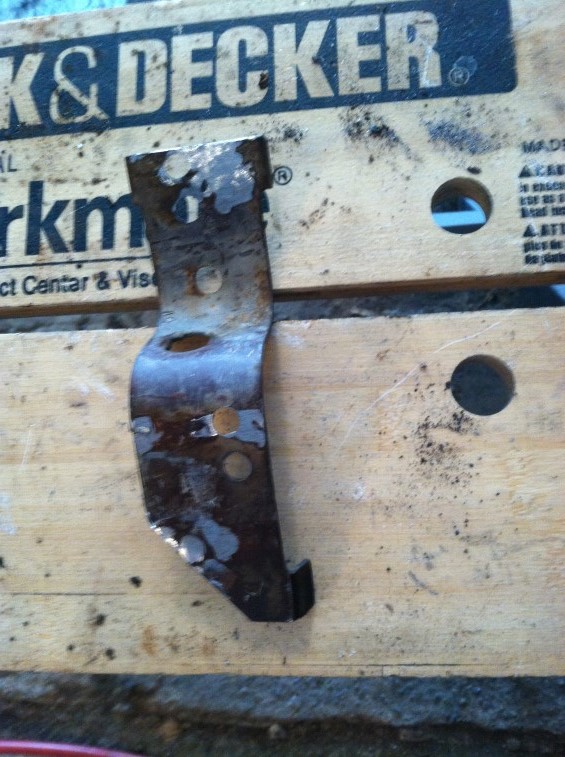
I had some remaining work from the floor patch panel from last summer. I had to get the old brake bracket off the old floor – will need to weld it to the new floor later.
Here is the bracket on the old floor:
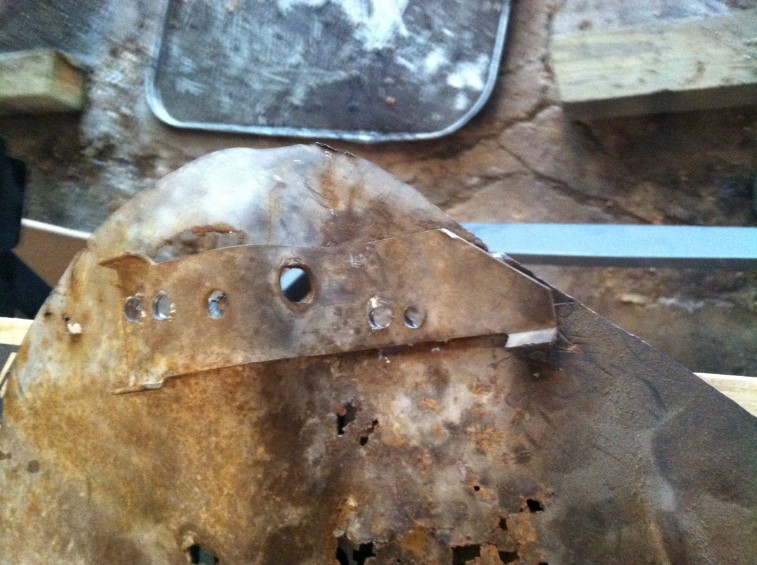
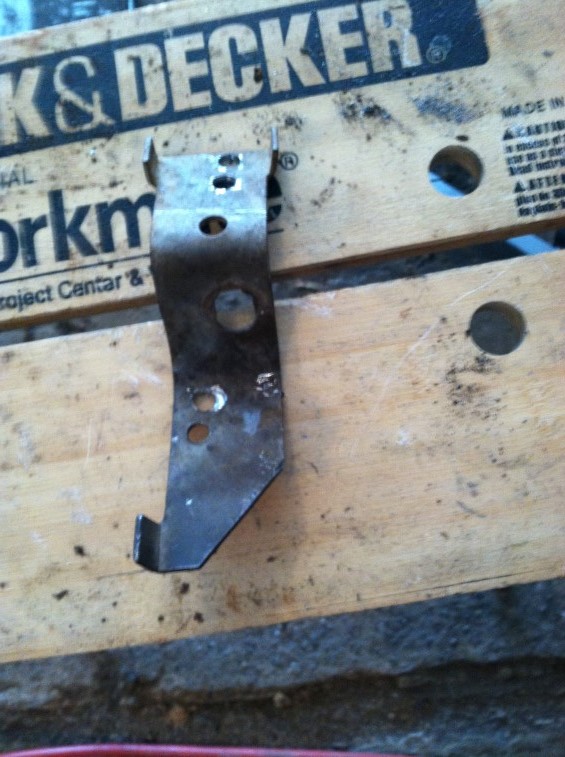
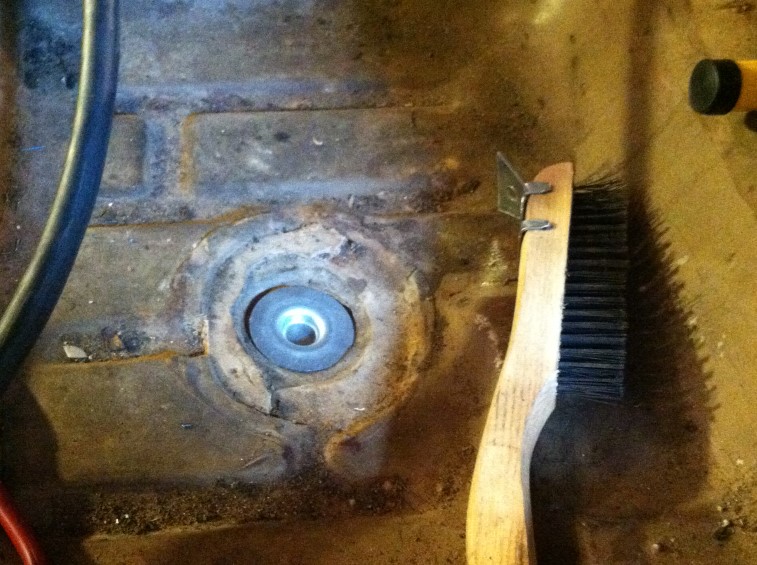
I started by drilling out the spot welds I could find:
Then I used a body saw to cut it out with the old floor metal still on it:
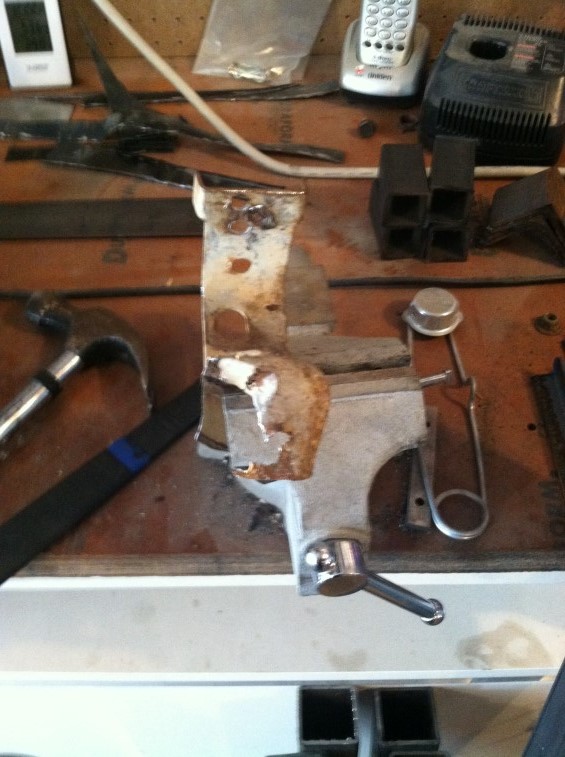
Then I used my vice to hold it while I worked on getting the old metal off of it:
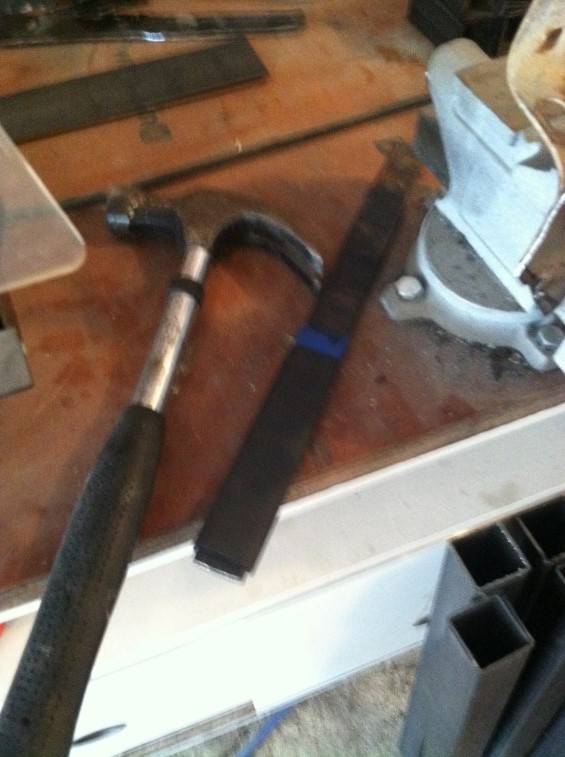
This body seam buster came in real handy:
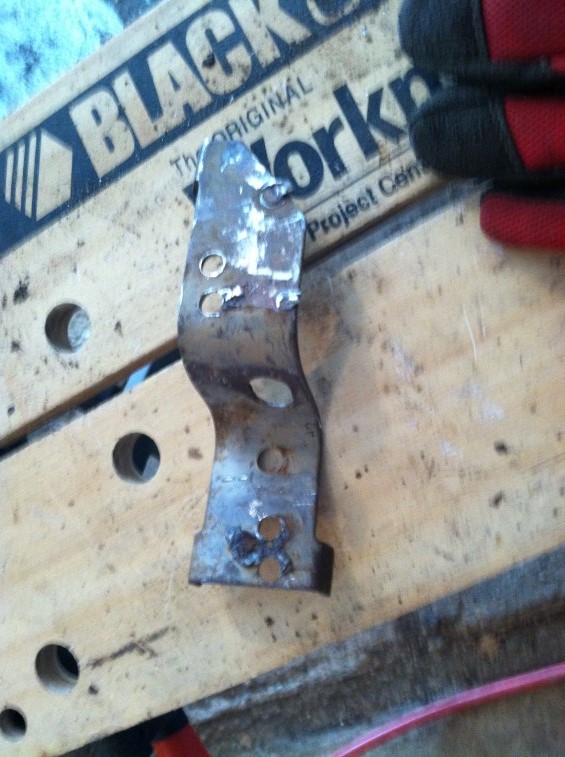
You can see some of the spot welds I had missed:
Used my grinder to smooth the old spot welds down:Will put this in the blast cabinet and prime it before welding to the new floor.
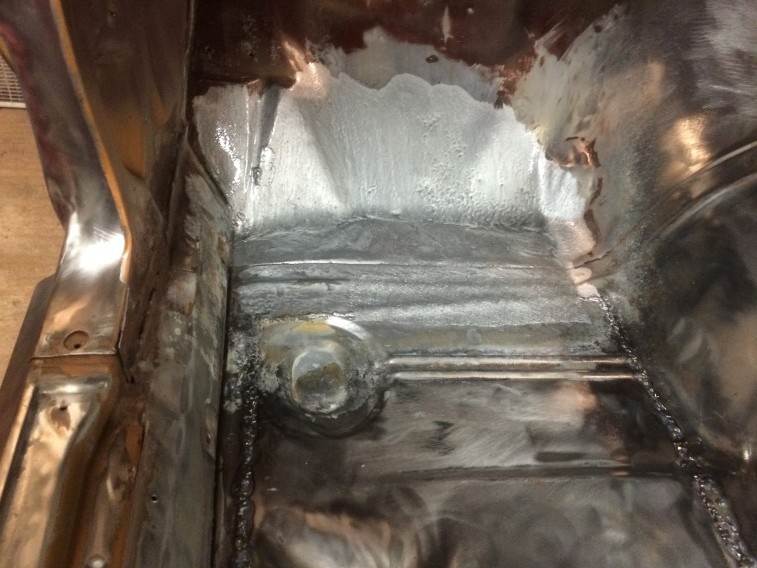
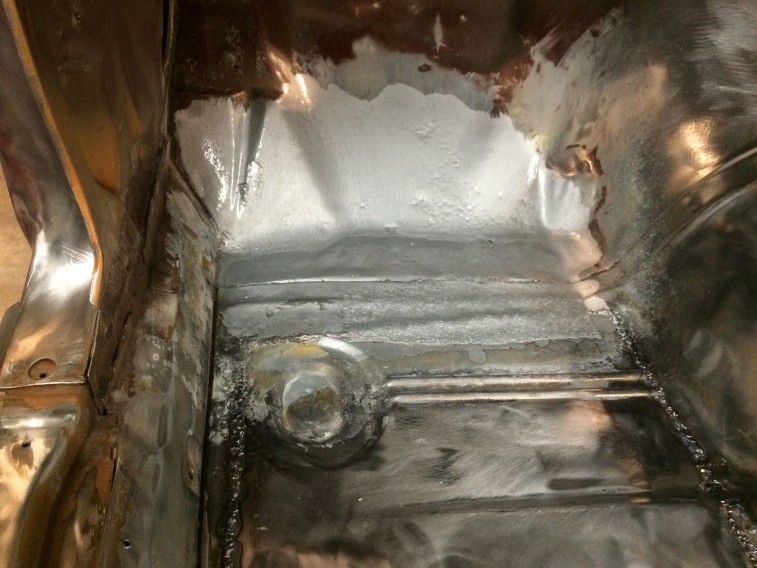
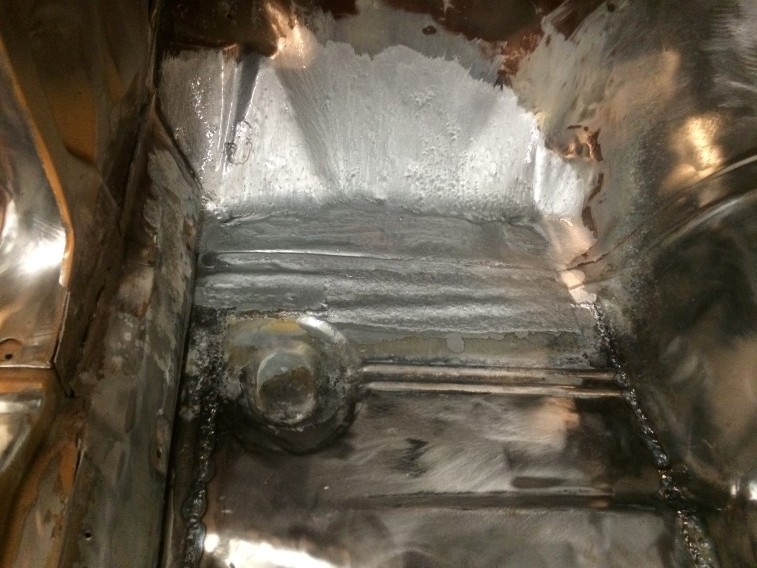
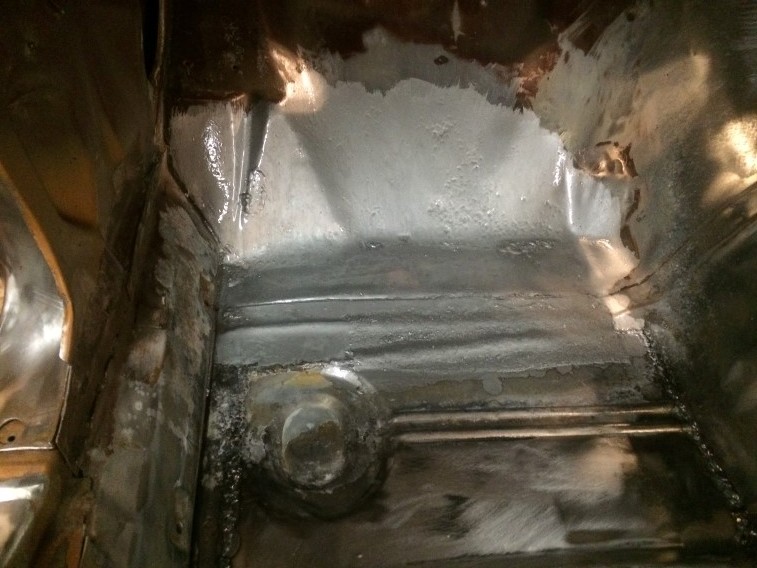
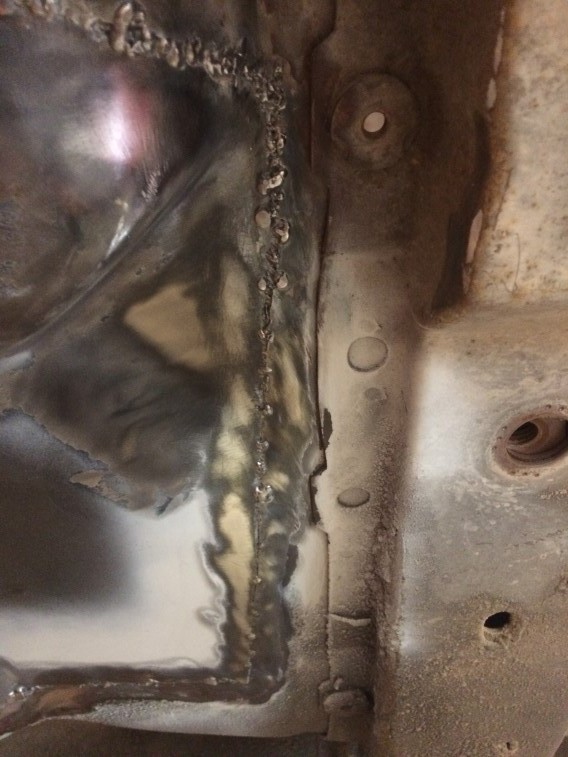
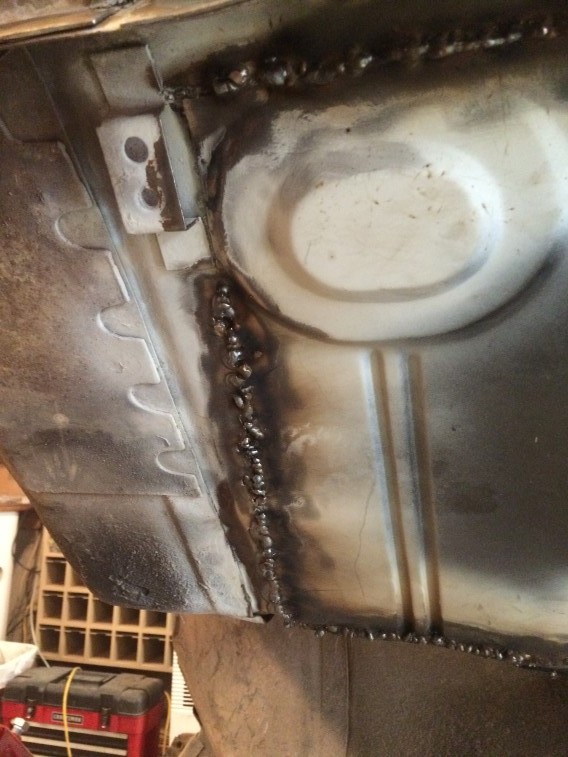
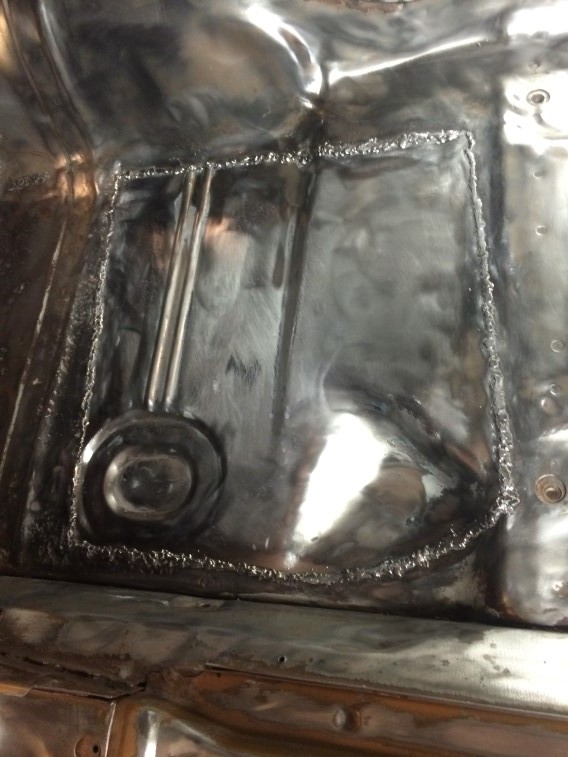
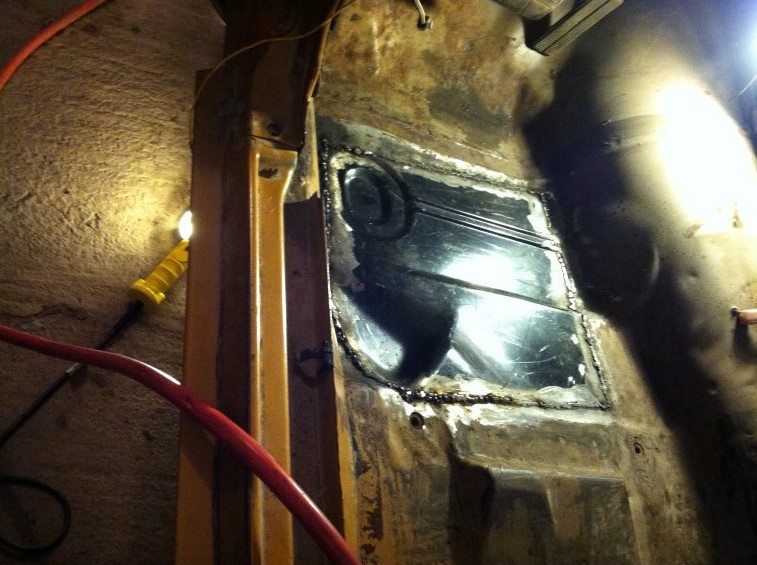
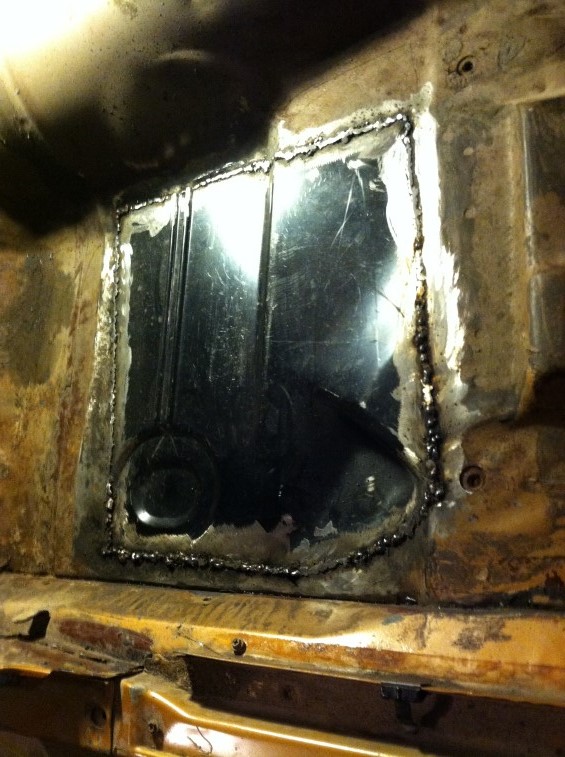
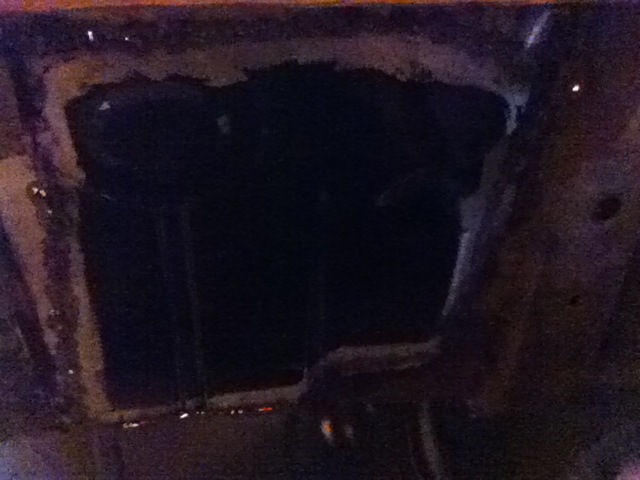
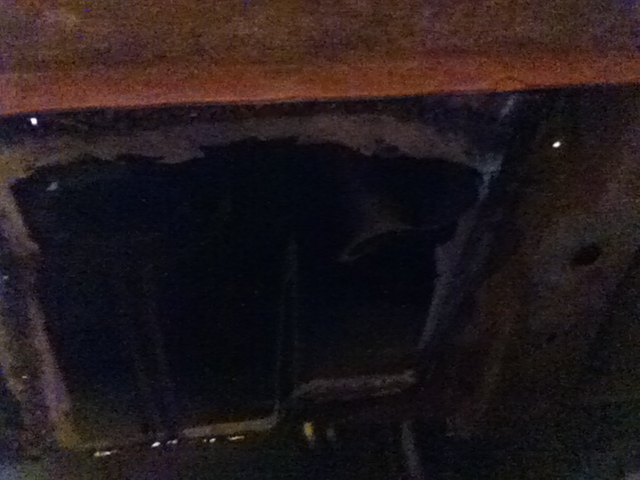
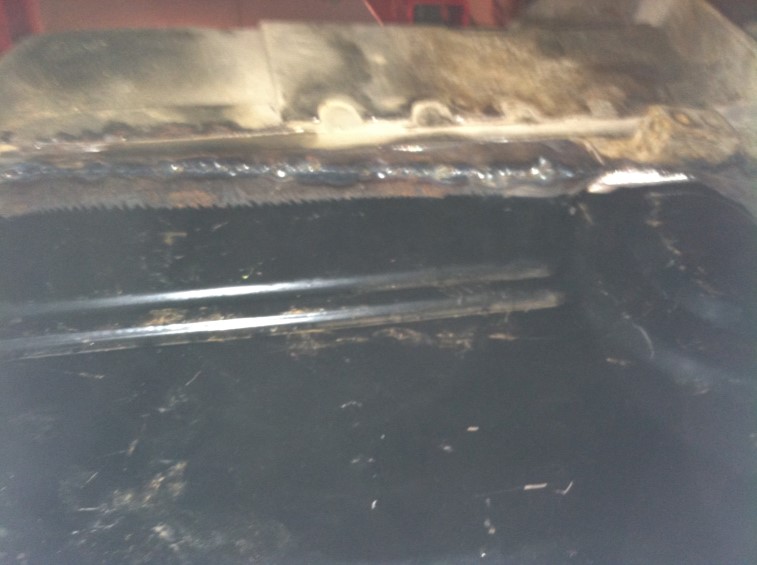
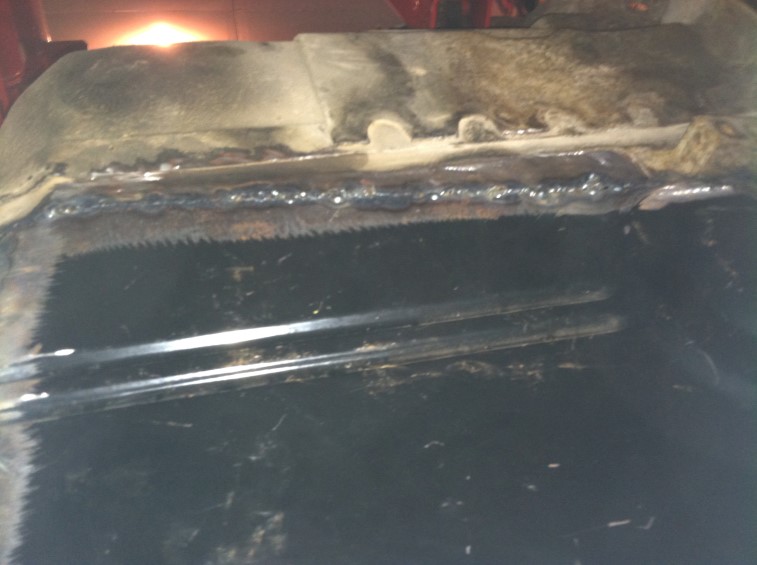
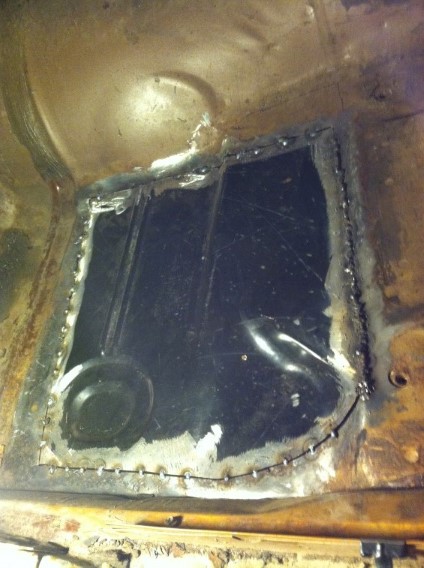
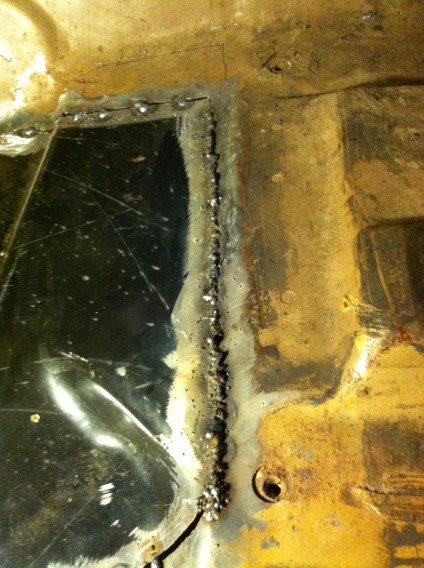
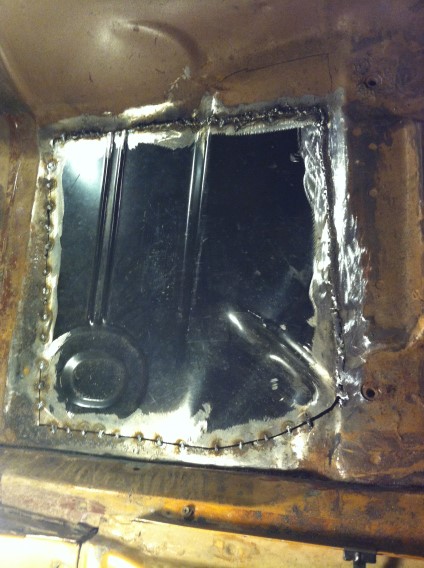
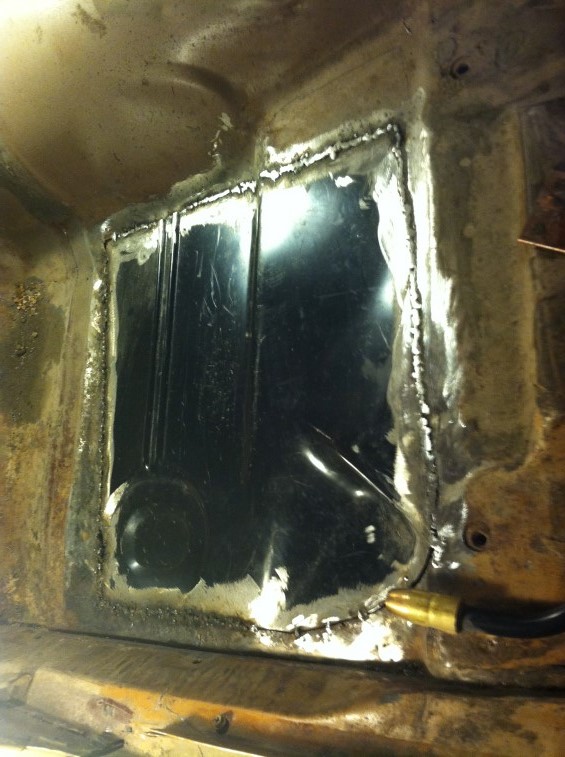
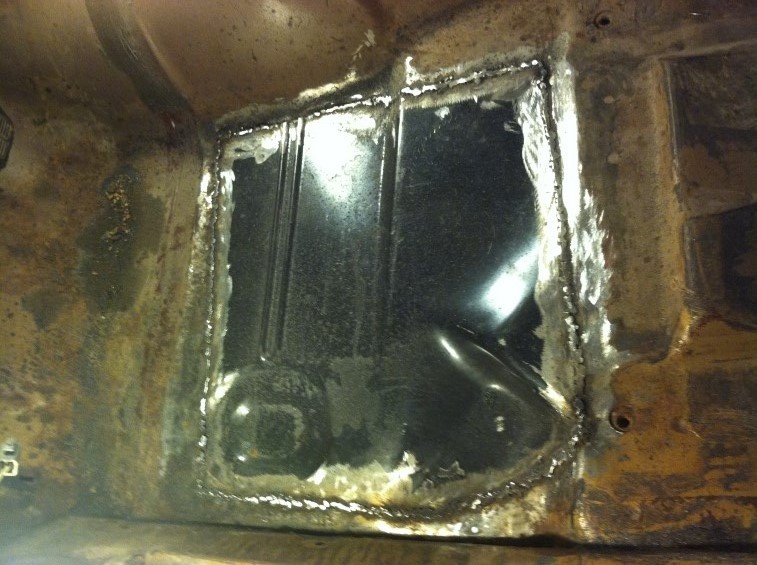
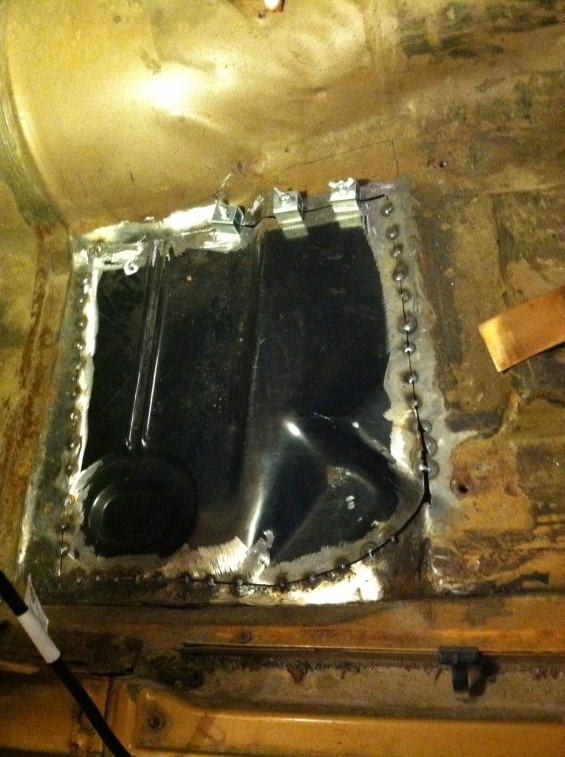
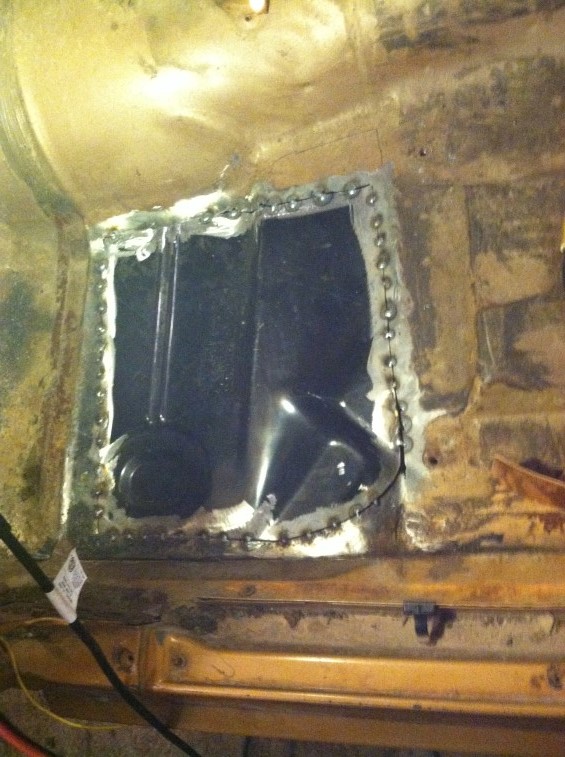
Almost done with the patch panel. Still need to grind the welds on the bottom and then spray some Epoxy primer on it:
After my first pass at welding, looking at it from the bottom showed some areas where the light was shining through that needed to be gone over. So after grinding the welds, re-welding and re-grinding, I think it is finally acceptable. Next summer, I will go over the floor and trunk with POR-15 Floor & Trunk kit which should get any remaining pin holes.
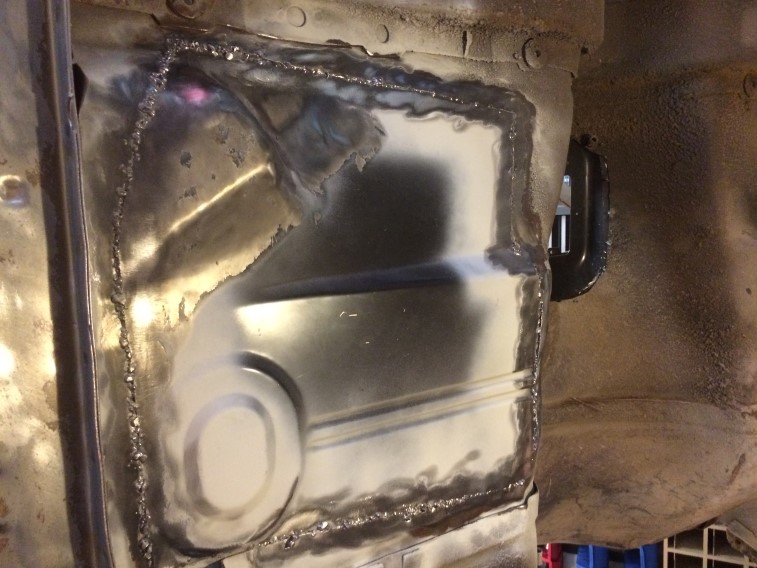
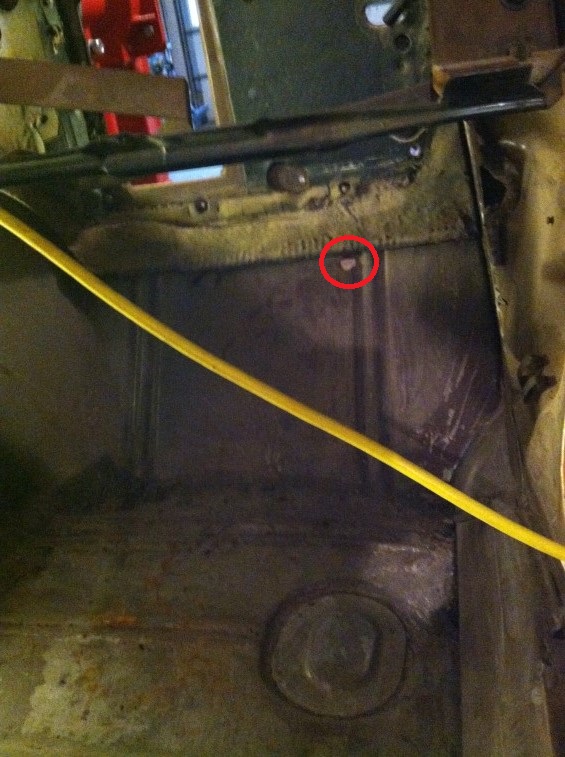
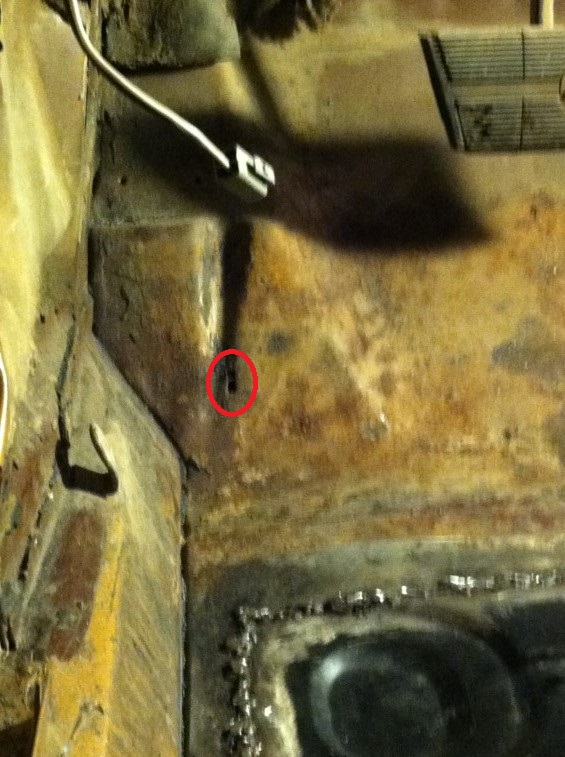
There are two small areas I think need patched. Need to verify on NastyZ28.com that these are not factory holes and needs to be patched. That should then wrap-up the body work until Spring 2014 when I sand and prime the main shell.
Made some progress this weekend – got the patch panel tacked in place and started welding it in.
Final adjustments for fitting:
All tacked in:
Started welding:
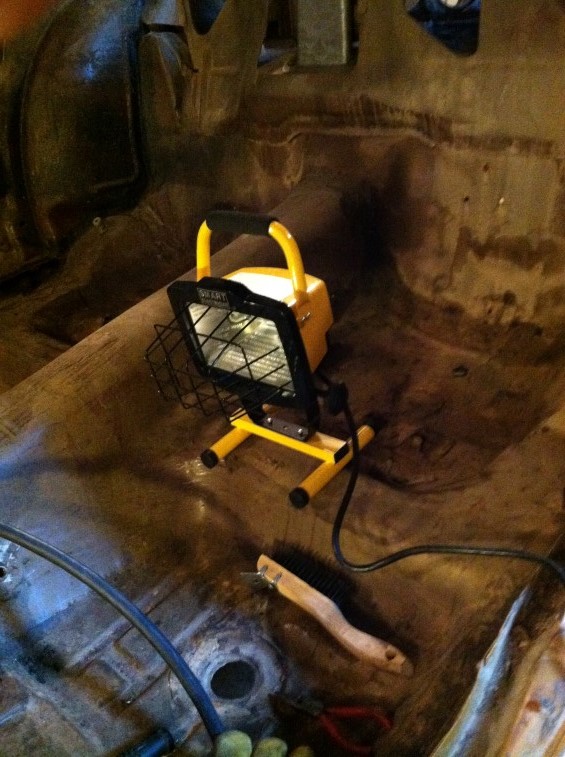
Bought a new work light from Menards – 500 Watt Halogen.Also removed the remaining wiring from the car. Still need to put a few removed dash parts away. I finally had to turn on the garage A/C as welding in a welding shirt, gloves, and hat tends to heat the body up a bit!!!
Also ordered a re-conditioned used AC dash off of eBay. Didn’t want a re-popped one after reading about fitment issues, so I figured I had better grab a used one while I can! I’ll take pictures when it arrives.