Category Archives: Camaro

Jun 16, 2013 Update

Made some progress this weekend – got the patch panel tacked in place and started welding it in.

Final adjustments for fitting:

IMG_0283

All tacked in:IMG_0284

Started welding:IMG_0285

Bought a new work light from Menards – 500 Watt Halogen.IMG_0286Also removed the remaining wiring from the car.  Still need to put a few removed dash parts away.  I finally had to turn on the garage A/C as welding in a welding shirt, gloves, and hat tends to heat the body up a bit!!!


Jun 13, 2013 Update

Received my magnetic plug weld tools from Eastwood – I have a 4×2 plate that I was using, but wanted something a little more versatile:

IMG_0282

http://www.eastwood.com/magnetic-plug-welding-tool-horizontal.html and http://www.eastwood.com/magnetic-hole-plug-welding-tool-not-for-gas-welde.html

Also ordered a re-conditioned used AC dash off of eBay.  Didn’t want a re-popped one after reading about fitment issues, so I figured I had better grab a used one while I can!  I’ll take pictures when it arrives.

Jun 9, 2013 Update

Did some more work on the floor pan:

Holding in place with some welding magnets:

IMG_0264

Started tacking the pan in place – used a copper plate backing for the wider gaps:IMG_0265

Removed magnets and used some clamps to help hold in place:IMG_0266

Realized I needed to order some more copper plate backing tools from eastwood – they should arrive this next week.  They will help for the larger gaps to prevent burn through.  Also, the steering wheel was getting in my way (head kept banging into it) so I removed the steering column and remaining dash items along with the wiring:IMG_0267 IMG_0268

Cleaned dash area – should be able to work easier without banging into anything.  These needed to be cleared out anyway for painting:  Need to finish tacking and welding in the floor patch, but the it looks like it is fitting well although it still needs a little massaging.IMG_0269

Jun 2, 2013 Update

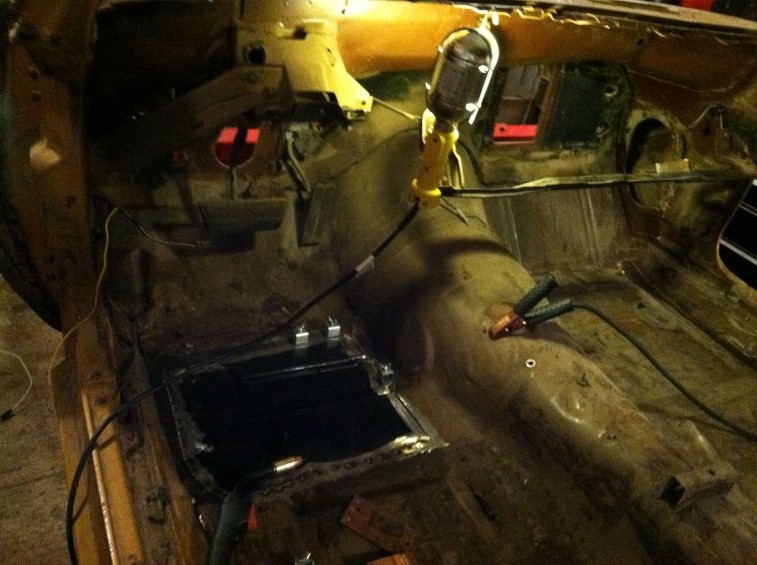
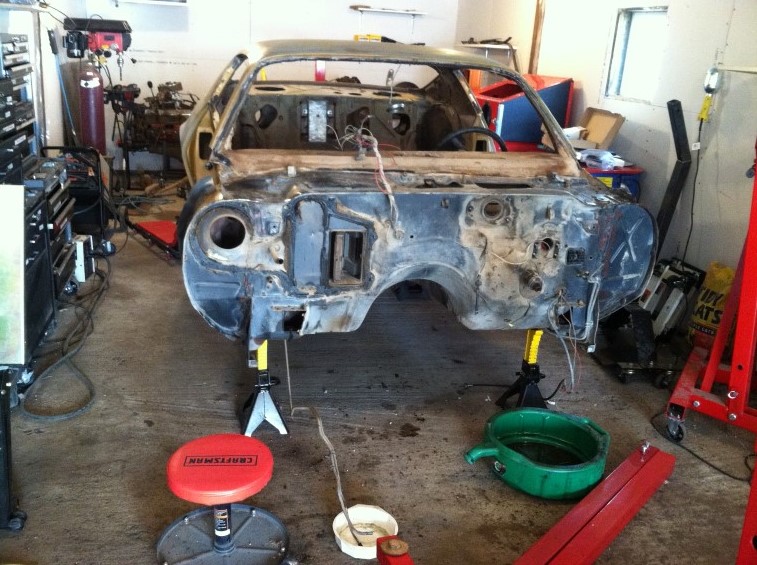
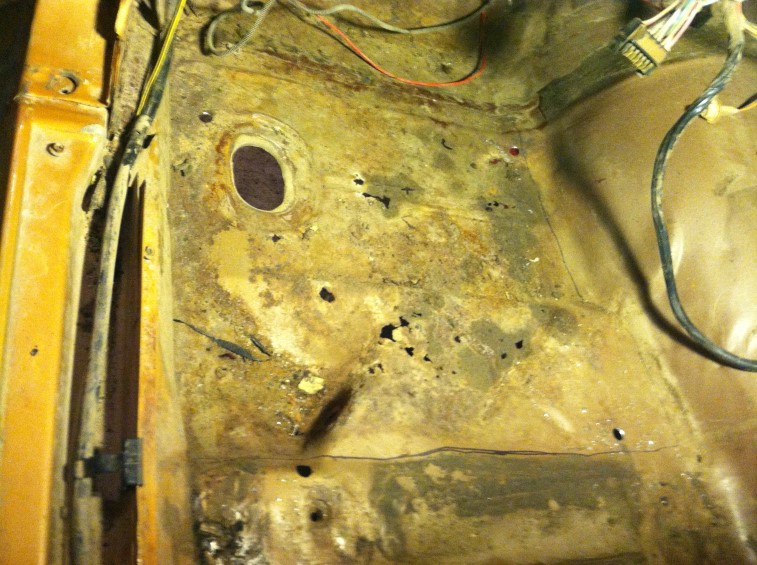
Finally got around to working on the driver’s side floor pan:

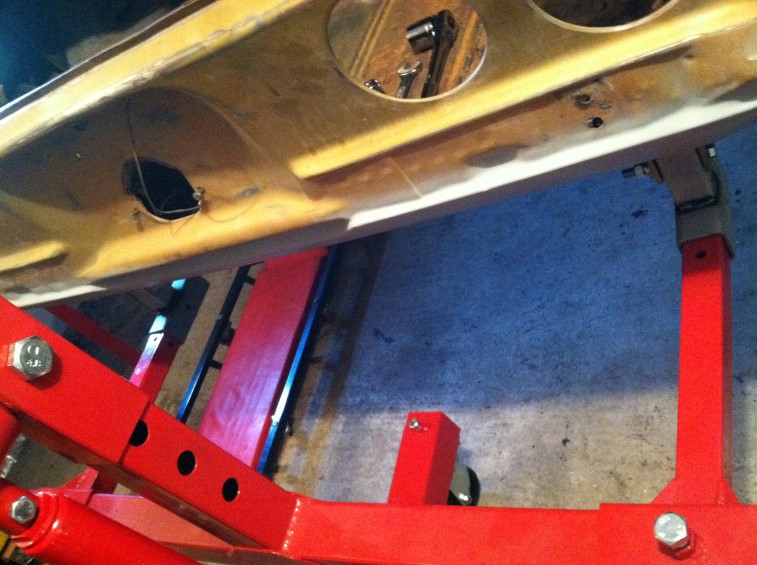
You can see some of the holes in the floor pan:

IMG_0246

Cut out the bad area:IMG_0256

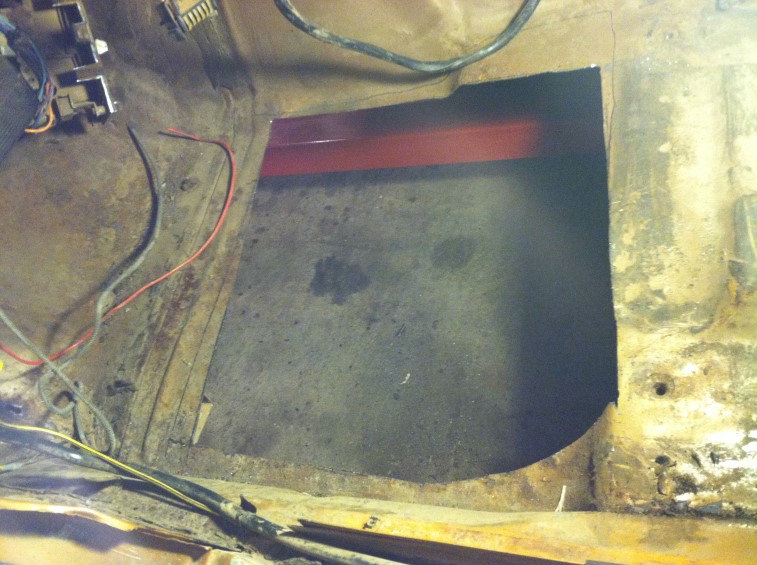
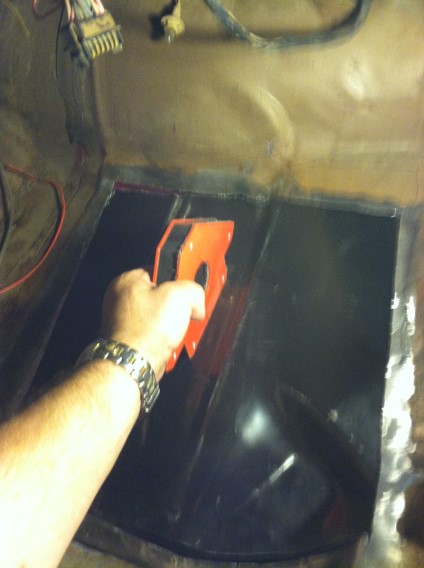
Used the cut out as a template for what to cut out of the half floor pan (which was included with the car)IMG_0257

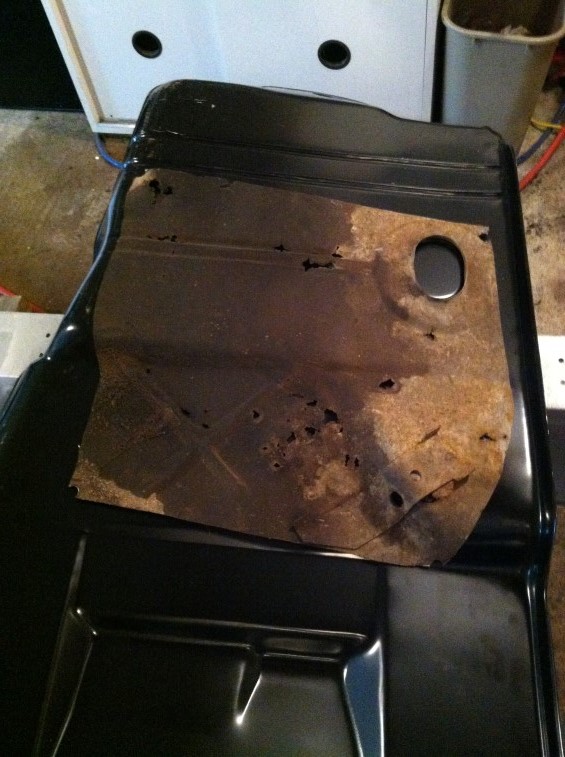
At first, I cut out a larger area than what was needed:IMG_0258

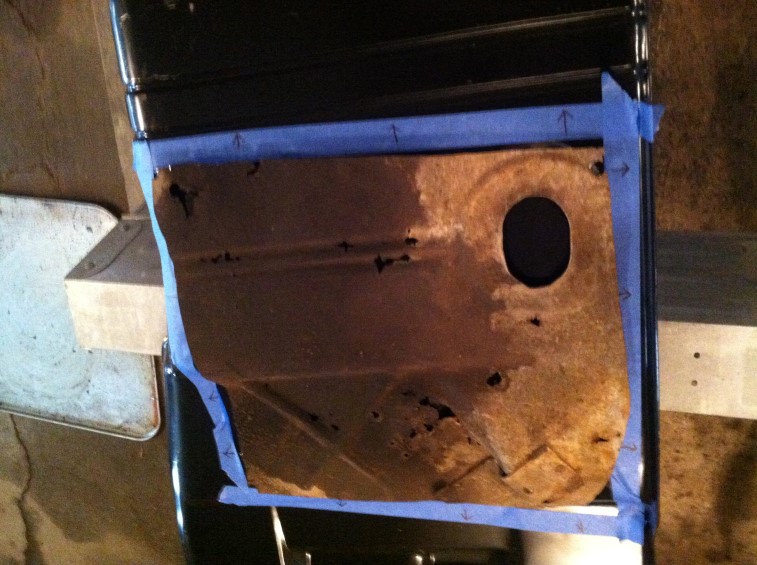
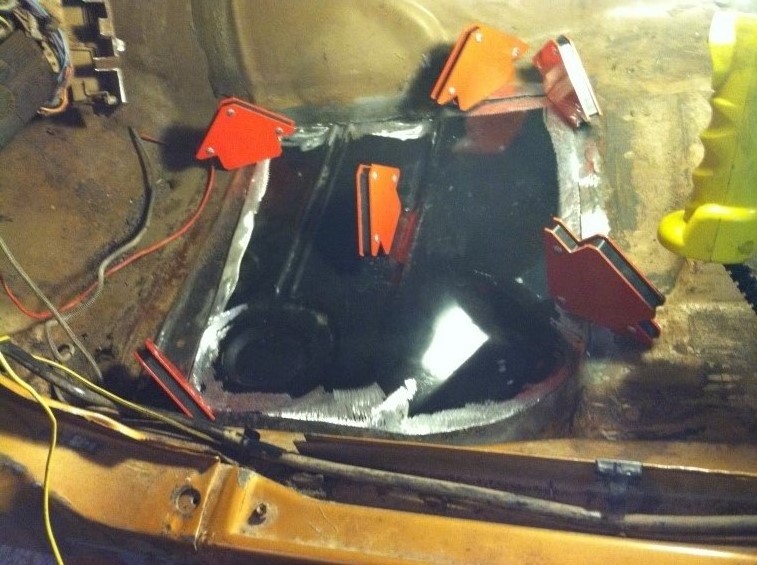
Notice the bracket which is for the emergency brake cable.  I believe I will have to remove this and use on the new piece:IMG_0259

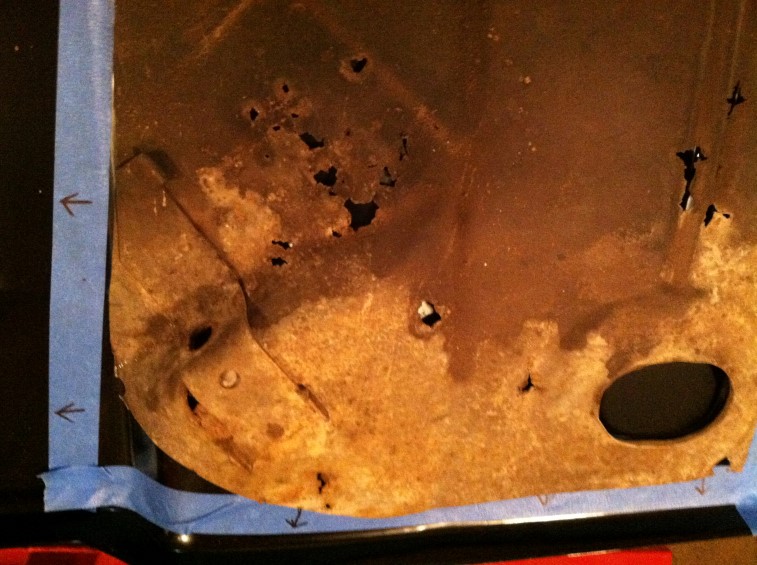
Checking the cut out piece:IMG_0260

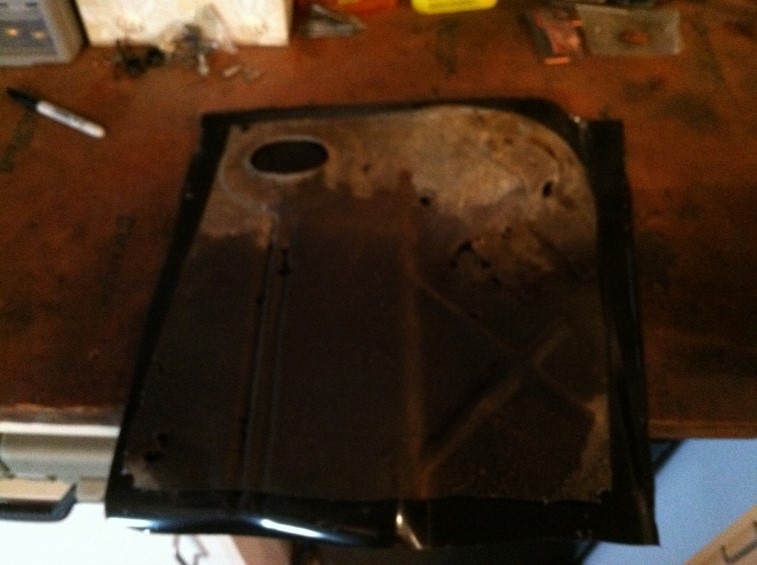
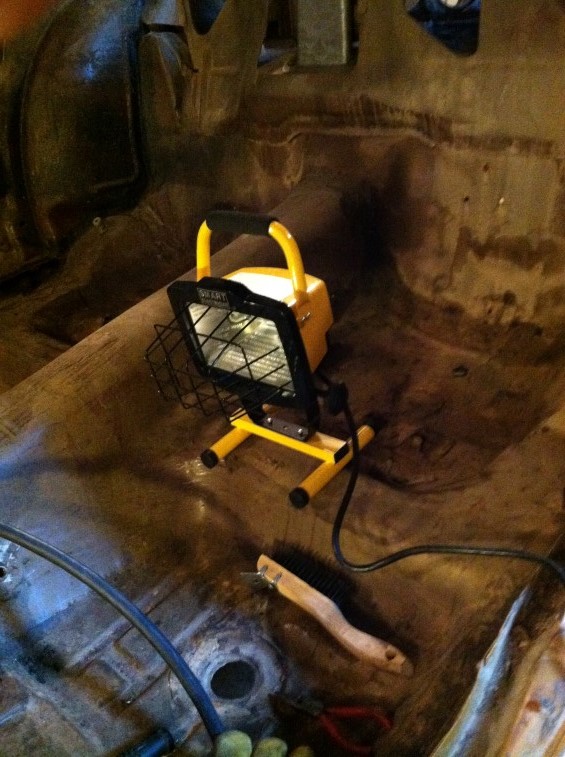
Prepping the top side with 80 grit…  Checking for other rust and preparing the metal for welding:

IMG_0261

Then ready to use some 36-grit to remove the last little but of metal:IMG_0262

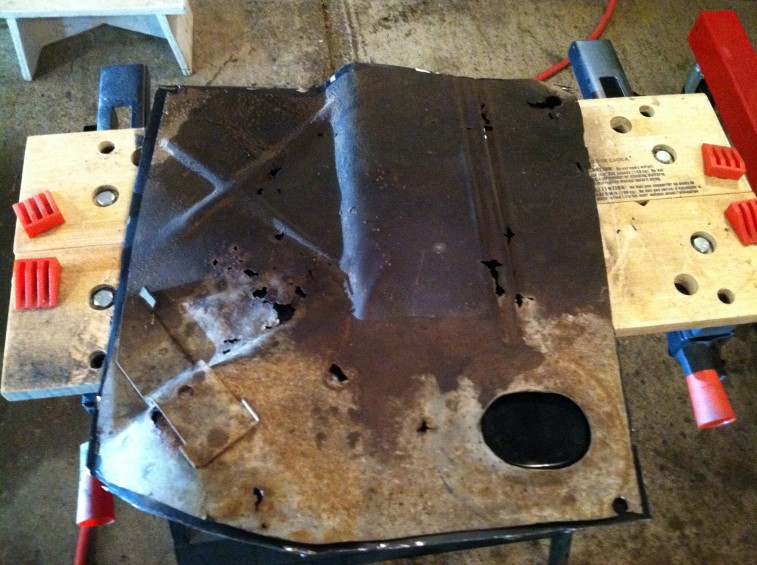
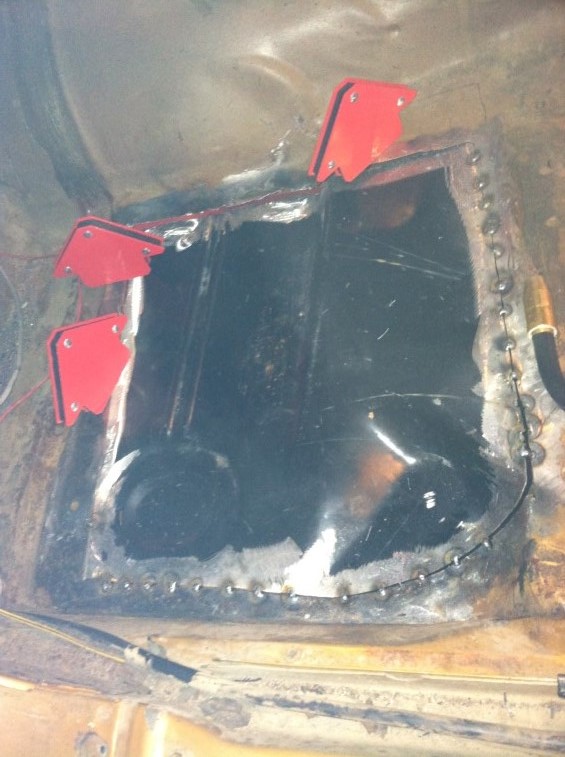
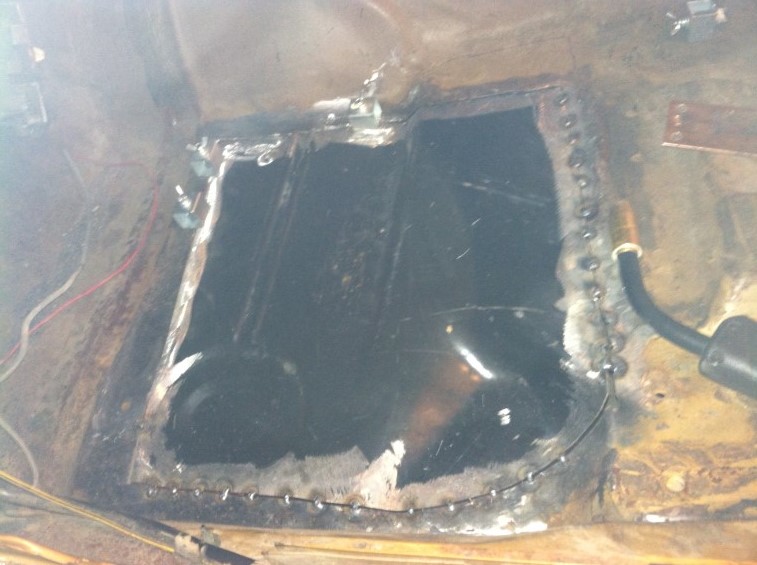
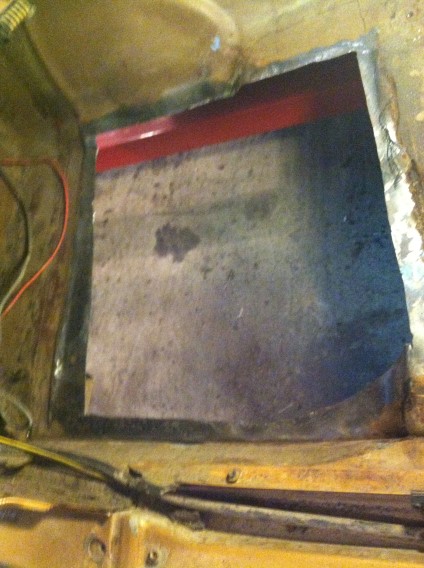
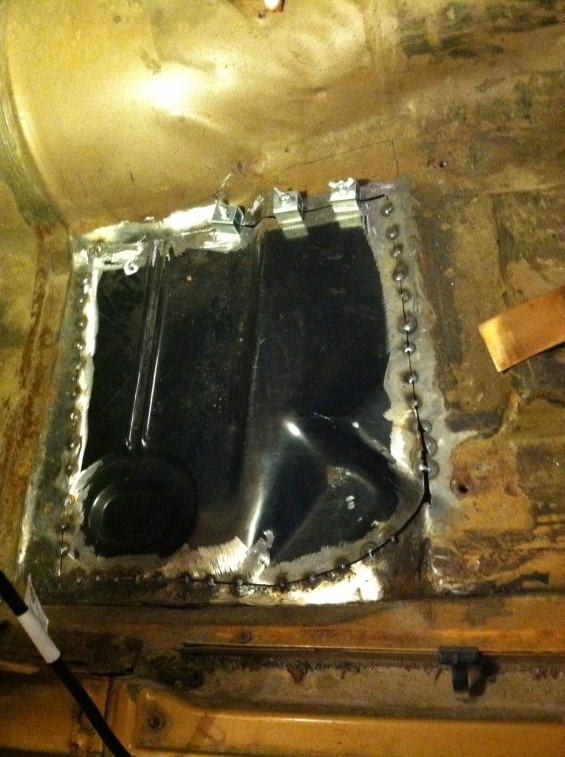
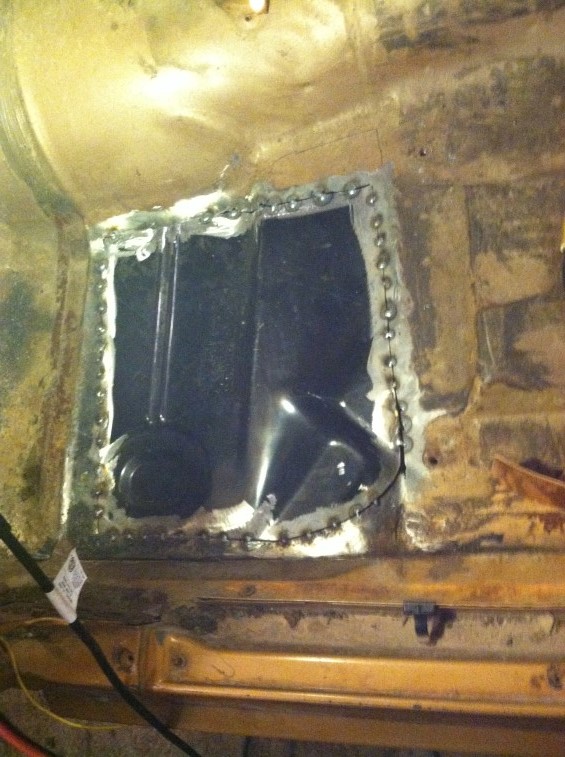
This is a bad picture, but it does indeed fit.  Need to clean the metal on the patch piece and bottom of floor on car before welding.  Also have to change the welding wire in the welder for this sheet metal.  Once the metal is prepped, have to get a second pair of hands to help me get it in place for welding.

IMG_0263


After this is welded, there are a couple of small areas that still need patching (smaller than a nickle).  The the welding should be complete!
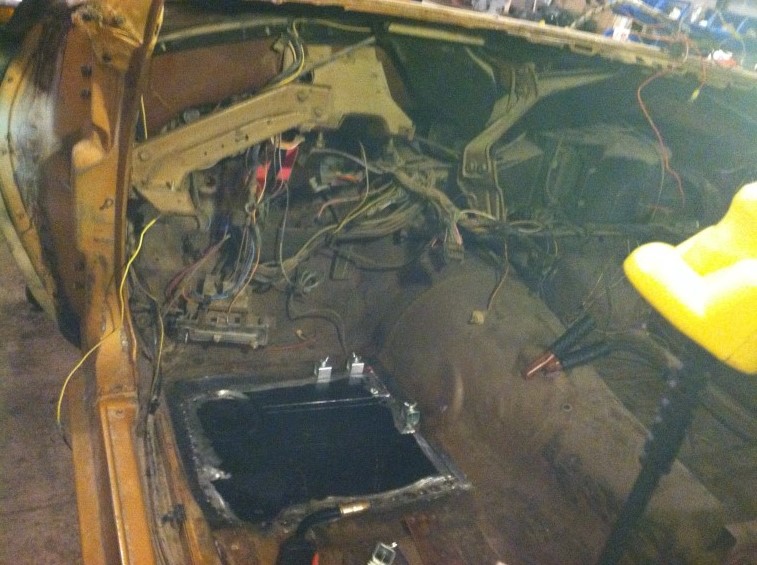
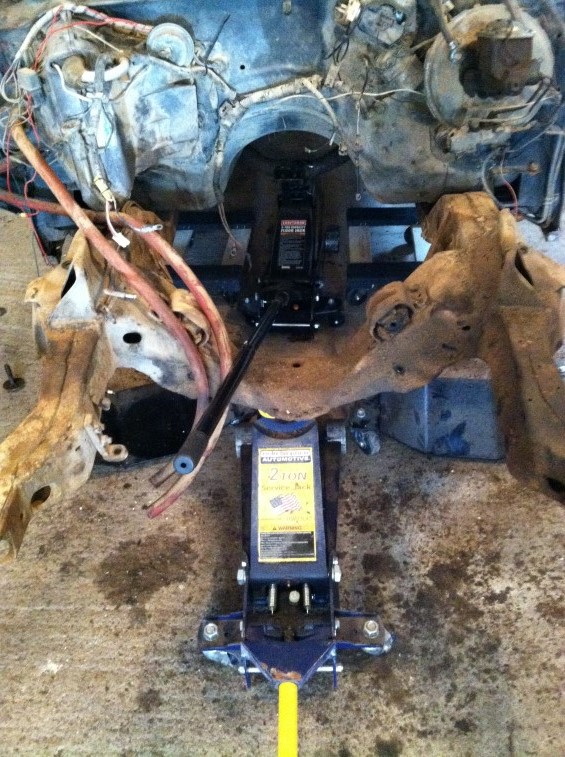
Apr 21, 2013 Update


Bought a fender (the black one) as I needed a passenger fender:IMG_0189

Has one small tear that I need to weld:IMG_0190 IMG_0191

Removed the sub-frame IMG_0194

Pulled out the parts of the rotisserie to get ready to mount the body on:IMG_0195

Also pulled the rear axel & leaf springs out:IMG_0196

Pic of the rotisserie:IMG_0197

Mar 31, 2013 – Engine Removal


Got the engine and trans pulled:IMG_0166


Mounted on my engine cart:

IMG_0167


Took it to the rear of the garage for a rainy day:

IMG_0169

Next is to tear down the front suspension before removing the sub-frame:

IMG_0170


Bought some slightly used front cold springs (10 days old) from a NastyZ28 member.  These are Big Block springs which are exactly what I need for the 454 I will put in.  Got a good deal on them for when I rebuild the front suspension:

IMG_0171