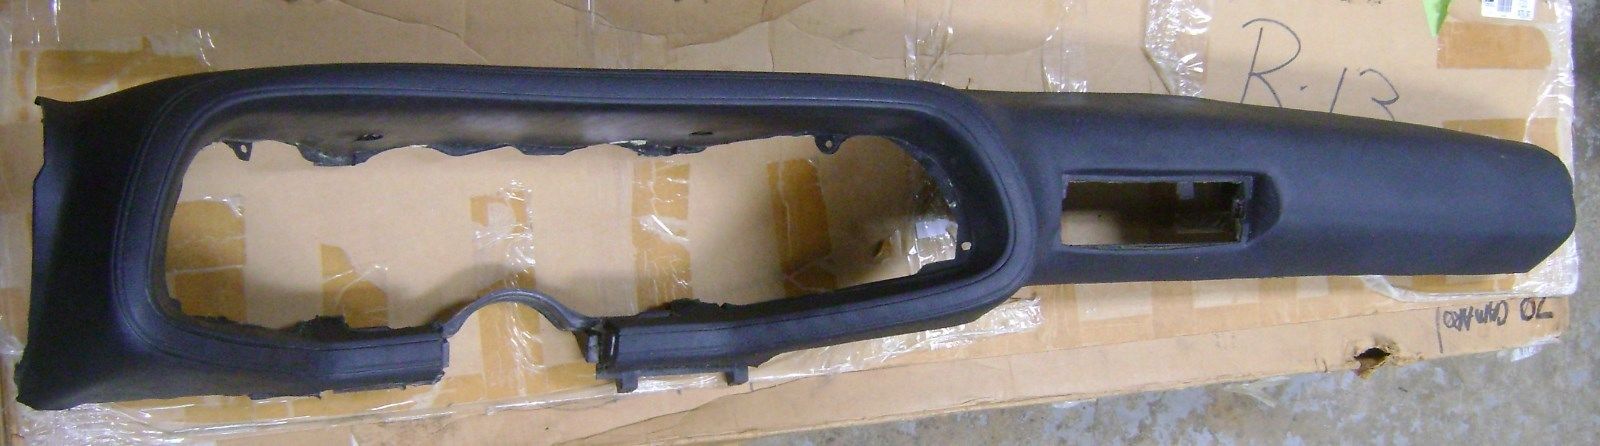
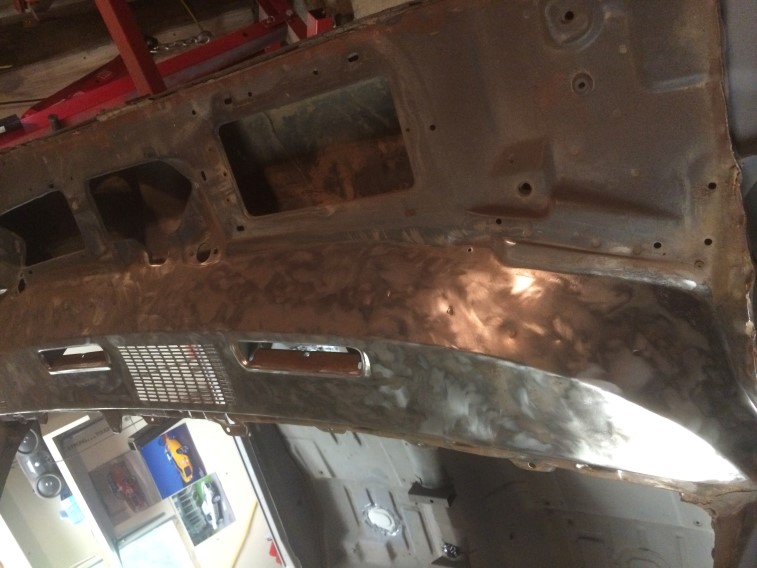
So I was able to get a NOS Dash. There was a little damage in shipping, but I think I can epoxy the piece and all will be good. Should still fit better than a repo one:


I will be posting my Labor Day progress within the next couple of days.

So I was able to get a NOS Dash. There was a little damage in shipping, but I think I can epoxy the piece and all will be good. Should still fit better than a repo one:
I will be posting my Labor Day progress within the next couple of days.
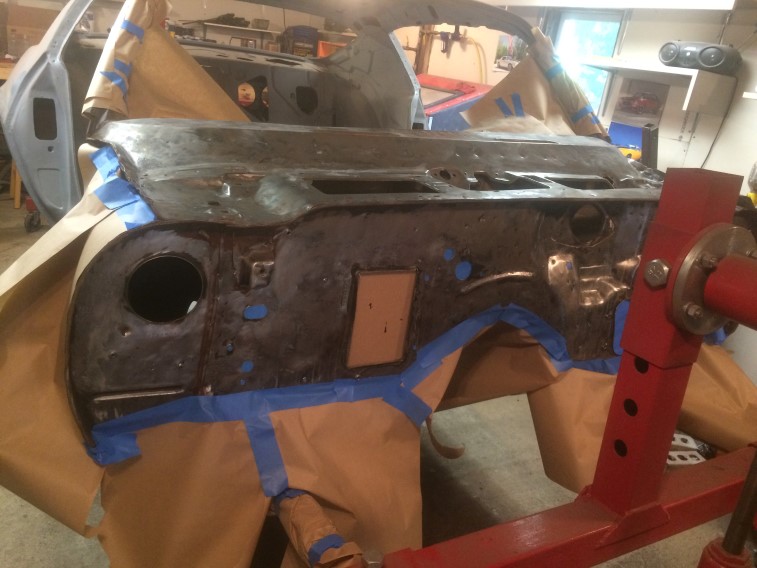
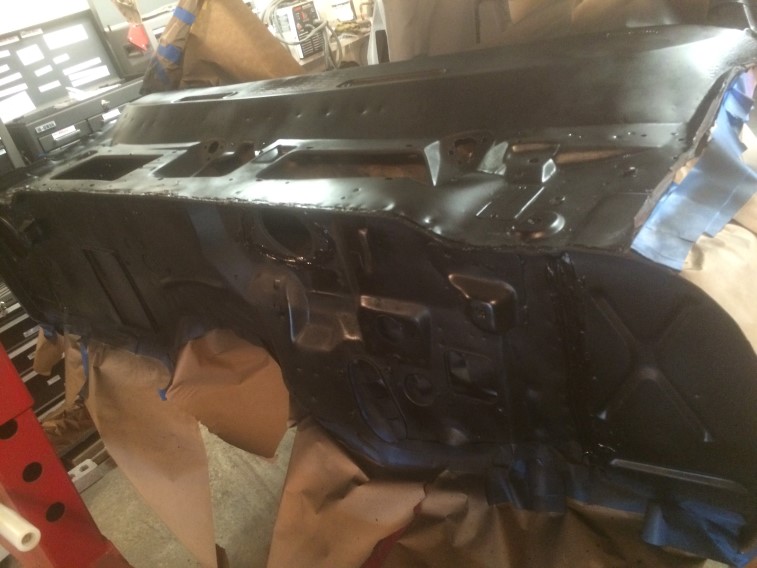
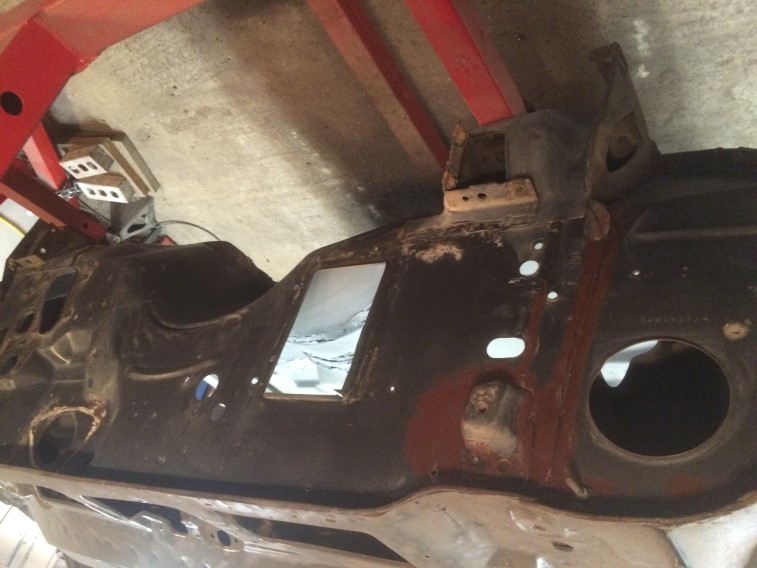
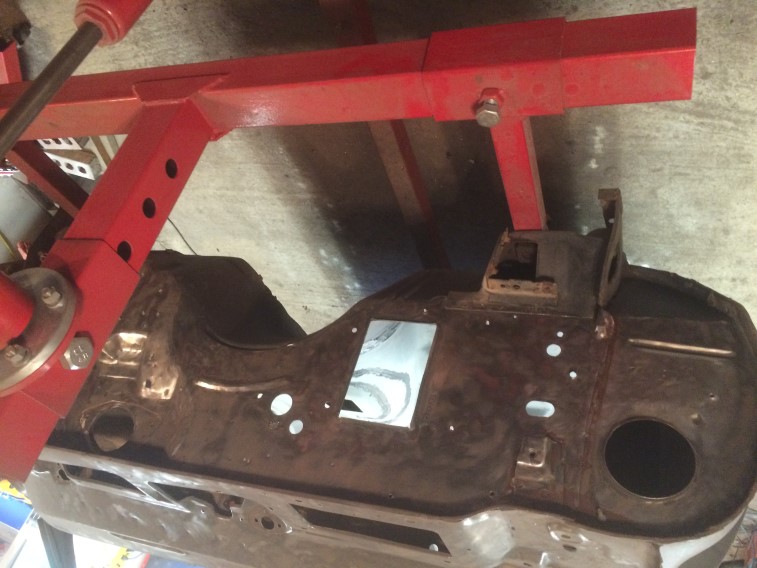
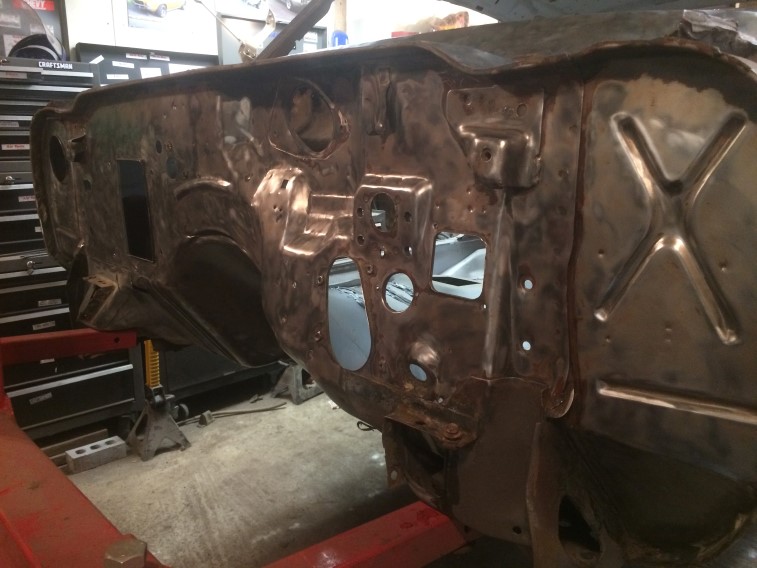
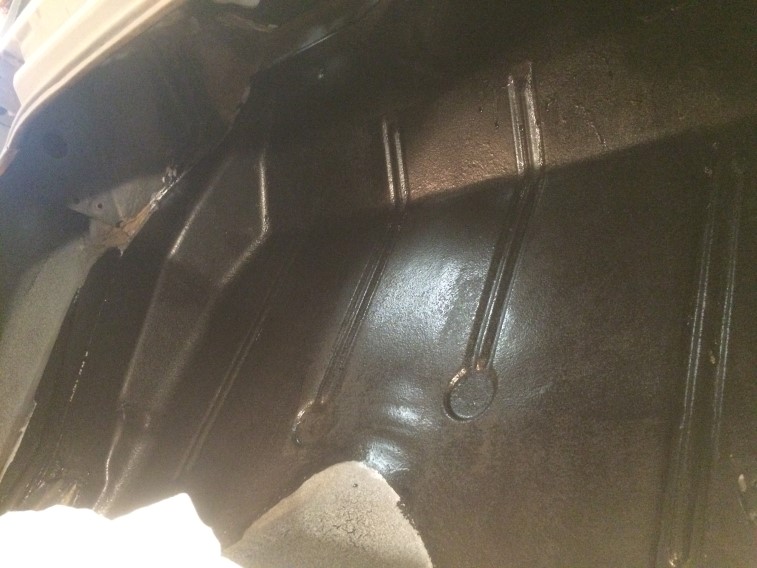
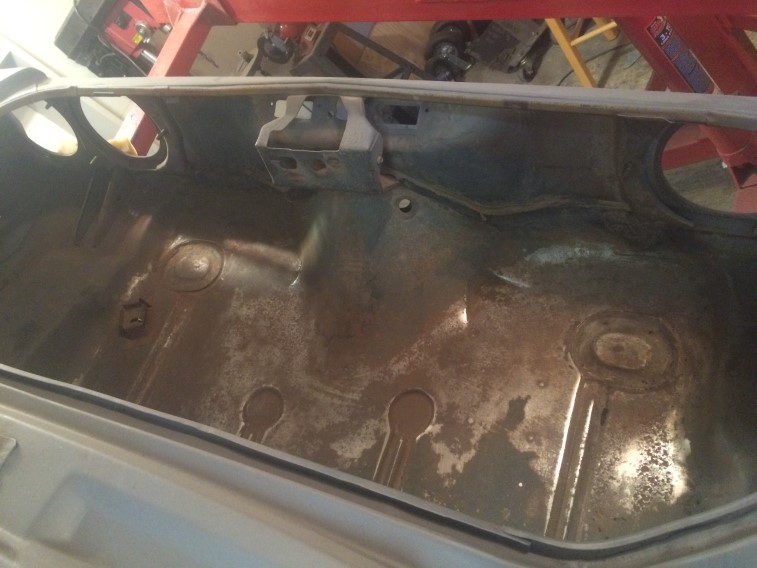
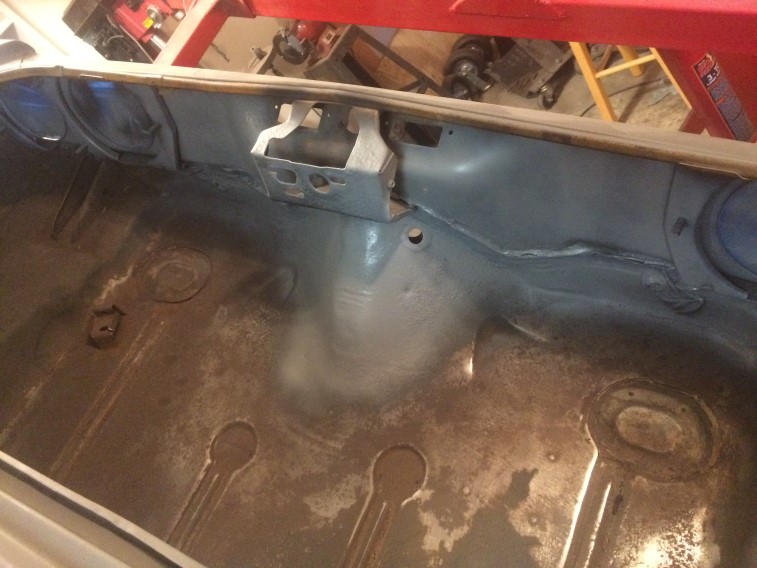
Worked on the firewall that last few days. 3 coats epoxy primer, seal sealer and 3 coats paint:
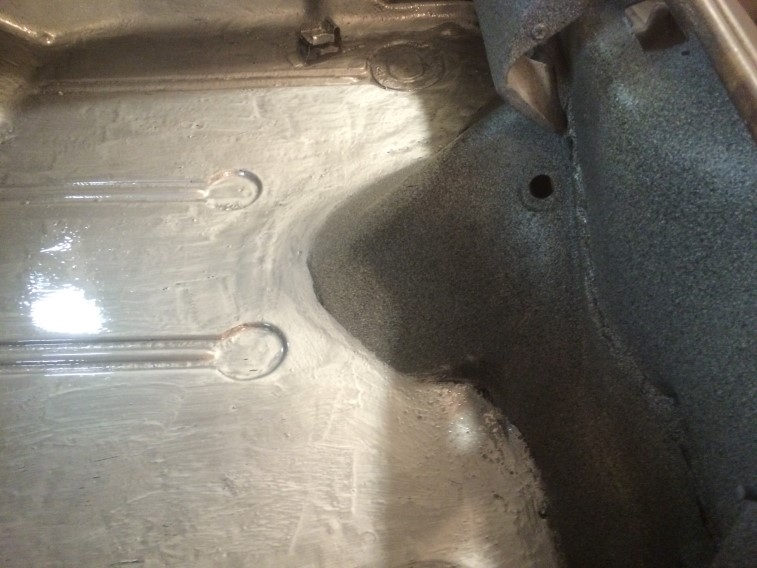
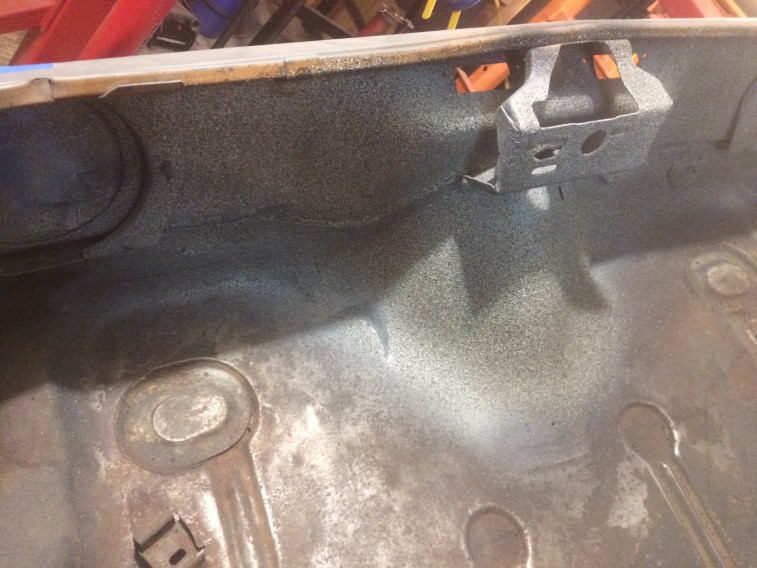
Masked to protect other areas I didn’t want over spray on:
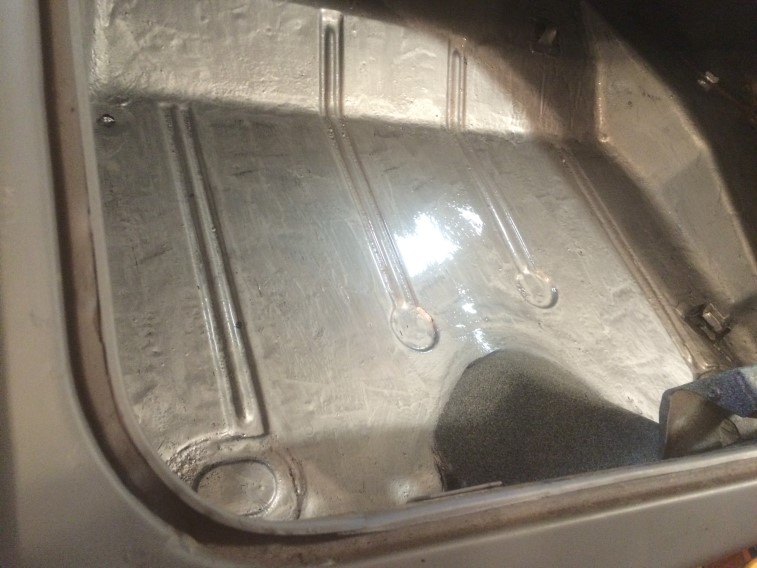
1st coat epoxy: 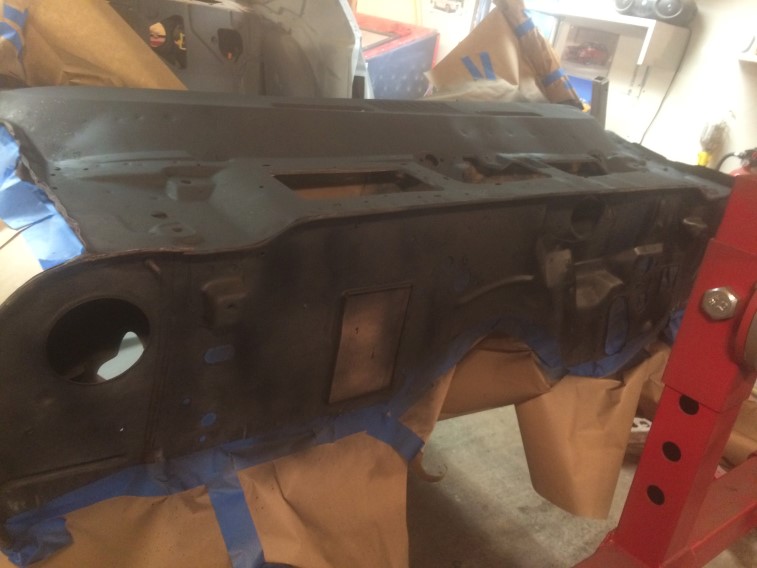
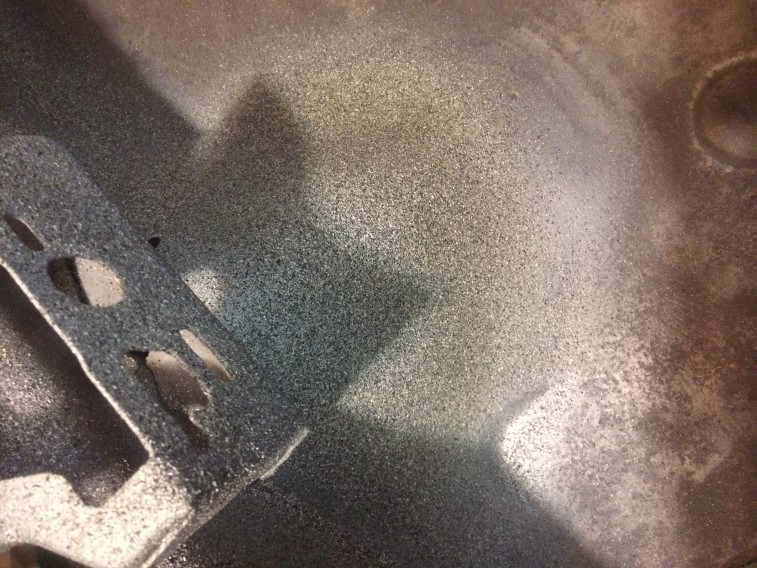
2nd coat epoxy: 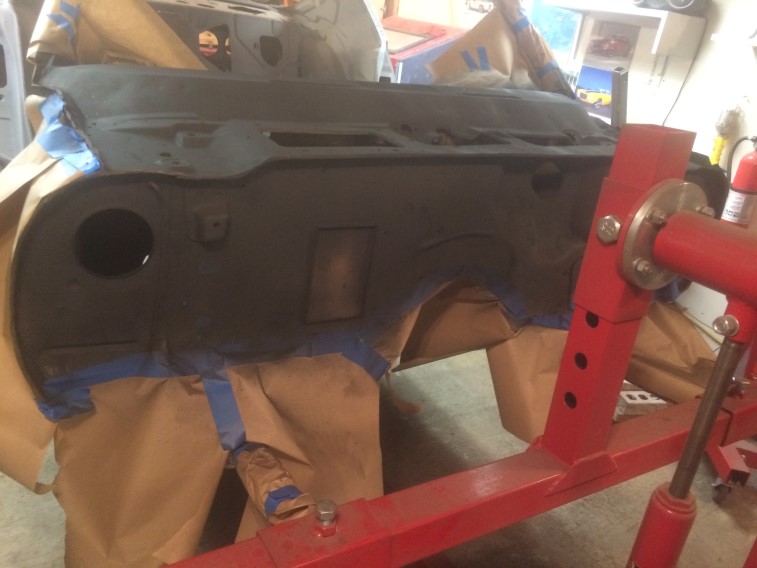
3rd coat epoxy 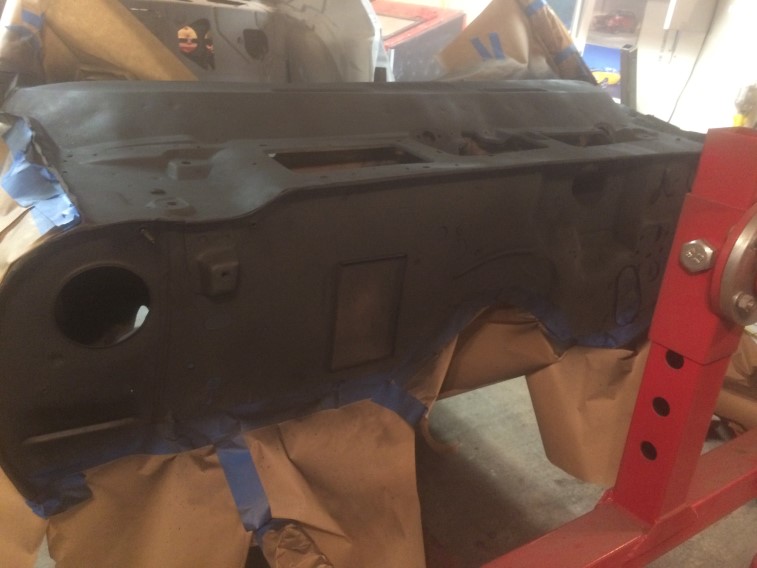
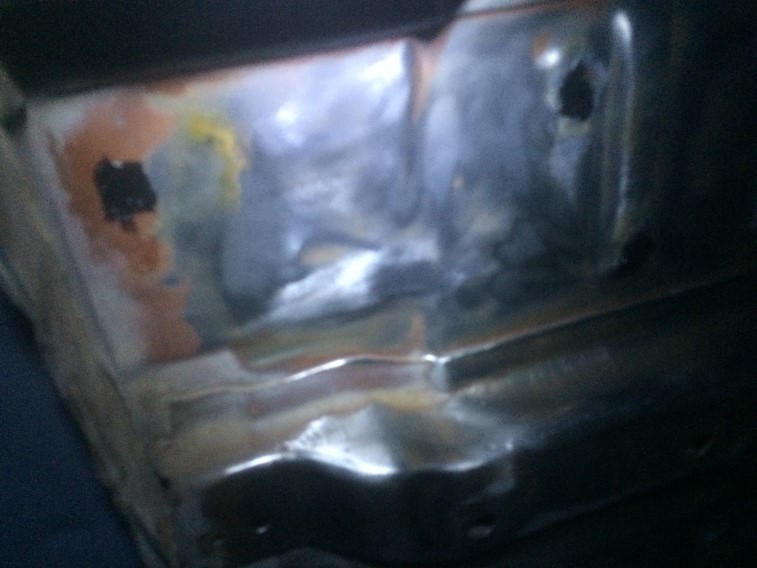
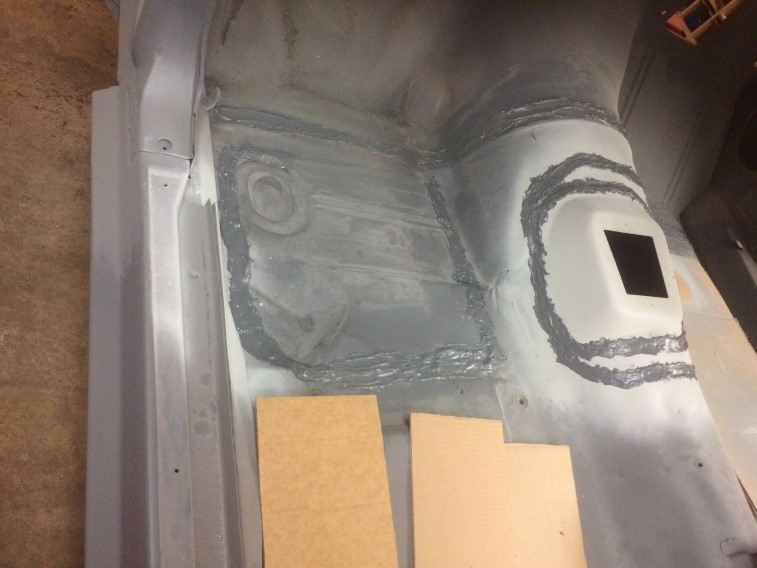
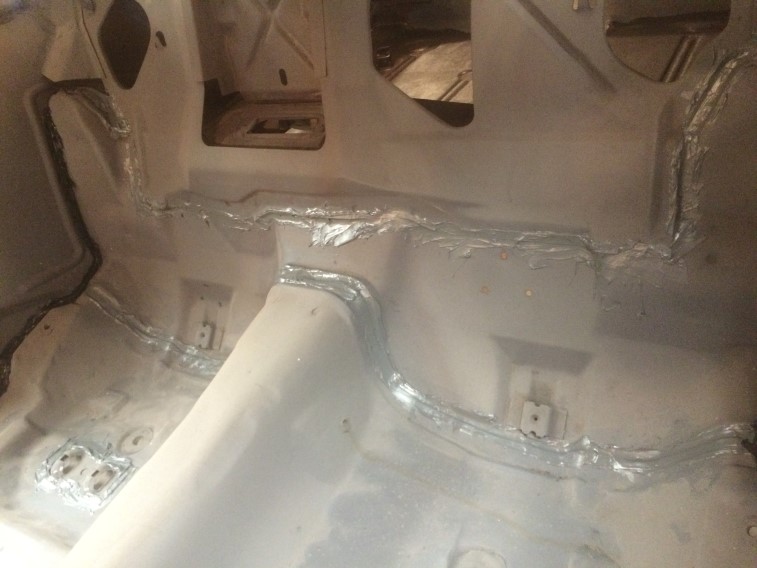
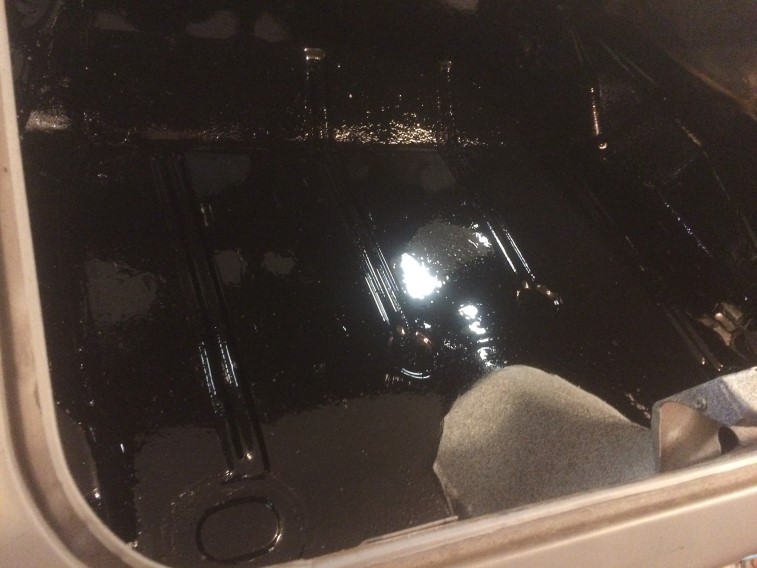
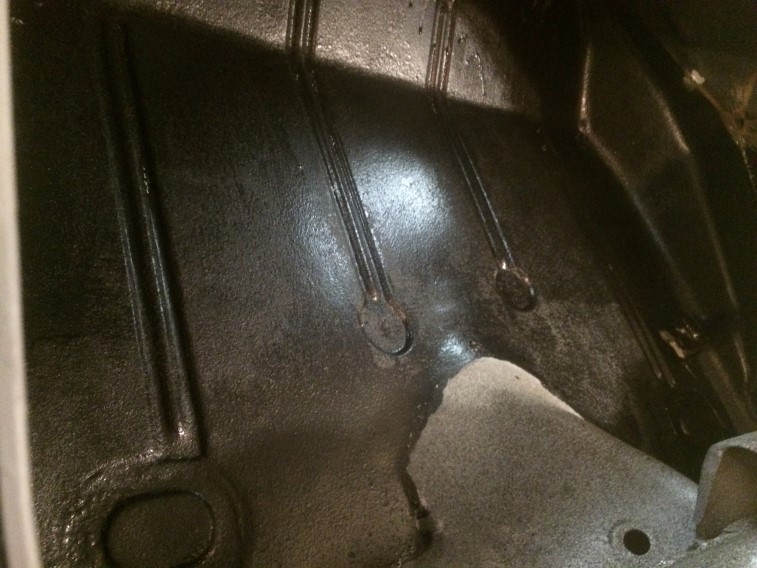
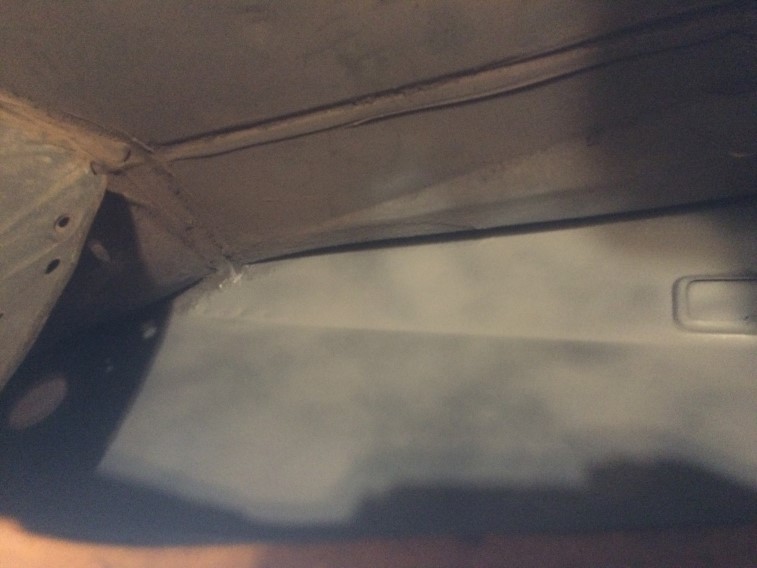
Waited until the next day and seal sealed where needed using both caulking gun and brushable seal sealer: 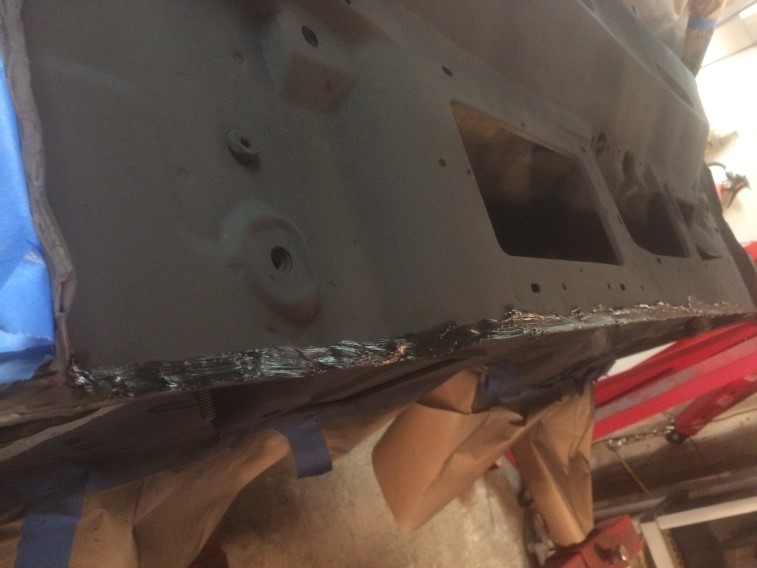
Got a little where I didn’t intend to – it was ok since I was painting over it anyways – removed what I could get: 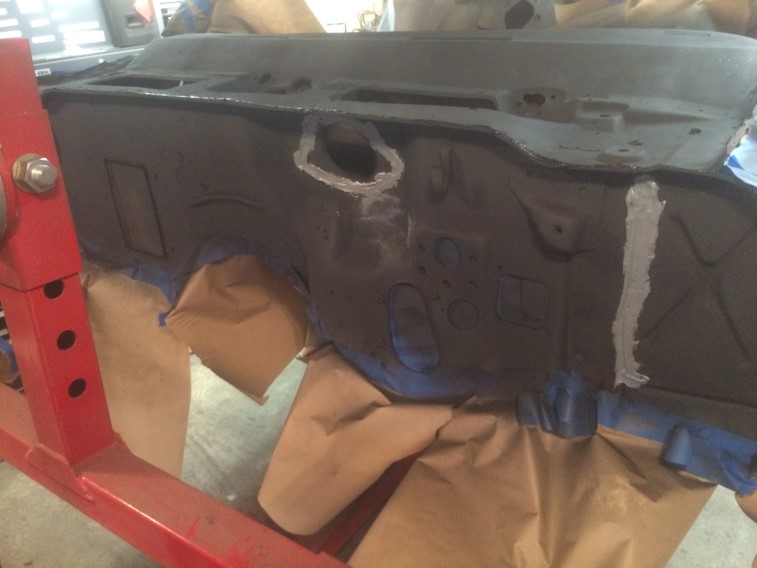
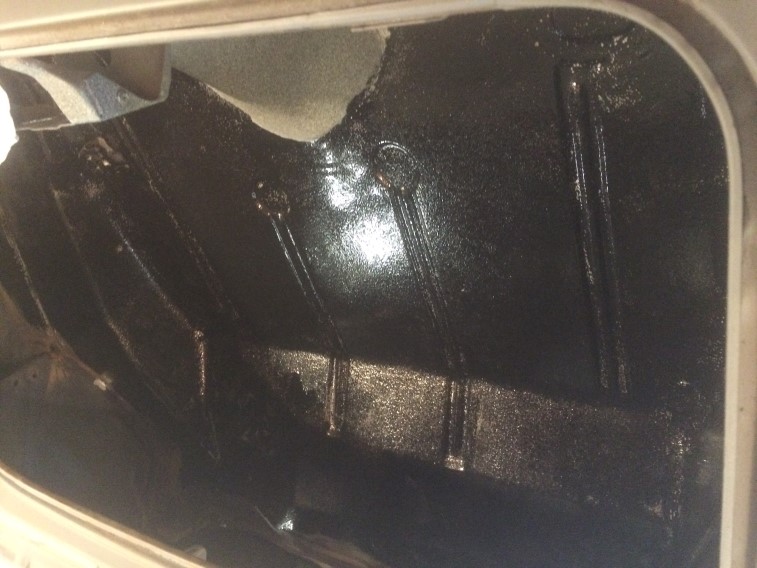
3 coats paint the day after seam sealing: 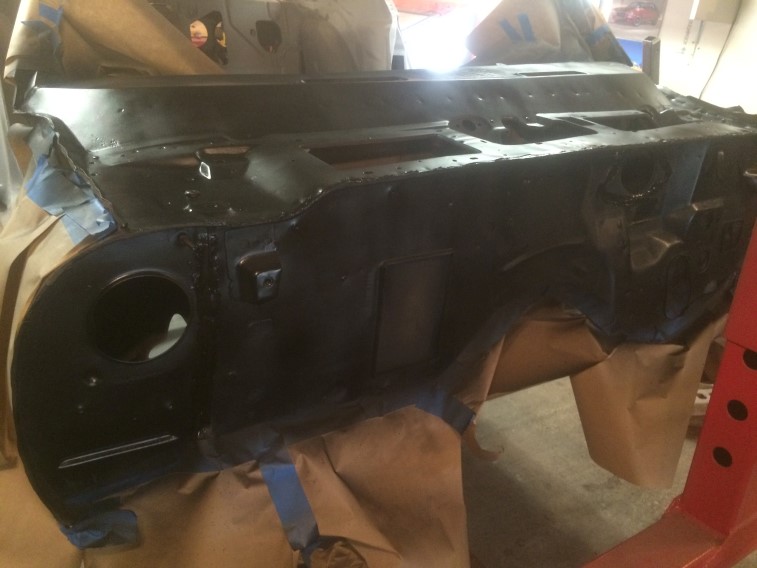
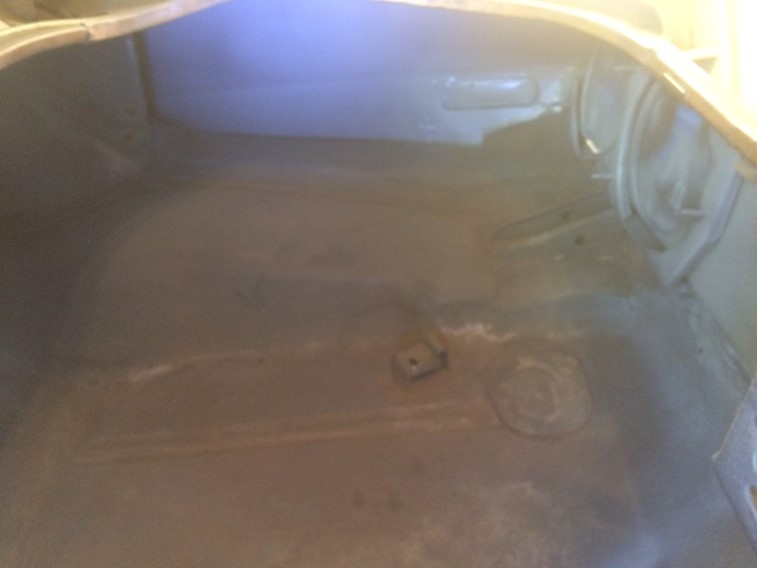
Next steps are to prime and undercoat the floor, unhook the rotisserie and get the firewall brackets and get the remaining unpainted area on the firewall. Thinking I will need to keep it on the rotisserie for block-sanding the roof next summer before putting the rotisserie away.
A bunch of little things have been done up to this point. I am targeting priming floor & firewall, undercoating floor, and painting the firewall Labor Day weekend, otherwise it may have to wait until next summer.
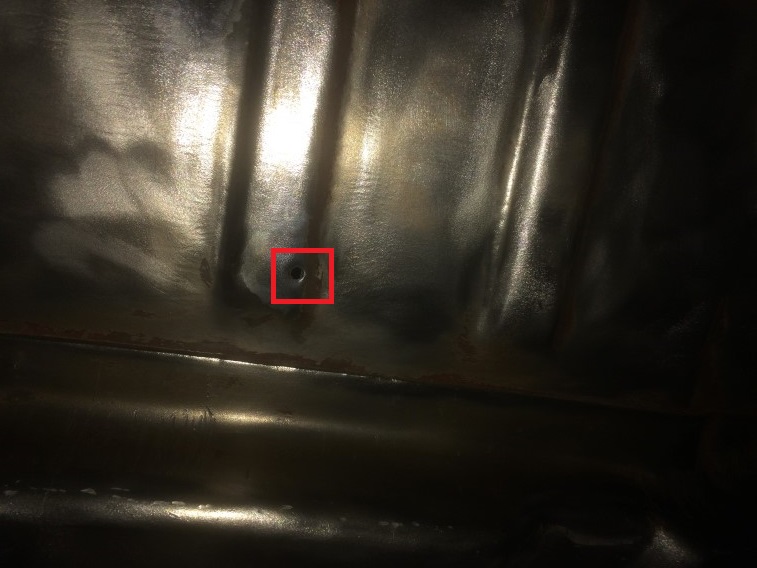
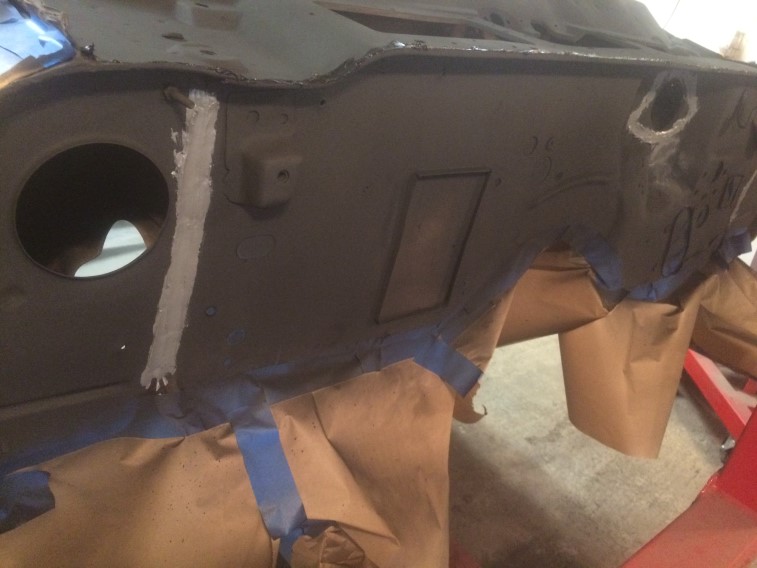
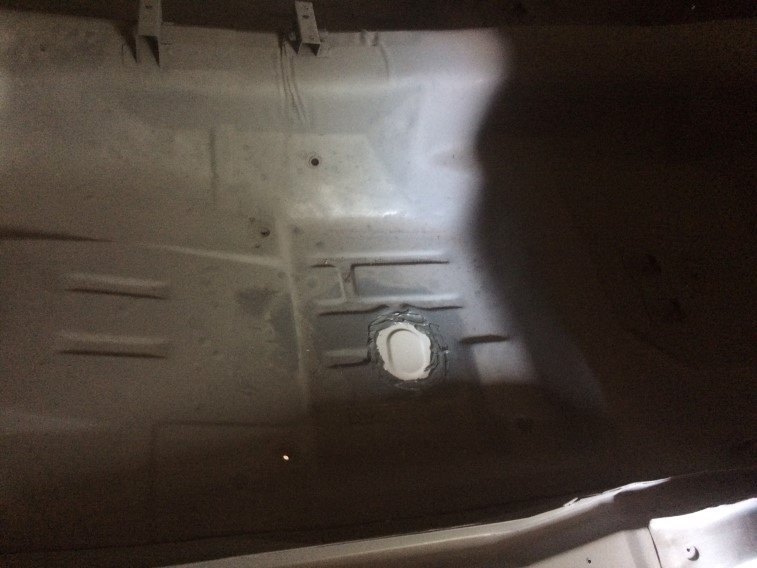
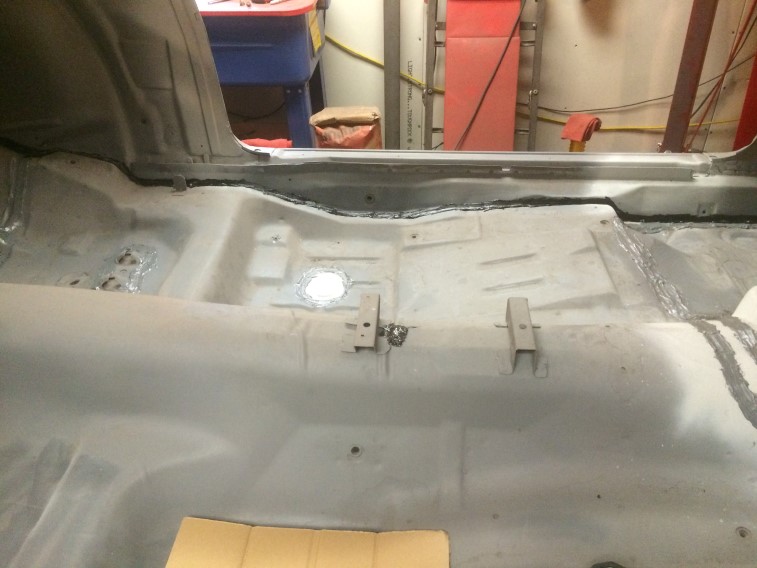
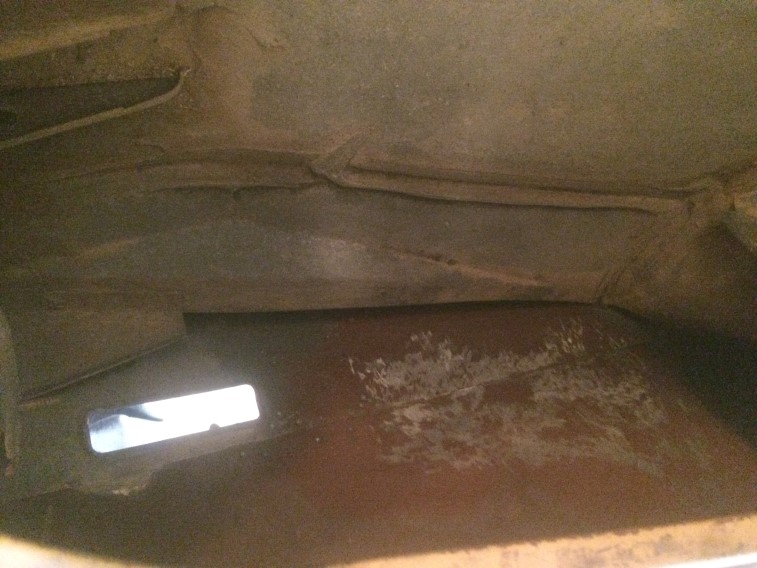
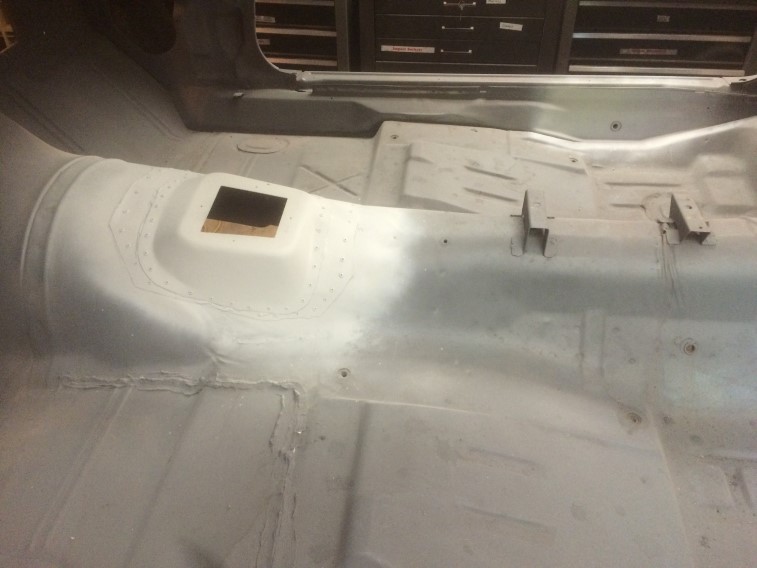
Got the floor plug seam-sealed in place:
Seam sealed patch (brushable seam sealer)
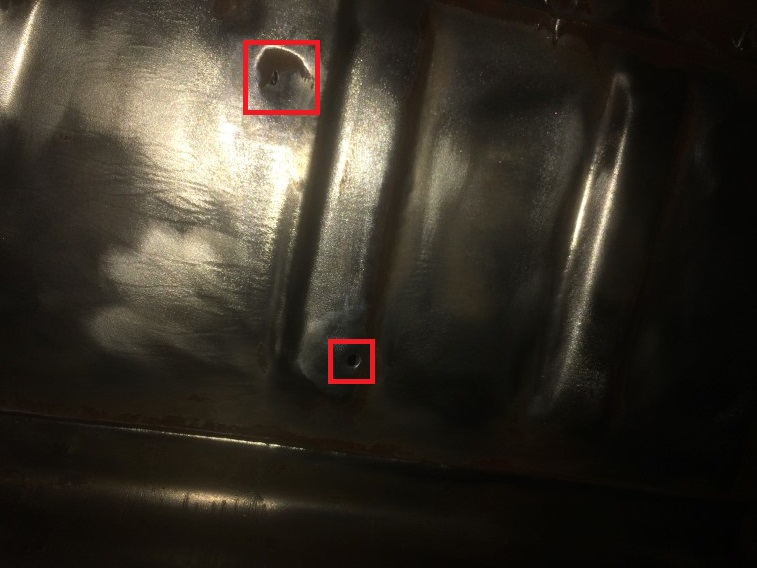
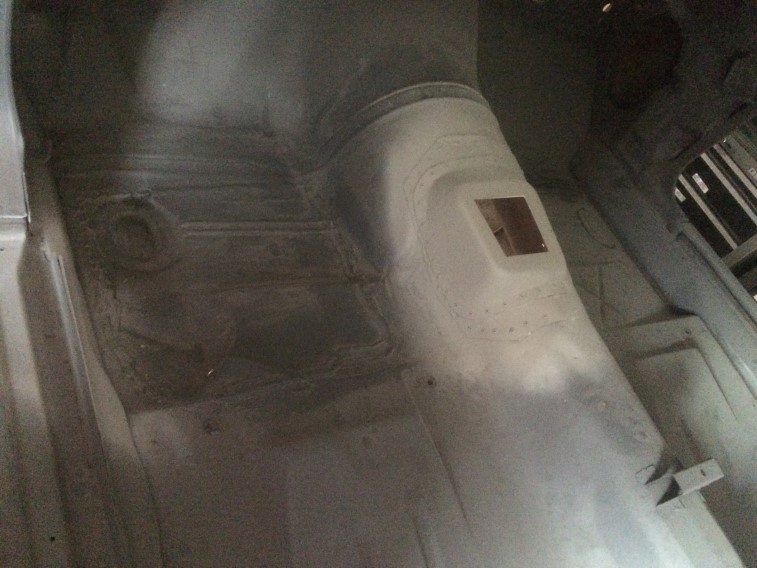 Seam sealed floor shifter and patch:
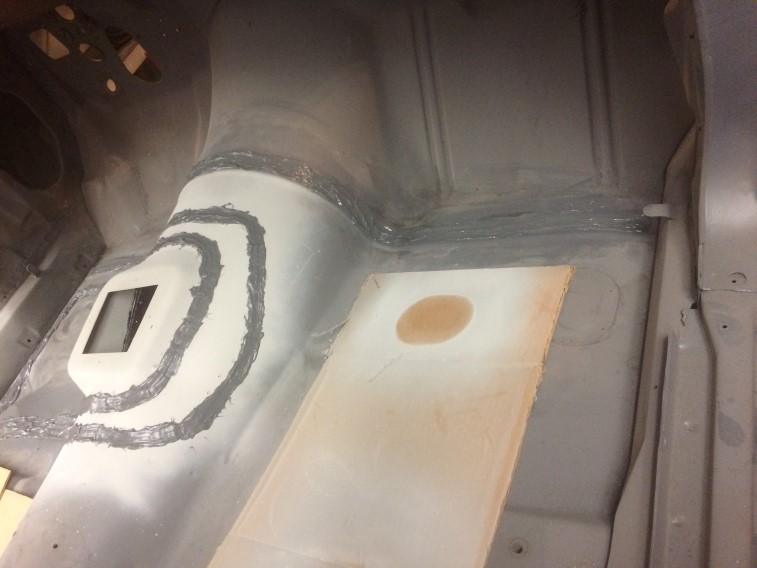
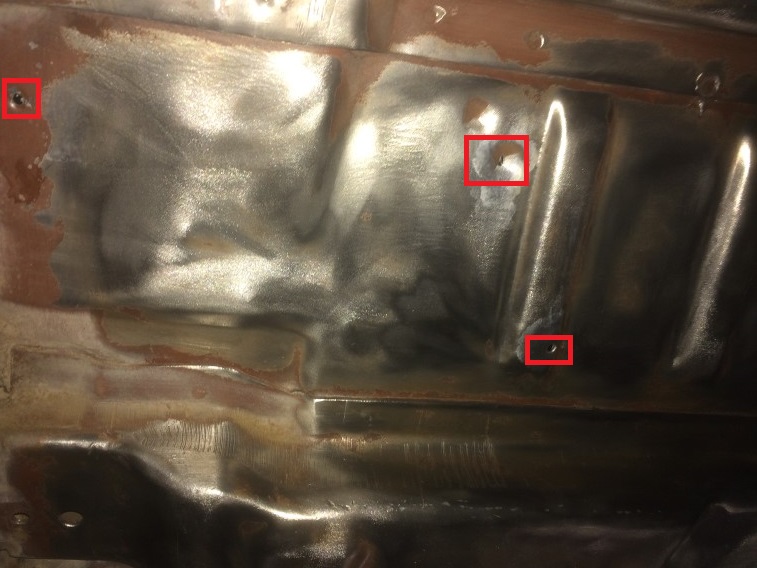
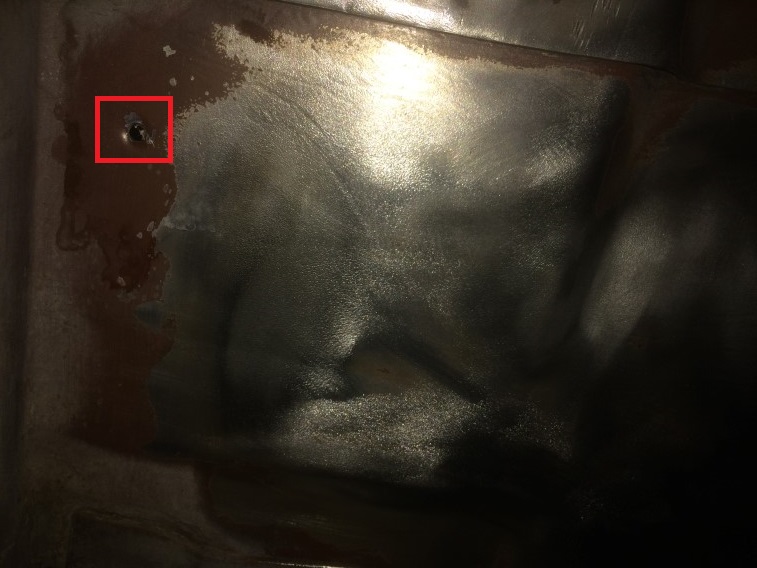
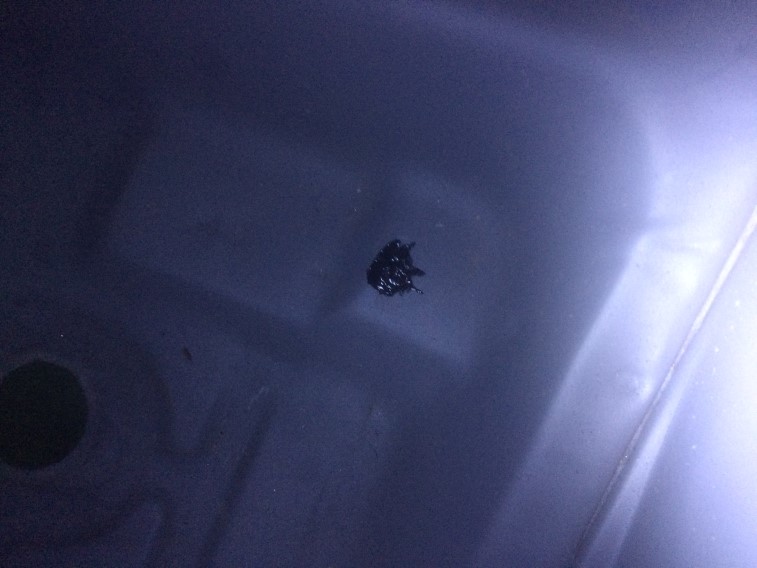
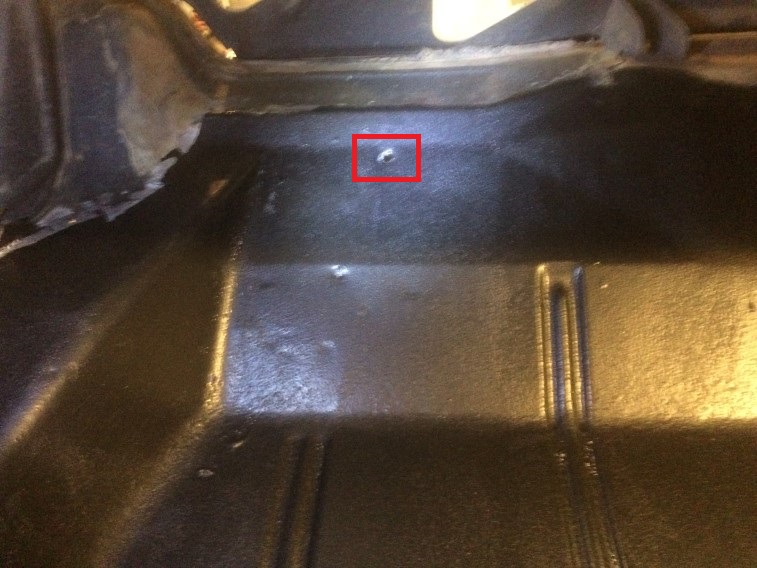
POR-Patched a small hole in the floor: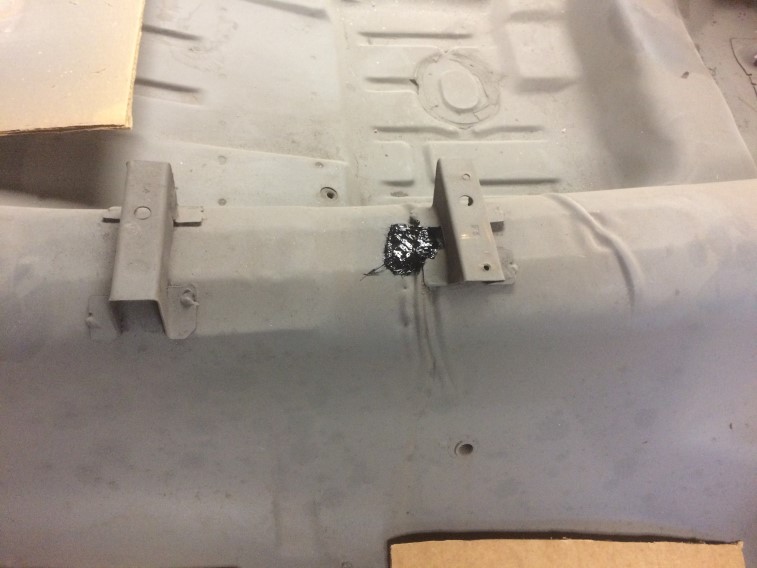 Worked on striping the firewall – will do the brackets where the Rotisserie is mounted after the rest is done and I won’t need the Rotisserie anymore…
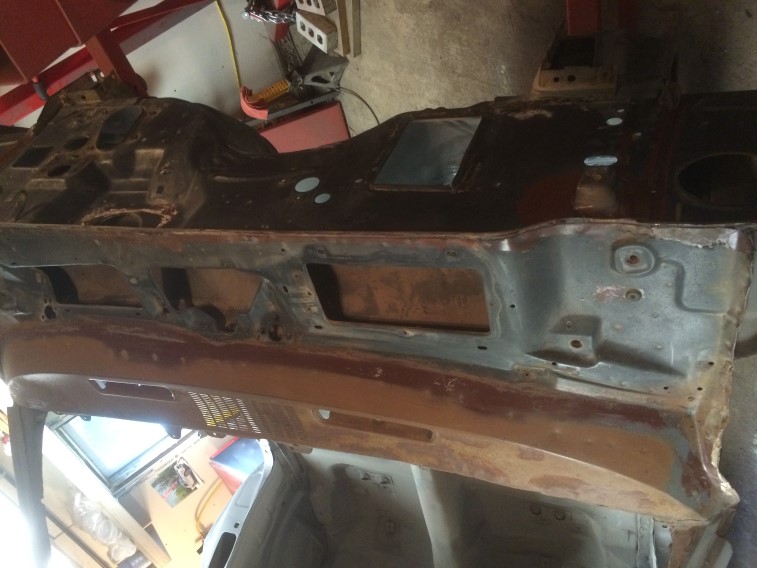

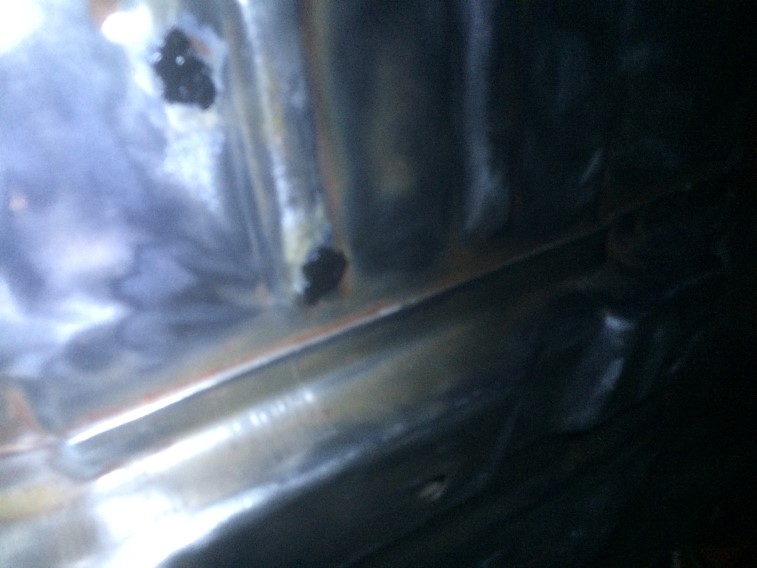
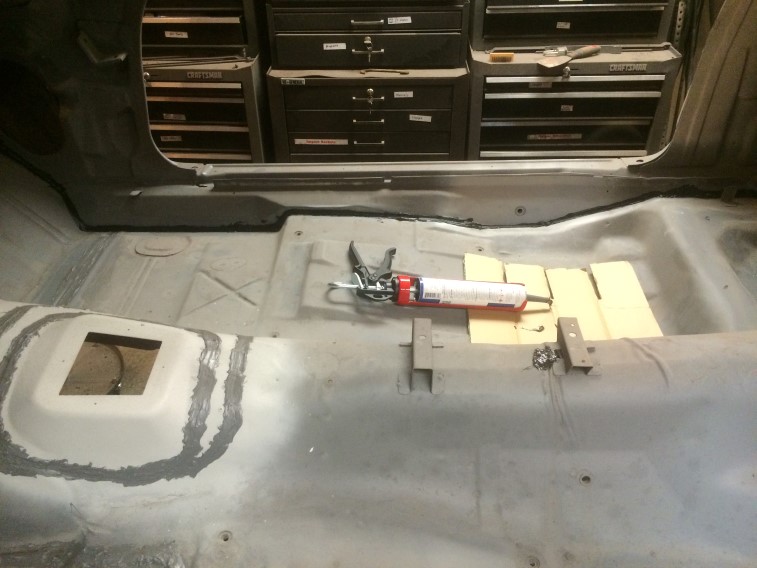
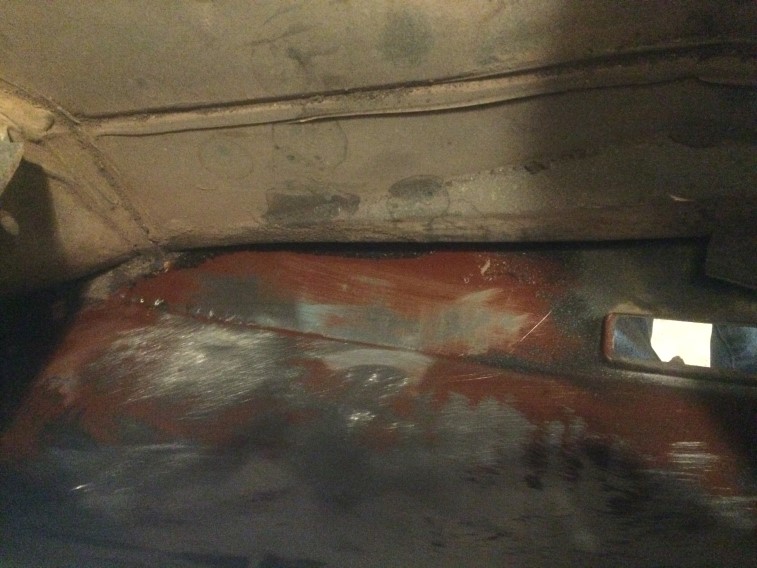
More seam sealing – the black is not brushable – I used a tube\caulk gun: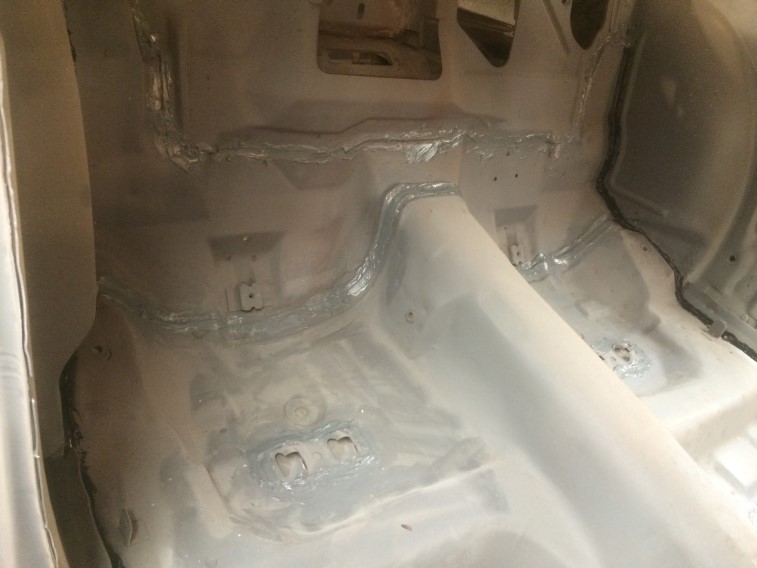
 The inside should be good now as far as seam sealing goes. Will see if the weather permits for more work on Labor Day weekend!
I was able to get the form working again.
It has been brought to my attention, the contact me form isn’t working. I just verified it is having issues. I believe other e-mails on the site are still being sent. I will look into getting this resolved this weekend…
Completed the inside of the trunk. The POR-15 that I had used in the driver’s toe area has held up for 2 years so far, so I decided to use it again on the trunk.
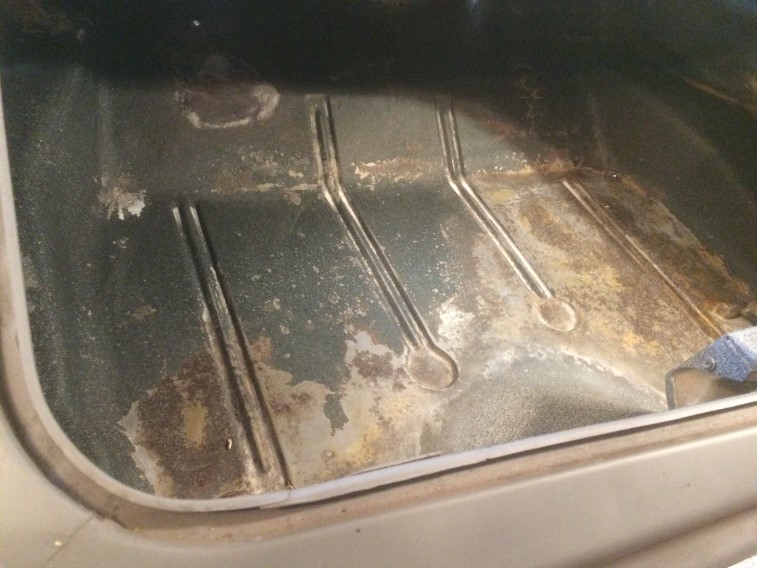
So this is what I started with. There were a couple small er than pencil size holes and some pitted metal, but for the most part, was in pretty good shape:
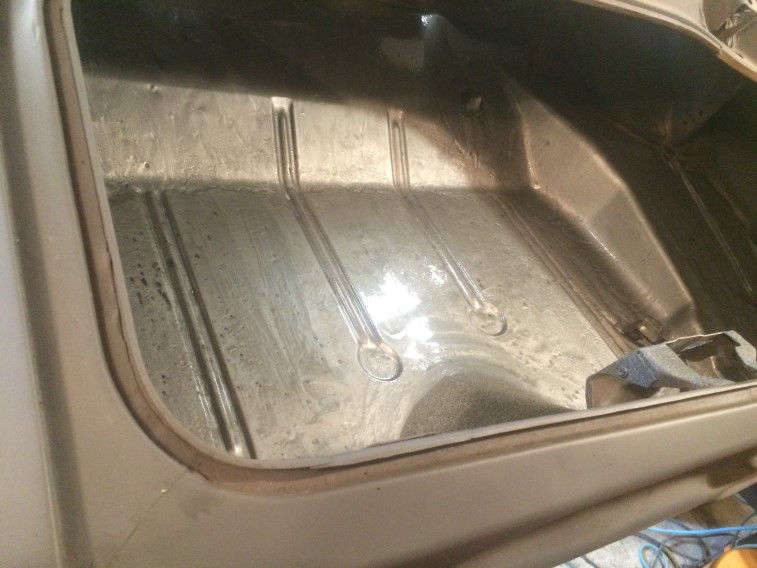
I got the por-15 Floor & Trunk kit along with por-patch and por-15 OEM bedliner. After scuffing the metal and using wax & grease remover to clean, I used the por-15 degreaser by spraying it on keeping it wet for 15 minutes then rinsing with a sponge and bucket of water. I then used the por-15 metal prep doing the same thing. I then waited overnight. I also ensured I had 3 nylon brushes which were discarded after each coat. I used por-15 Silver for the 1st coat:
Then por-15 Black for the 2nd coat:
Then back to por-15 Silver for the 3rd coat:
At this point, I used the por-patch to fill in the few small remaining holes using an acid brush to smooth it out.
POR-15 OEM Bedliner 1st coat (rolled on)
POR-15 OEM Bedliner 2nd coat (rolled on)

Next morning:
Now I realize there are 2 different looking paint I used, but I plan on having a trunk mat in there, so the por-15 will be covered anyways.
DOH! There was a hole I had forgotten about and missed which should have been covered with the por-15 before the bedliner.
I ended up using the por-patch along with some of the mesh which came with the kit and pusing into the por-patch before applying more por-patch over it,
Final application (still wet)
I could have used the same paint over top of the por-15 instead of the bedliner, but the bedliner will be much stronger. Next will be the street side of the floor: epoxy, filler, and u-pol Raptor bedliner. I am already behind schedule of where I wanted to be at this point in the summer.
Been busy in between rain storms and finally downloaded the pics to my computer…
Painted some misc subframe parts along with the steering shaft pieces:
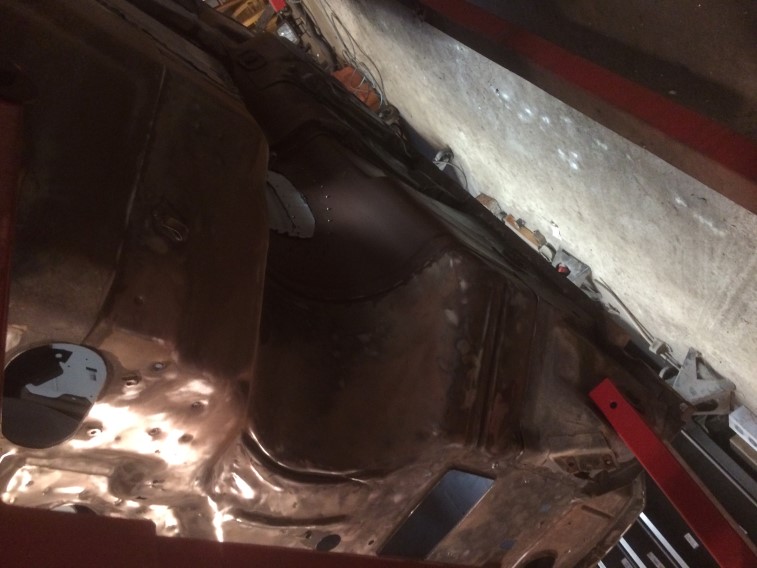
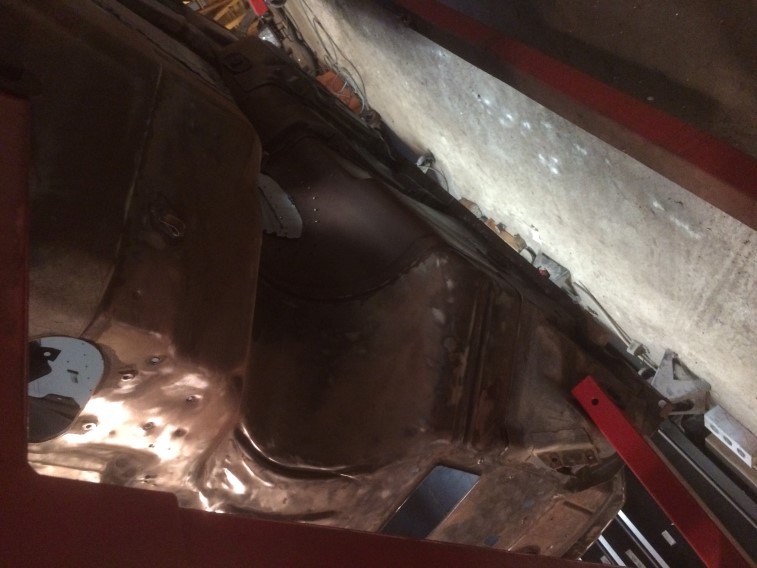
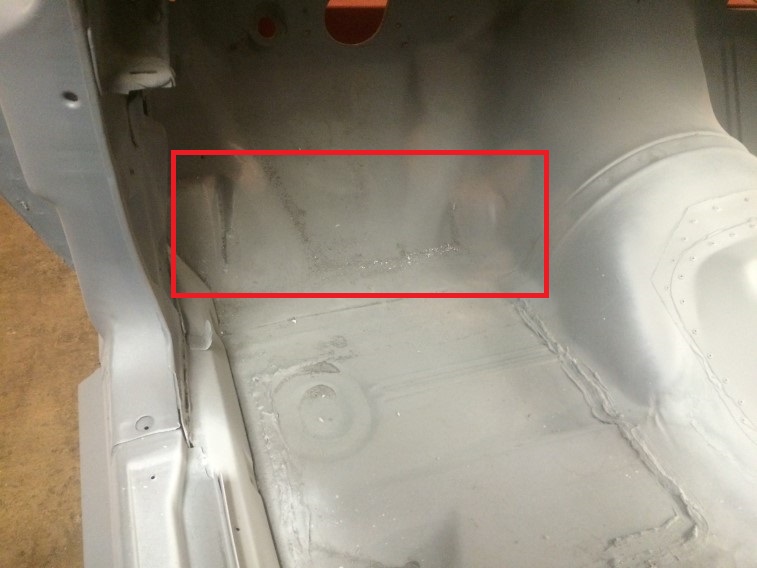
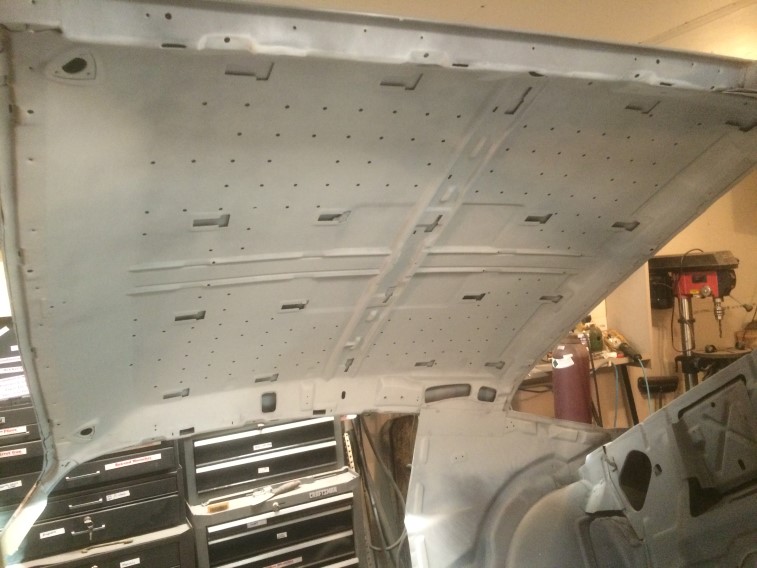
Went back over a few spots on the inner roof with some Epoxy:
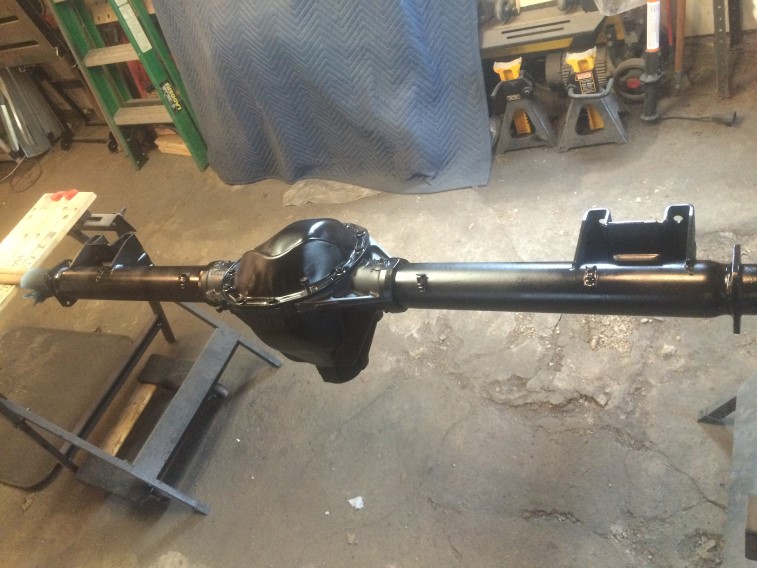
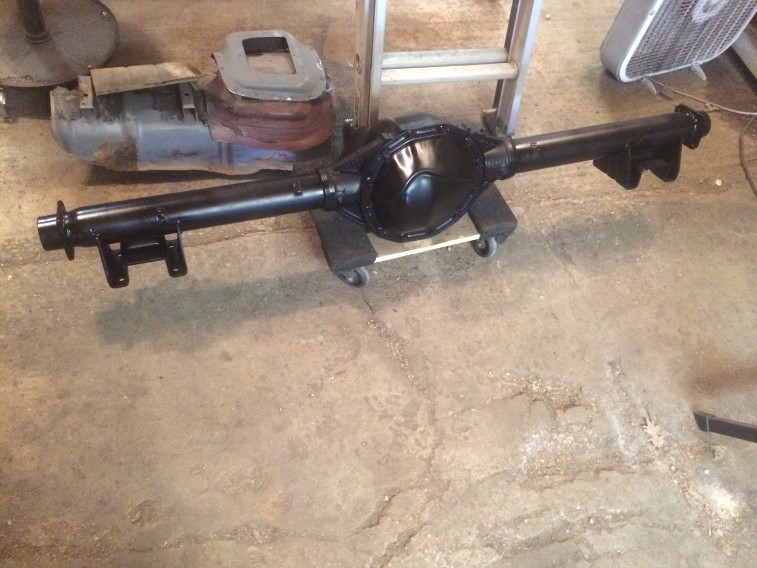
Cleaned and scuffed the 12-bolt which was epoxied back when it was media blasted:
Primed, painted and drying:
Cleaned the trunk insides:
Sanded and scuffed – mainly focusing on the inside quarters and tail panel:
I am using some trunk spatter paint which has some clear. I was struggling with what to put under it and finally settled on Zero-Rust since I had plenty on hand. They suggest self etching primer, but I wasn’t going to strip everything to bare metal. I used Black Zero-Rust then went over it in another coat with Gray Zero-Rust:
Several coats of the Gray and Black Spatter Paint:

Another pic of the 12-bolt dried
Some close-ups after some coats of clear:
—
—

I will be using POR-15 on the main inside floor and then POR-OEM bedliner inside the trunk. I won’t use it on the sides as I have heard it doesn’t work well on vertical bases. Once the trunk is done, will focus on the floor (epoxy, seam seal, and Raptor bed-liner) then on to stripping and painting the firewall. Hopefully the weather will hold out and I can get it done before fall!
Off and on storms have made it difficult to stay on track for what I want to get done before the cold weather is here. Pretty frustrated as I may not know what I am doing until the day is here. I have made a little progress:
Got the trans hump and some other spots on the shell sprayed in 3 coats of Epoxy primer – still a couple other spots I need to get to:
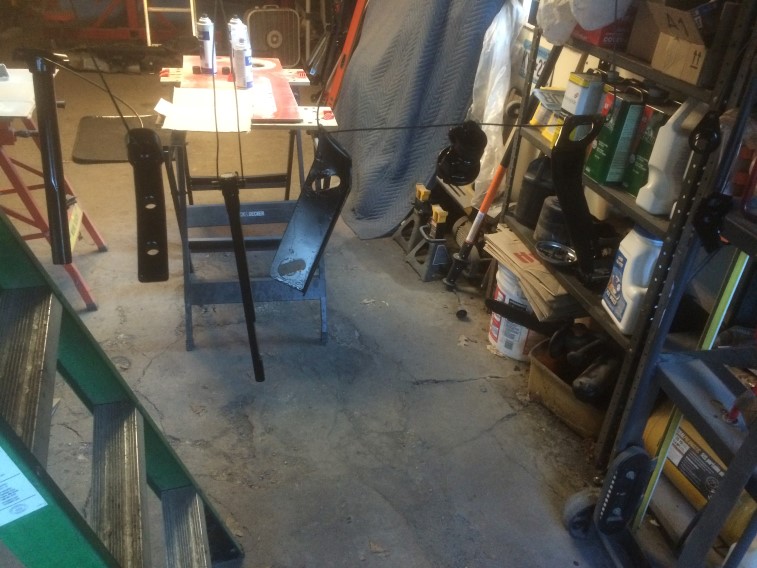
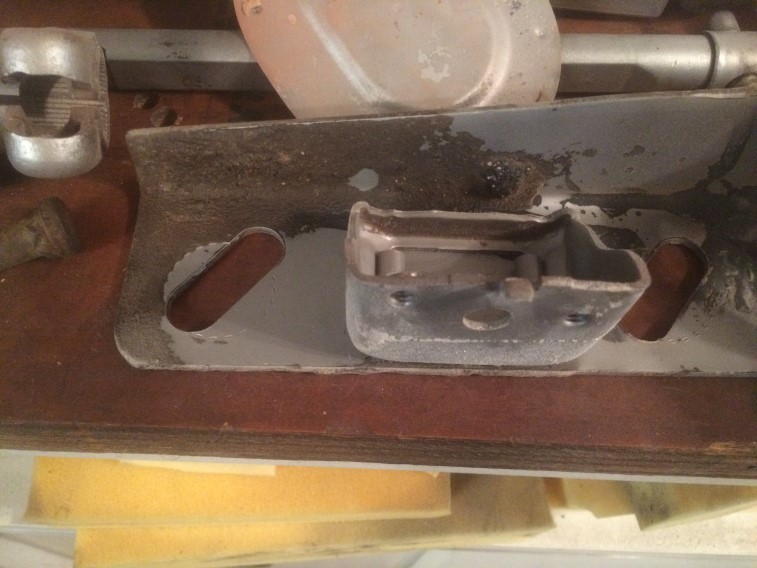
Also used my Harbor Freight blast cabinet to strip the steering shaft and misc sub-frame parts. I was having issues with the gun hose popping off which is now fixed. Also need the floor plug for when I hopefully do the floor in July: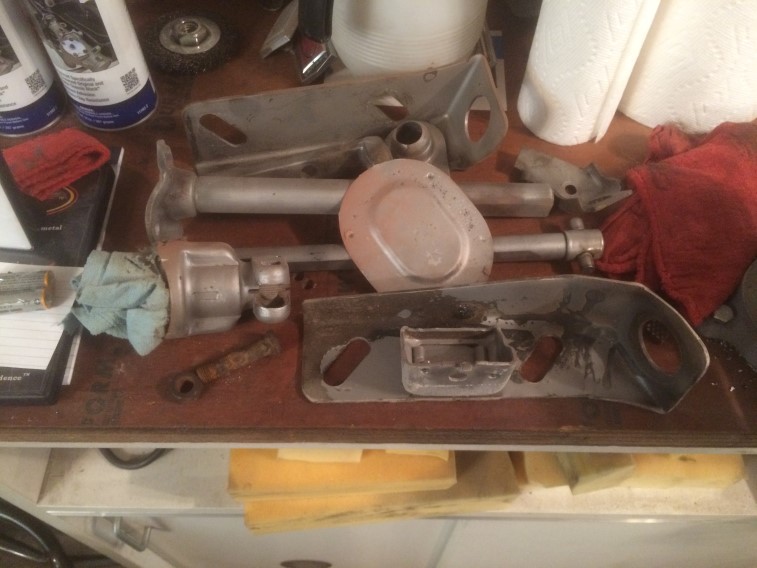
There was one spot I needed to go over with a grinder to get clean:
Cleaned and ready for paint: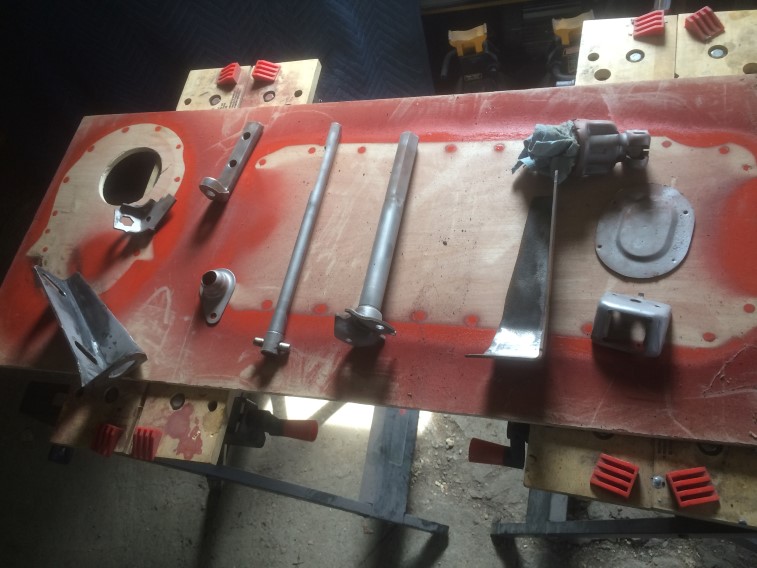
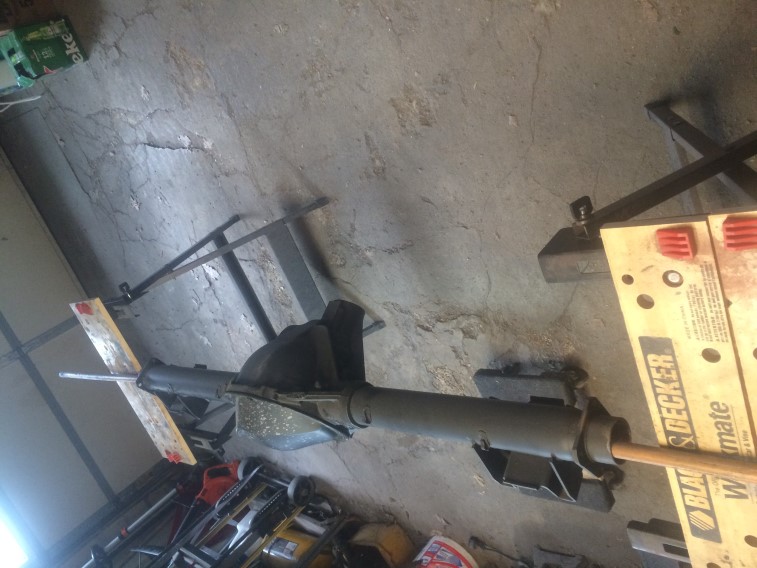
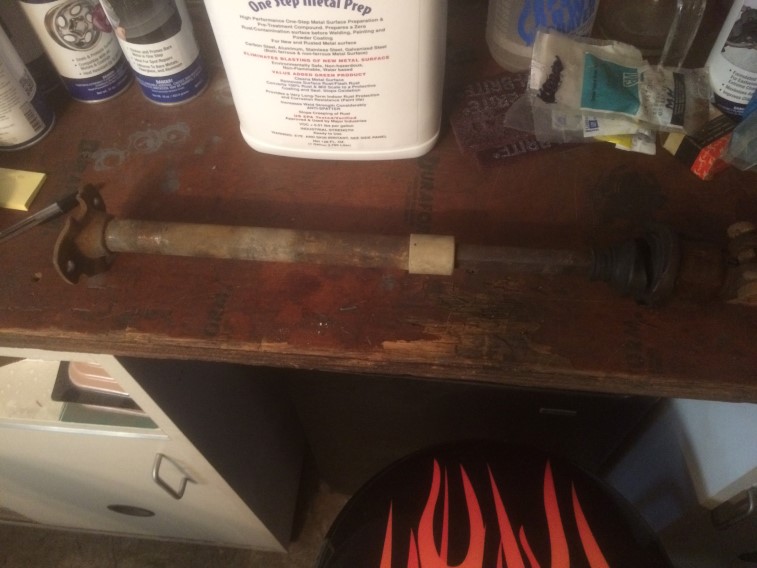
The last couple of evenings have been spent rebuilding the steering shaft – there are some build threads, so I will just clarify a few parts where I struggled – first let me clarify I will be installing a tilt steering column for a 73 Camaro and it needs a specific shaft which differs from a non-tilt. For reference – the main source of information is: http://nastyz28.com/threads/steering-shaft-rebuild-process.92926/
This is what I started with:
Notice the 2 clips on the housing to the right – once you straighten them out, there is a washer the unit has to slide over to come off. I needed a little persuasion to get it to come off, but managed to do it without any damage: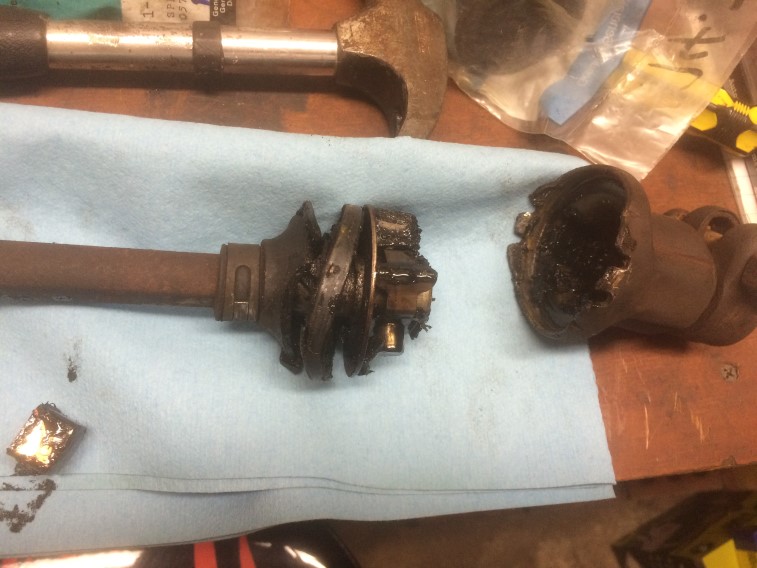
Now the early style has a pin to remove, this is not that style – I placed it in a vice and used a socket wrench extension to hammer out the smaller part: note the spring inside came out towards the cabinet – make sure the extension is as long or longer than the larger piece it is going in: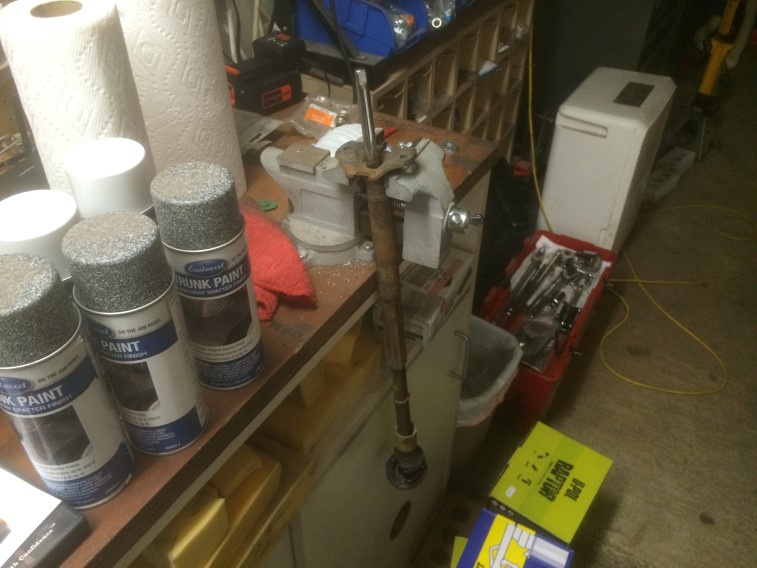
Separated: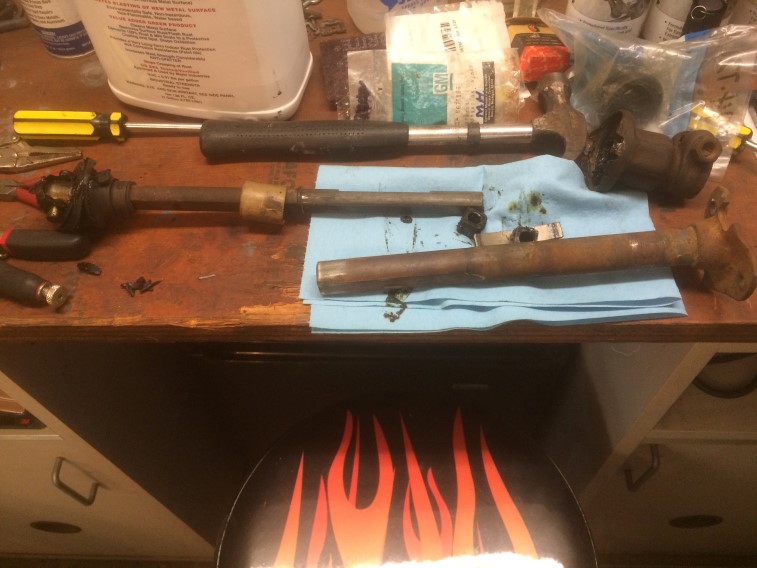
A reference pic for when I re-assemble it: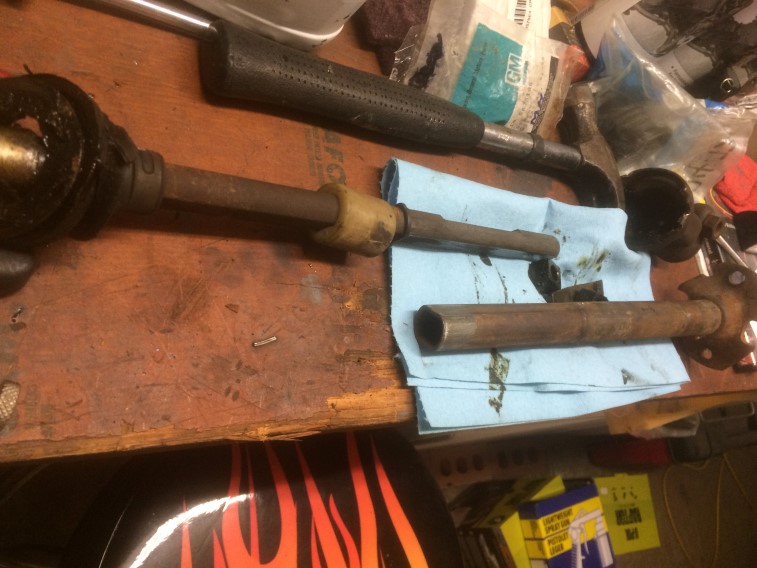
Note the spring that came off is completely a circle – the NOS replacement I have is not, but some trial fitting shows it should be ok: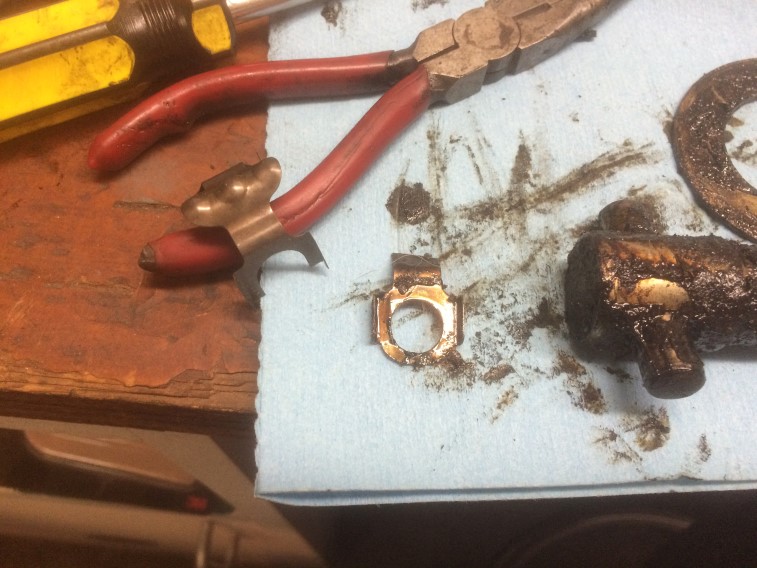
Grease removed: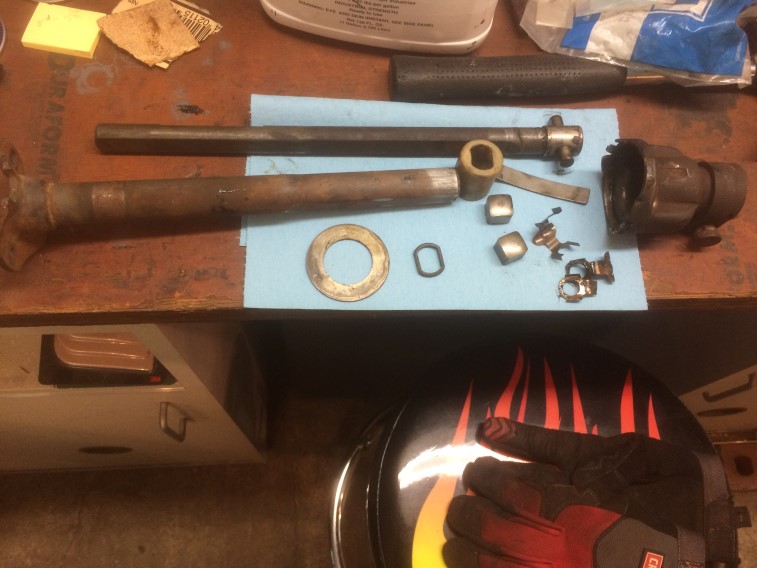
Now to blast them with some remaining pieces from the subframe – then paint and re-assemble: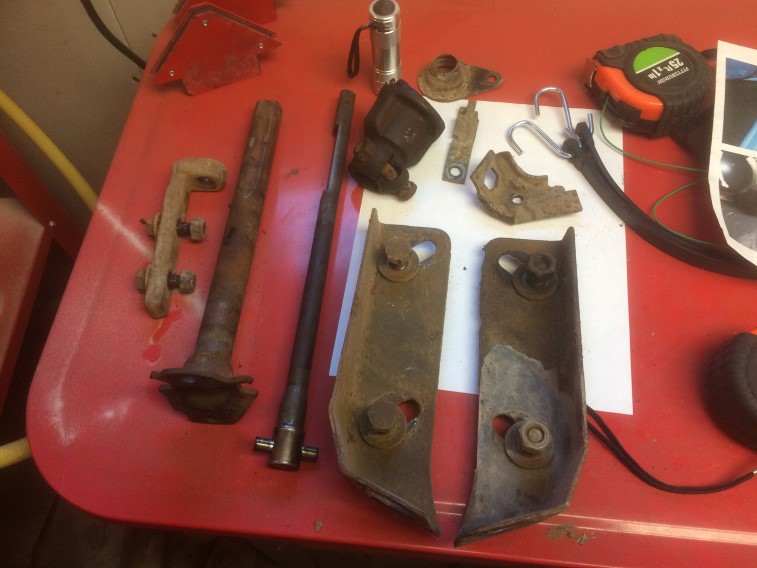
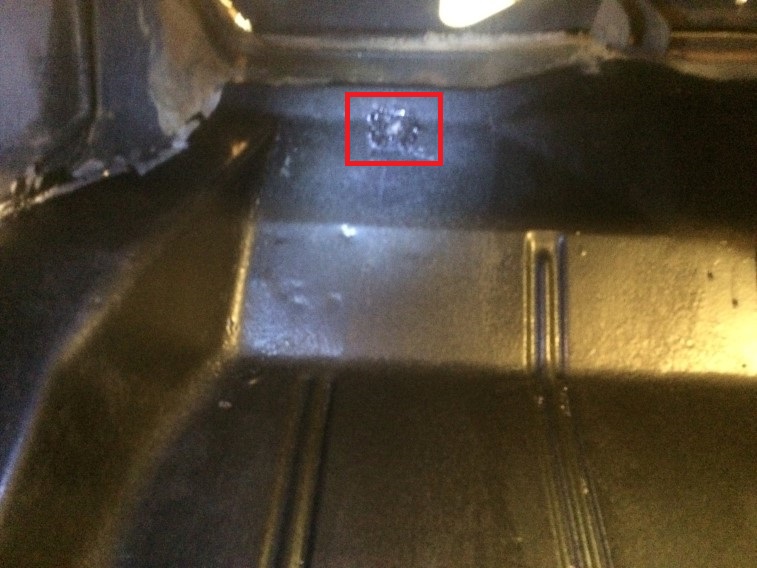
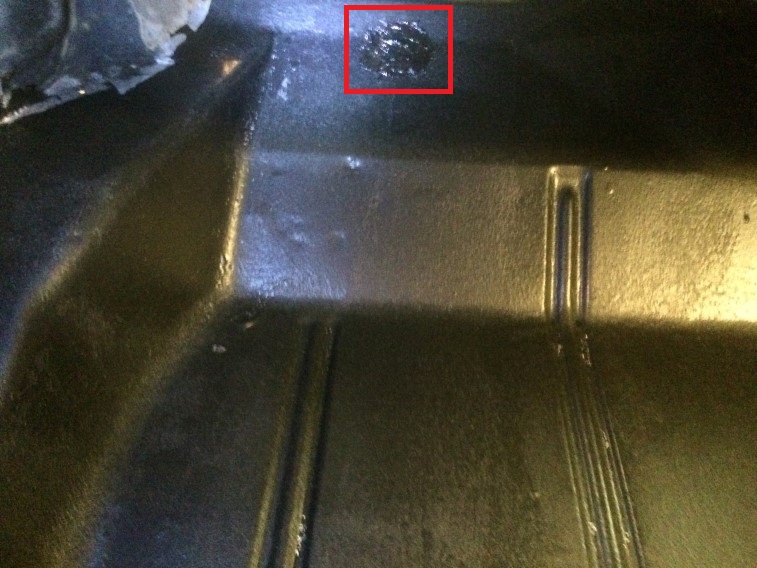
Not a whole lot to report for this weekend. I did apply some POR-Patch to some screw-sized holes in the floor pan after prepping the metal with Metal-Ready. I really didn’t want to take the time to attempt to weld these up. I will be using U-Pol Raptor bedliner on the floor anyhow, so this will be covered up.