Tag Archives: Trunk

5-13-2018 – Updates

Sprayed 3 coats of primer on the donor floor pan I will be using to test spraying the undercoating.  Also re-hit a few hard-to-reach spots on the floor that needed to be sprayed before undercoating.  Also sprayed the last area of the trunk inside.  Still need to spray the clear on it tomorrow.


This next week I will need to clean the garage, and scuff \ clean the areas I primed.

5-12-2018 – Updates

Scuffed and cleaned the passenger side trunk quarter – ready to touch-up tomorrow:

also pulled out what was left over from my floor patching to eventually use as a test for my undercoating:

I drilled a couple of holes which I will be using ear plugs when undercoating.  Need to be able to verify I can remove them after undercoating:

Stripped down to bare metal – Beer-30!

All cleaned up ready to prime tomorrow:

Also plan on touching-up some of the floor (street-side) with primer in a couple of spots tomorrow.

5-8-2018 – Updates

Painted the inside of the front sub-frame using Eastwood Internal Coating – had to cover existing holes with tape:

After spraying the first coat, I realized the extension hose was curling up on itself too much – attempt #1 to straighten it out:Then I decided to use a metal clothes hangar which worked wonders! Used a lot less paint and was much more efficient! I ended up spraying 2 coats waiting 24 hours between coats: ALso re-sprayed the drivers inside trunk – much better! Used Clean over it – just had to touch-up a couple spots after scuffing and cleaning. Still need to do the other side.

POR-15 Trunk

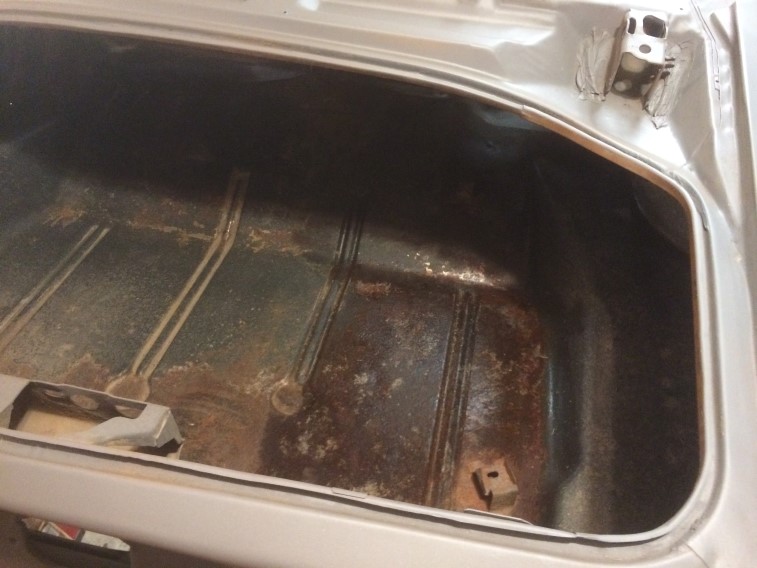
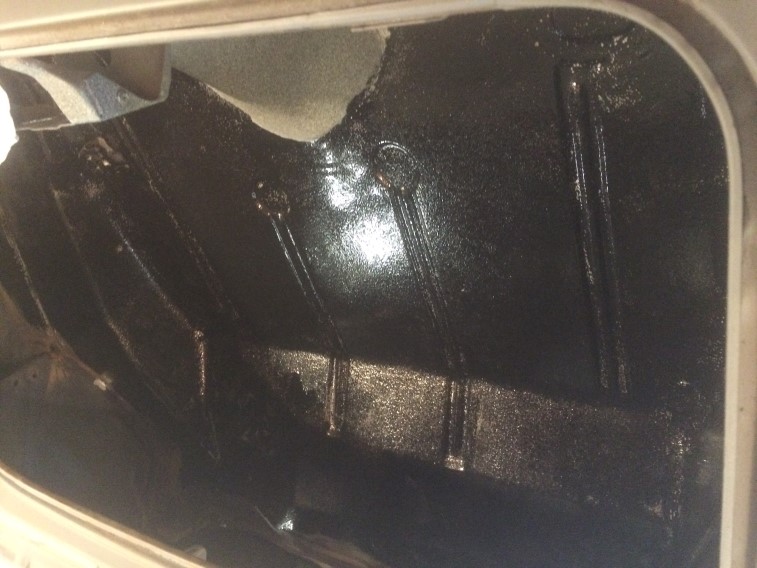
Completed the inside of the trunk.  The POR-15 that I had used in the driver’s toe area has held up for 2 years so far, so I decided to use it again on the trunk.

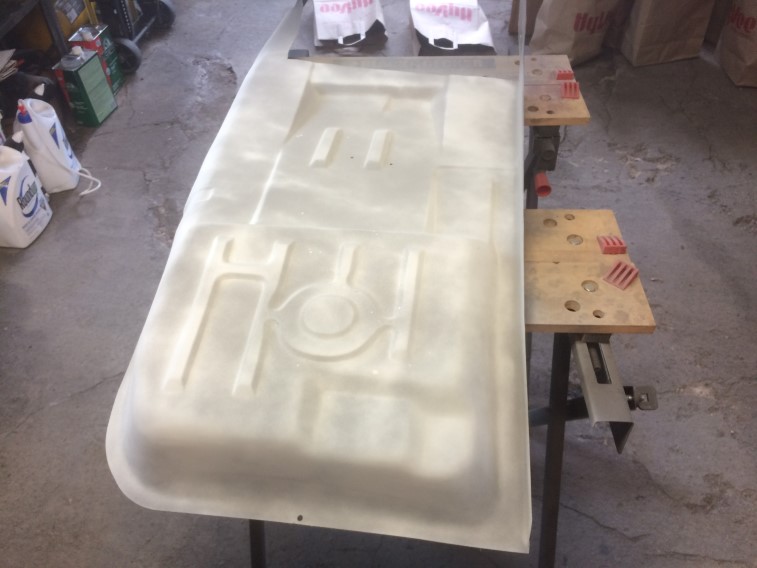
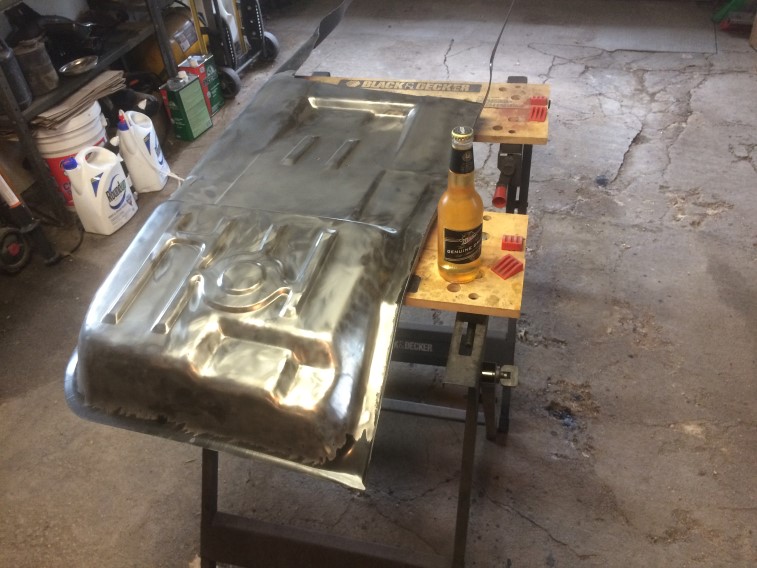
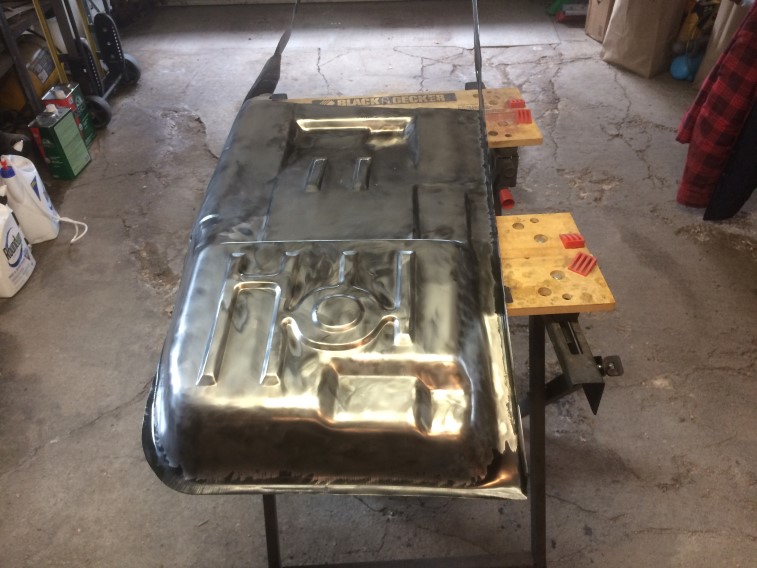
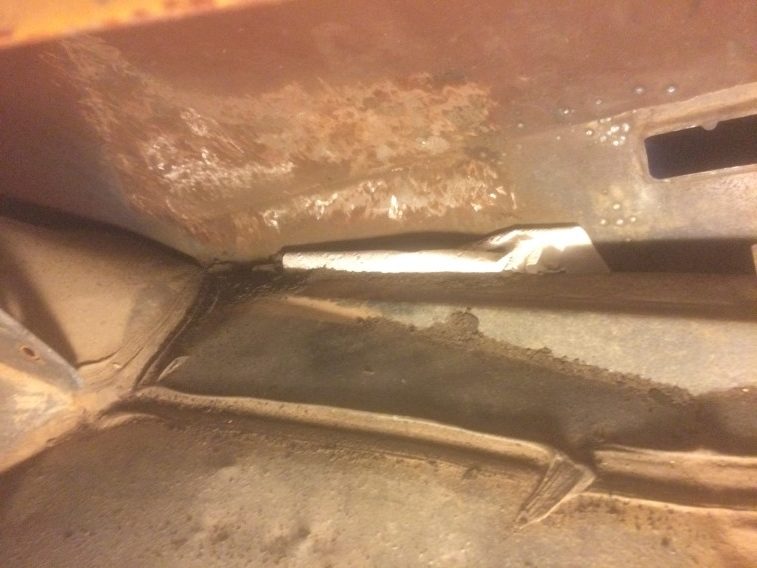
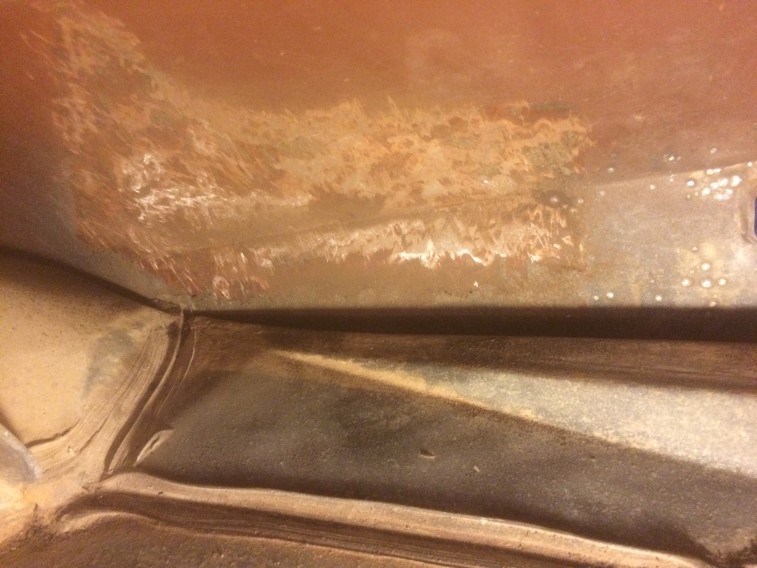
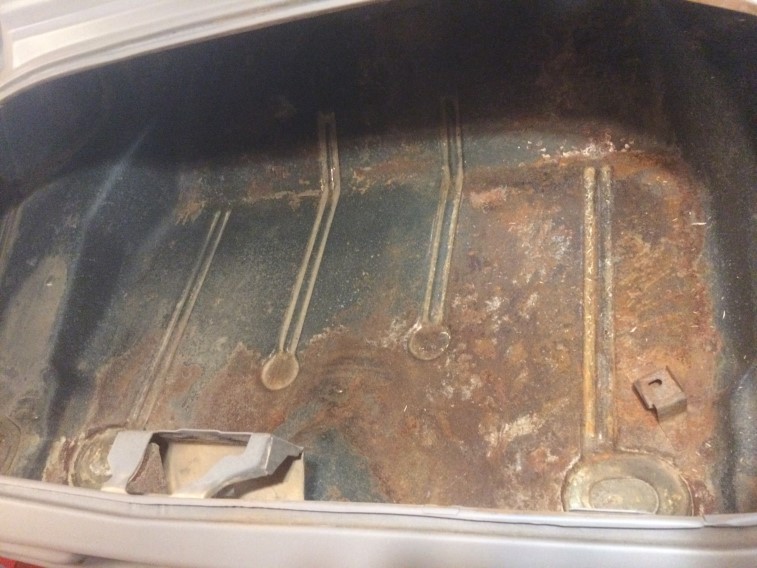
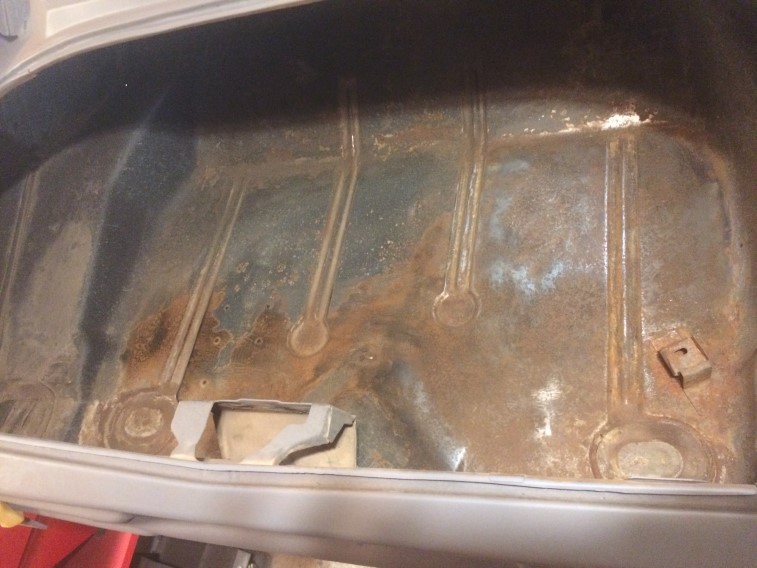
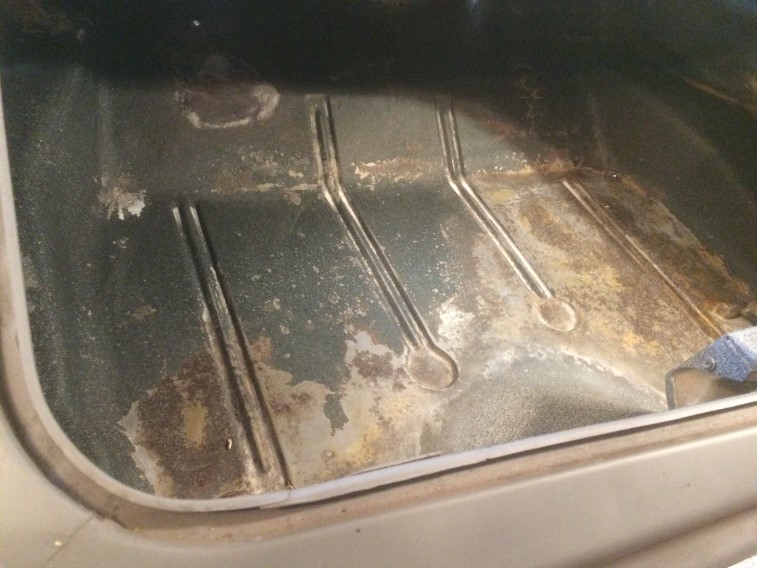
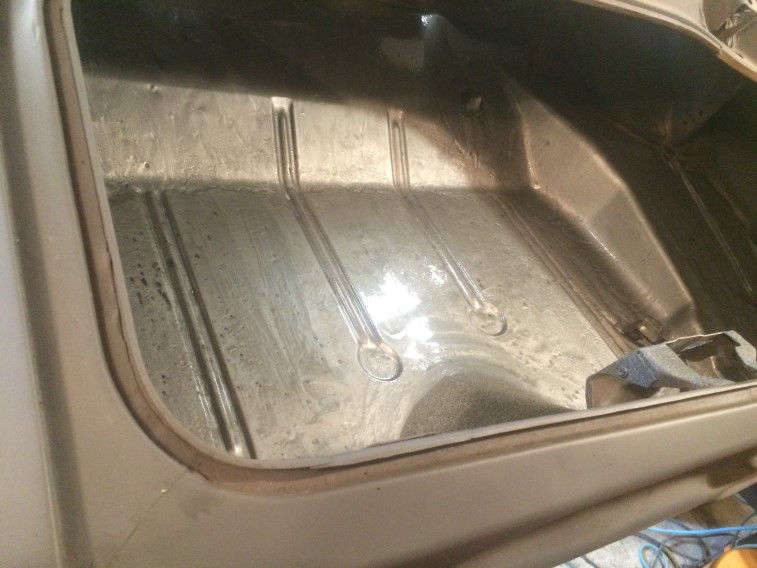
So this is what I started with.  There were a couple small er than pencil size holes and some pitted metal, but for the most part, was in pretty good shape:

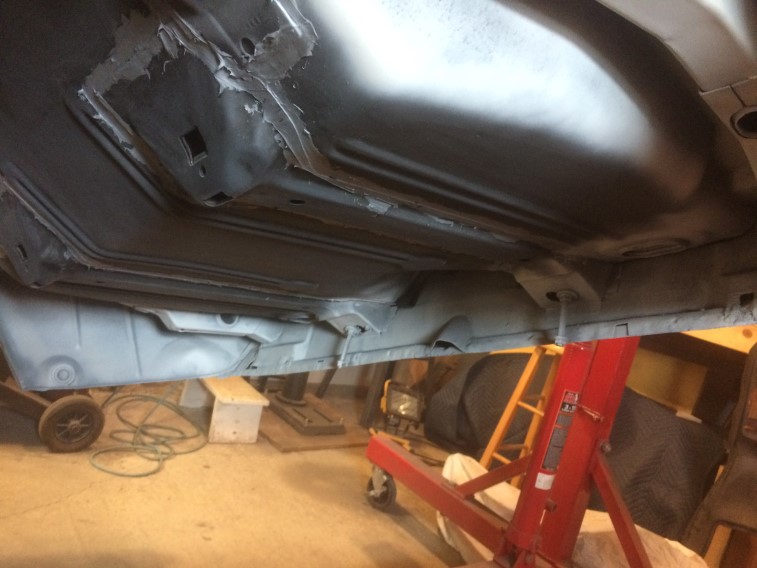
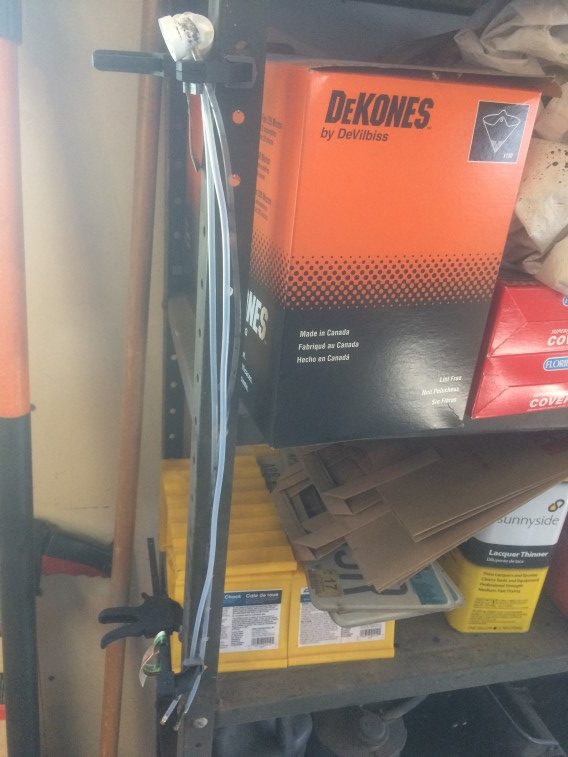
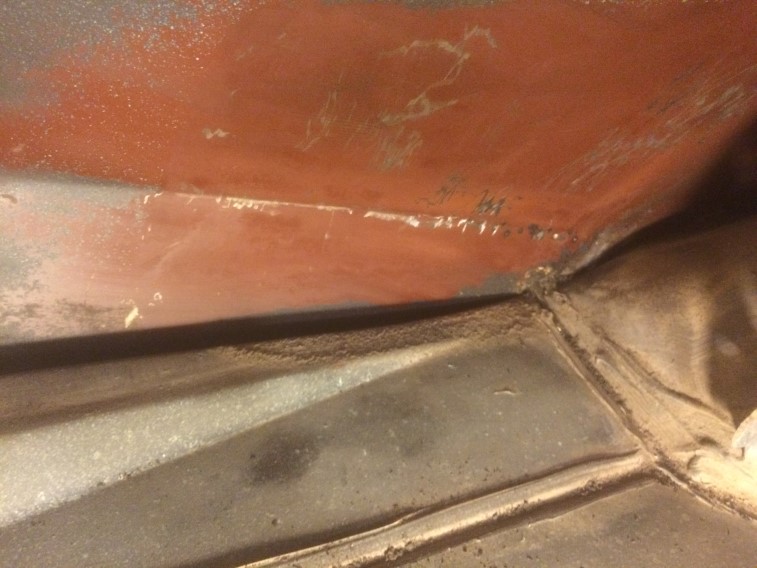
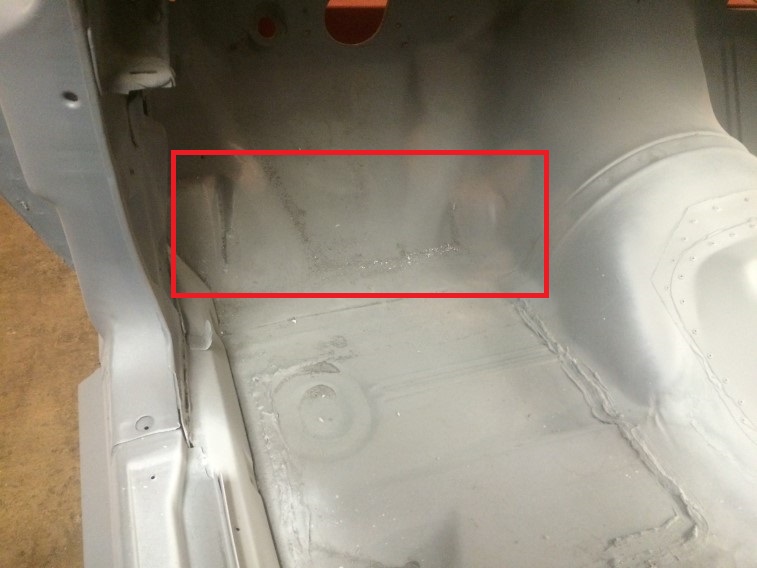
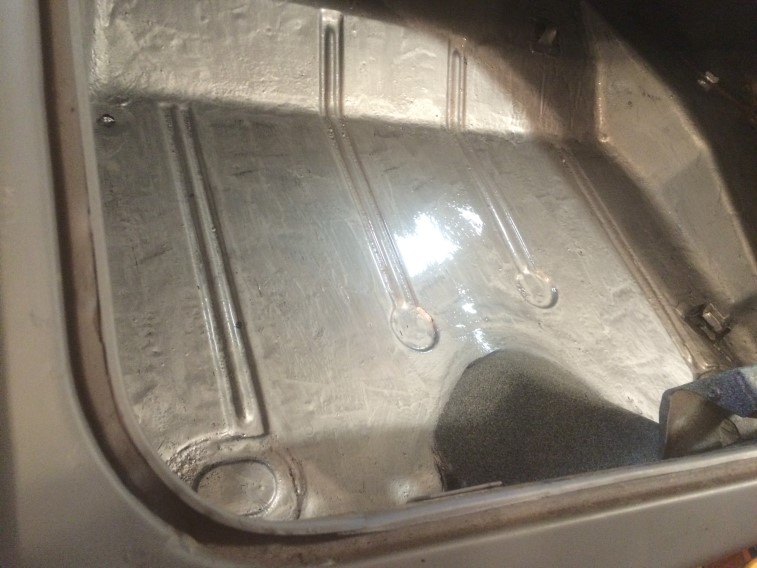
I got the por-15 Floor & Trunk kit along with por-patch and por-15 OEM bedliner.  After scuffing the metal and using wax & grease remover to clean, I used the por-15 degreaser by spraying it on keeping it wet for 15 minutes then rinsing with a sponge and bucket of water.  I then used the por-15 metal prep doing the same thing.  I then waited overnight.  I also ensured I had 3 nylon brushes which were discarded after each coat.  I used por-15 Silver for the 1st coat:

Then por-15 Black for the 2nd coat:

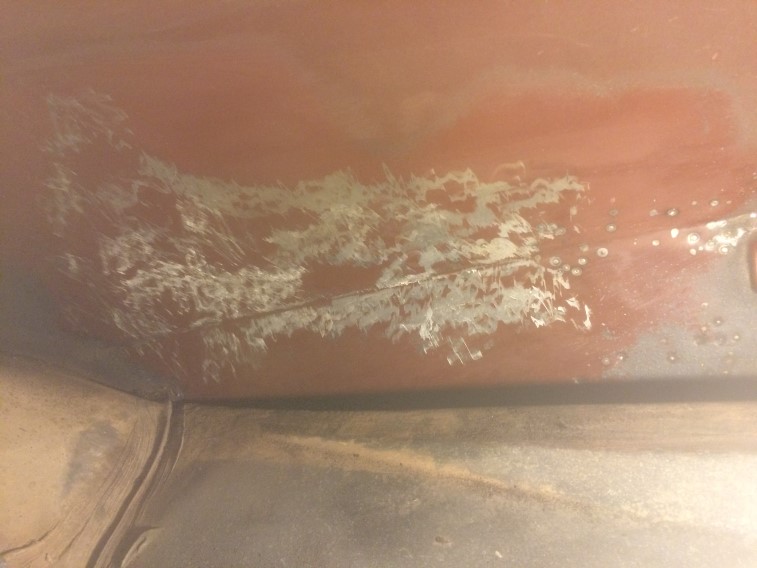
Then back to por-15 Silver for the 3rd coat:

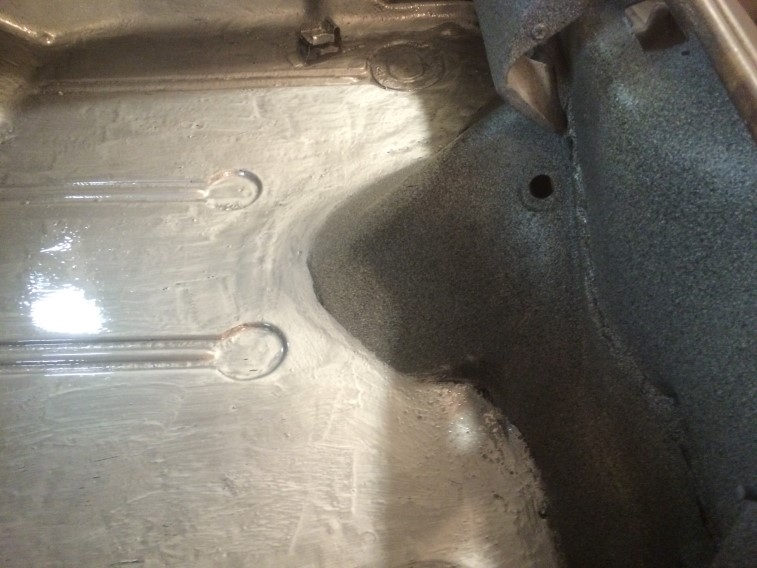
At this point, I used the por-patch to fill in the few small remaining holes using an acid brush to smooth it out.

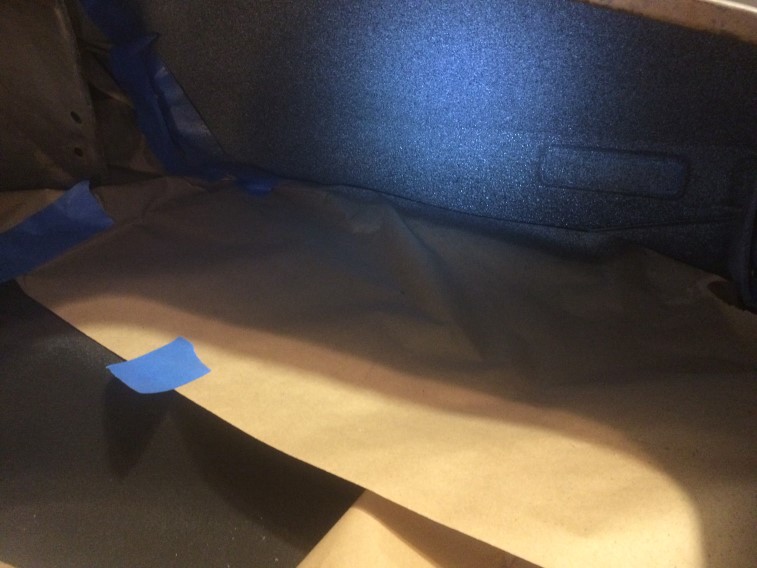
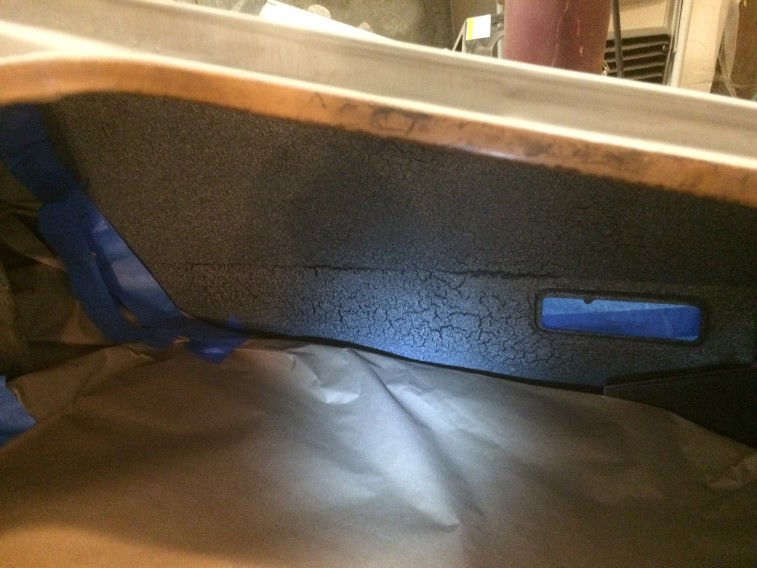
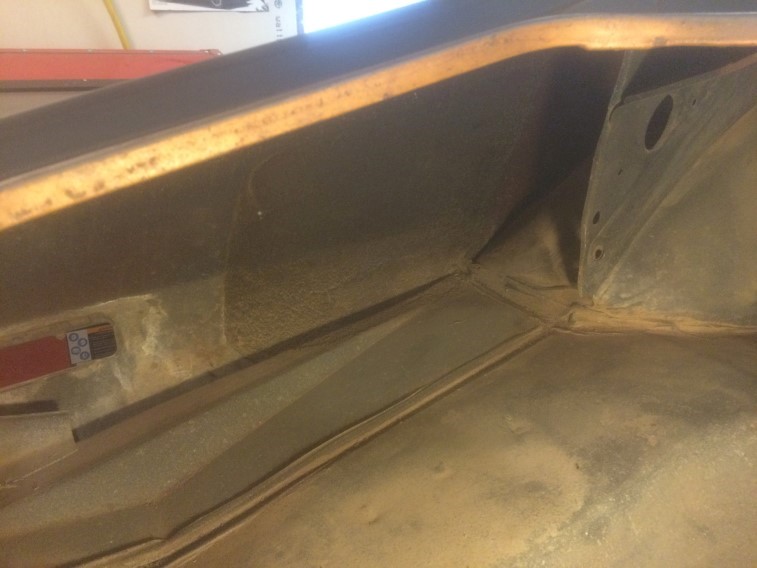
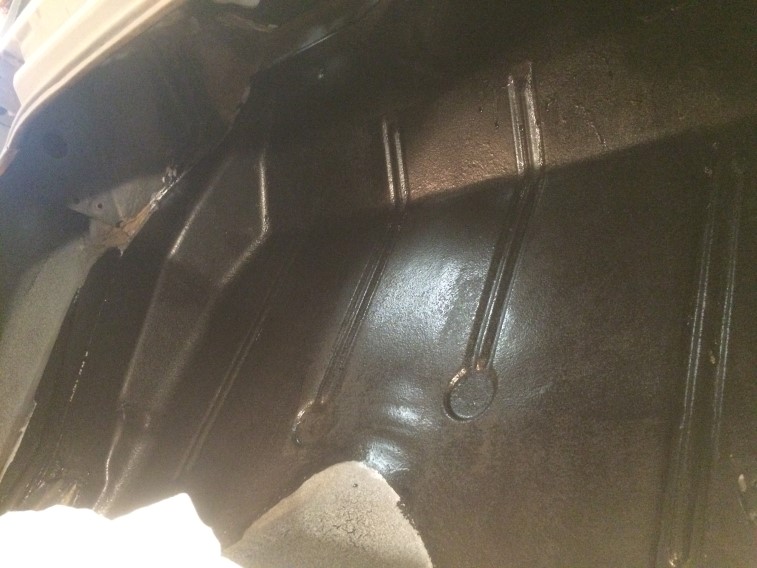
POR-15 OEM Bedliner 1st coat (rolled on)

POR-15 OEM Bedliner 2nd coat (rolled on)

Next morning:

Now I realize there are 2 different looking paint I used, but I plan on having a trunk mat in there, so the por-15 will be covered anyways.

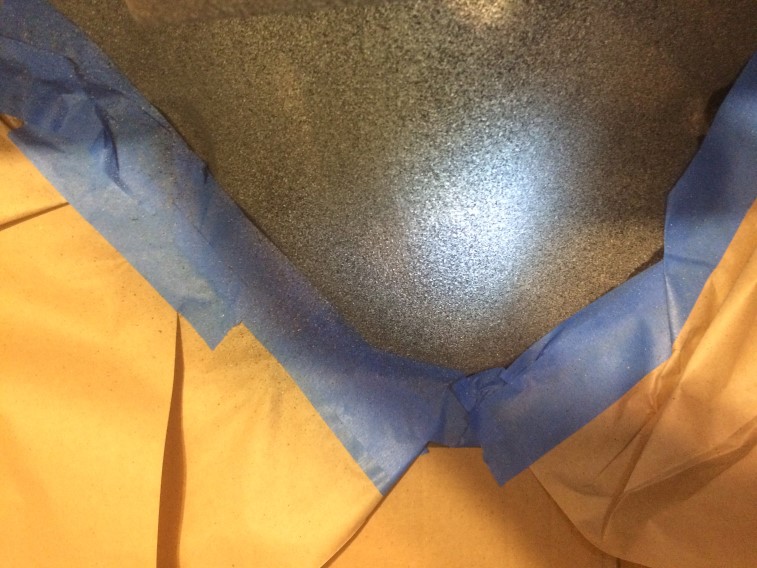
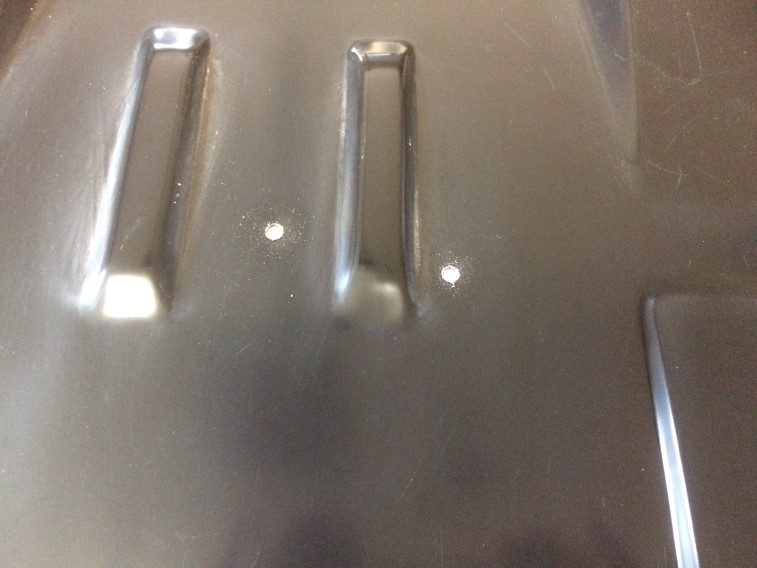
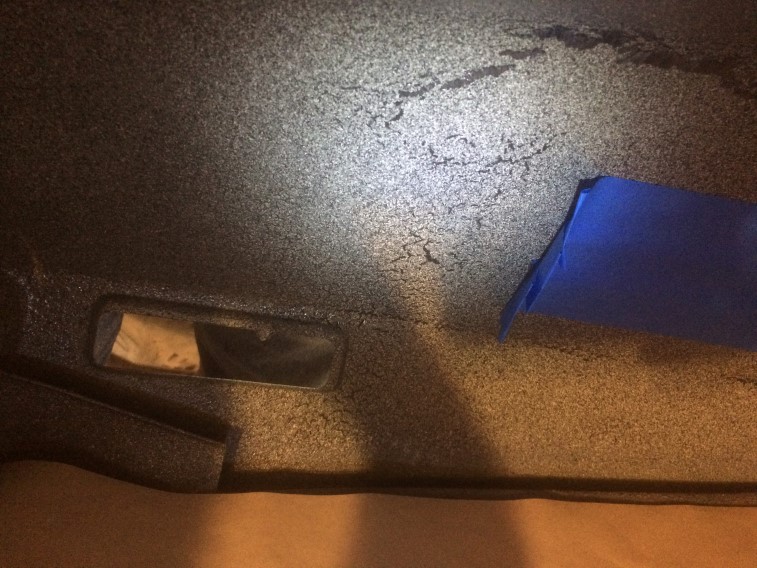
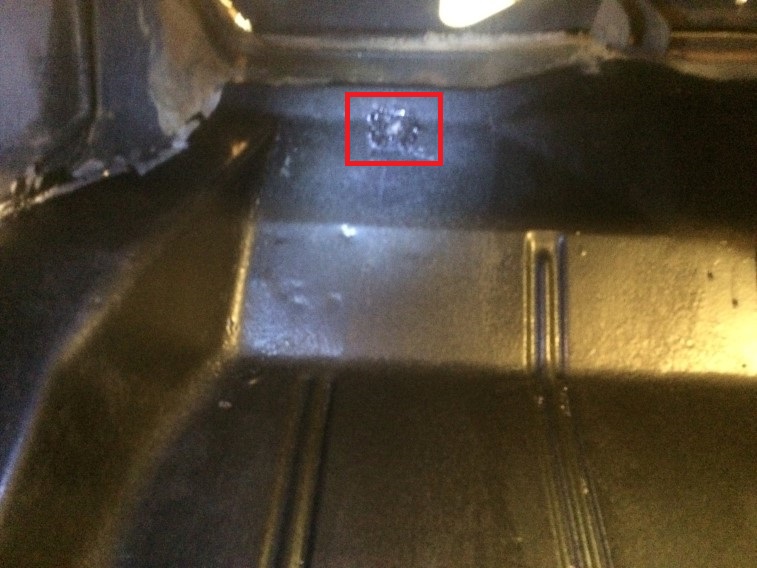
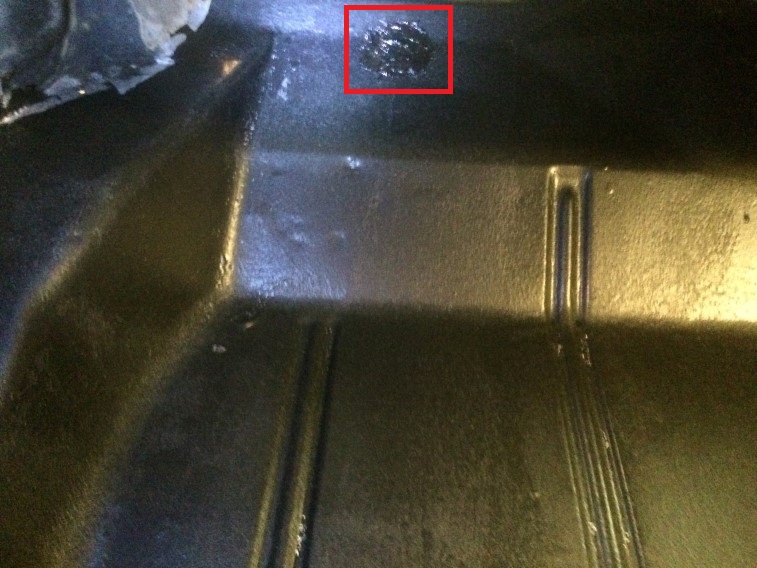
DOH!  There was a hole I had forgotten about and missed which should have been covered with the por-15 before the bedliner.

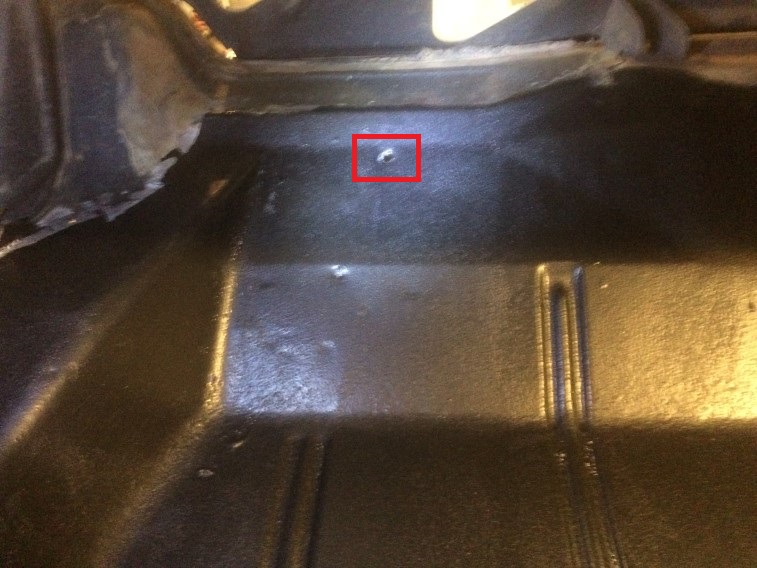
I ended up using the por-patch along with some of the mesh which came with the kit and pusing into the por-patch before applying more por-patch over it,

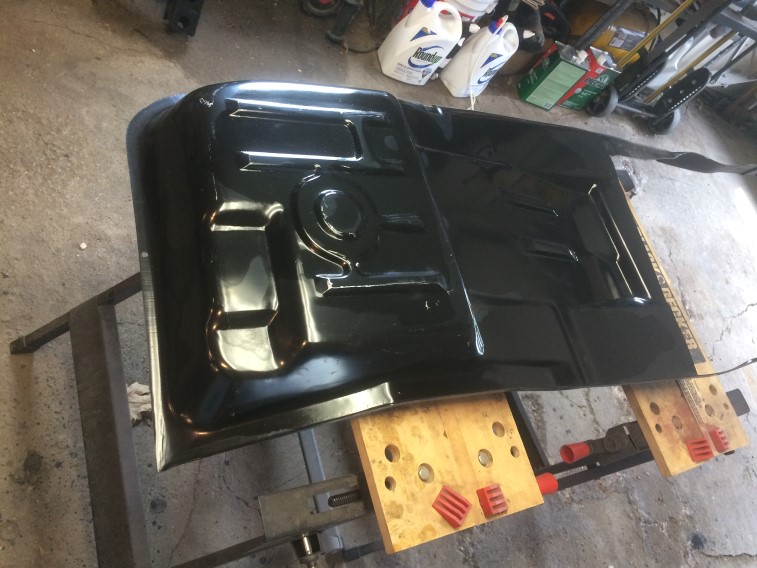
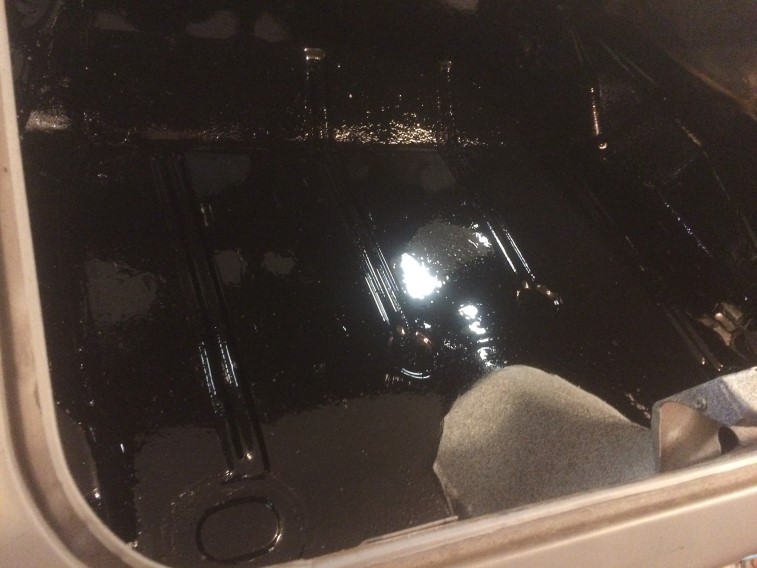
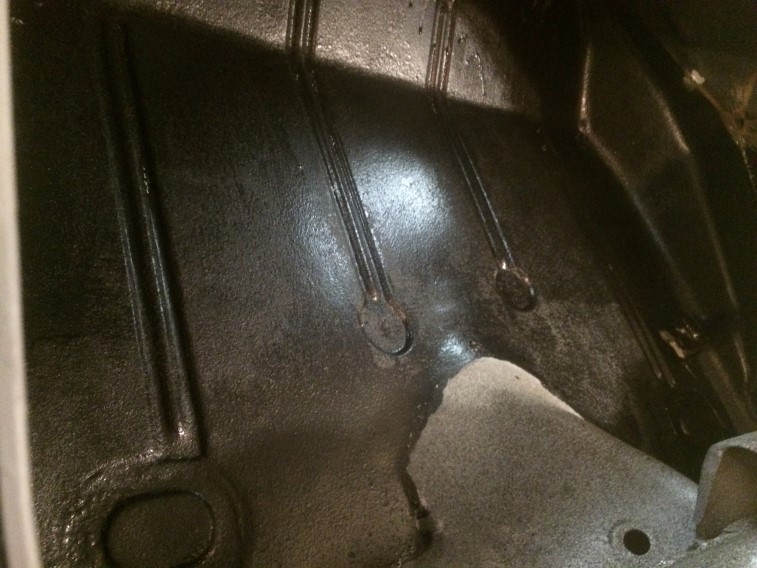
Final application (still wet)

I could have used the same paint over top of the por-15 instead of the bedliner, but the bedliner will be much stronger.  Next will be the street side of the floor: epoxy, filler, and u-pol Raptor bedliner.  I am already behind schedule of where I wanted to be at this point in the summer.

10-18-2018 Update (Trunk)

Did a little more with the trunk tonight.  I did get the rest of it cleaned the other night and started to strip it tonight.  I decided I am going to scuff the rest and use POR-15 Floor & Trunk kit on the trunk next Summer when I finish the bottom floor.

The rust has pitted the metal, but hasn’t rusted through so I won’t need to replace the trunk.  The drivers toe area was kind of like this and I used the same thing on that area with good results.

img_2215 img_2216 img_2217