3-4-2017 – 1973 Camaro RS Braces

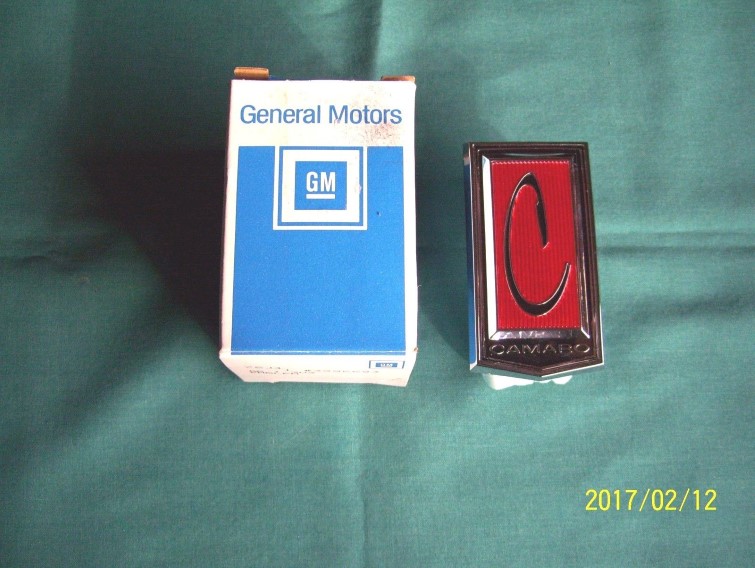
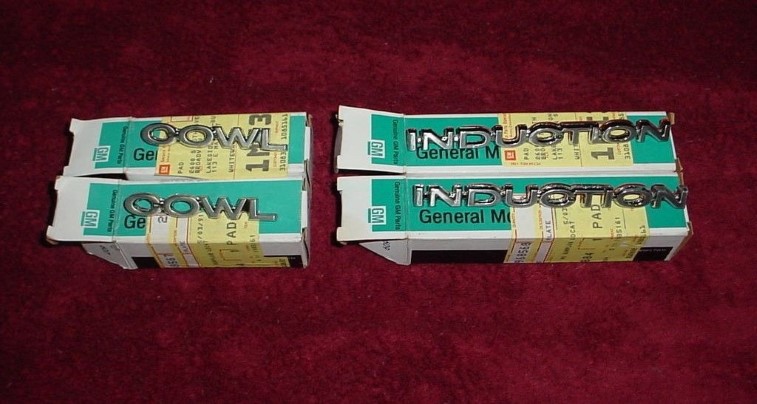
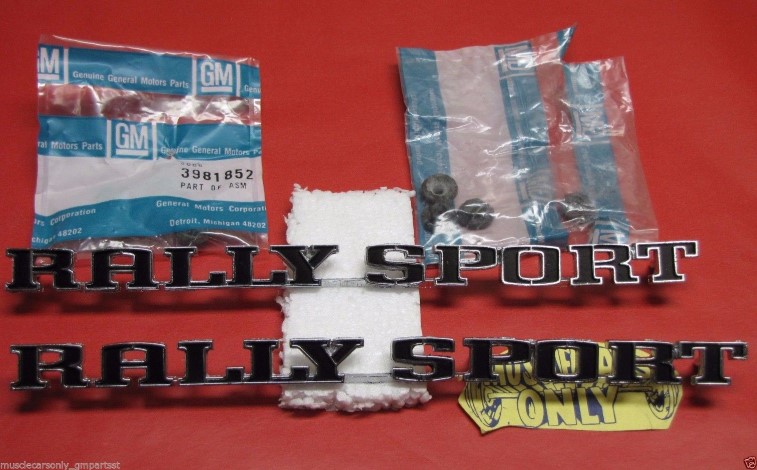
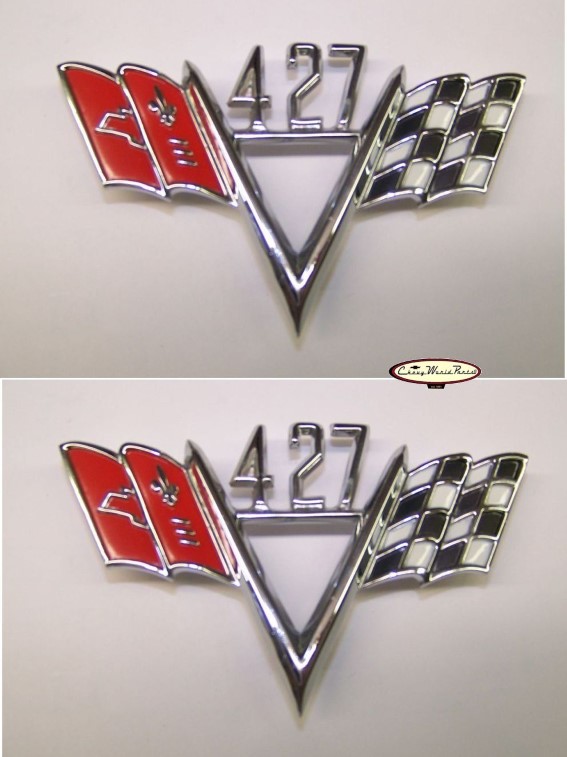
ok – so I already have a complete set of these braces, but the long fender bars are NOS.  I was able to obtain another set which all of the pieces are used OEM which is what I will mount on the car keeping my NOS bars.  This is the first set I have: https://dougbratton.info/blog/2015/12/1973-camaro-rs-braces/

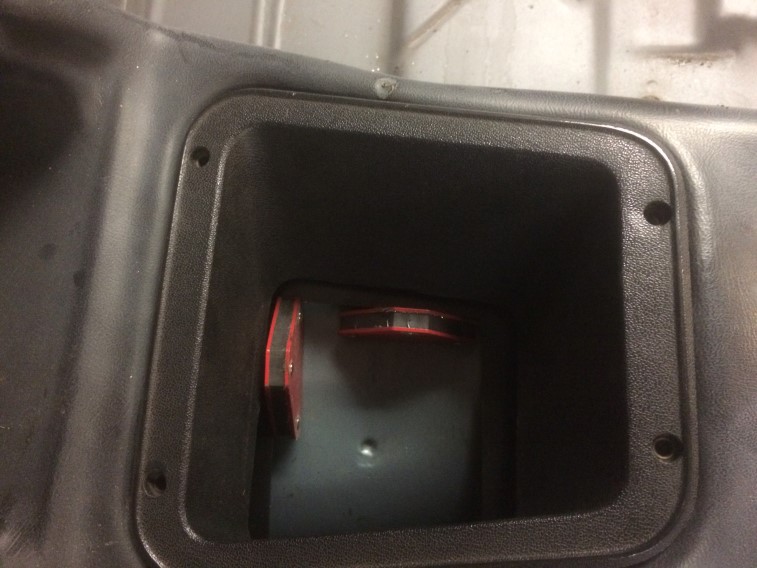
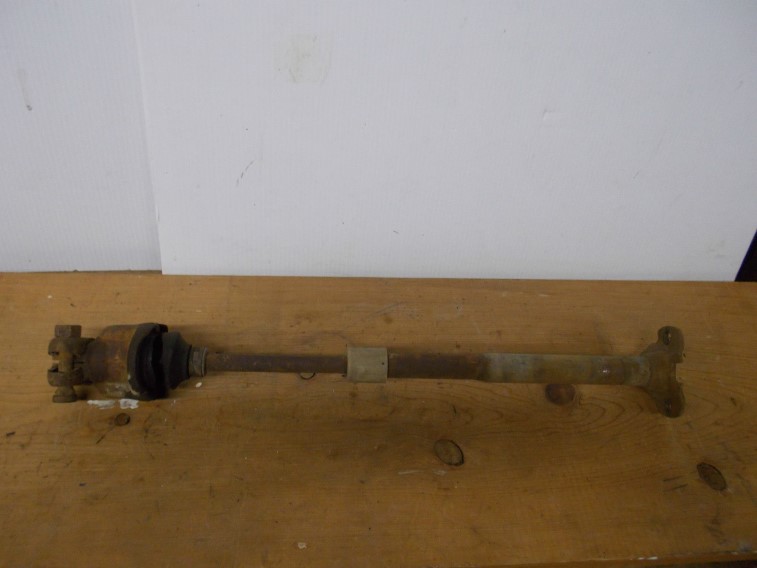
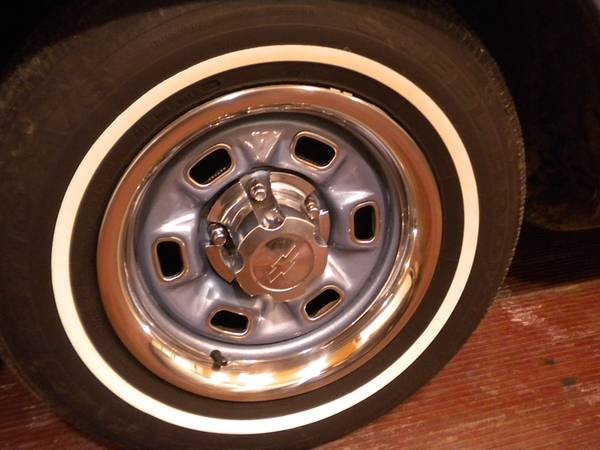
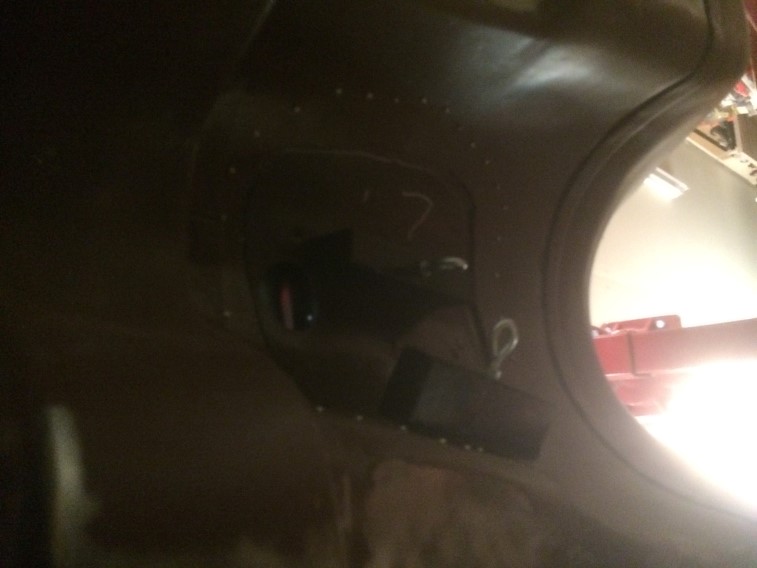
Here is the new set I just obtained – they were required on the 1973 RS Camaro due to stronger government rules:

2-17-2017 – Supplies

ok it is 60 degrees in Feb!  I was thinking we would have an early Spring and now am stocking up on warm weather supplies for this year.  The outlook also says we will have an early Spring: https://weather.com/news/weather/video/what-to-expect-from-spring-2017

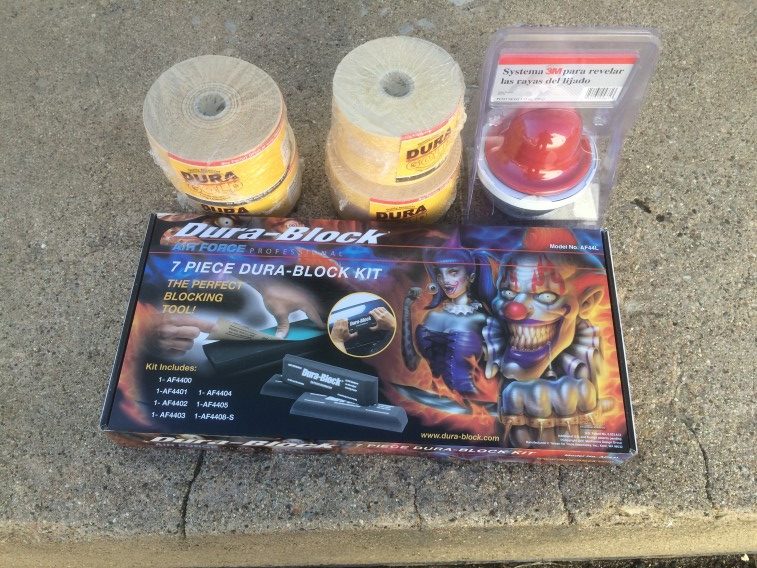
So some of my block sanding supplies arrived today – still waiting for Rage Extreme filler and need to order some more Epoxy primer next:

7 piece dura block kit, a variety of different grit sand paper and some guide coat to help detect the low areas.  I am getting Spring fever and anxious to start the 2017 work!

1-28-2017 – 4-speed shifter hump

Made a little more progress on Saturday.  I got the 4-speed hump portion of the patch mocked-up in place.  Things are temporarily riveted until I used the 3M metal bonding along with the rivets to fasten in place.

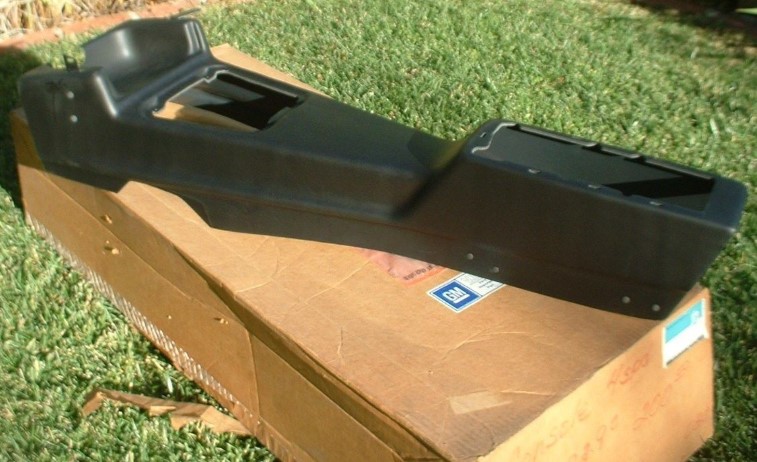
Determined I was fairly happy with the measurements using a spare console as a reference:

For the measurements, there are several areas in the rear seat one might use.  The middle one holds the tape measure the best, but it is actually the closest ripple to the front that needs to be used.

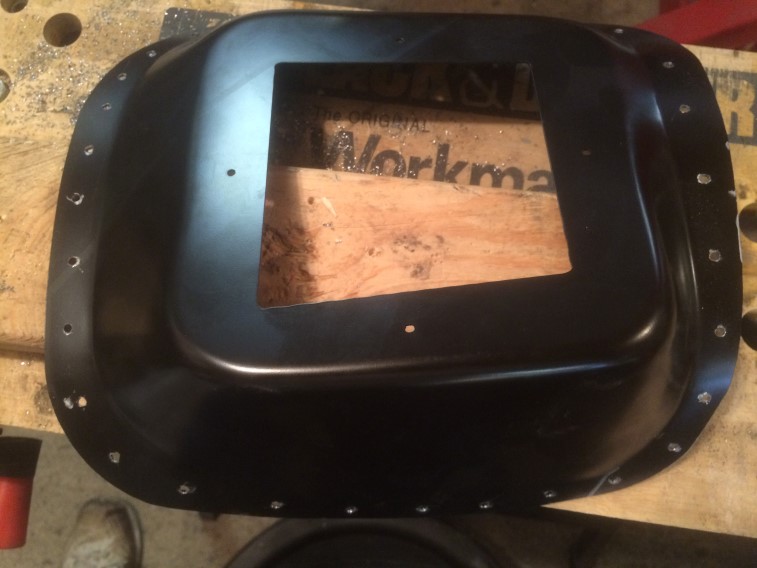
Marking where to drill the holes (on this side, they are in-between the patch panel rivets since there is a little overlap:
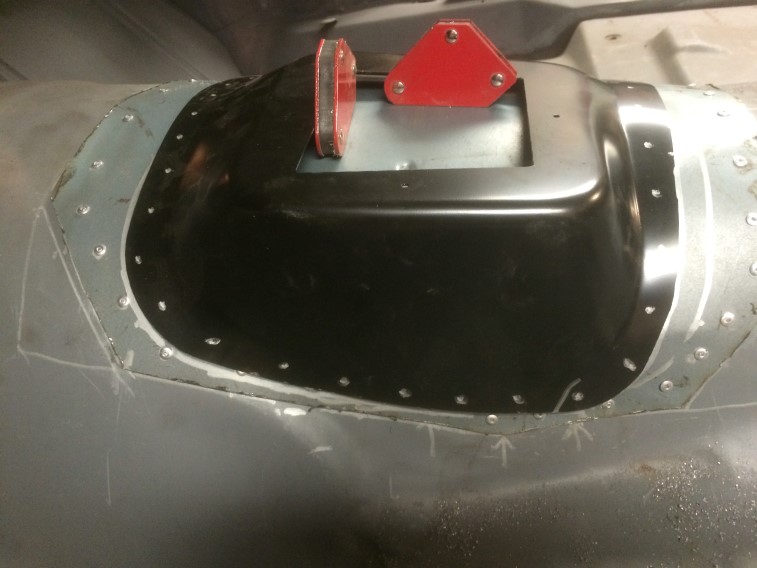
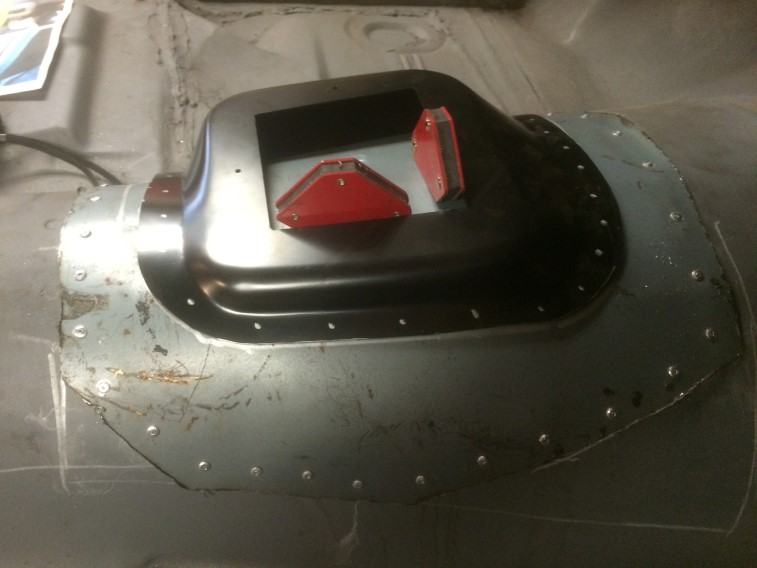
Holes drilled:
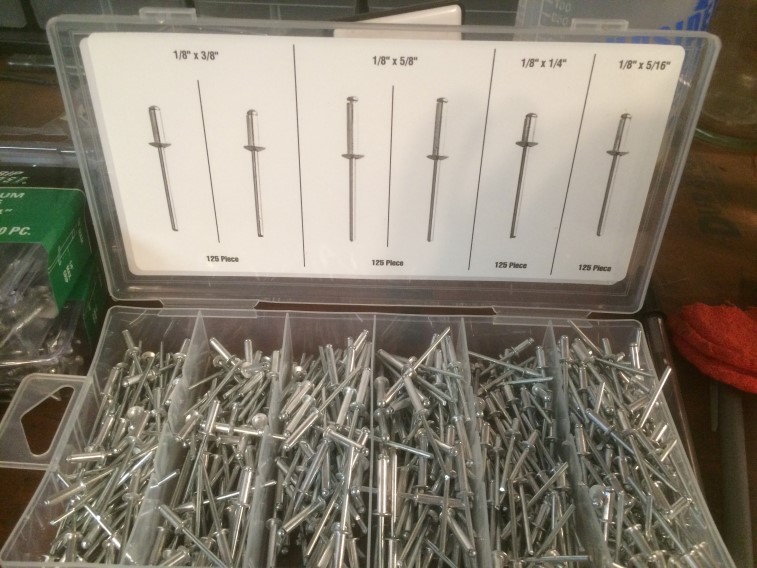
I used some slightly longer rivets since there were some spots where I was going through 3 layers of sheet metal:
A couple of rivets in place and I realized I needed to do some hammer\dolly work.

Riveted in place.

Next steps are to review the measurements one more time.  Rivets can be drilled out and holes welded closed if need be.  Then cut out the inside hole where the shifter goes through.  I won’t be using the 3M metal bonding until the weather is warmer and my heater wont ignite the fumes.

1-23-2017 – 4-speed shifter hump

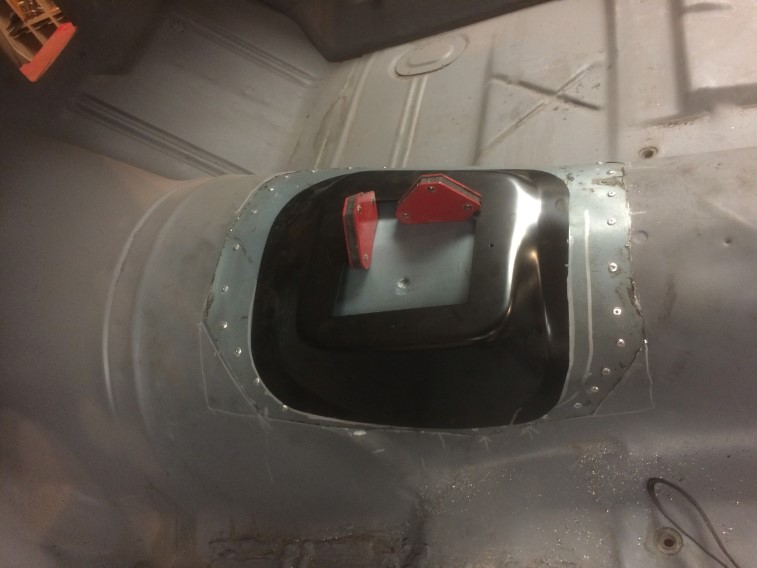
Spent a little time in the garage while preparing for the snow tomorrow…  I am trying to cross-reference my measurements.  I wanted a good way to move the patch panel around while adjusting things so  I put 2 large magnets on the bottom of the patch I just mocked-up:

Then added a couple on top that wouldn’t get in the way of the console:

Re-mounted the dash support frame that I had to remove when working on the prior patch section for drilling the rivets:

loosely mounted a junk console:

Looks pretty good so far:

Next step is to tighten everything up as things are finger tight and shifts a little.  Then re-check things again.  At least I am comfortable with the process now that when I settle on the placement, I can get it in the spot I want without it shifting.

Doug Bratton's Personal Blog