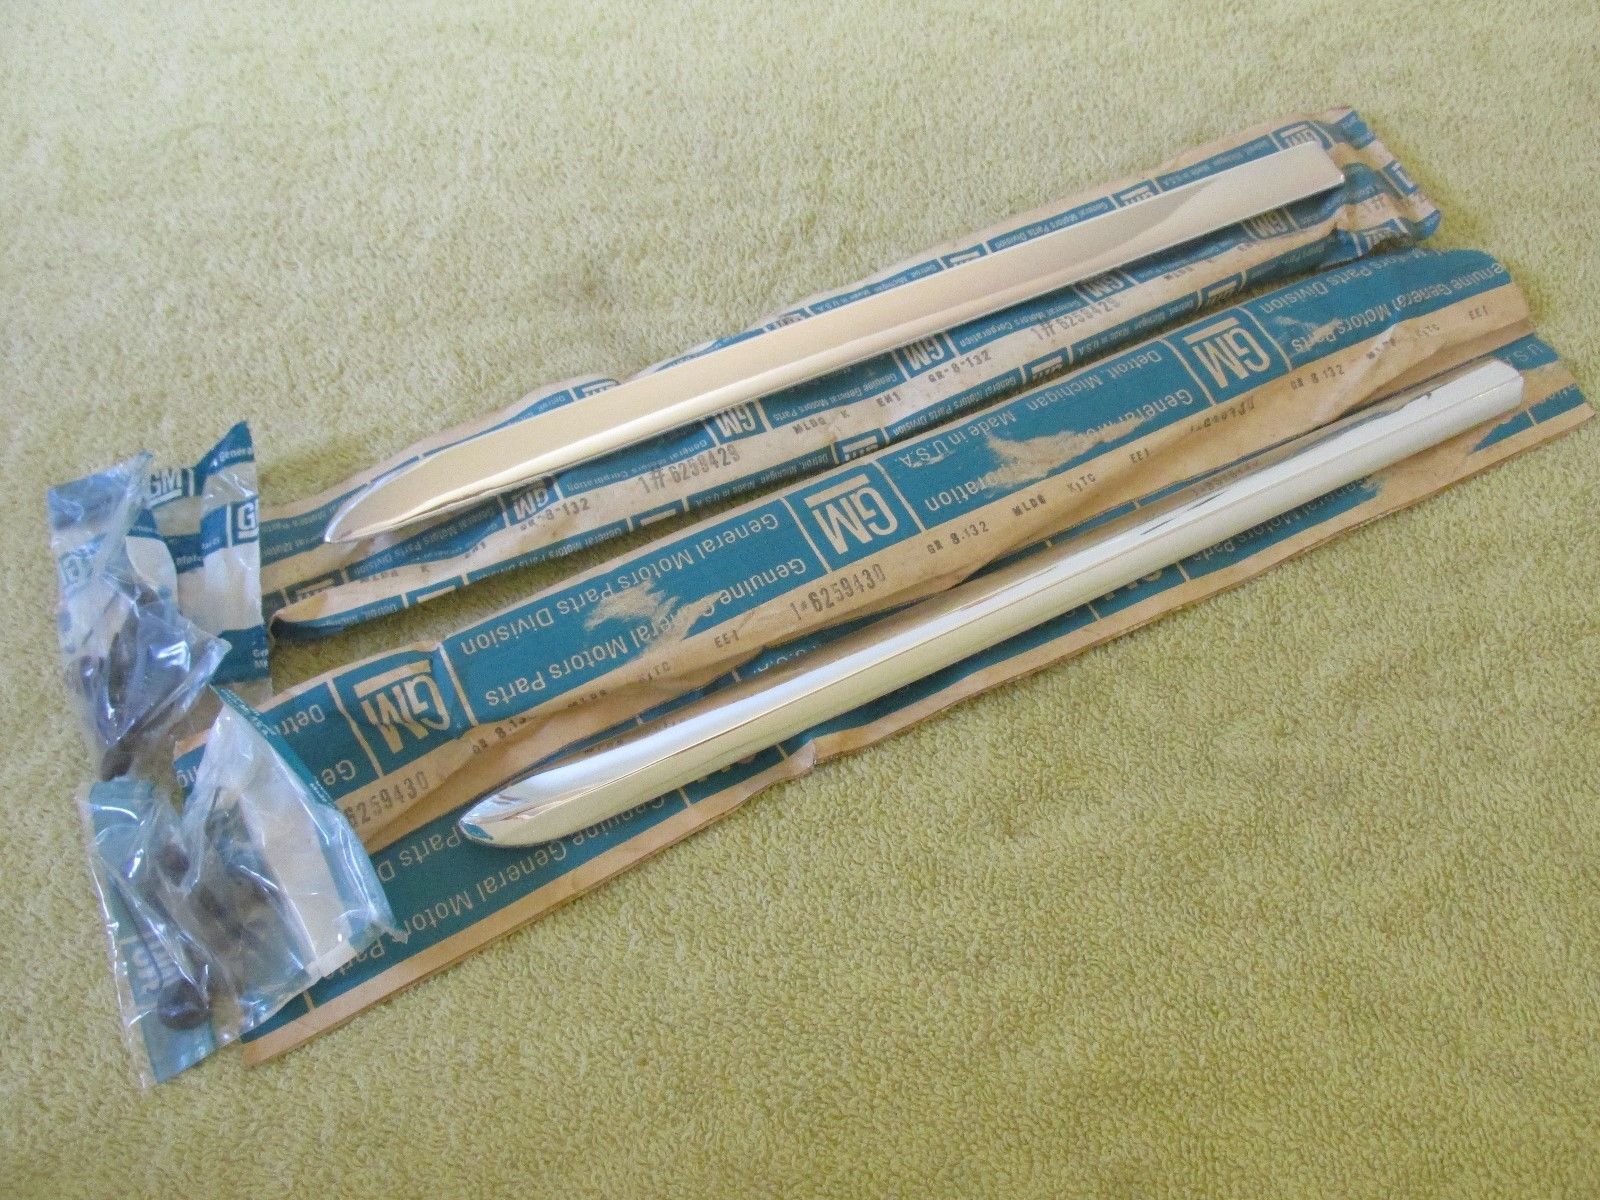
NOS Passenger side chrome trim arrived today! This goes on the door.


NOS Passenger side chrome trim arrived today! This goes on the door.
I am about a week overdue with this post, but here is the latest on the progress of re-doing the 4-speed shifter hump.
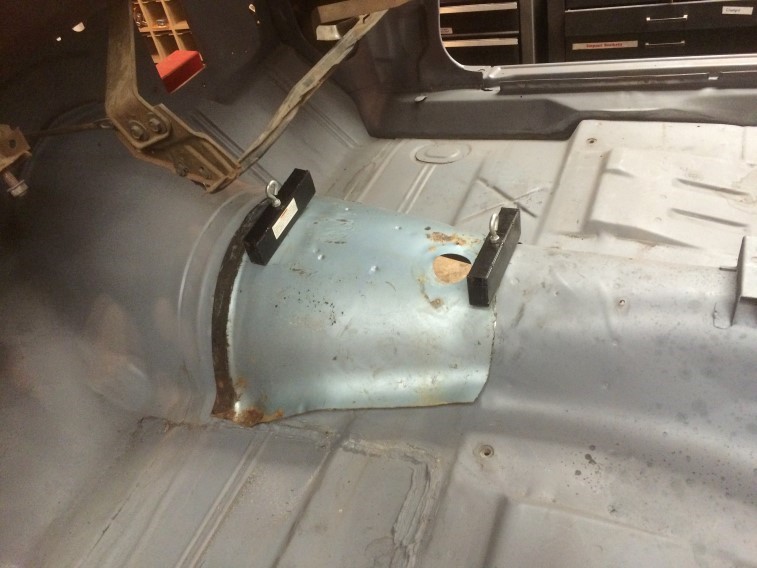
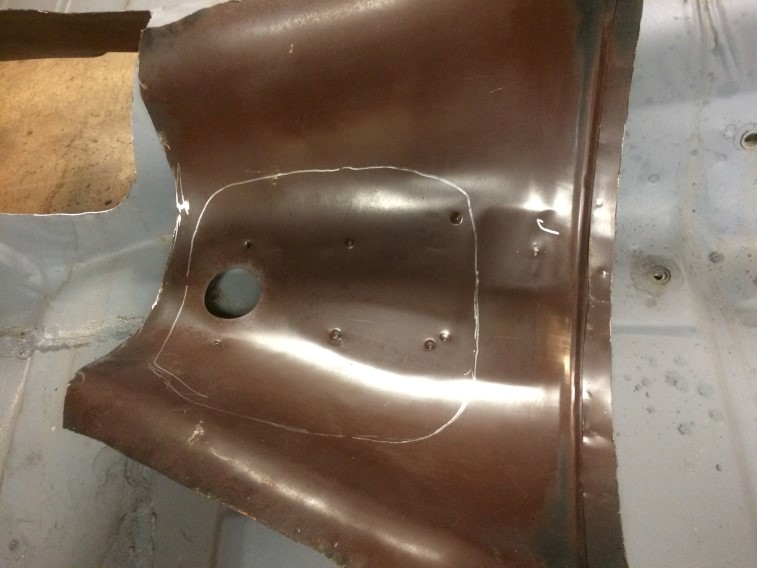
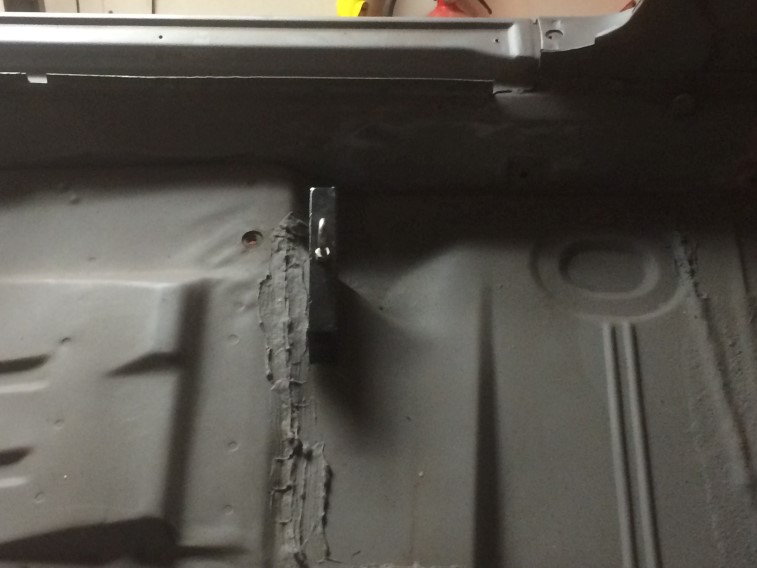
Started by using magnets to hold it in place while I traced the opening on the bottom of the patch:
Compared it to one of the original pieces I kept when cutting it the first time: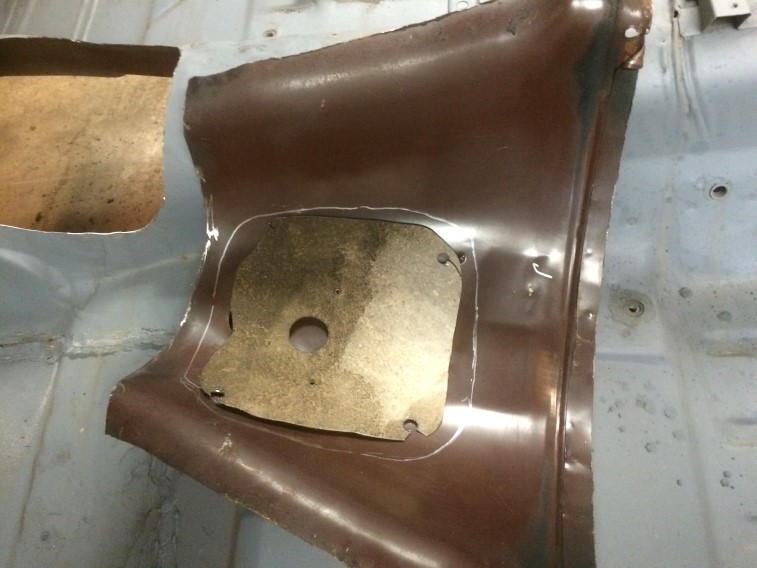
There is a lip that sticks out on the drivers side I needed to deal with. So the fun begins with measuring, marking, and trimming: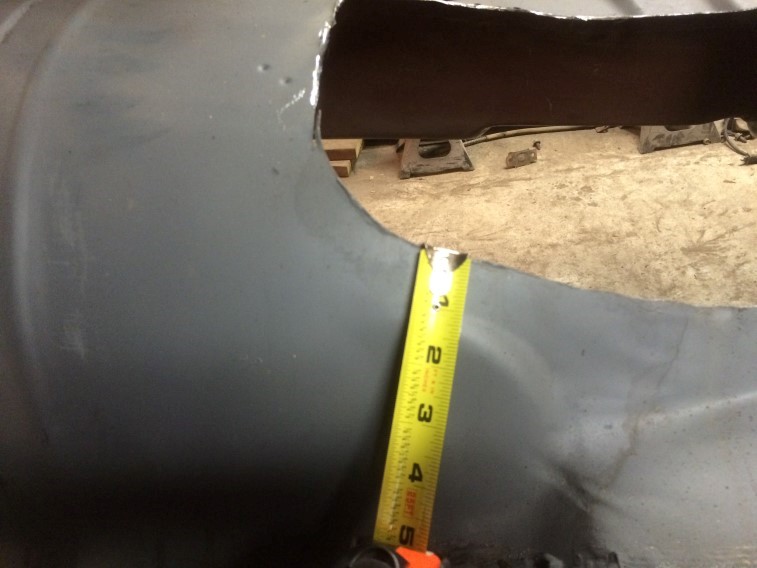
These metal marking pens are great!: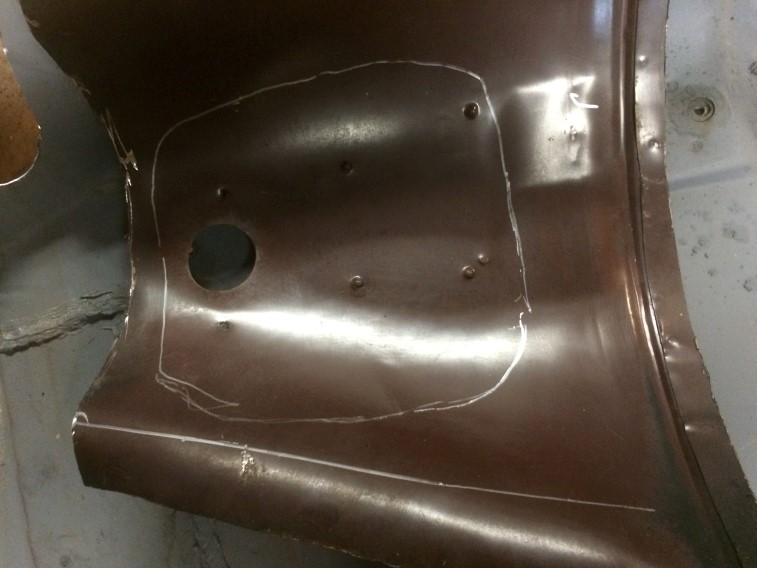
Then spent a lot of time measuring, marking, and trimming little-by-little: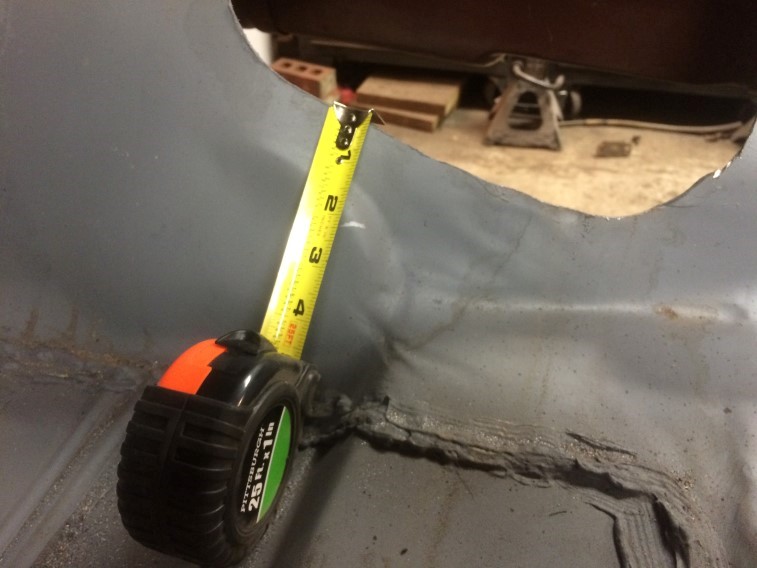
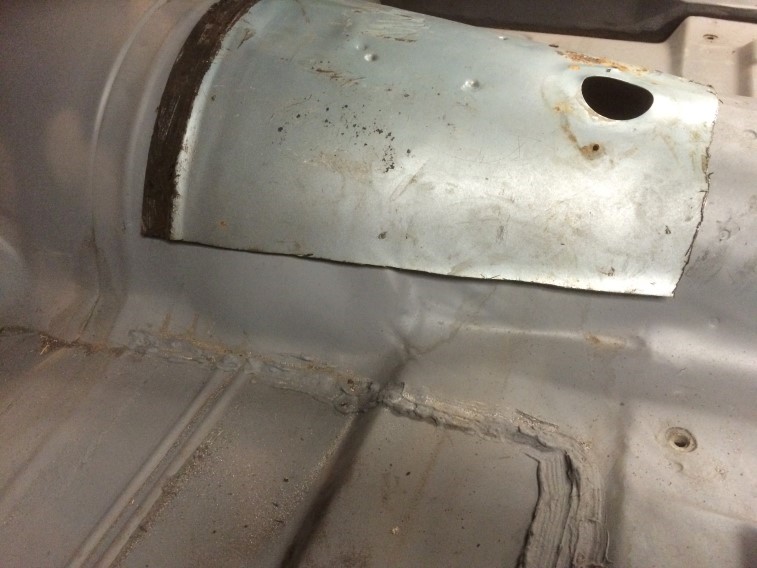
I was also marking on the shell the placement of the patch for a reference: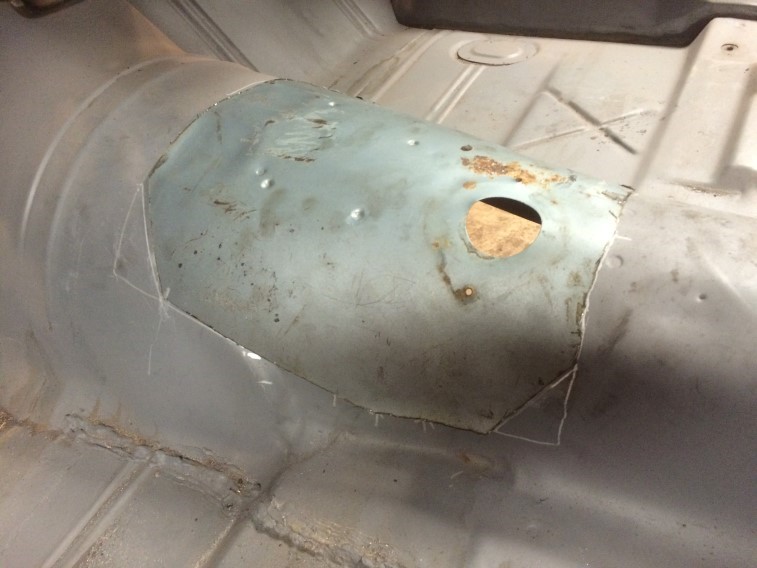
Then I was worried that I might have cut too much for the hump to rest on, so a quick trial fit: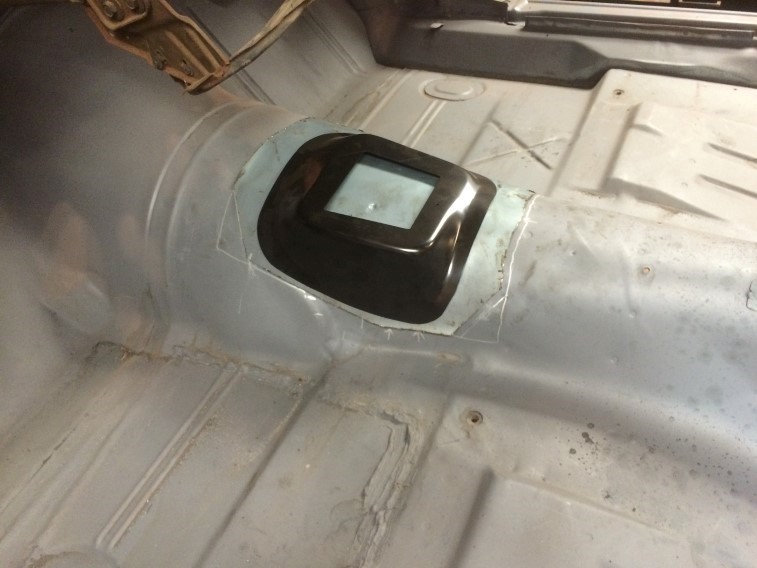
Then I had to bend and hammer the patch and floor so it was snug: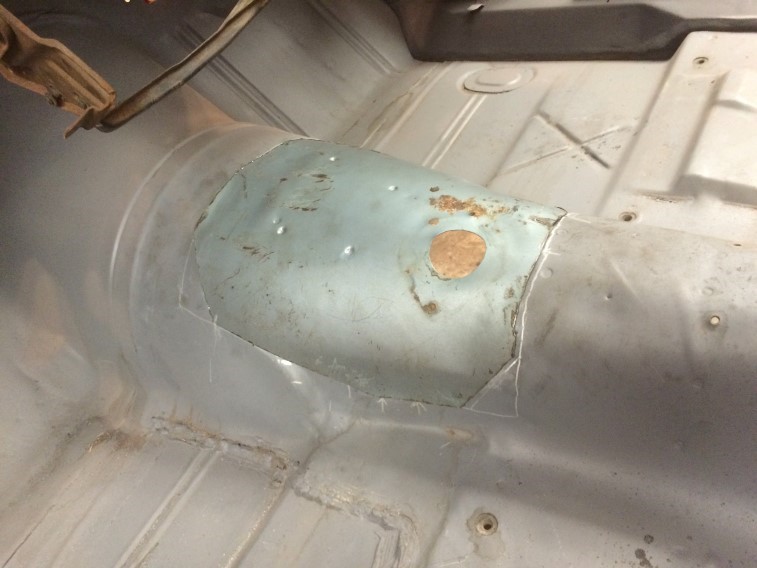
I determined that the magnets wouldn’t do the job, so the plan is to rivet it in place, then patch in the shifter hump – riveting that in then using body adhesive next Spring with the rivets to complete the job.
Now it is on to some pre-winter non-car projects, so the car work is on hold. There won’t be a lot to do over the winter, but a little here-and-there.
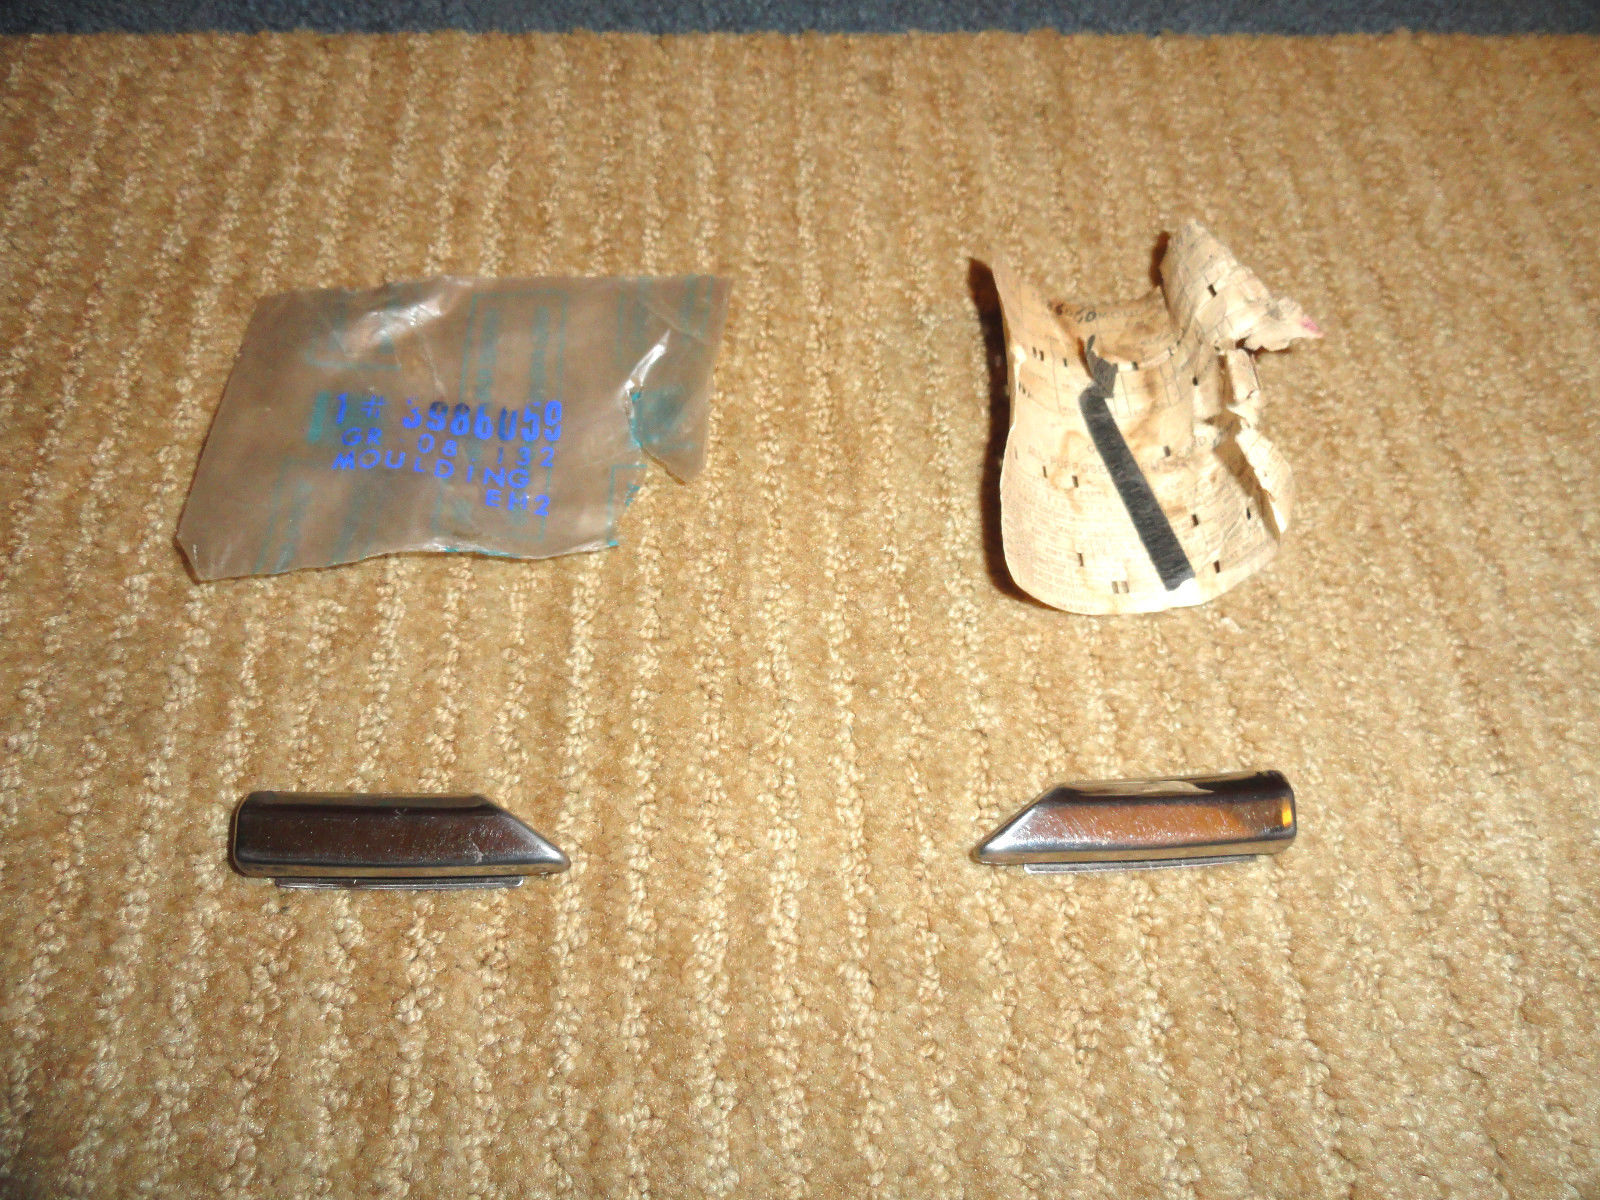
Received another package today! NOS front fender lower molding:
Made a little progress today…
Before:
I bit the bullet and cut away…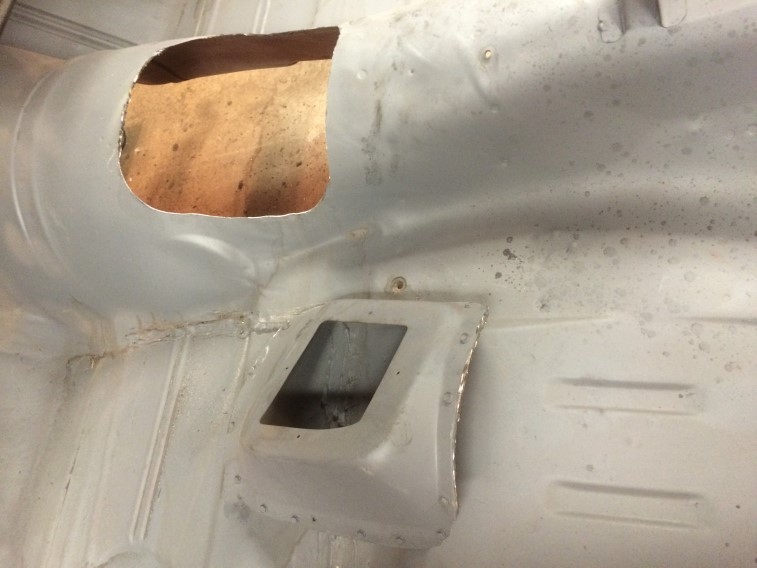
Then I cleaned-up the bottom side of the donor metal (using hot water and Purple Power)…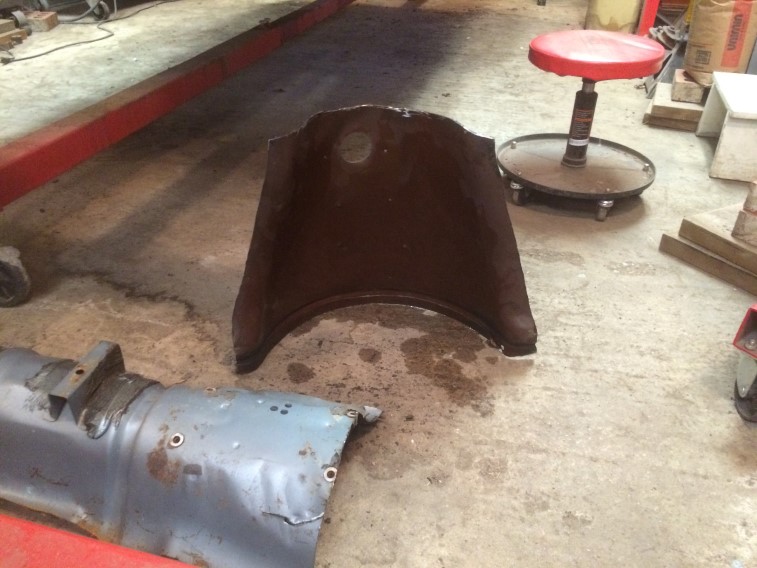
Tried to get an idea of how it will fit: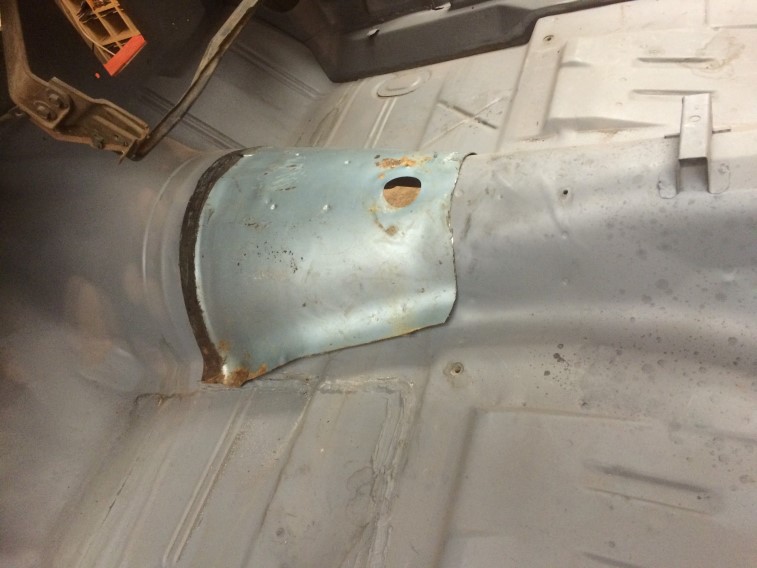
Tomorrow will be trimming the donor panel little-by-little until I am happy with the fit and if time permits, bonding it to the car!
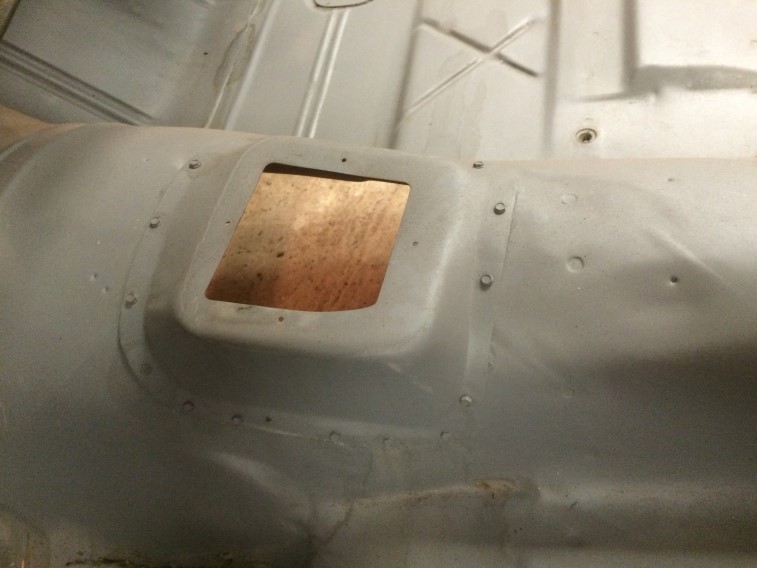
So I was referencing the measurements of my manual 4-speed shifter hump I installed from here and realized I was off by about an inch and need to re-do my work. Today was spent analyzing, measuring and planning next steps. This is the piece that the shifter sticks through that I need to redo:
I re-attached the bracing and used an older console to cross-reference since I am wanting it to be as close to the stock location as possible and will be using a similar console: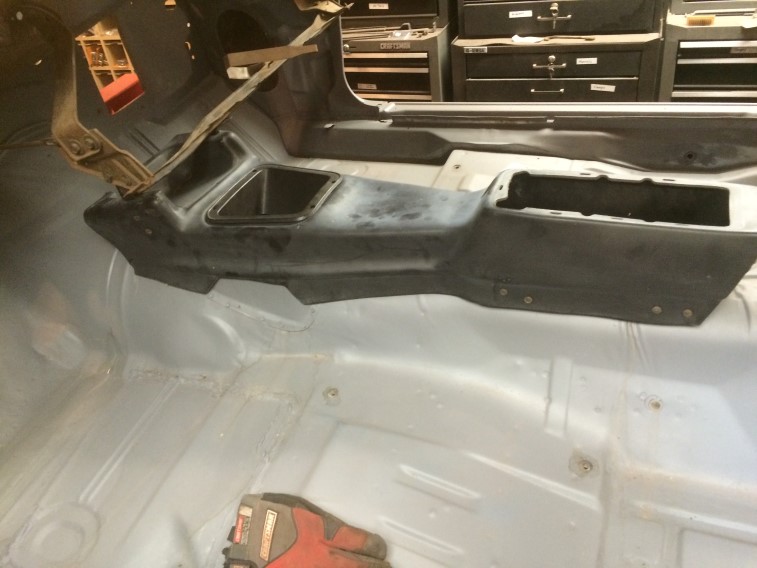
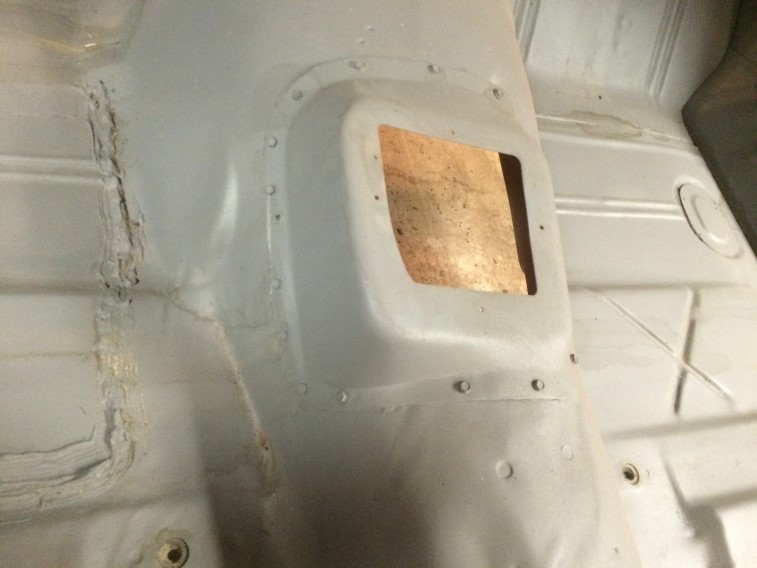
I am actually impressed that I got it this close on my first try, but referencing the picture and measurements in the above link, I need to adjust the location which will mean cutting it out, patching part of the hole, and re-attaching a new shifter-hump.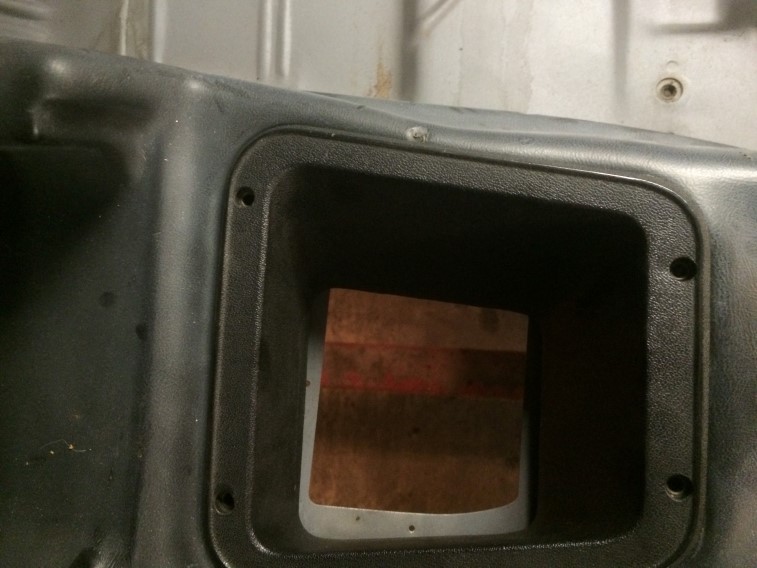
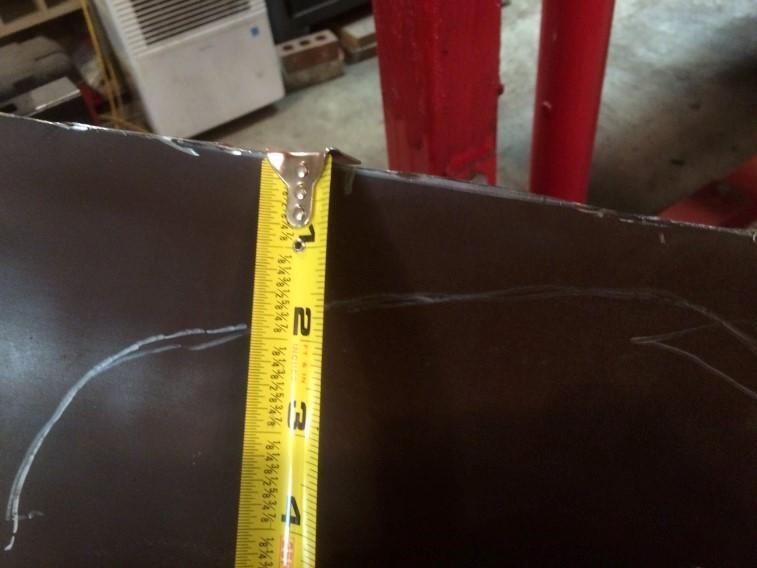
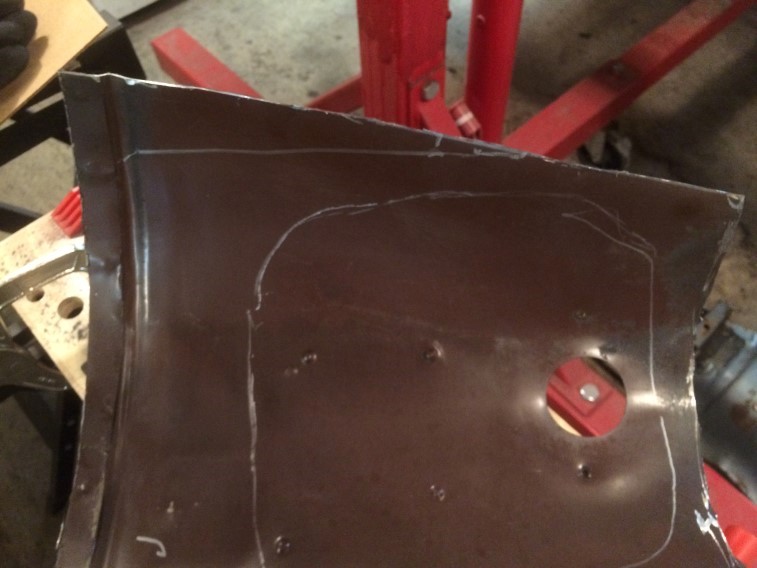
I have accumulated some donor parts. Not the top piece in brown is the original section I cut out the first time (on the blue piece):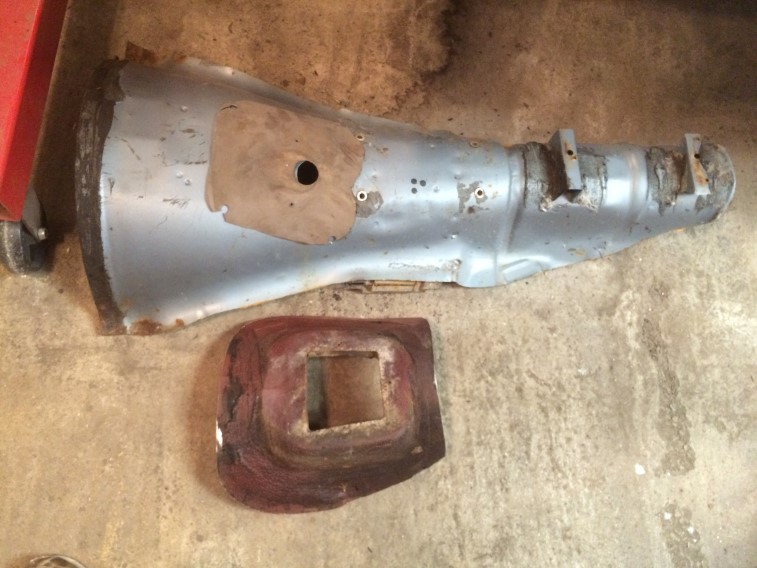
Unfortunately, the brace is closer than I would like – this piece looks to be from a firebird, but close enough… (on a Camaro, the brace is further back by comparing to my patch panel)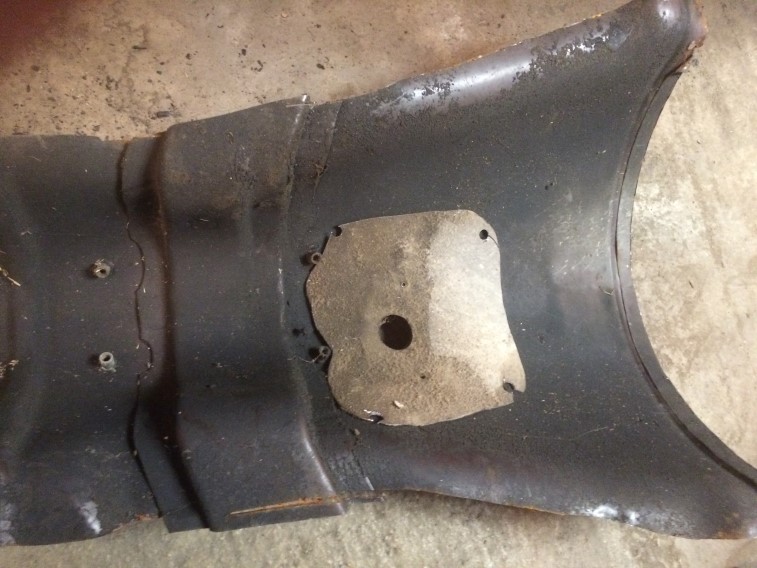
After some thinking and experimenting and a failed attempt to remove the brace, I ended up cutting it as close to the brace as possible: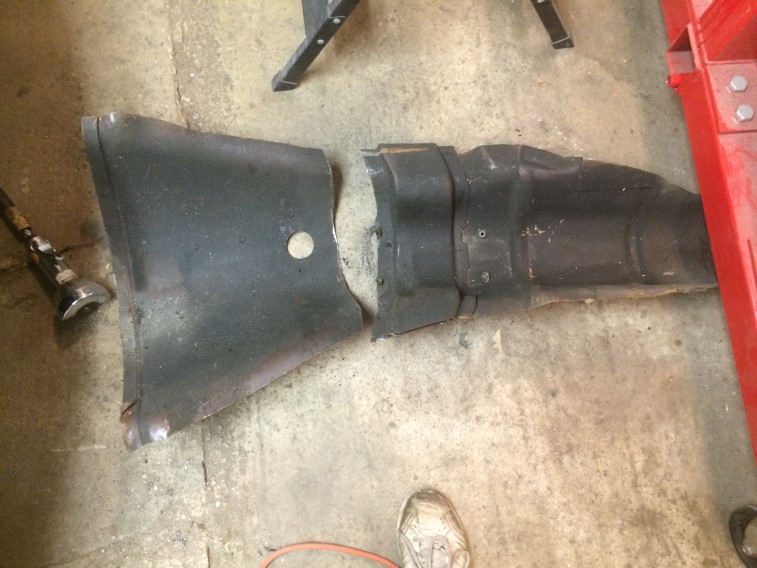
Using my other donor piece as a mold, the larger piece I will be working with appears to be flexible enough that I might be able to use it as a patch piece with a little persuasion…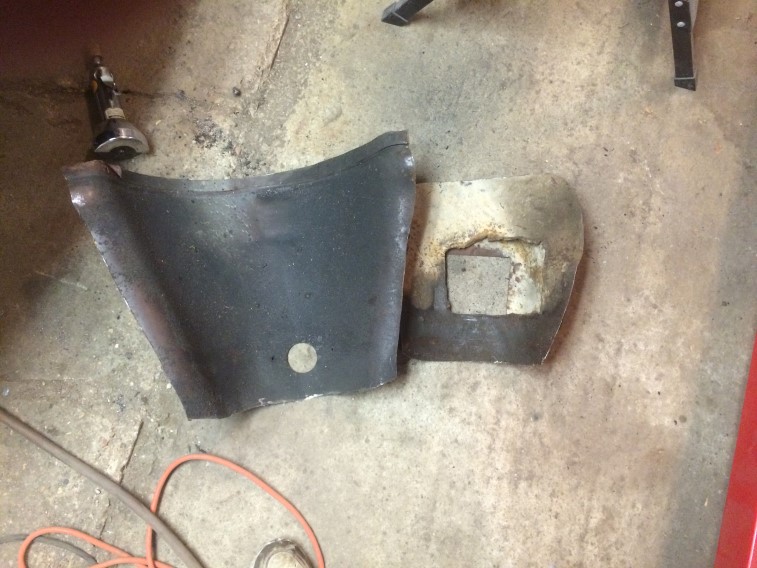
More to come… Stay tuned for more…
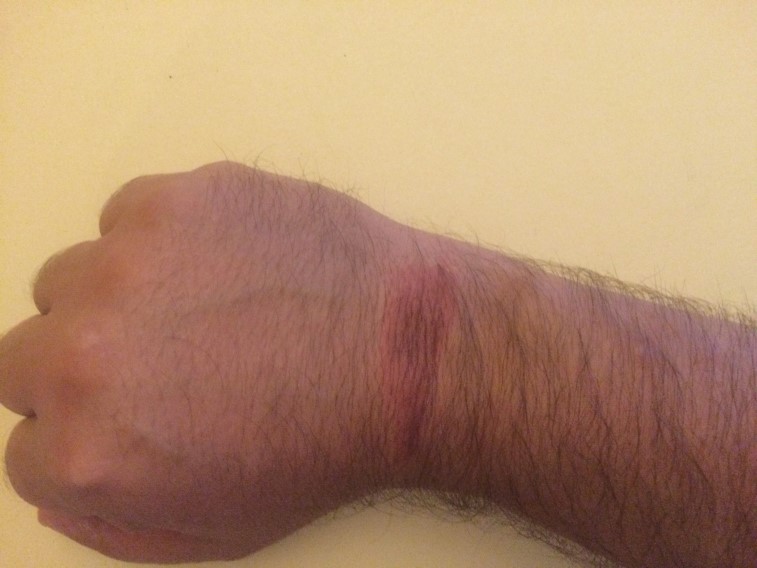
Saturday was spent wiping down the floor with wax & grease remover… The stuff left me with a small burn – ouch!…
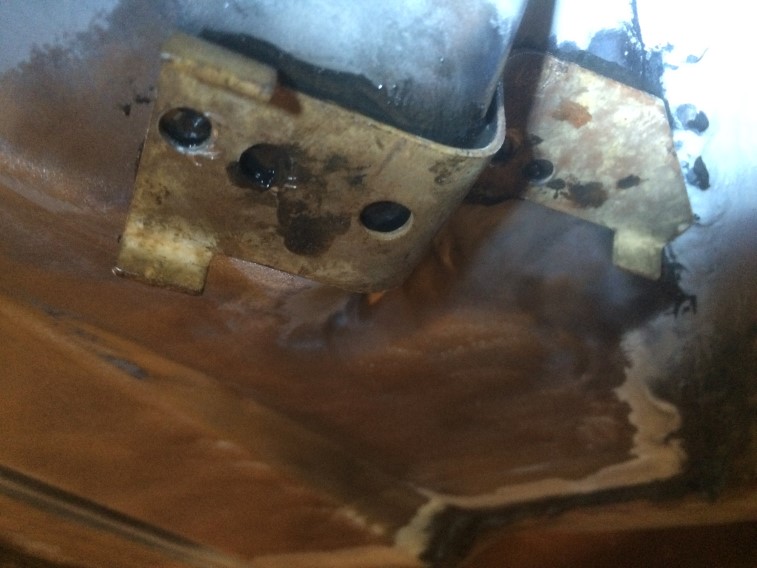
Then I spent most of the morning figuring out how I was going to clamp the bracket to the floor. Since I am using 3M panel bonding adhesive, I recalled a review where the guy suggested using magnets. So after unsuccessfully using various welding magnets, off to Harbor Freight I went (not always have your coupons ready). I bought a couple of 150 lb lifting capacity magnets: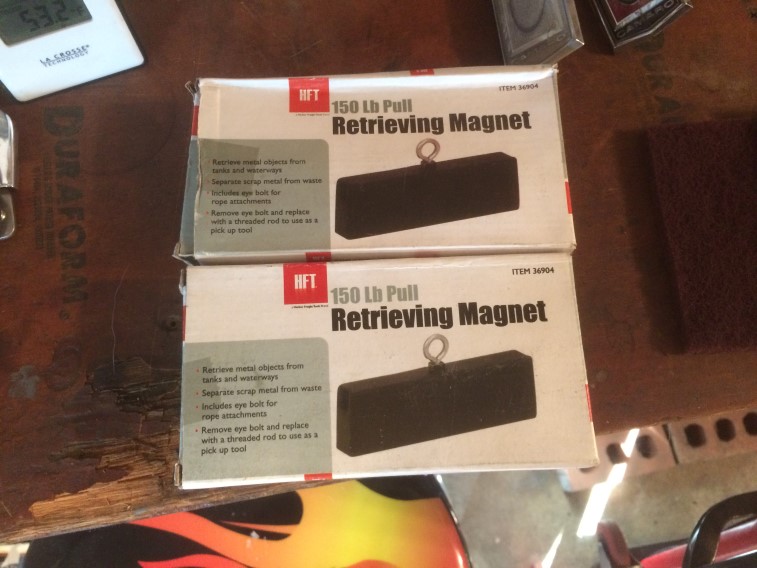
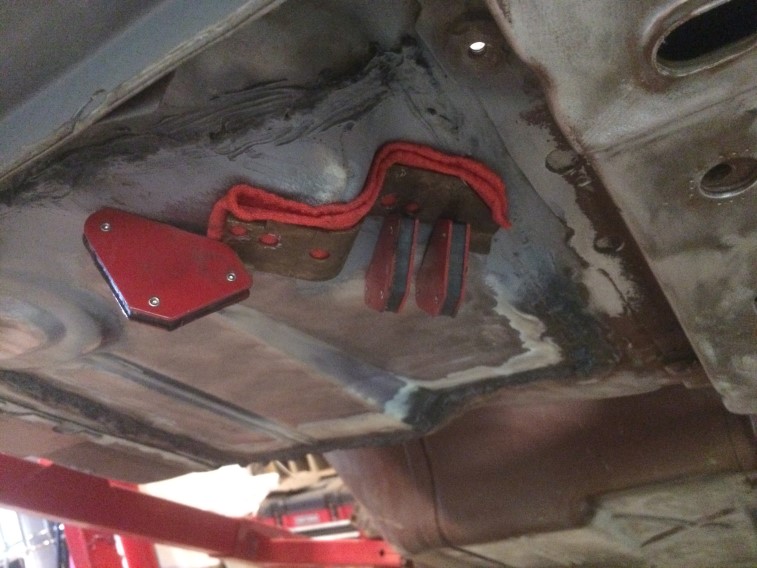
By themselves, no problem… I wanted to try to test with something between the magnet and bracket (for the adhesive)… So I played around a little: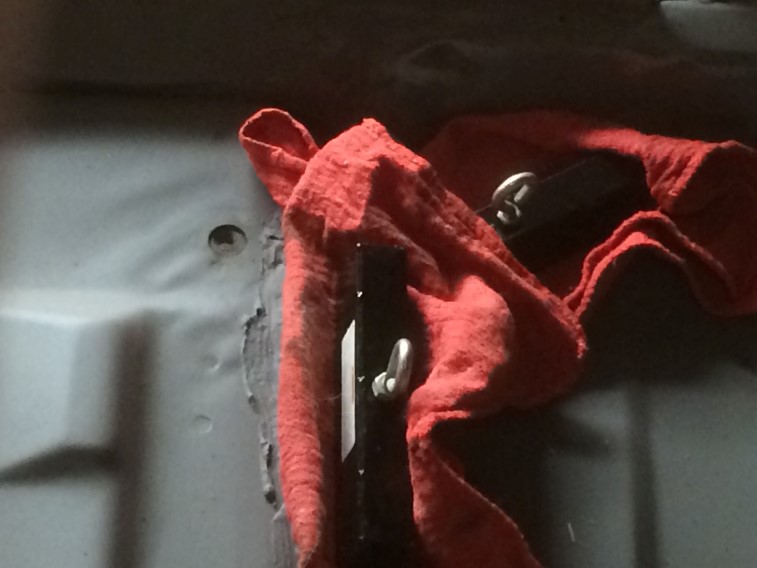
You can see part of the difficulty in that it isn’t a flat surface: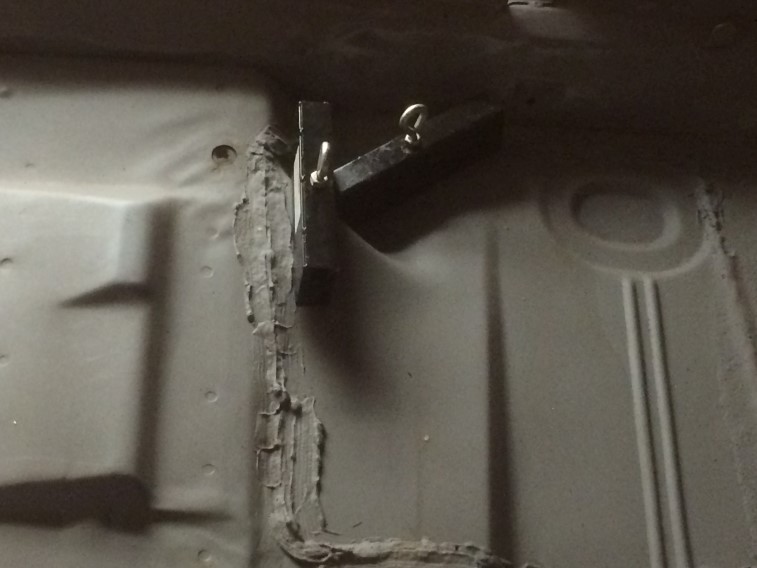
Not bad, but NOT strong either…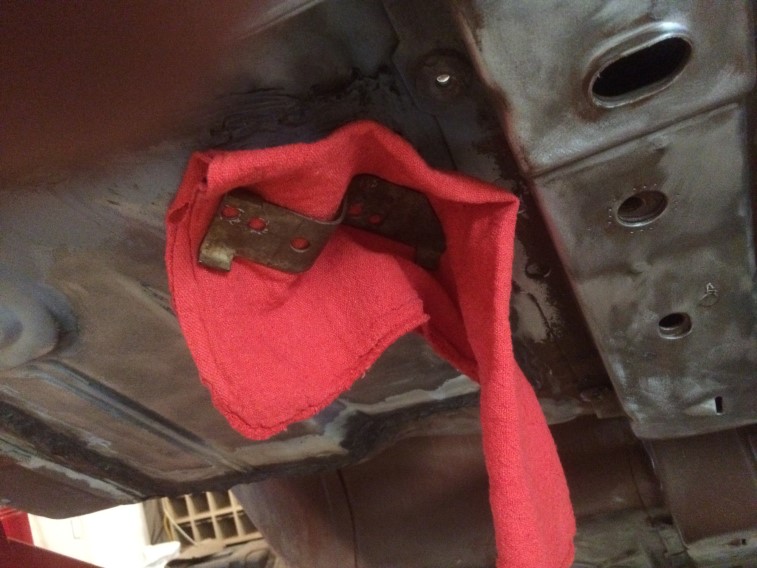
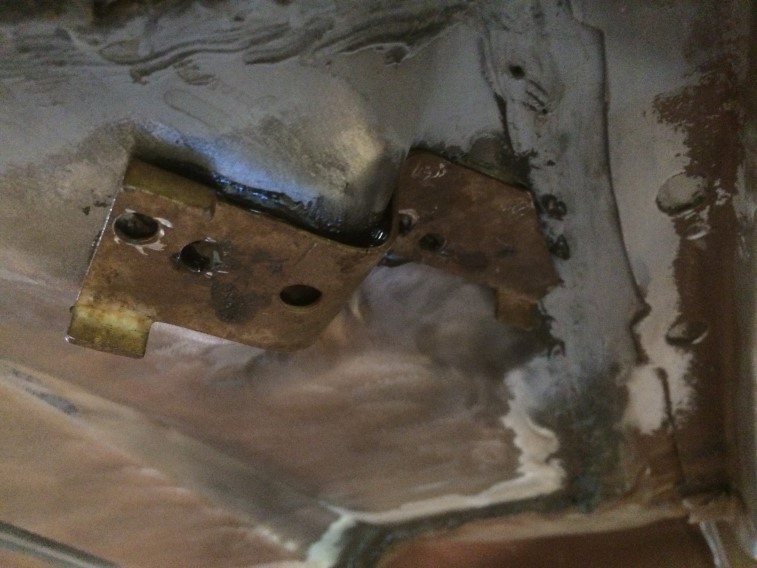
This is the bracket: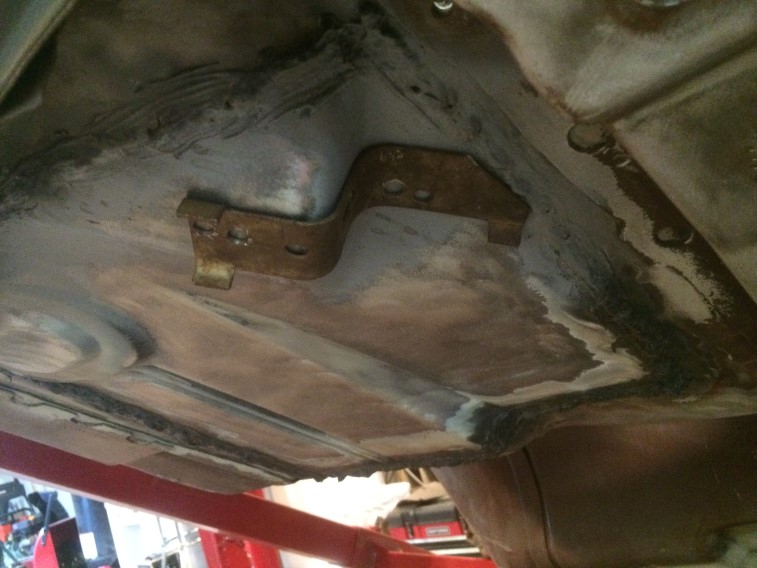
Still experimenting: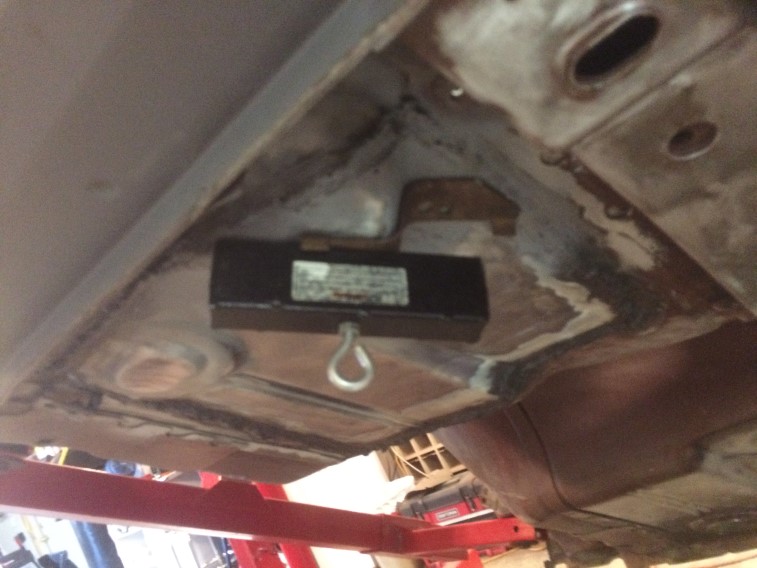
Then I figured I would cut up the rag to loose some weight: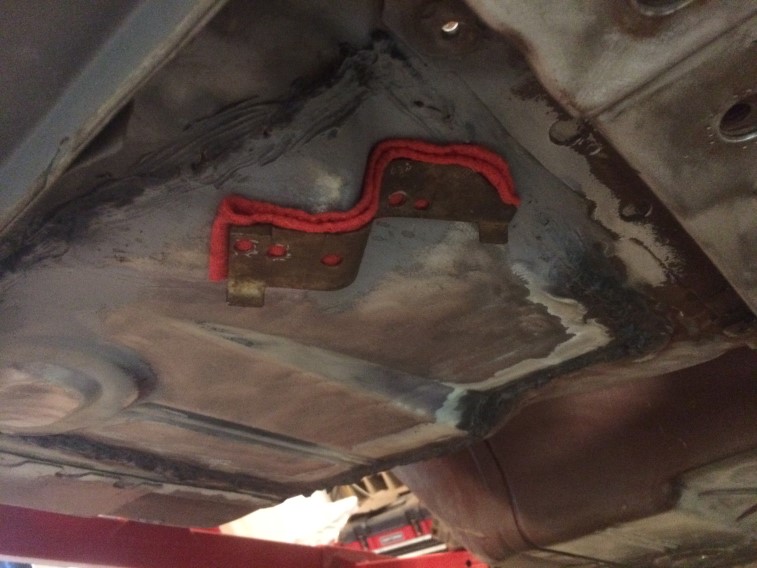
So after a lunch break, I played with some scrap metal after applying the adhesive between the 2 pieces which was fairly strong: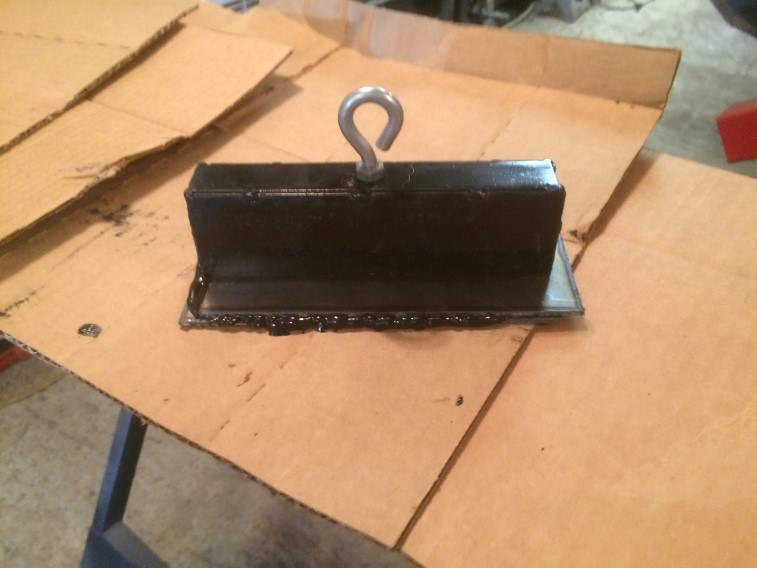
This is the adhesive gun… They suggest leaving it and removing the tip after it is dried. Should be able to use within 2 weeks after opening.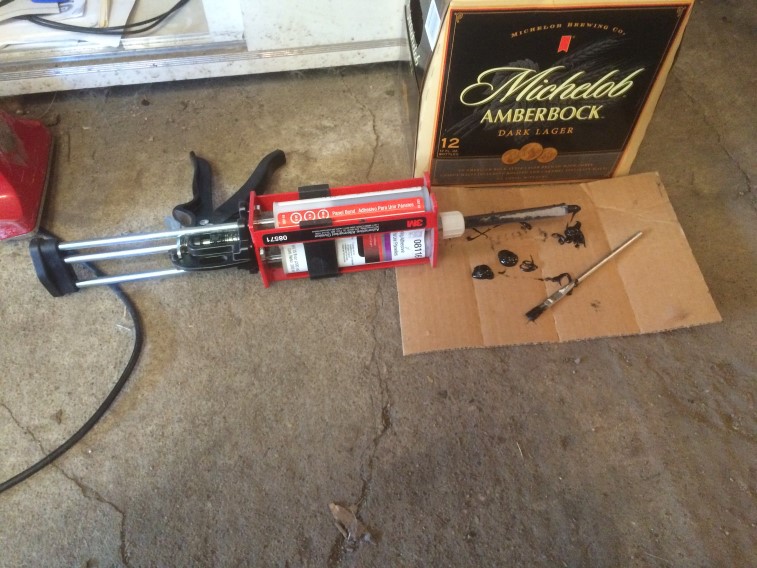
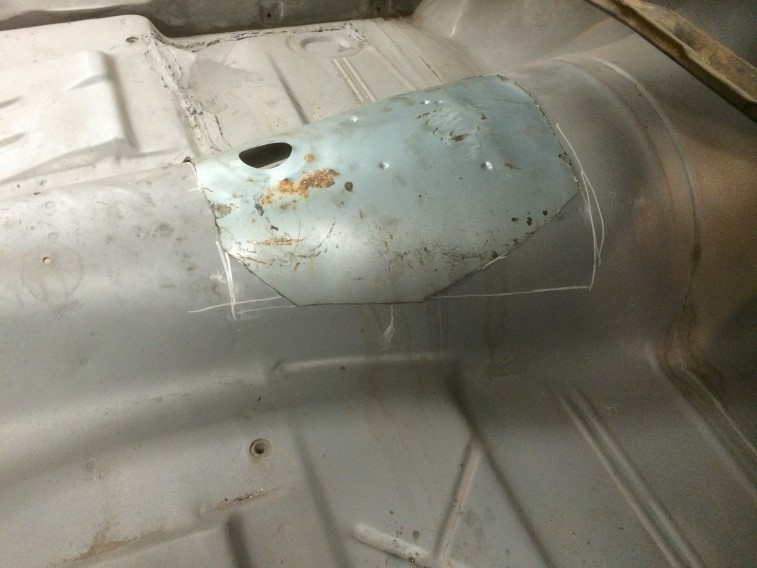
Settled on the 2 magnets on top. After applying the adhesive: (the holes are from when I removed it from the original floor. There is another hold in the middle for the cable to go through which I will have to drill out).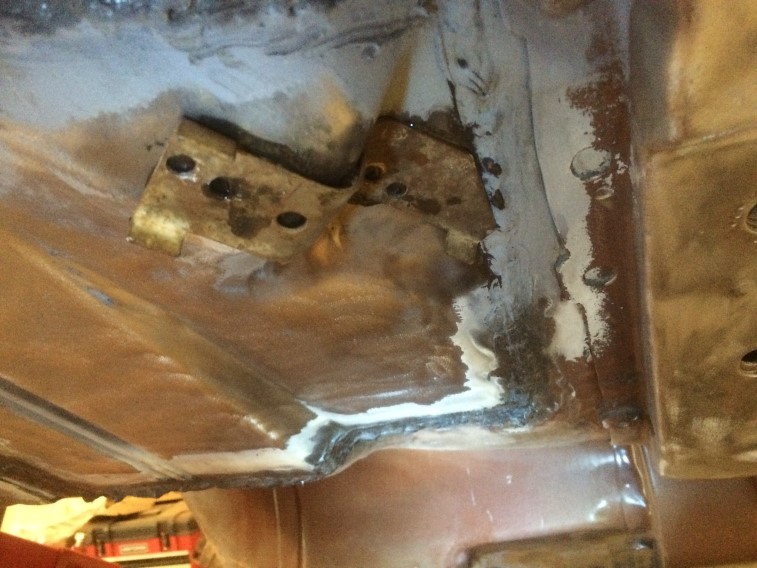
This is how much I used for those 2 small pieces. Luckily I still have 2 more tubes of adhesive!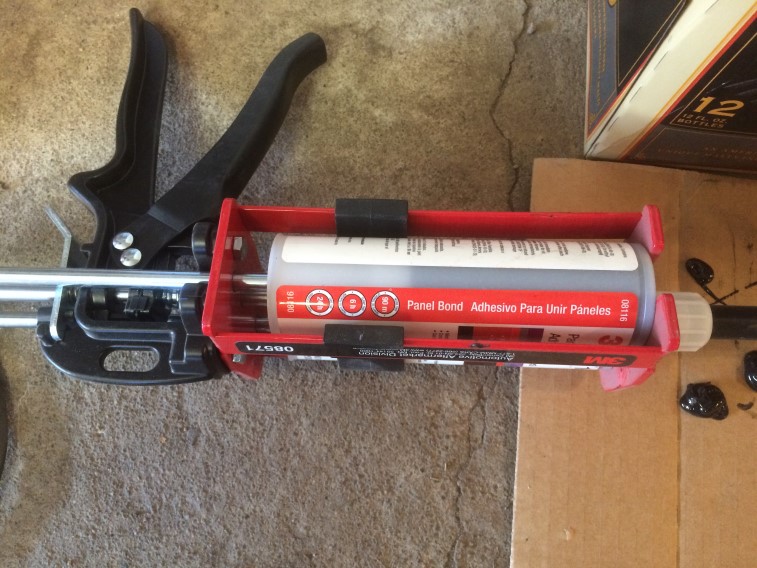
Need to leave it clamped for 6 hours and after 24 hours it should be good to go!
A pair of NOS original GM chrome fender trim:
Still expecting something else this week… stay tuned!
Did a little more with the trunk tonight. I did get the rest of it cleaned the other night and started to strip it tonight. I decided I am going to scuff the rest and use POR-15 Floor & Trunk kit on the trunk next Summer when I finish the bottom floor.
The rust has pitted the metal, but hasn’t rusted through so I won’t need to replace the trunk. The drivers toe area was kind of like this and I used the same thing on that area with good results.
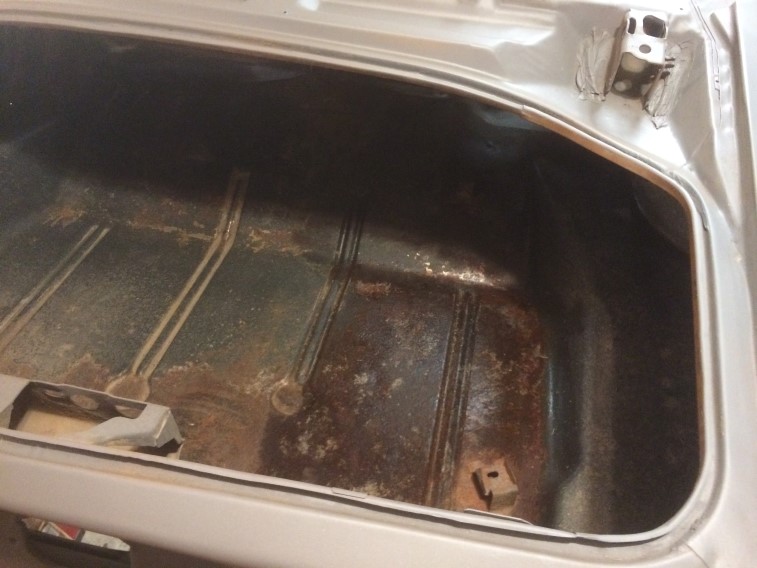
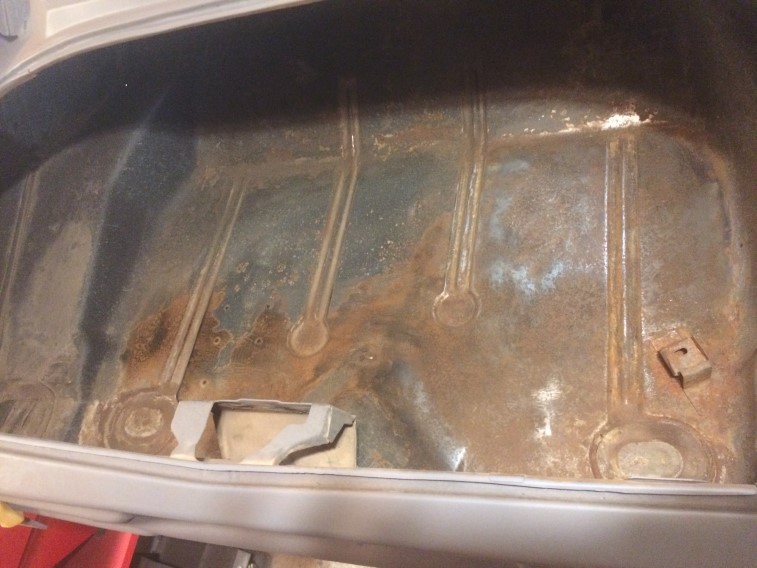
The street side of the car floor is now either stripped or scuffed (areas I couldn’t reach with stripping tools). Next will be the inside of the trunk, then a little more body work. I started cleaning the trunk before starting to strip\scuff it.
Rear trunk area:
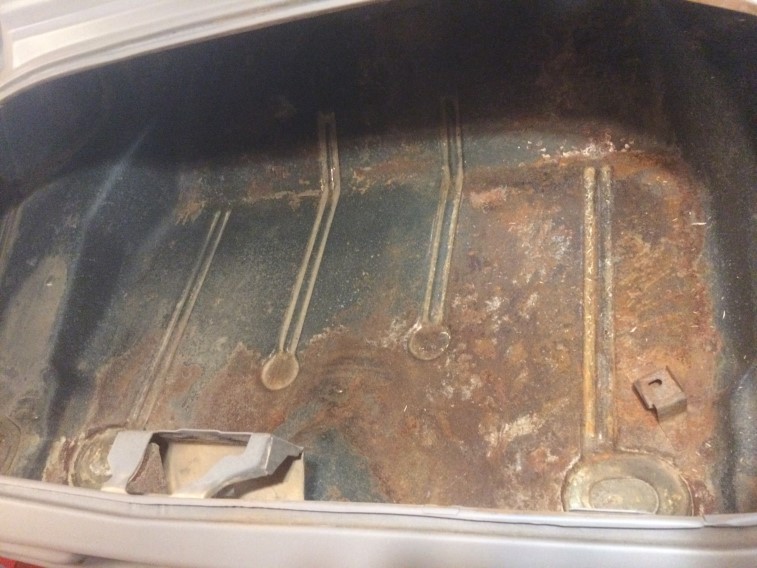
Inside trunk – left side (driver’s side) cleaned. There is a little surface rust, but doesn’t appear to be too bad – will know more one it is stripped.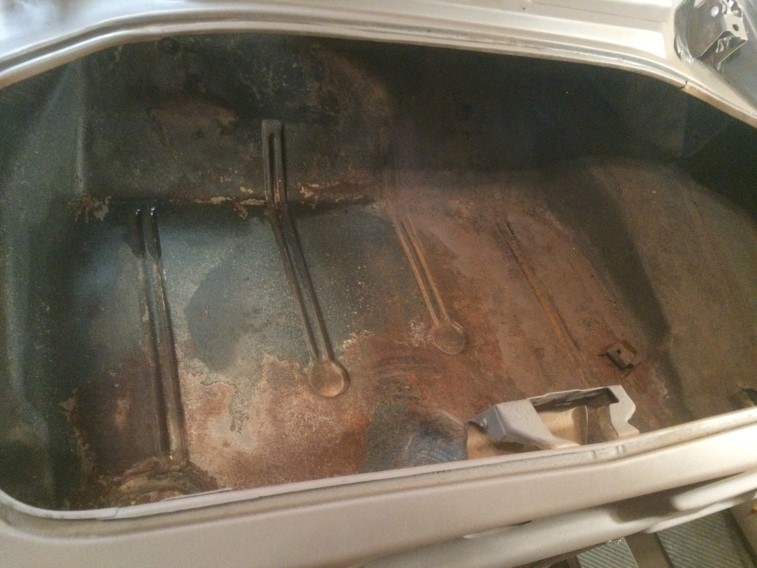
Went to Harbor Freight for some supplies – rivets.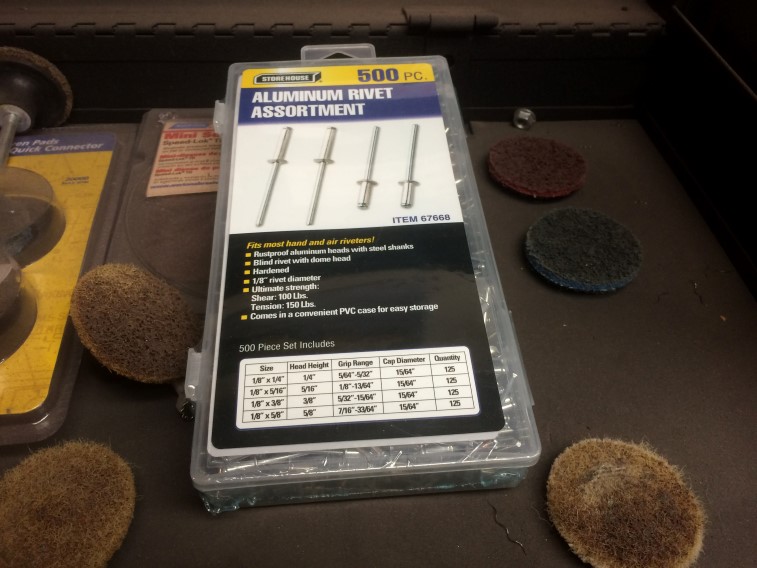
Also bought some more 3M body adhesive for a couple of non-structural areas instead on welding.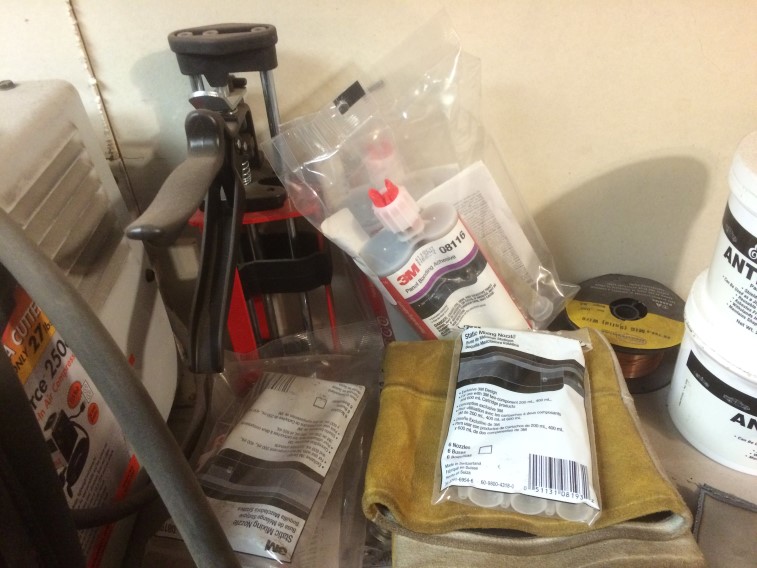
Will be taking the week after this (the last full week in October) off to work on the car – will see how far I get. Ideally I would get out there a little bit during this next week – will see!
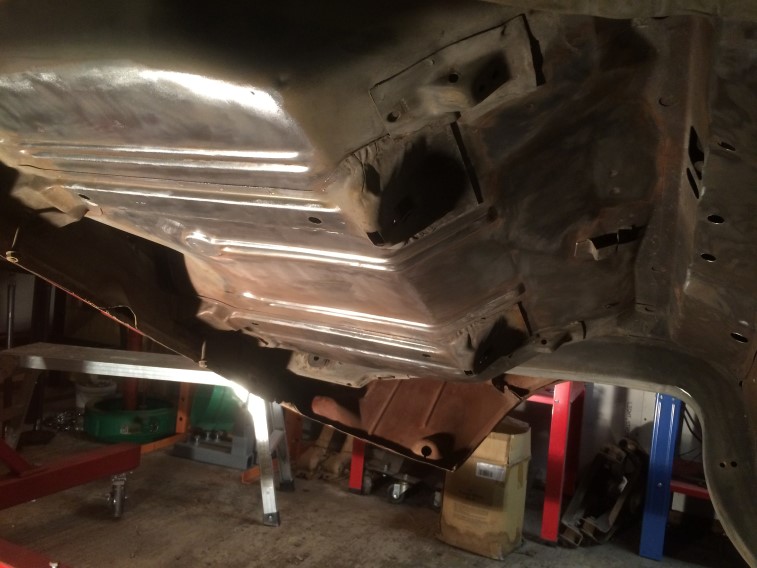
Worked on the back half of the floor today.
Before pic (rear firewall where the rear seat \ back axle is):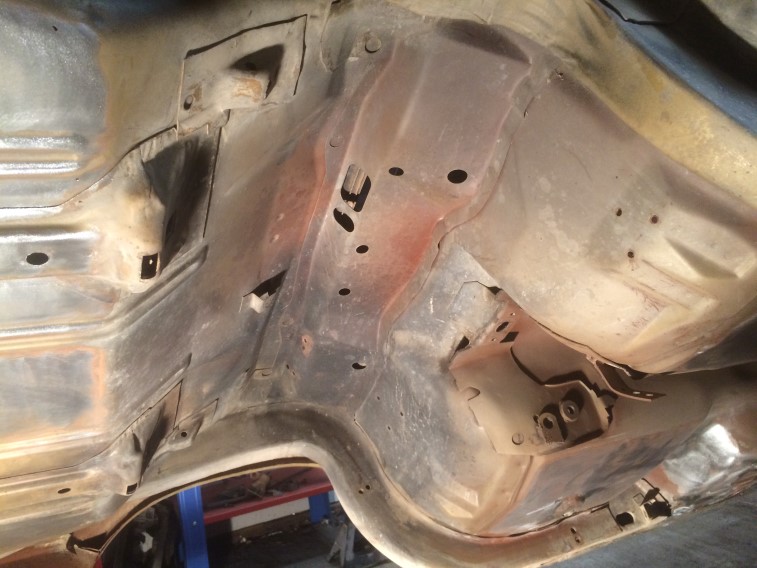
After: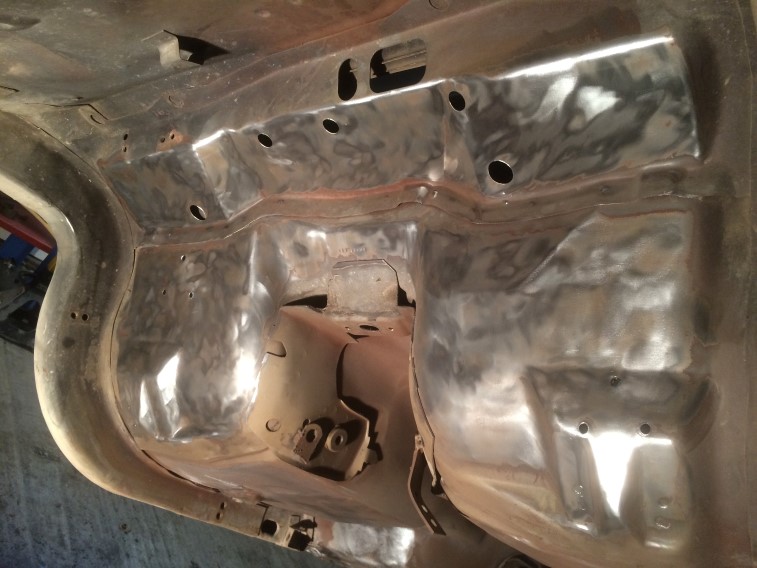
Rear Trunk before: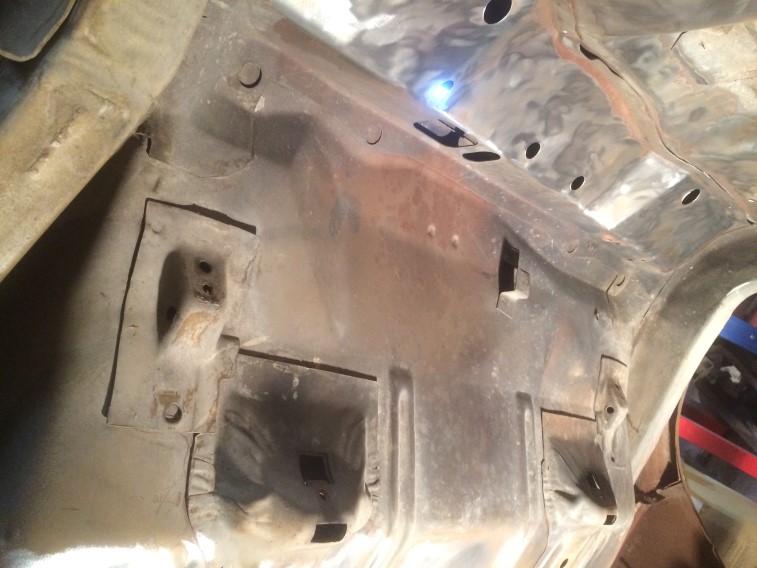
After: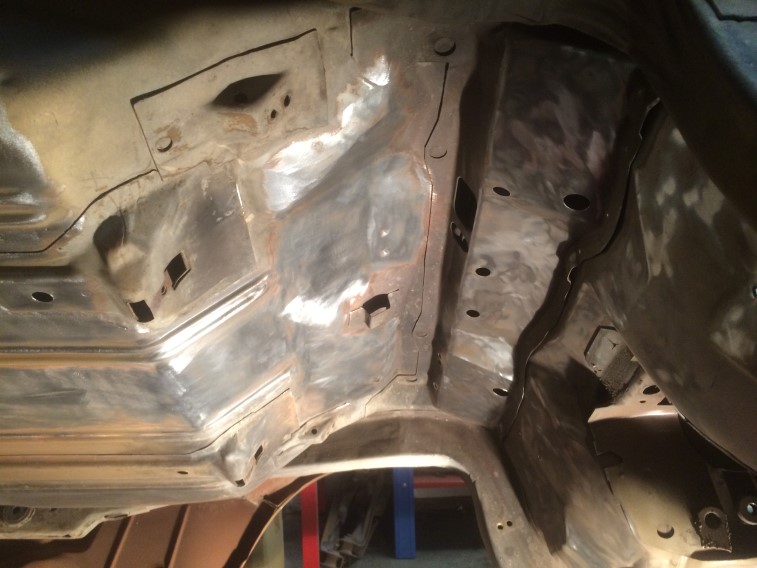
I still have a little more to do on the trunk bottom, then I will scuff a few areas I couldn’t reach with the tools – hopefully next weekend.