2016 Daytona 500 Prep

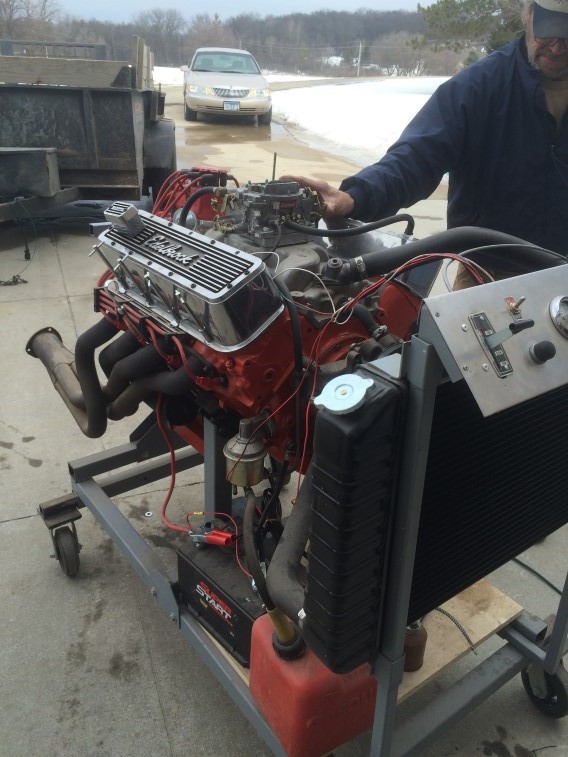
So I have not been working in the garage lately as I have been helping a friend prepare for a Daytona 500 party which will be tomorrow.  Hope to get back to working on the Camaro next weekend.  When they announce “Gentlemen Start Your Engines”, we fire up my 427 BB.  We will start it before the party so it is ready to go and warmed up.  I shot some videos and pics from today:

Picture of my 427 Chevy Big Block:

IMG_1839

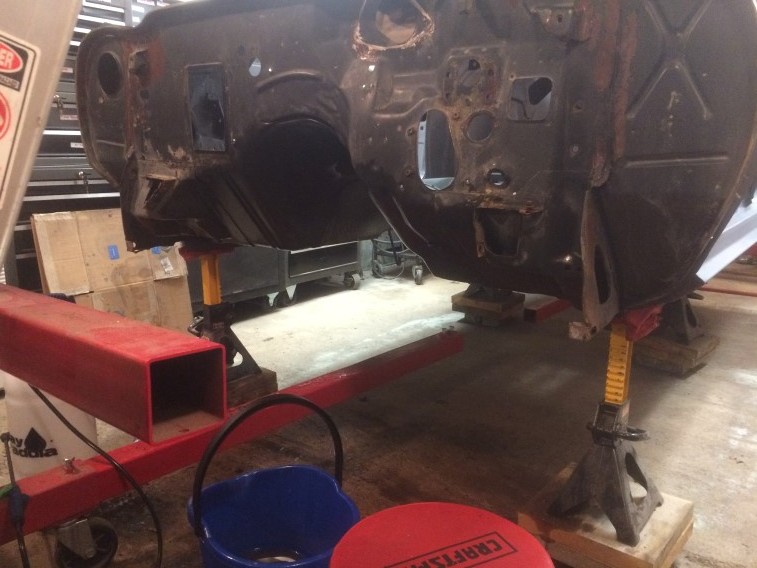
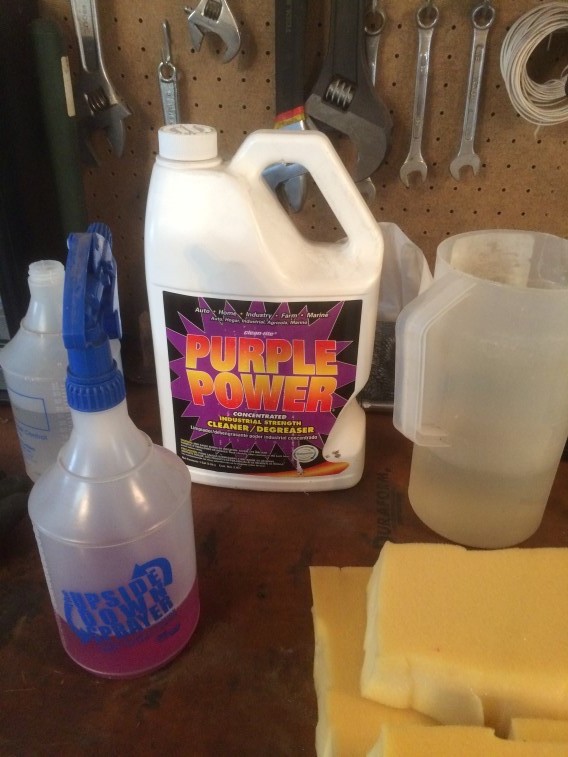
This is my buddies garage where he keeps his Chevelle and where we have bee cleaning:IMG_1836

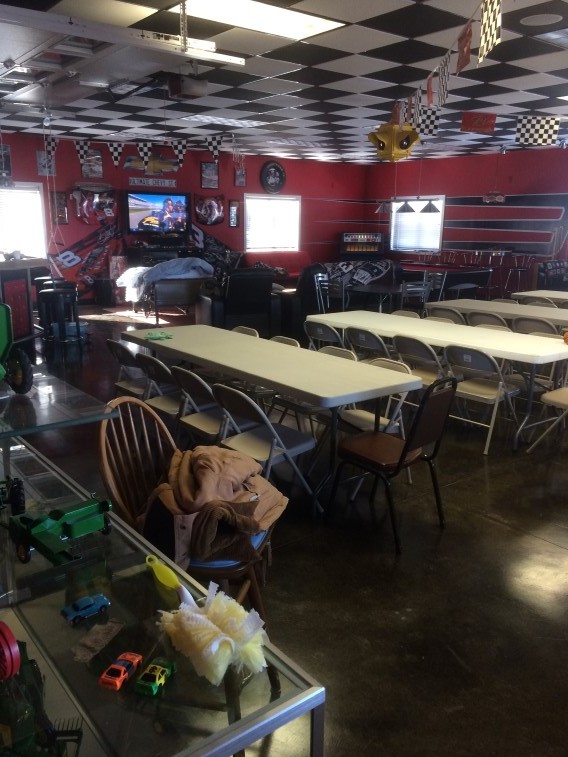
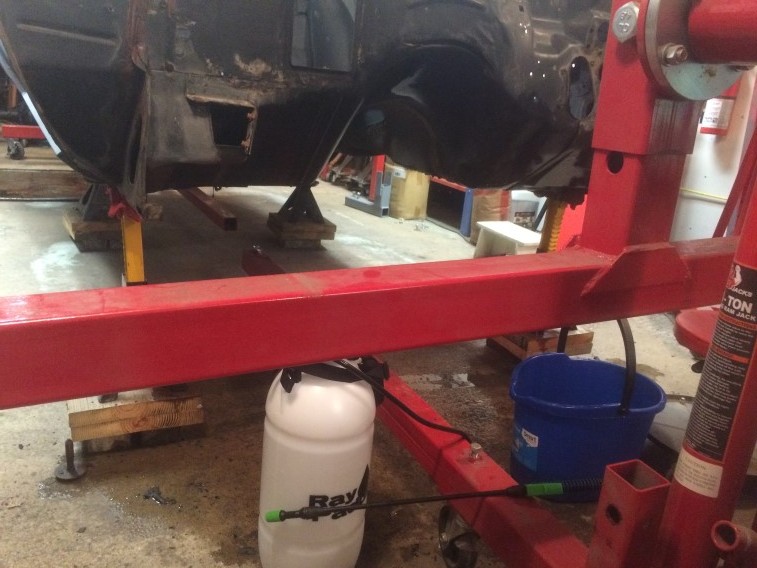
This is connected to the house and other garage and is where he works on stuff (Chevelle is to the left) – notice the lift:IMG_1837

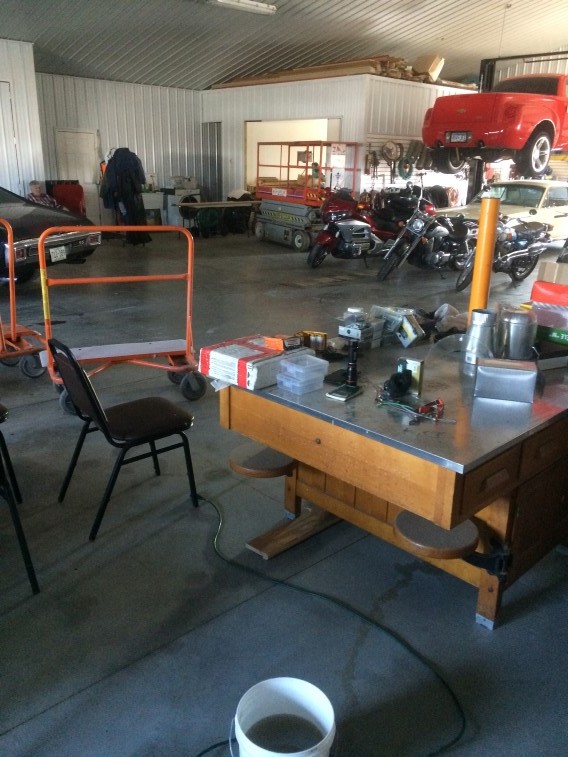
Videos of engine from today (Turn the sound up):

https://www.youtube.com/watch?v=ggC2nO3C1wk

https://www.youtube.com/watch?v=mKGsQcpFMzc

https://www.youtube.com/watch?v=xP_DhIqEAX0

https://www.youtube.com/watch?v=1zELN_wF1jQ

Firewall – 2/3/2016

Washed the Arizona sand and grime off of the lower toe area of the firewall.  I also wanted to confirm there wasn’t any under coating on this area which there wasn’t.  Should only be on the bottom of the car.  Got some dirt off – dirty water!  I used a pump sprayer and bucket with a brush.

IMG_1830 IMG_1828 IMG_1829

The next step will be to use PurplePower on it before wax & grease remover.  Then I can strip this area before re-mounting it on the rotisserie to work on the bottom of the car.  I also hope to work on the trunk before re-mounting it on the rotisserie.

Inner Fenders

Picked up a pair of OEM inner fenders today.  They were about an hour away and I was able to purchase them for $70 – a fraction of the cost of a repo fender.  They were sand blasted about 5 years ago, so I will have them sand blasted again and Epoxy primed by the same resource that did my 12-bolt.
IMG_1815

The broken piece is what I had to work with.  I didn’t feel like trying to weld it back on.
IMG_1819

There is one bad spot – I have not yet decided if I will patch it or not.IMG_1816

There is also a small crack that I may weld up.IMG_1817

The black one looked to be in ok shape, but I am not sure if it was a repo or not – it came with the car.  Of course the one I need to fix up is the one I don’t have an extra of.IMG_1818

Firewall – 1/18/2016

Spent a little time in the garage tonight.  Wiped down the firewall and determined I don’t need to use any more Purple Power on it.  There is still some seam sealer in a few spots that I want to remove and a couple areas to use some paint thinner on before stripping it down to bare metal.  There is still the bottom part of the firewall to tackle where it transitions to the floor board.  I will have to tackle that at some point and I am trying to decide if I want to do that with it on the rotisserie or while it is off.  Latest pic after wiping it down after the Purple Power:

IMG_1809

Firewall – 1/17/2016

ok – so I have been working on cleaning the firewall before I strip it down to bare metal.  I have used a combination of wax & grease remover, paint thinner, and a heat gun with a scraper.  Made some progress on the passenger side:

IMG_1800

Was able to remove everything from the cowl area.  There was still some glue from the windshield to remove:IMG_1801

After using some paint thinner and scraper – also removed some of the paint down to the primer:IMG_1805

The grease was so bad, I ended up using some Purple Power.  This is non-flammable so was able to use it with the heater going in the garage.  Not when I was using the paint thinner, it was warm enough to turn off the heater long enough for the fumes to dissipate.  I used a mixture of 2 parts water to 1 part purple power.  Also gave it to applications rinsing it with water after each application a couple minutes later.IMG_1804

As it is now…  Note I plugged all of the holes in the firewall to keep it off the primed inside shell.  The next step this next week is to go back over it with some wax and grease cleaner and see how much grease is left over.  Might have to use some more purple power with a stronger mix\ratio.  Once it is cleaned to my satisfaction, I will strip it down to bare metal – then attack the bottom of the car!IMG_1806

Firewall – 12/27/2015

I’m only able to get out to work on the car a few hours per day.  Sunday, I started to make the first pass of removing the sealant from the A/C box using a scraper & heat gun.

Before:

IMG_1777

After heat gun – initial pass:IMG_1778

I did make some progress:IMG_1779

Ordered a larger screw driver for the hood bolts on the cowl area.  They are about 3/4″ and this screw driver’s tip is 1/2″ – so I am hoping to make a dent in that Wednesday and see how it works!IMG_1781

Doubt I will get out to work on the car tomorrow as I will need to roof rake and shovel the snow from today’s storm…  Hopefully I can get out there on Wednesday!

Firewall – 12/26/2015

Started cleaning and wiping down the firewall – Recall that the car was from Arizona – there was a lot of sand to remove.

Before:

IMG_1774

Before:IMG_1775

After:IMG_1776

Need to take the heat gun and turpentine to remove the gunk from the other side where the A/C box was and still more wiping down to do before removing the paint.

73 Camaro Rear Defogger Switch

I replaced the rear defogger switch with a nos one I bought.  I had to figure out how to remove it from the housing.

Notice the holes.  Need to get a pick or small screwdriver and press near the top of the hole.  There is a clip that is holding it in and you need to compress the clip to remove.  On a 73 Camaro, there are 3 clips to do this on.  When it comes time to install, simply press the clip back in until it catches.  Also notice the prong with the silver ring – it shows you how to orient things when putting back in.

IMG_1751 IMG_1752 IMG_1753 IMG_1754

Doug Bratton's Personal Blog