I also worked on the bezel. Got a New Old Stock washer switch unique to this bezel (1973) and installed it along with the light switch.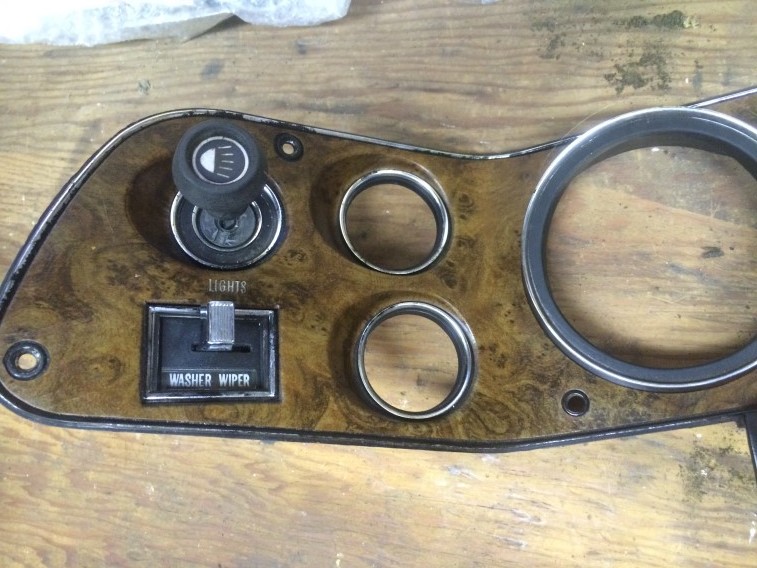
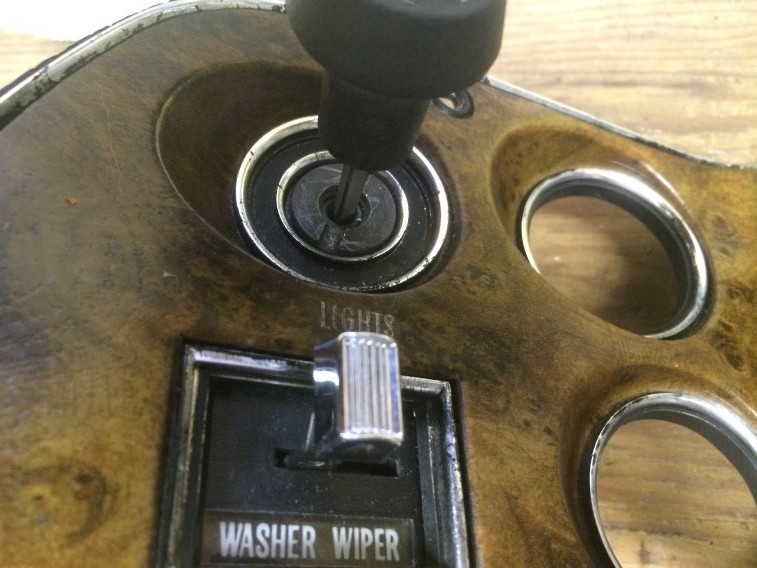
To get the light switch removed and installed, there is a screw you need to press and then remove the handle.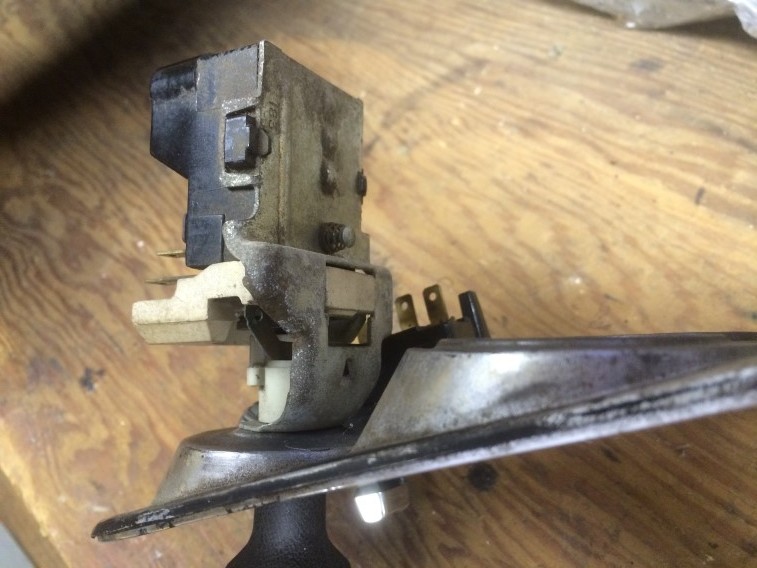

I also worked on the bezel. Got a New Old Stock washer switch unique to this bezel (1973) and installed it along with the light switch.
To get the light switch removed and installed, there is a screw you need to press and then remove the handle.
After applying the picklex and allowing it to dry, there was some chalky residue left over in spots. I gently scuffed it away after asking the vendor, then tacked it off to be ready to prime. (Click image for slideshow).
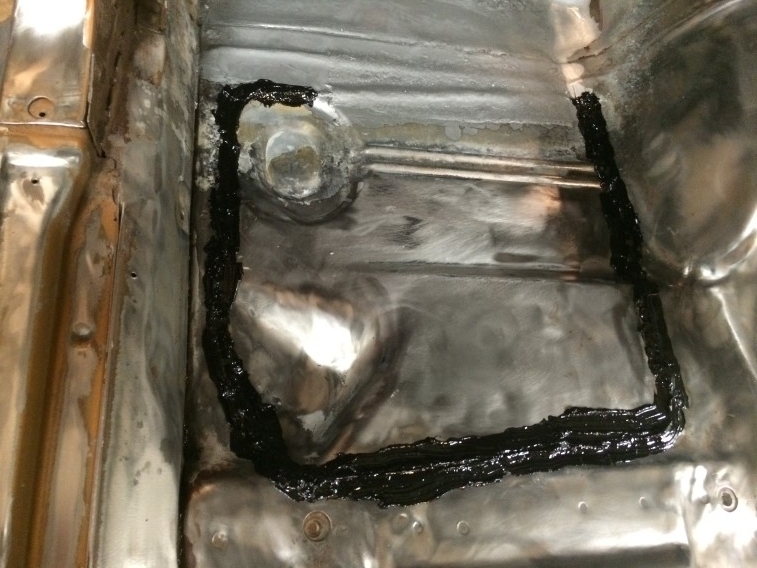
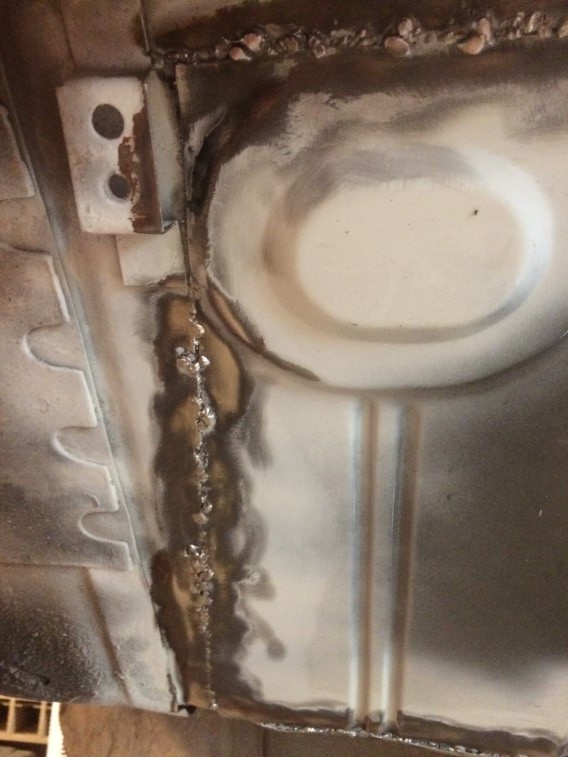
It has been a while since I last updated my progress. Will make several updates today. First, I used por-patch on both sides of my patch panel (click image to cycle through the pictures). This comes in a tube and I ran a bead along the welded area, then used an acid brush to smooth it out. This sealed and pin holes that might be left over from welding.
Received my Gallon of Picklex 20 and also picked up some wax & grease remover. Between NASCAR and football, not much garage time this weekend. Will be taking next Thu aft and Friday off to make for a long weekend in the garage. Hope to get all of the little things done so it will be ready to prime. Once the picklex is applied, not only will it remove any flash rust, but the car will be good for at least another year in case it doesn’t get primed before winter. Will have more to report after the holiday weekend.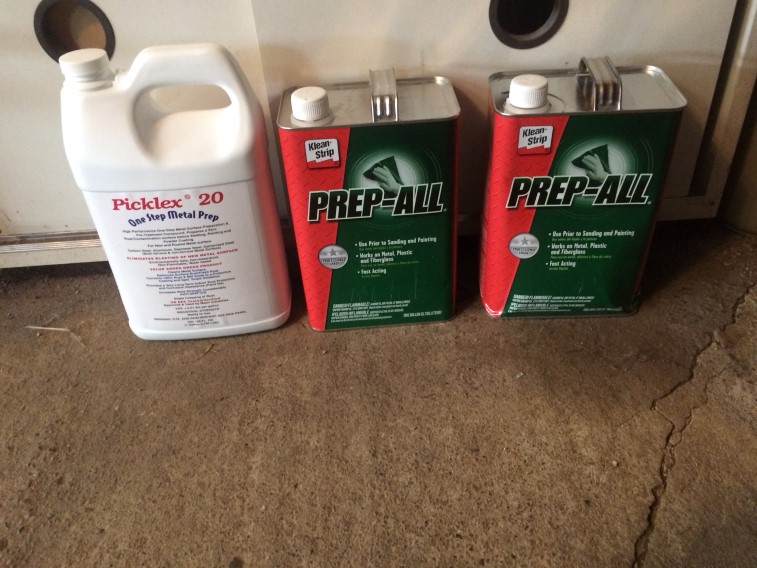
I have been using the 3M PPS because of its ability to paint in all directions (gun upside down), but had to order the larger cup size. I ordered the largest kit to ensure I would have enough paint to spray the outside and inside of the shell at once.
I have also been researching about painting in my garage and found a few threads… Venting Paint Fumes, Compressor in same vicinity, and spraying epoxy in garage. I have ordered a ventilator to blow the fumes out the window, and will open up the door to the upper storage level of the garage which should pull in enough air.
I think I am about ready to spray the primer within the next few weeks. Hope to get some garage time in next weekend.
I have been researching products to wipe on bare metal for rust and flash-rust protection. Products like Evapo-Rust are cheaper, but I decided to go with a product called picklex. It costs more, but is easier to use, and appears to be a better product. I ordered a gallon of it and will use it before priming within the next few weeks.
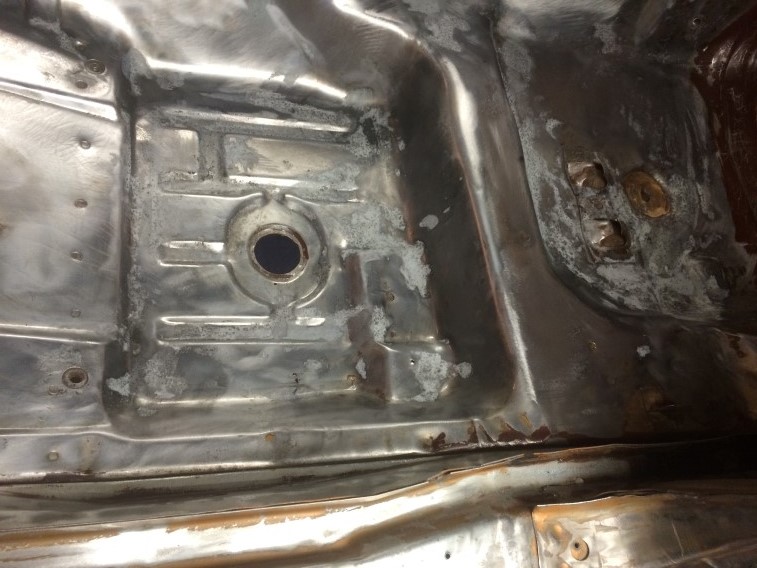
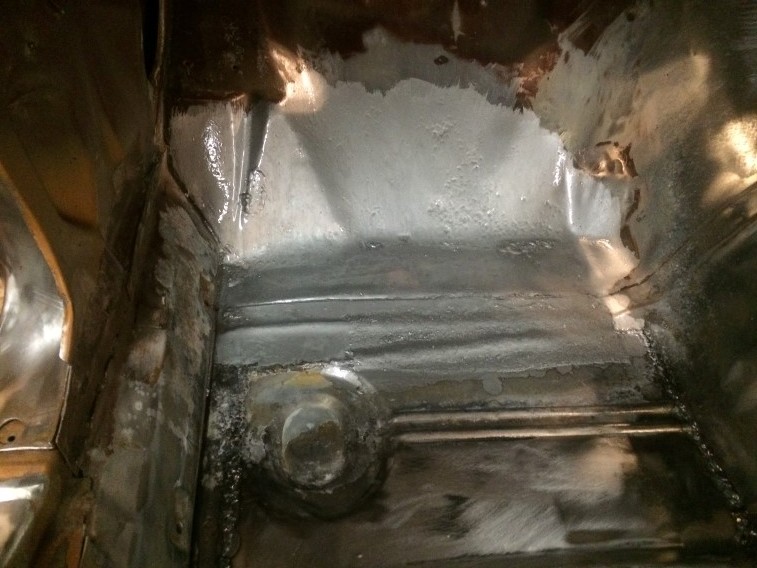
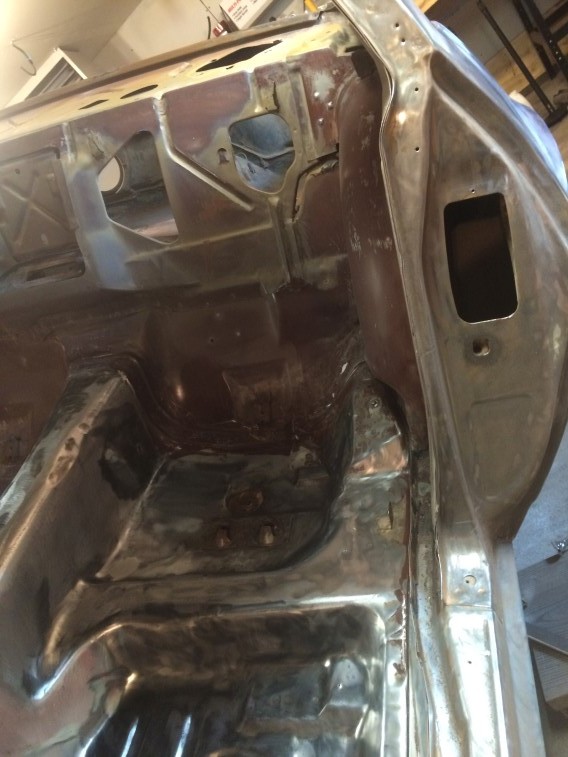
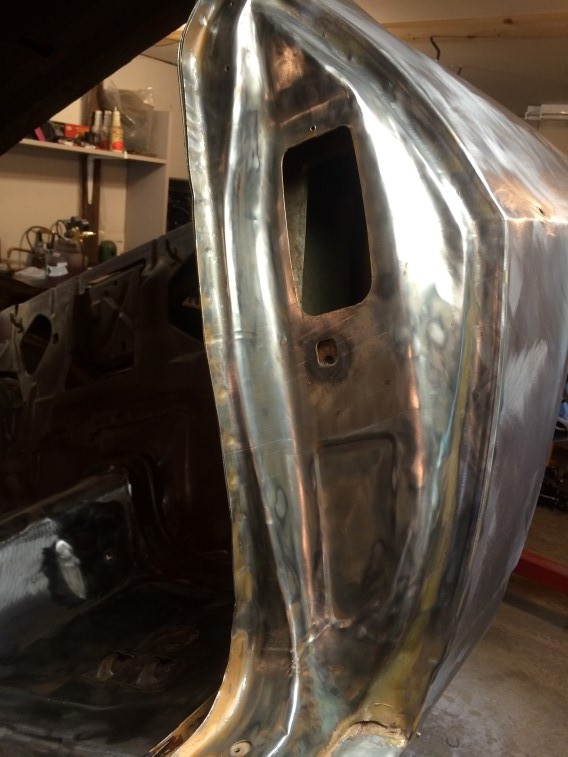
A before shot of the pitted metal in the driver’s side toe area. I didn’t want to patch this, so I decided to use POR-15 on it. (Paint Over Rust – POR is a rock hard coating to prevent further rust. I used POR-15 Silver along with some mesh from the kit for a small portion by the patched panel to help strengthen the area. Before:
First coat:
First coat dried:
Second coat 4-5 hours later:
Second Coat dried:
Third coat (within 24 hours):
 I still need to scuff this once it is dried then prime over it.
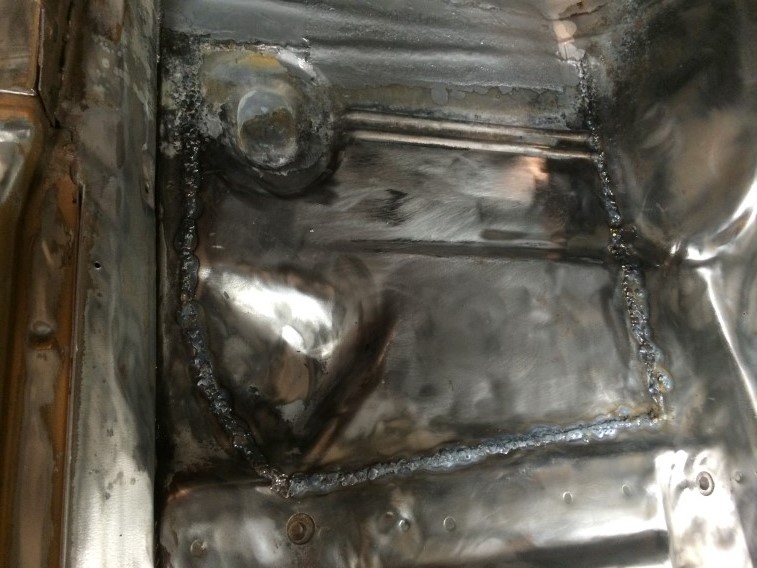
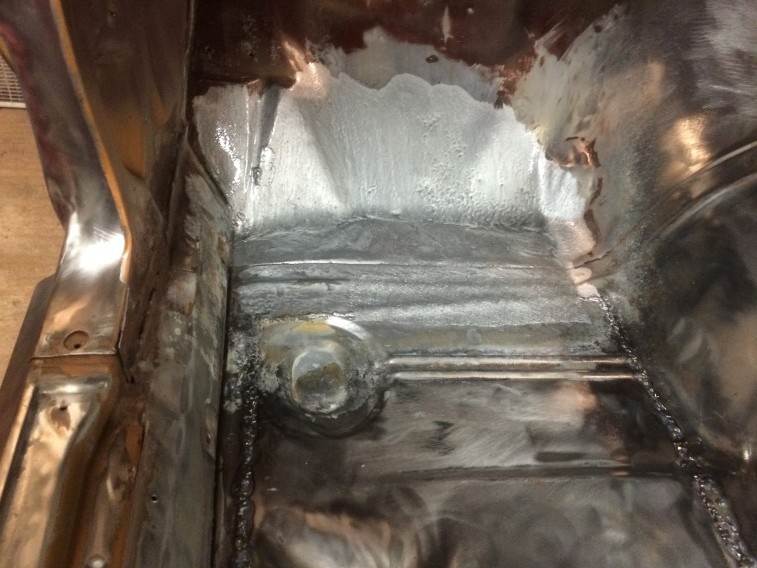
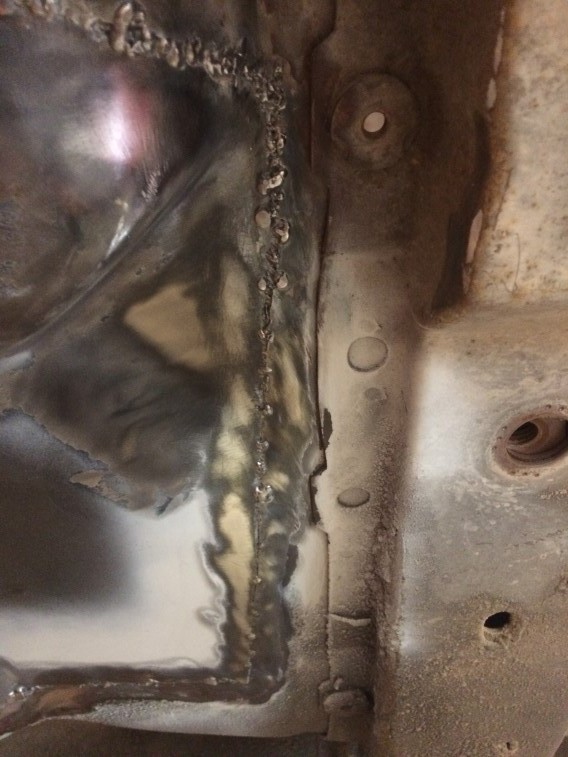
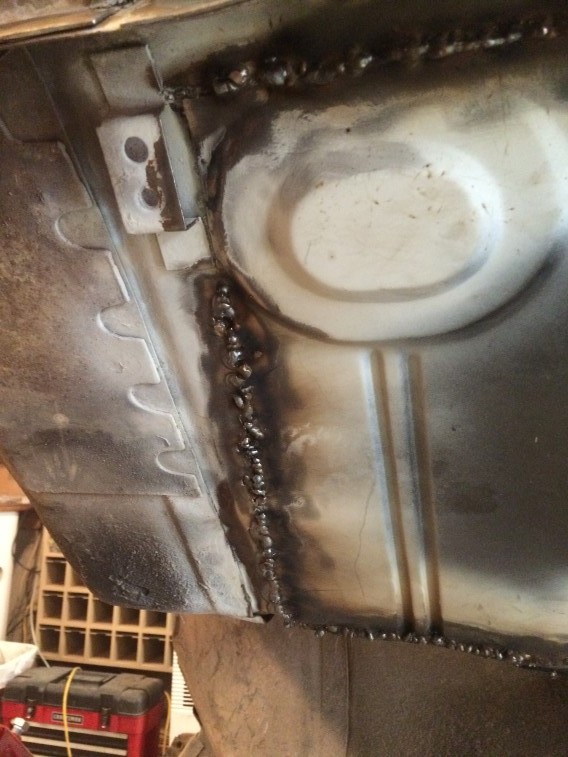
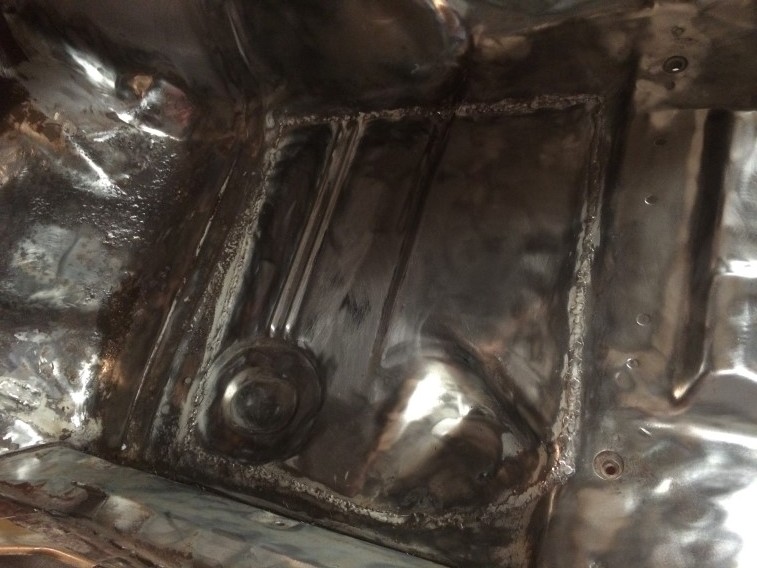
Only took me a half day to re-weld the patch panel from the bottom while on the rotisserie. I must be getting better at welding.
Before pics:
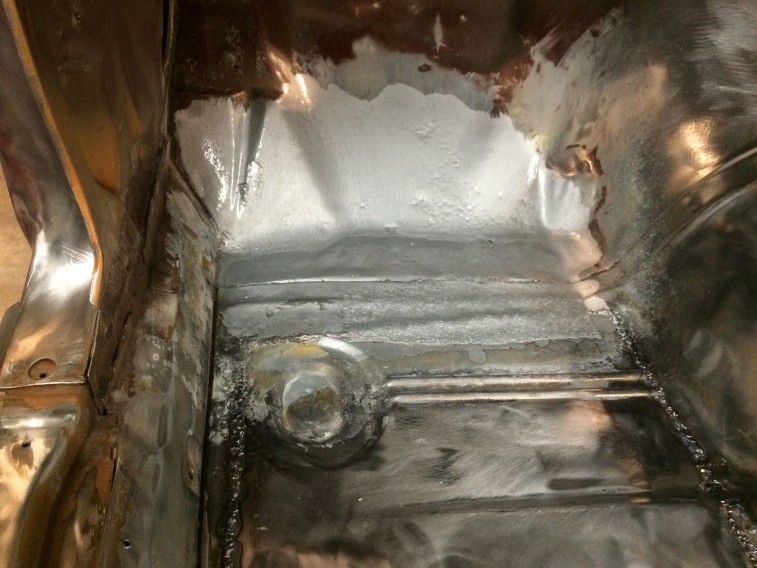
Starting with a few tack welds: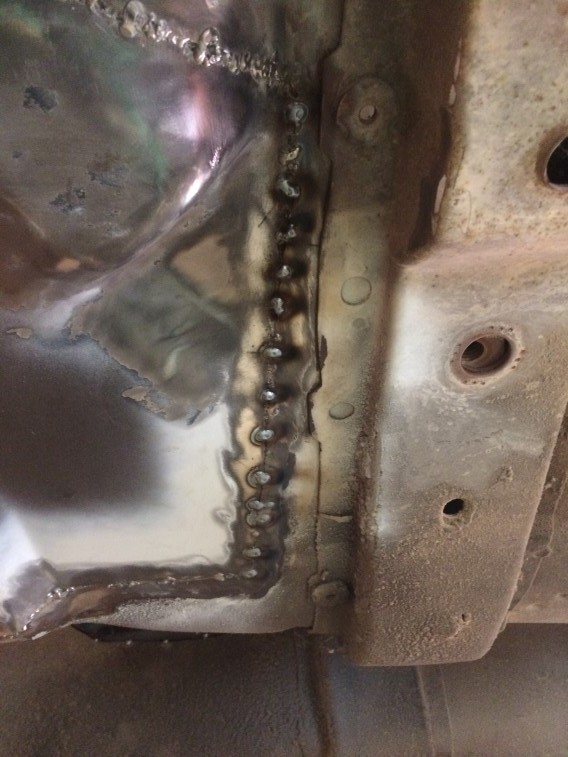
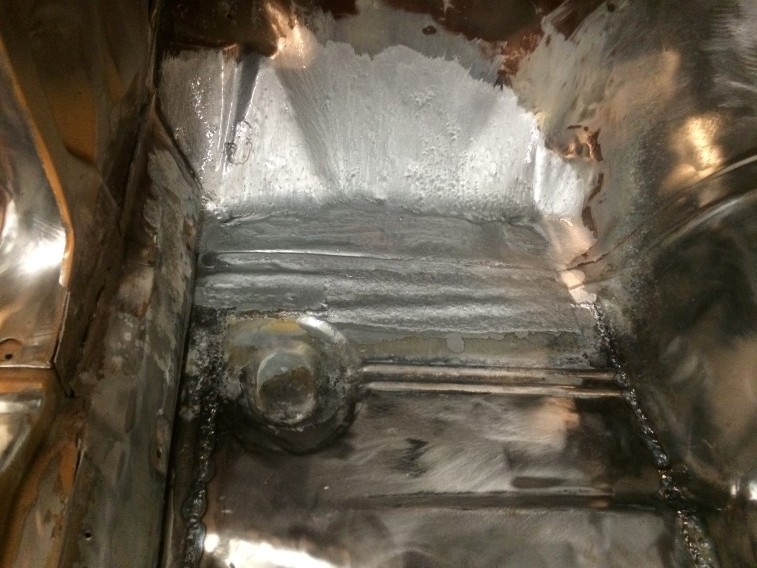
After pics: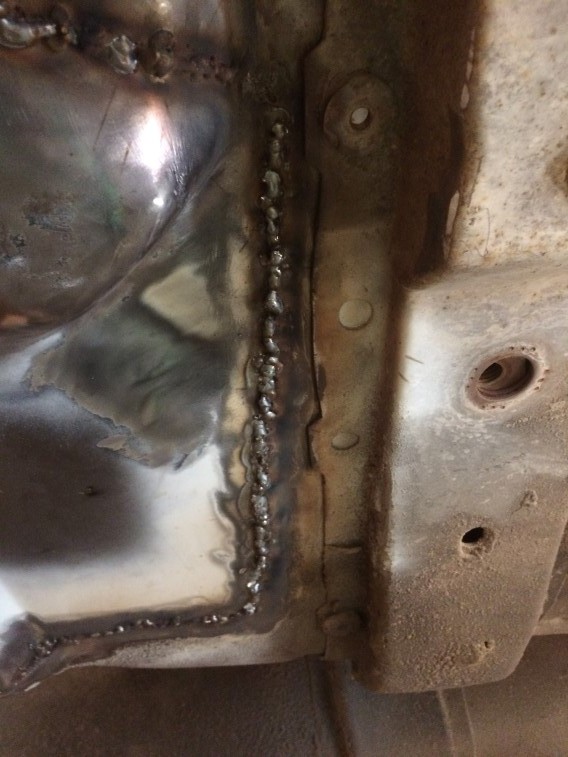
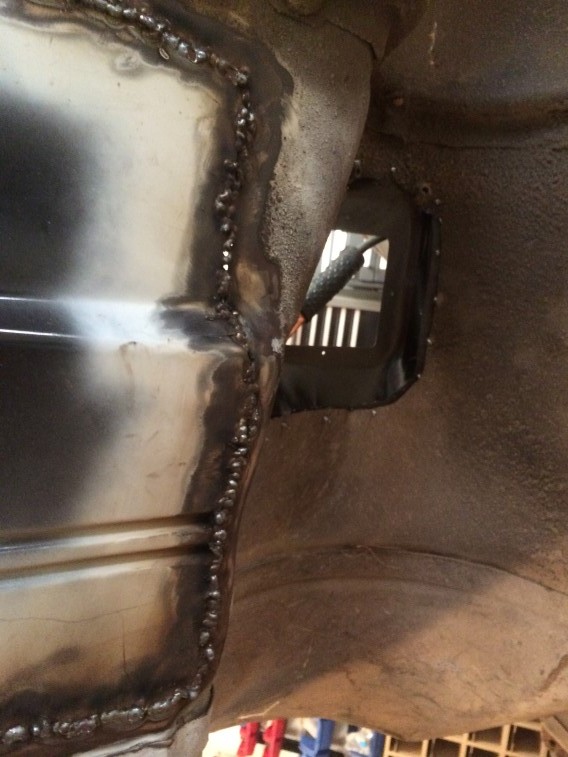

There were a couple of holes that needed to be closed. Using this tool from Eastwood to use as a backing while welding them shut: Next, I will be tackling the drivers side toe area with POR-15.
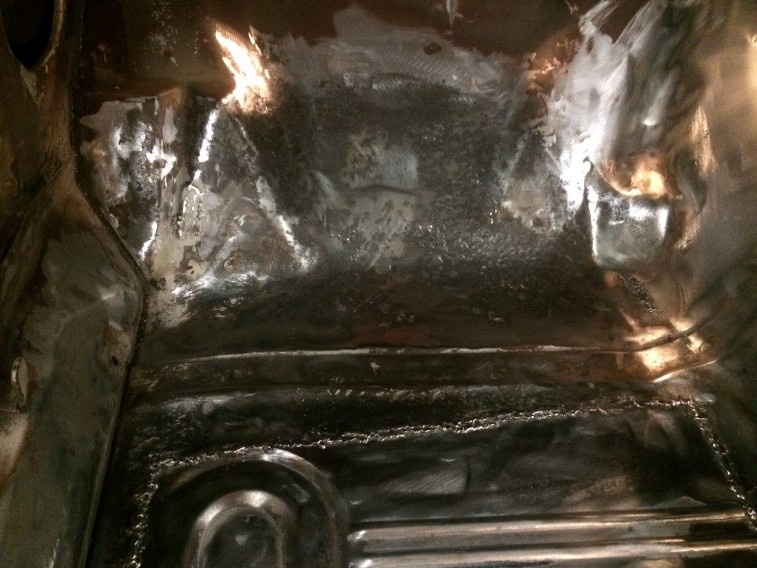
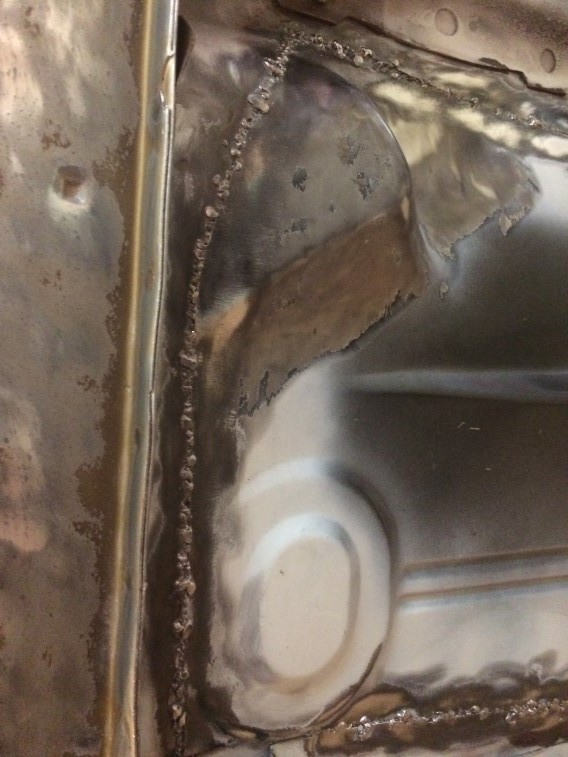
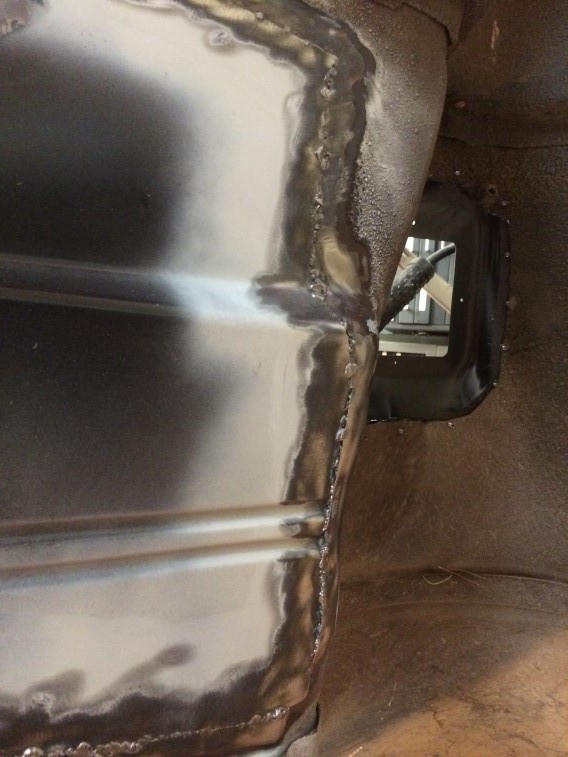
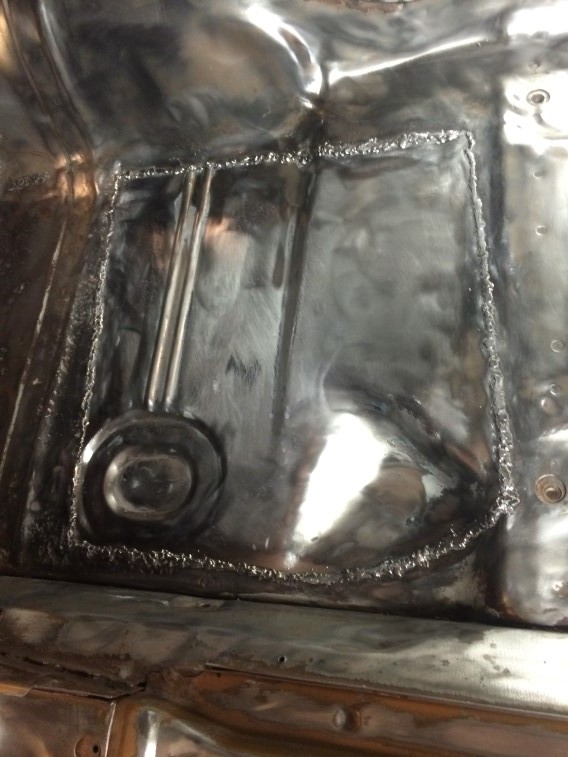
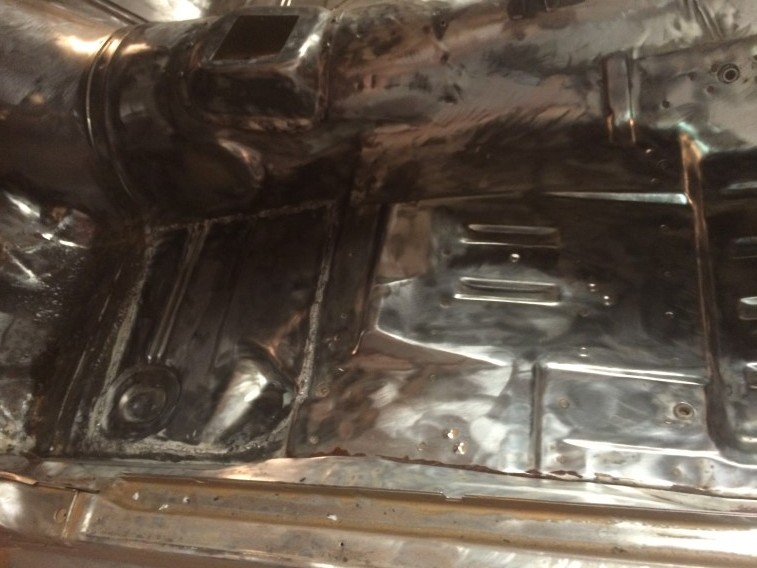
Wrapped up my cleaning and organizing of the garage, shed, and 2nd floor of garage. Now focusing on re-welding a few sections of my prior floor patch work. Before I welded from the inside of the car, and now I plan on going from the outside (bottom) of the floor while it is on the rotisserie. Today was cleaning and grinding the welded sections both on the inside and inside, then cleaned. Taking next Thu & Fri off, so hope to be done with my re-welding by the end of next weekend. The side close to the trans hump area was difficult to get the welding nozzle at, going from the bottom, should provide me with easier access to the areas I want to re-weld.
Inside shot:
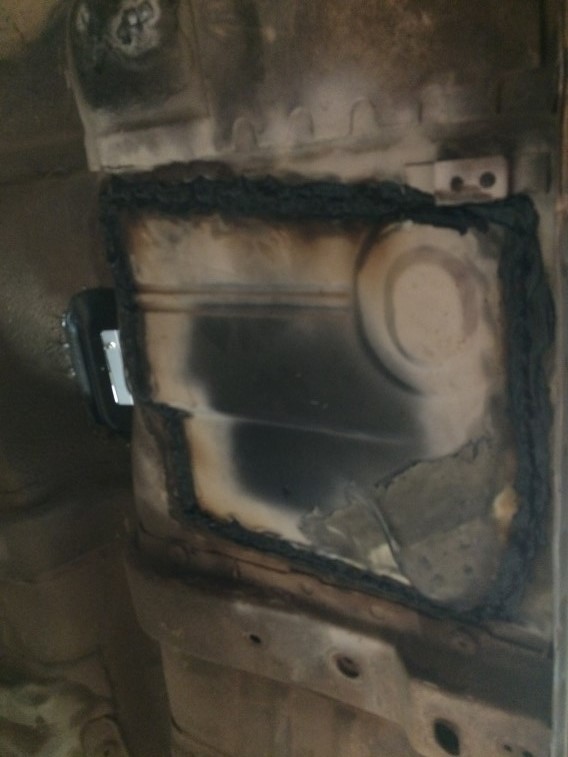
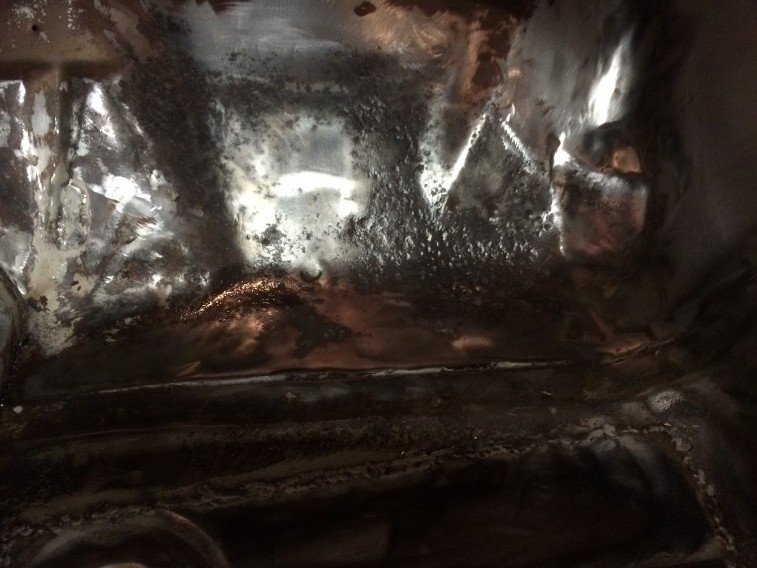
Bottom of floor shot: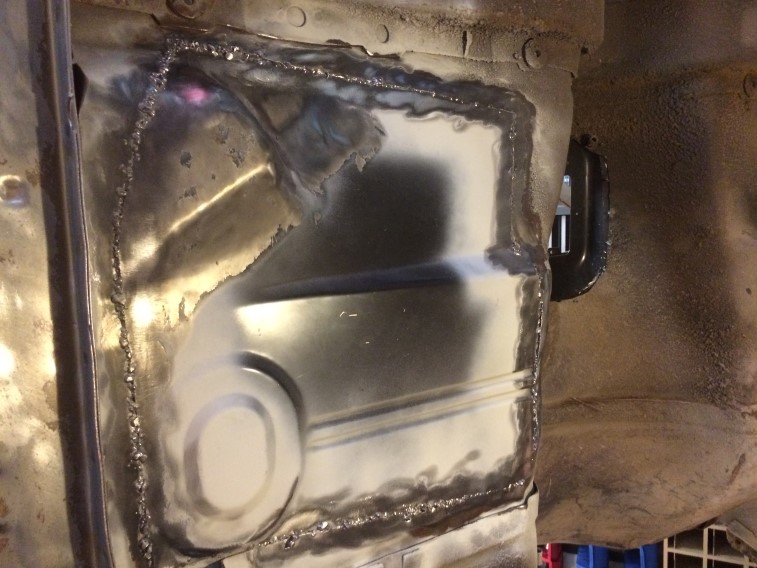
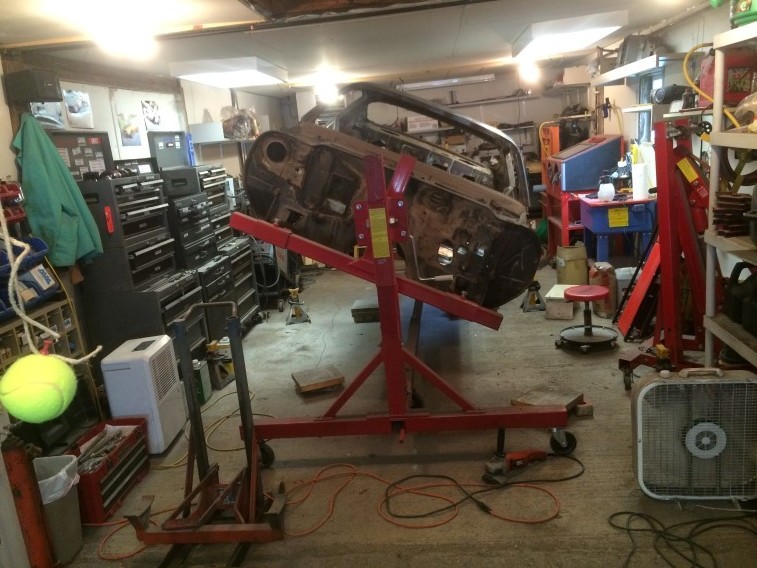
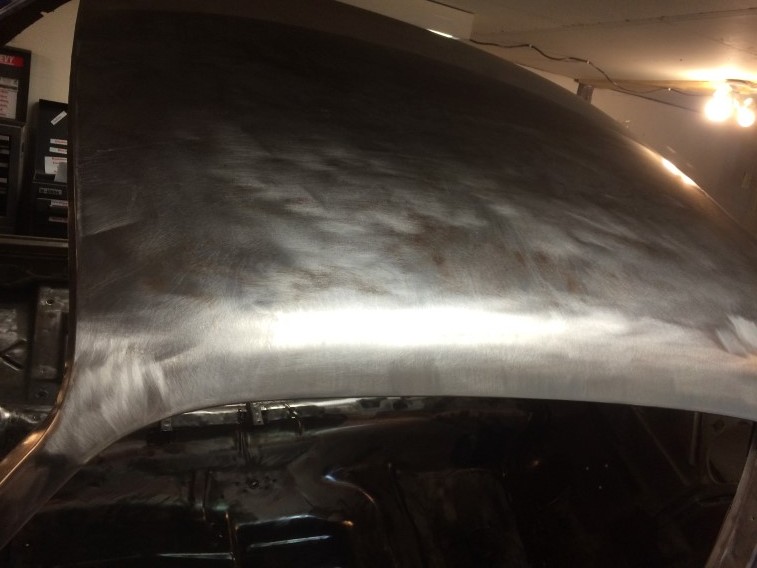
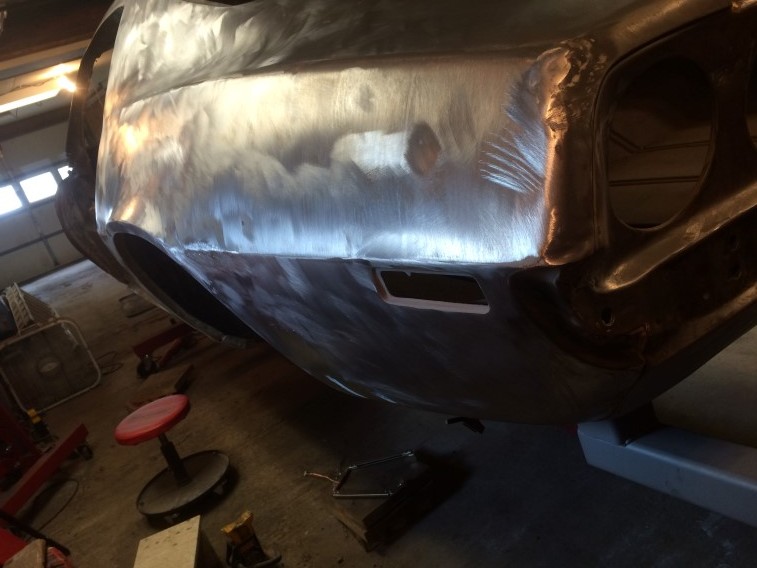
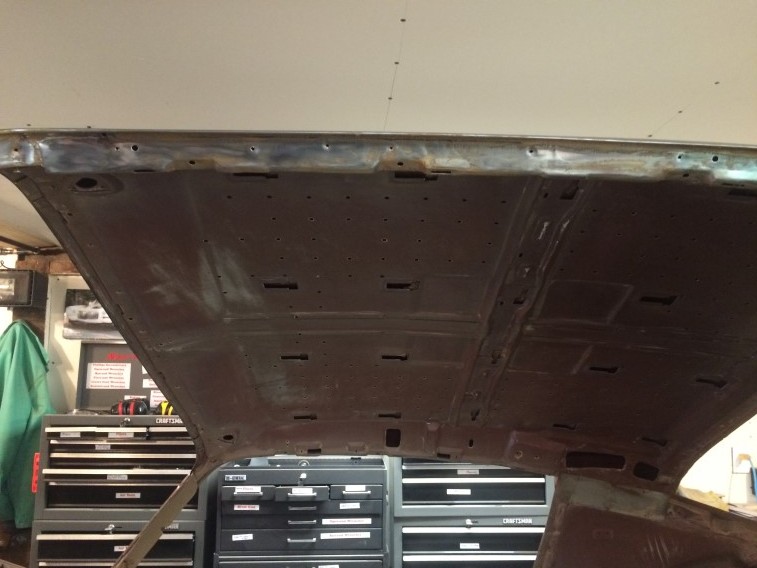
Took the last week off from work to work on the Camaro. Some things took longer than I had thought and I found some more work to do before priming. I was able to access the roof and inside by rotating the car on the rotisserie without having to get in the car to access. Everything has been manually sanded or scuffed and wiped clean with wax & grease remover:
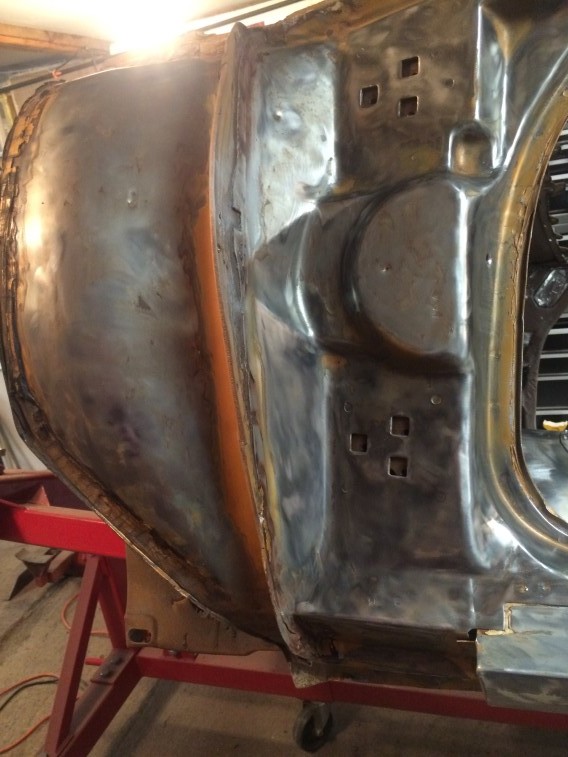
I do want to touch-up the patch panel from the bottom of the car (re-welding) before priming. Welding from the inside was difficult accessing with the welder at the right angles and will be easier from the bottom. Plus there is already some existing welding to add on to.
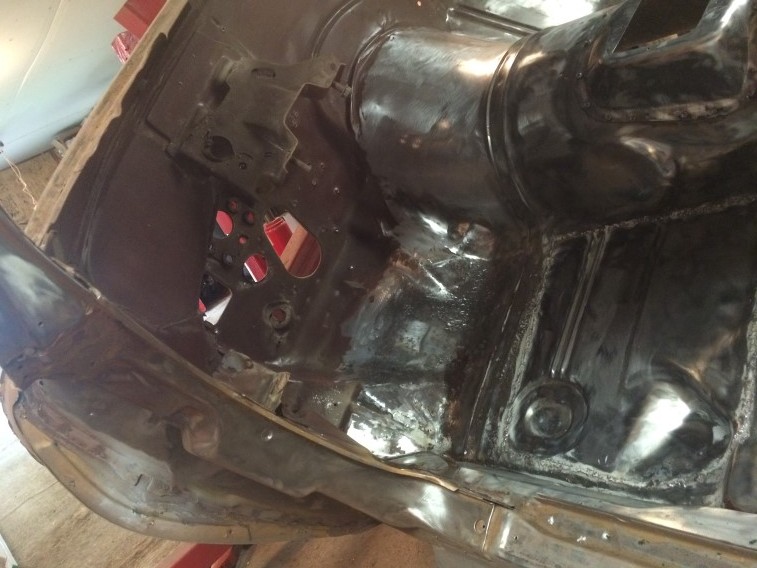
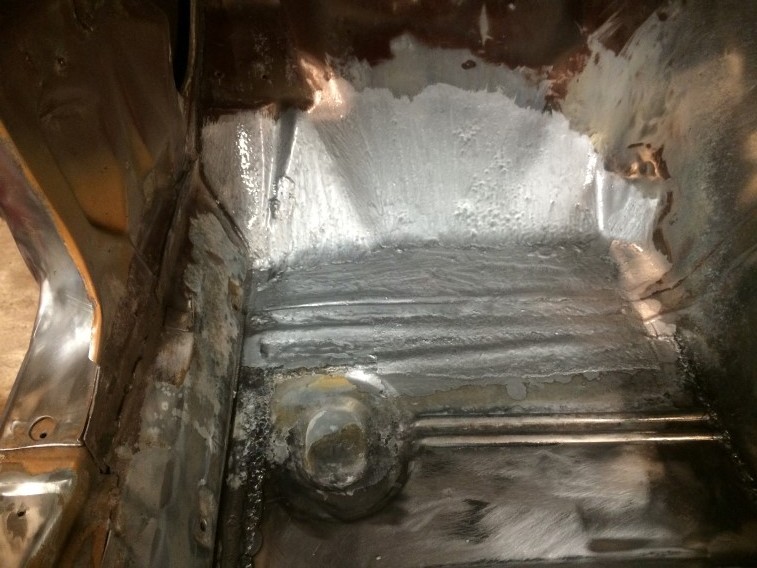
The drivers side toe-board I want to hit with some POR-15 floor & trunk restoration kit before priming to fix some pin holes and pitting:
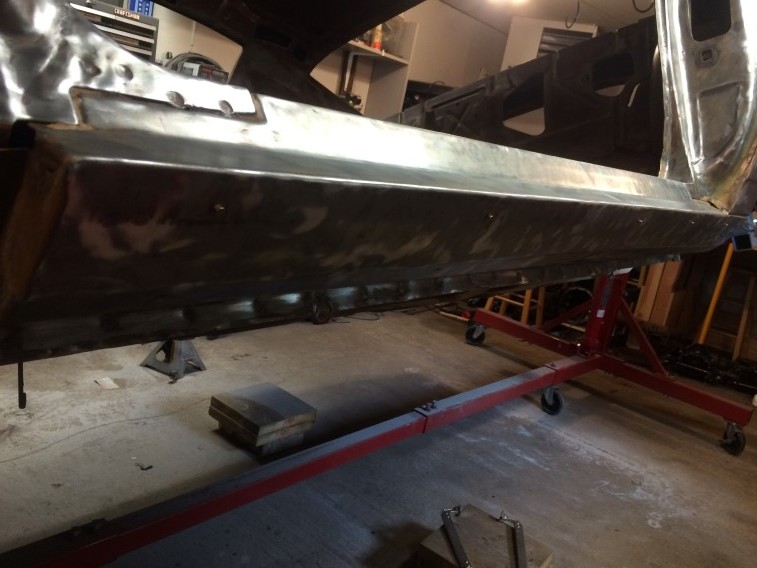
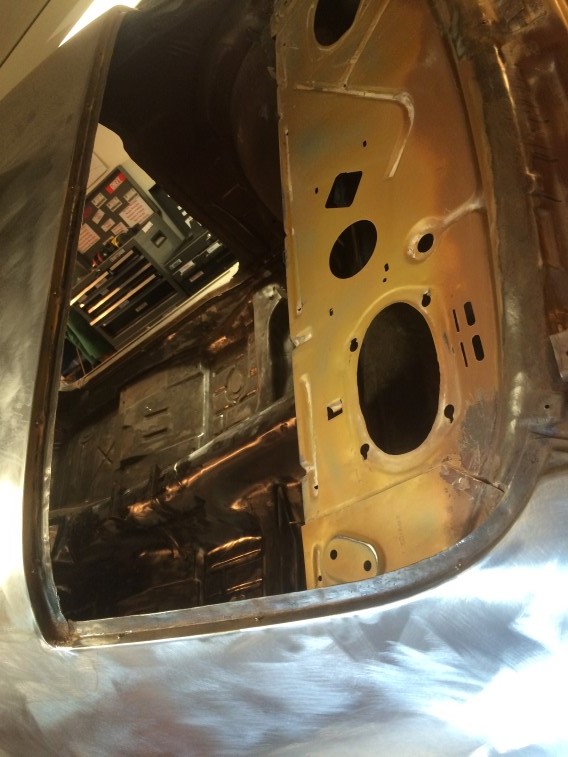
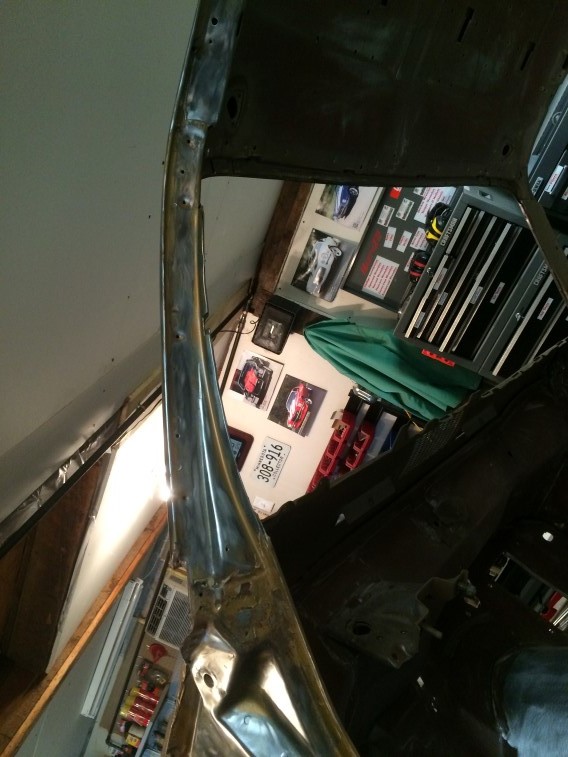 The window channels took longer than I had hoped to clean due to the material used to hold the windows in place. I used lacquer thinner and the air ventilator to exhaust the fumes out of the garage as a trial run for priming.
Right now I am cleaning and organizing the garage for the next weekend or two before getting back to work on the car.