Also assembled my engine cart in preparing for the new 496 Stroker I should be getting in the next week or two.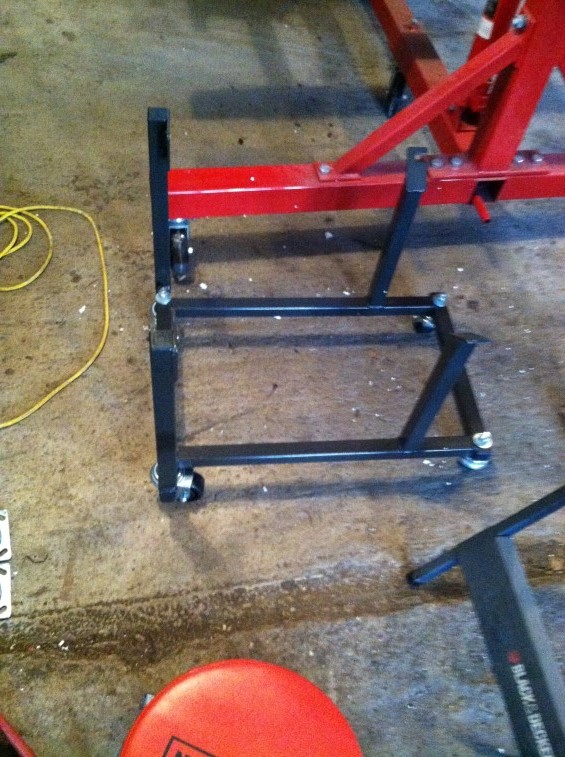

Also assembled my engine cart in preparing for the new 496 Stroker I should be getting in the next week or two.
Still have some metal to cut to size before doing much more with the Engine Run Stand: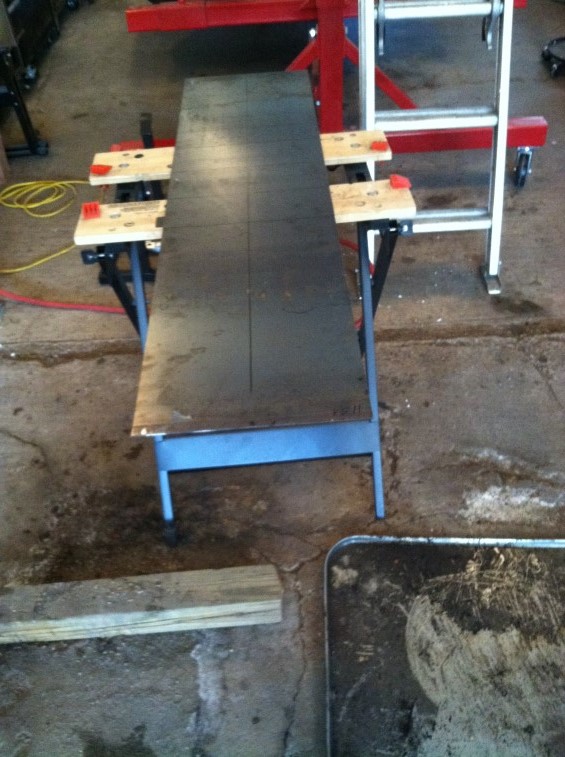
To took me a while to settle on the cutoff wheel for cutting the 1/8″ metal to size – it takes a while to cut!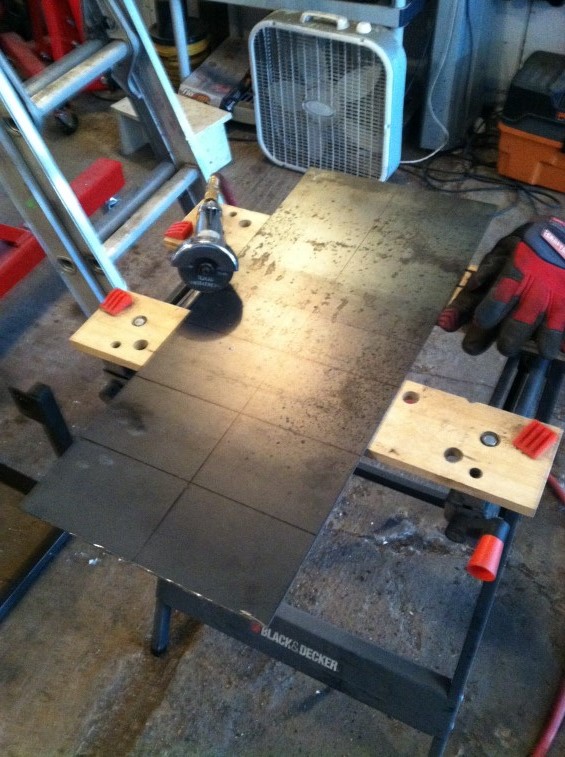
Love my x-mas present – I can listen to my music while tuning all other noise out while working: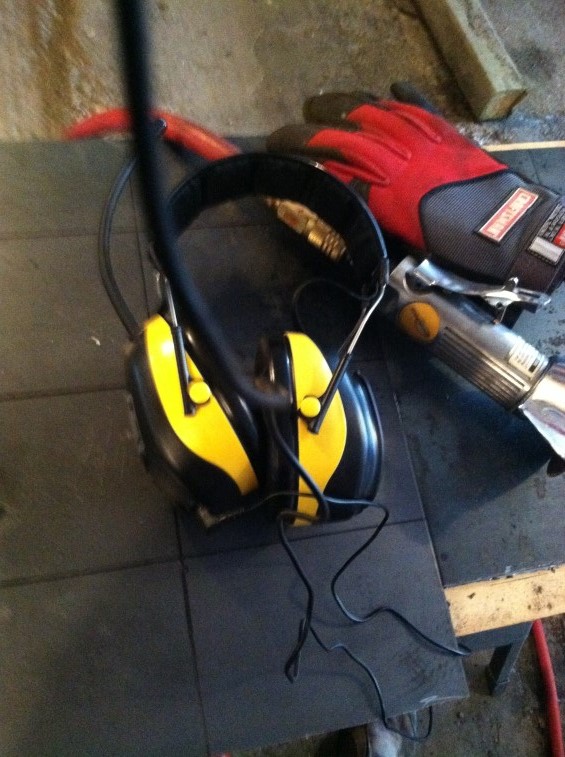
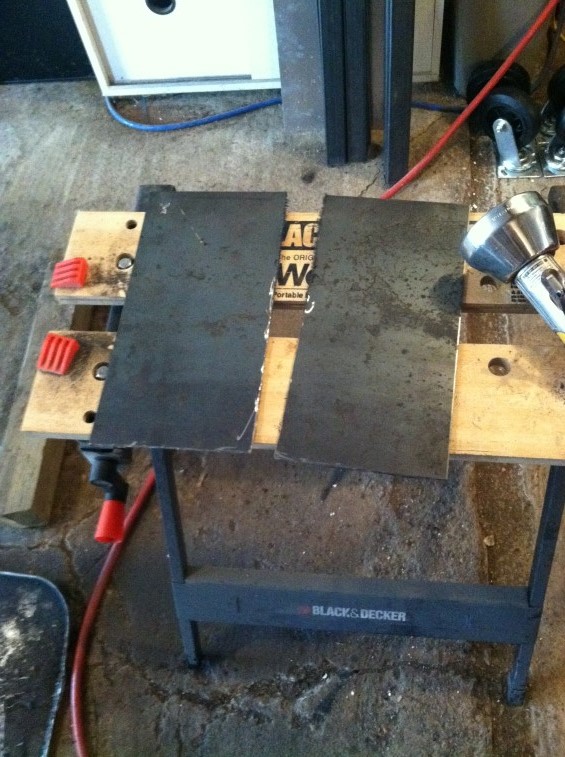
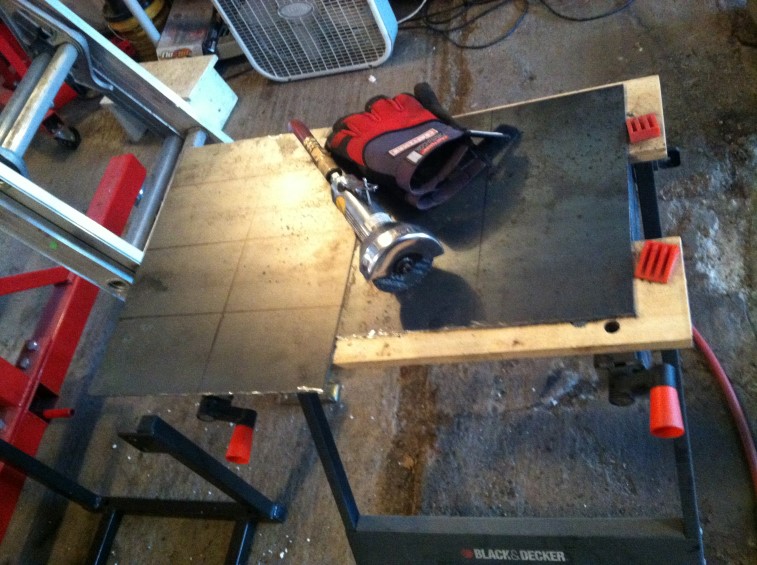
Still have some more metal to cut!
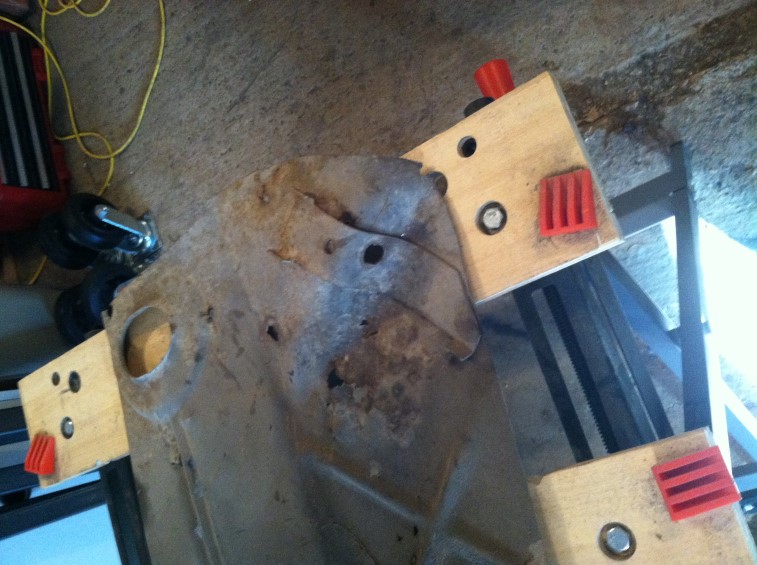
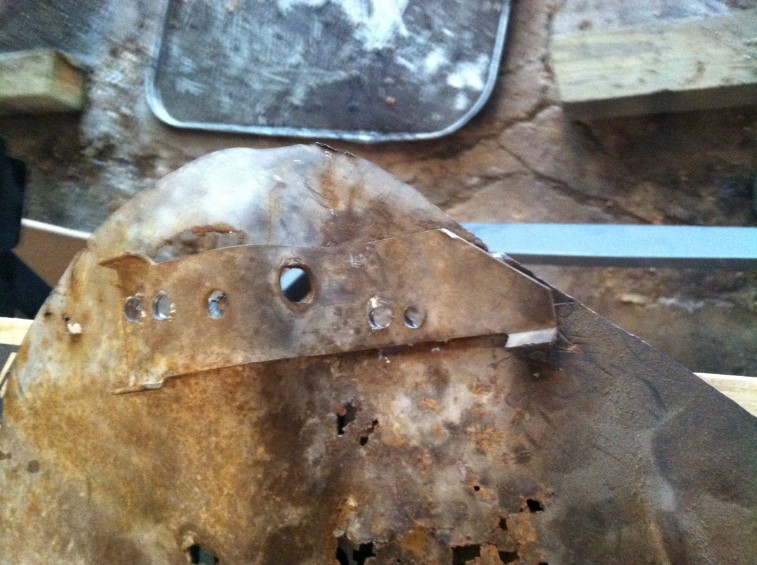
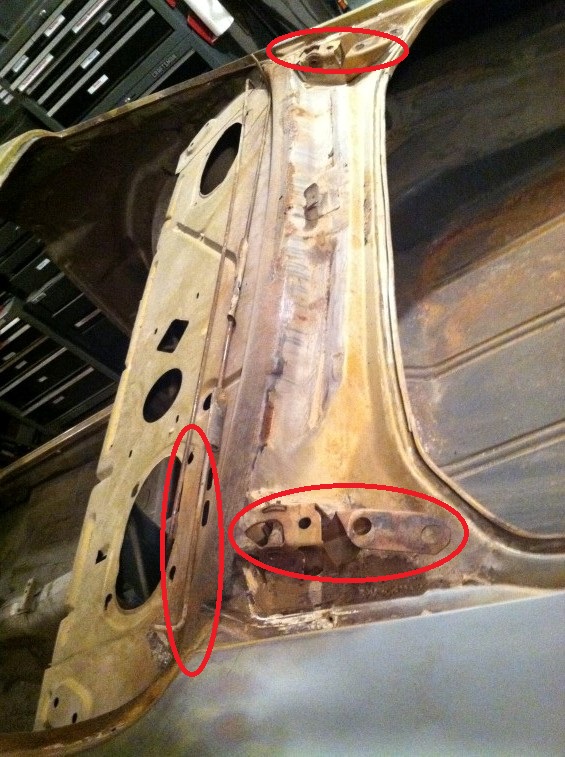
I had some remaining work from the floor patch panel from last summer. I had to get the old brake bracket off the old floor – will need to weld it to the new floor later.
Here is the bracket on the old floor:
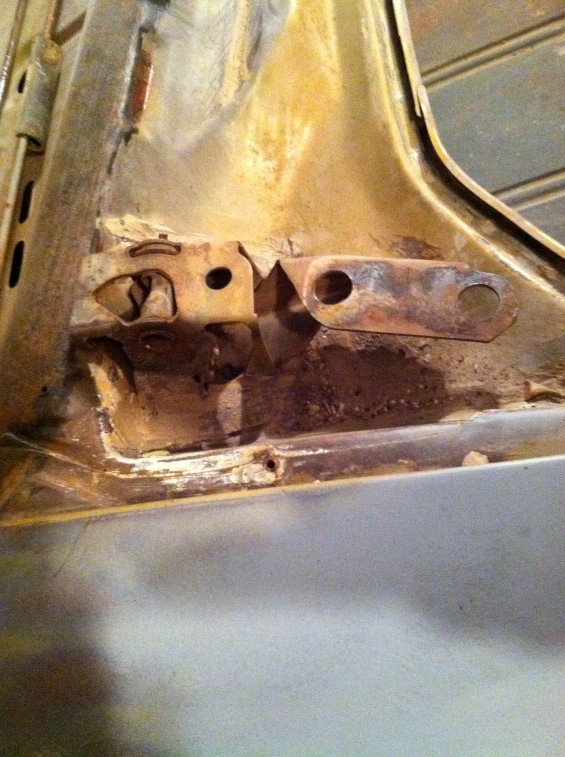
I started by drilling out the spot welds I could find: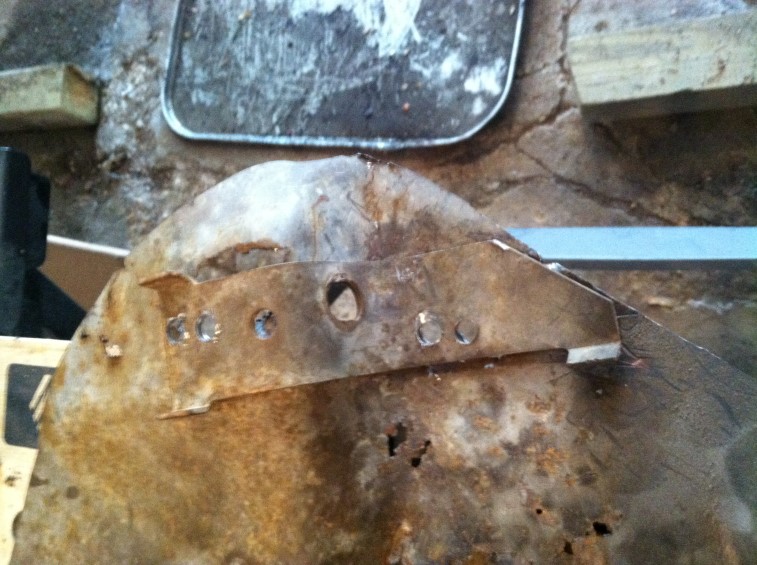
Then I used a body saw to cut it out with the old floor metal still on it: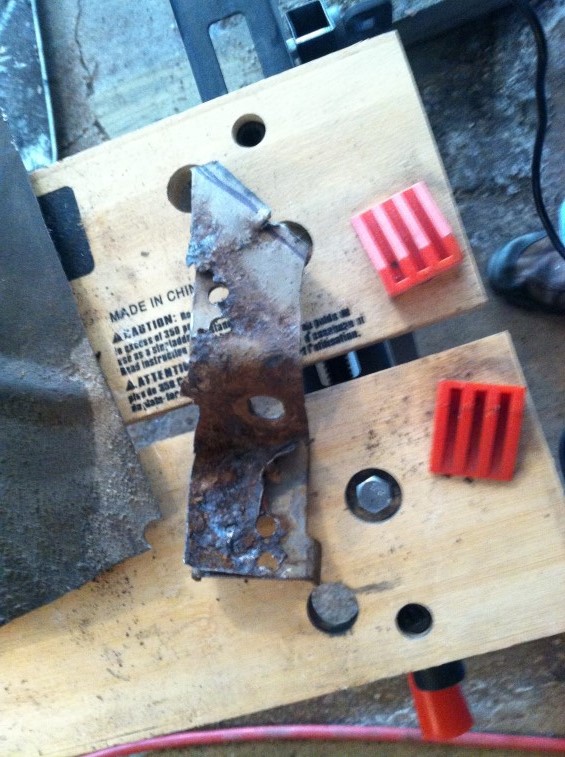
Then I used my vice to hold it while I worked on getting the old metal off of it: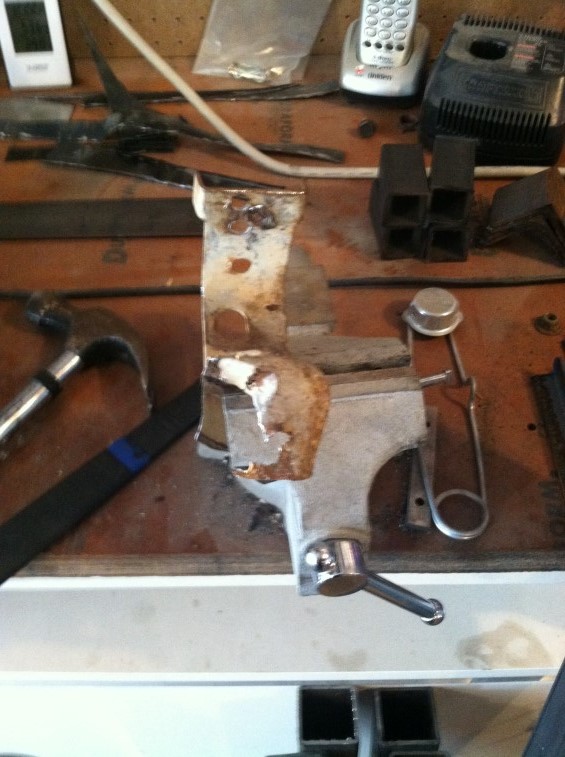
This body seam buster came in real handy: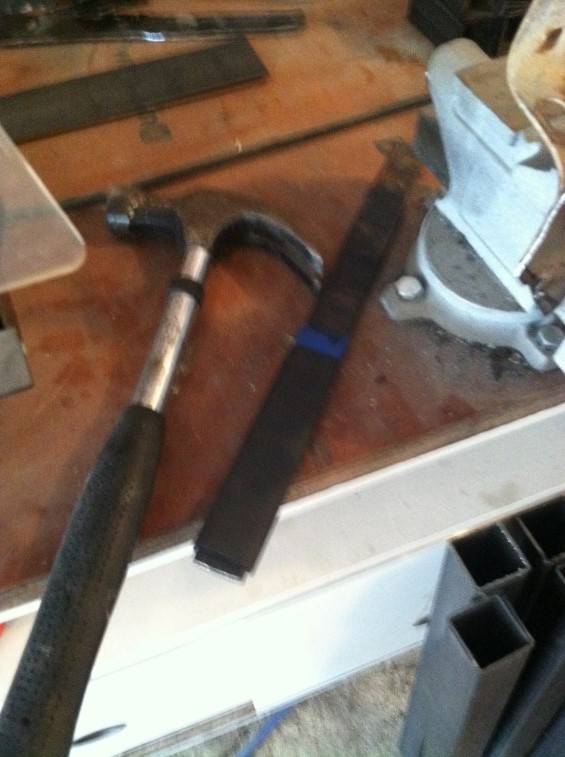
You can see some of the spot welds I had missed: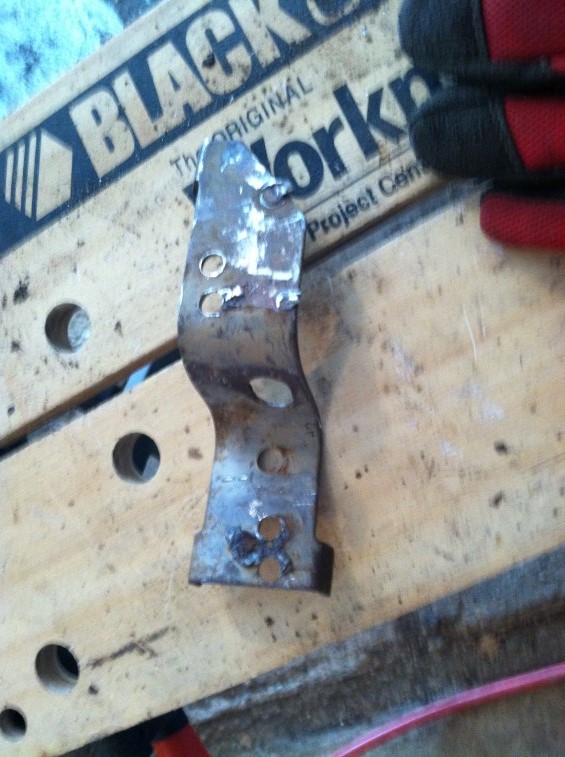

Used my grinder to smooth the old spot welds down: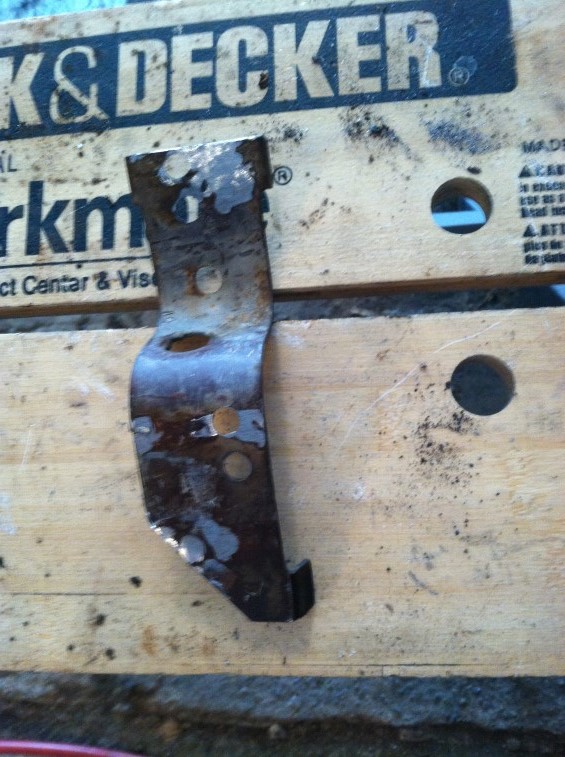
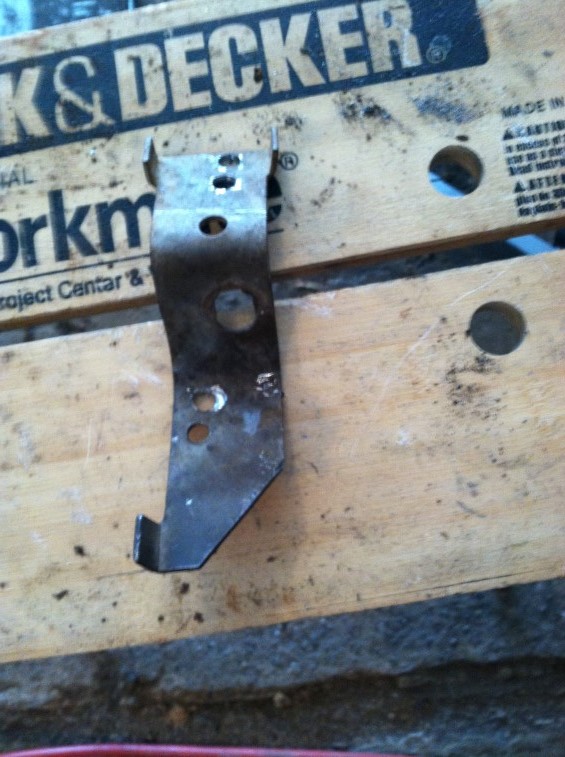 Will put this in the blast cabinet and prime it before welding to the new floor.
Fine-tuned the garage door to make it easier to open & close which has been a problem after the drywall (bowing the door guide). Seems to be working much better now.
Also took advantage of the warm weather to cut up some pieces of metal for the next project which is to build an engine run stand for a built 454 I am looking at buying… Still need to get some more materials for that project. Cut this up outside while it was warm – otherwise the dust that is generated inside makes a mess of things.
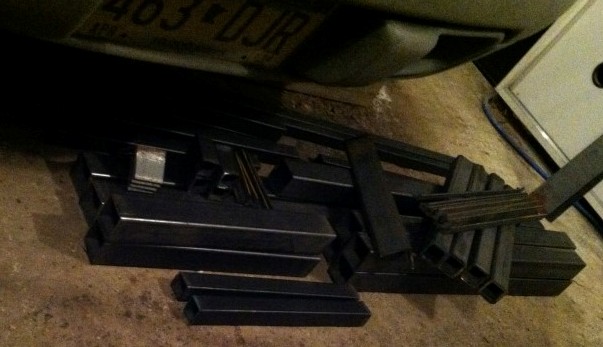
Also got some air-filled casters that I hope to put on the Rotisserie so this spring, I can roll the shell outside easier to power wash the bottom among other things. Need to do some work with the Rotisserie later this winter. Note: The other casters are for the engine run stand.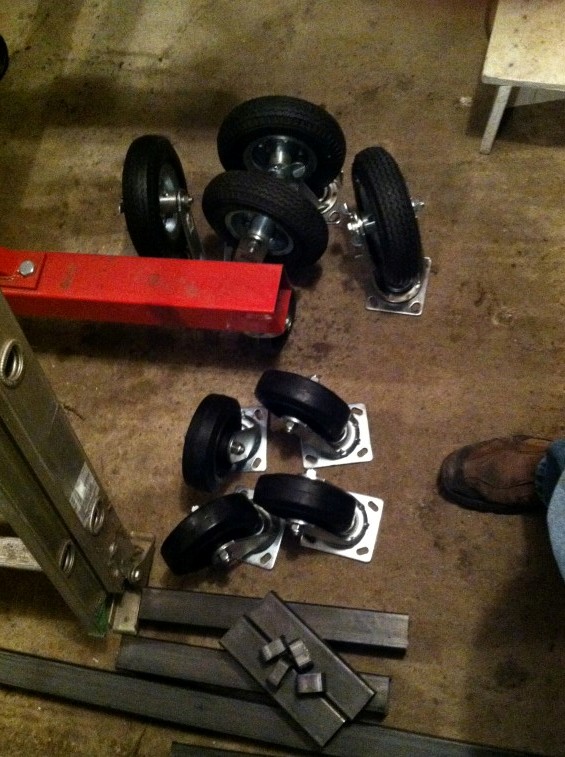
Used the following YouTube video to rebuild the carburetor on my smaller Craftsman Snow Thrower:
Had to take the thing completely apart to rebuild the carburetor! Put things back together and started it up – started first pull! Going to run some Sea Foam through it for even better internal cleaning.
Still need to do the single stage next.
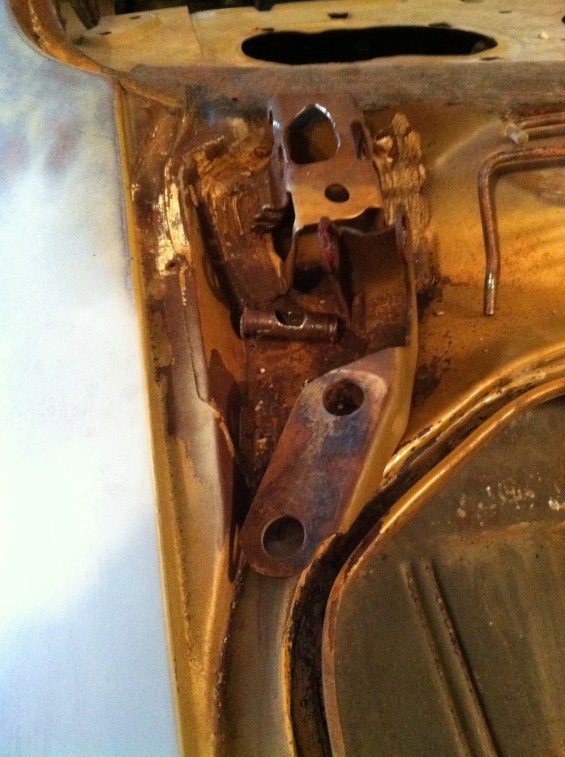
Disassembled the rear trunk hinges:
Had to use some WD-40 and grease to get things apart…
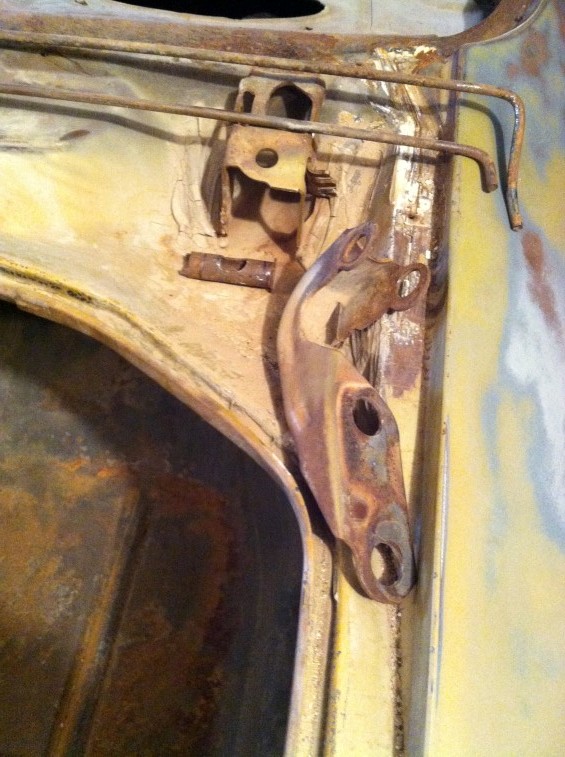
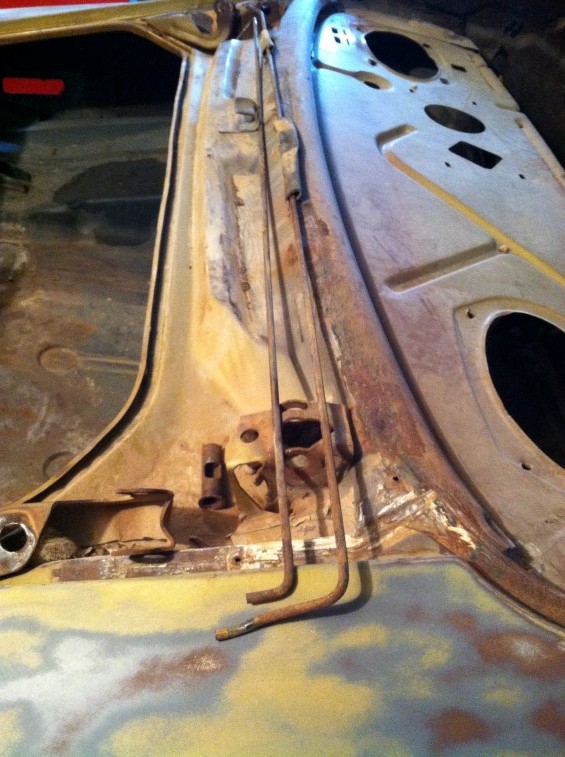
OK, a couple of beers and researching how to remove the trunk torsion springs, I went outside and dove into the project. I went out to study the situation and one thing led to another and before I knew it, I was able to remove the trunk torsion springs without doing any damage:
 Basically what I did was to move each side to the lowest notch using a socket over the bar, then I removed the springs from the middle catch, and finally removed the springs from the last hooks using some vice grips and screw drivers. I would suggest protecting the windows and body when doing this as they are under a lot of tension. One person can do this, but an extra set of hands would make it easier.
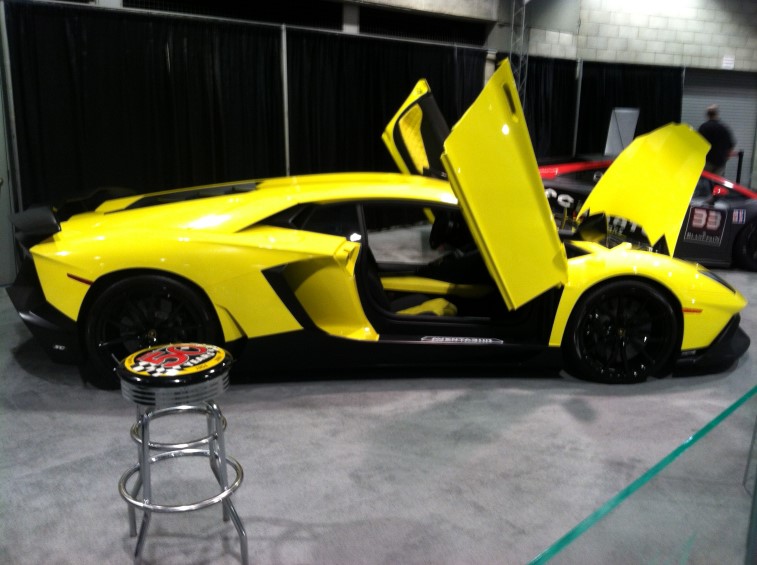
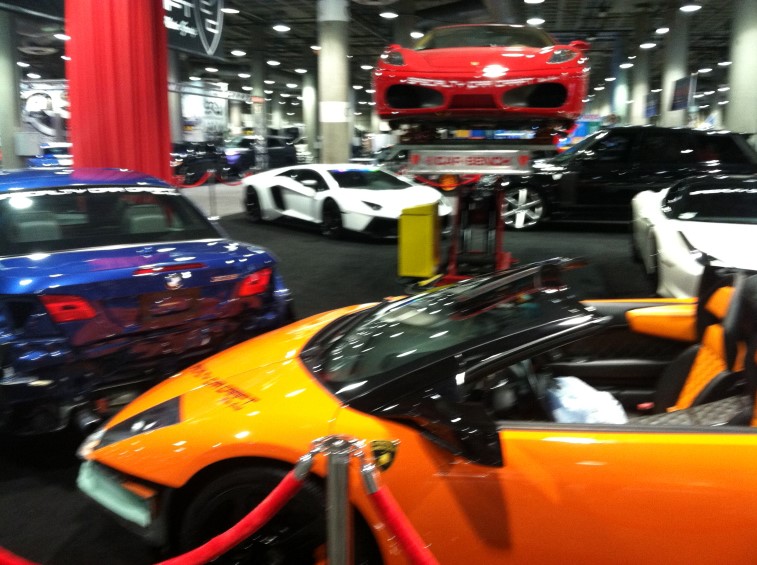
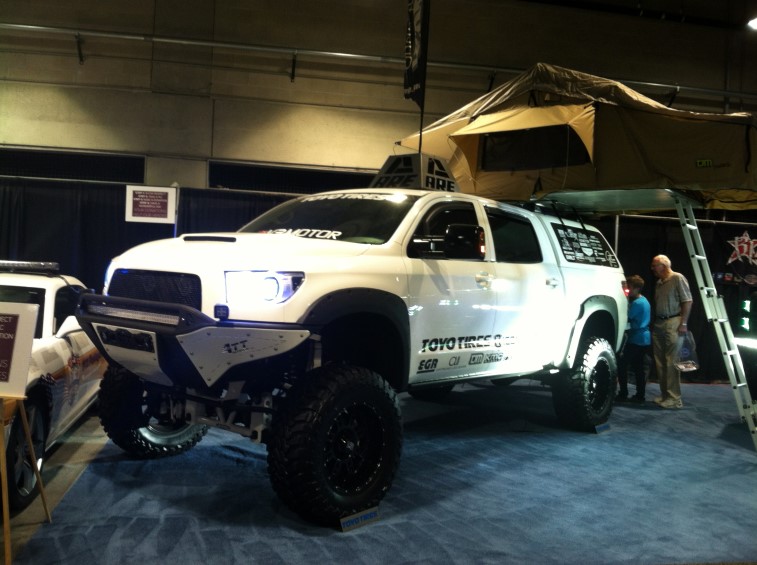
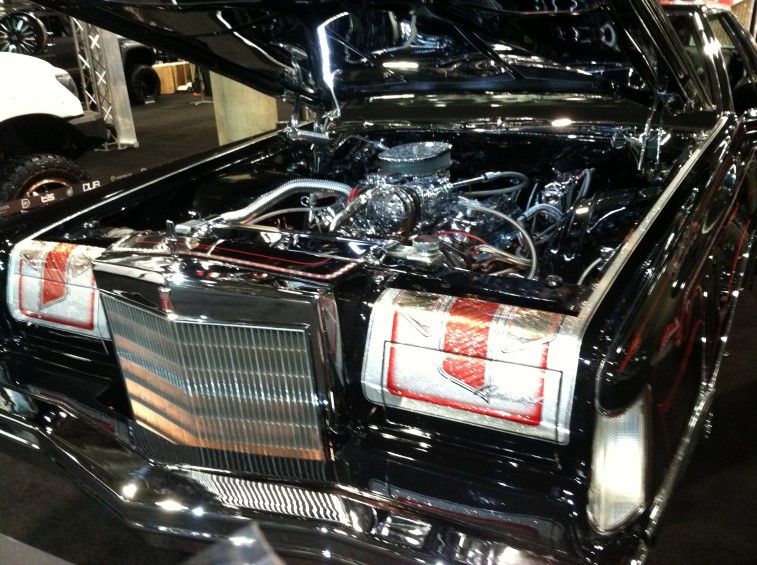
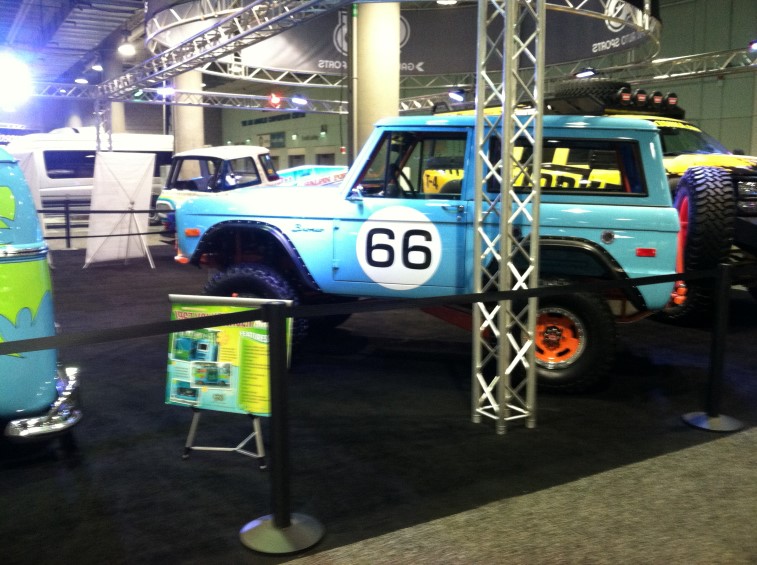
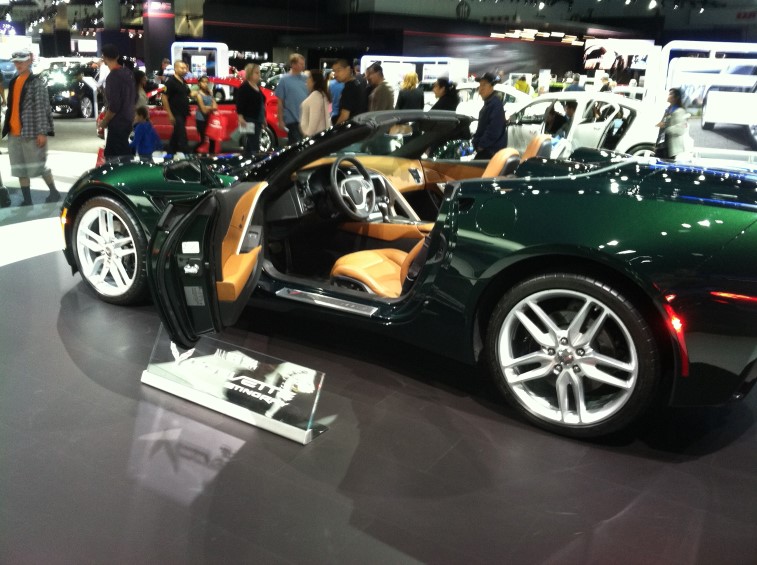
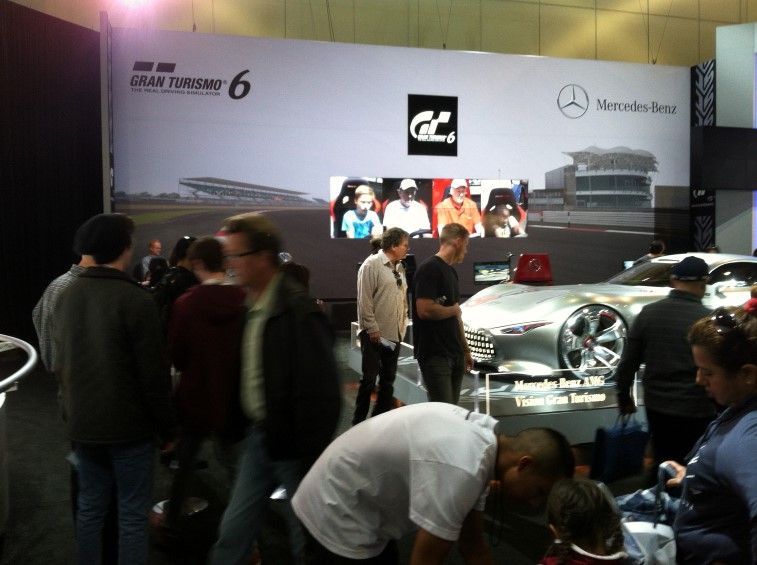
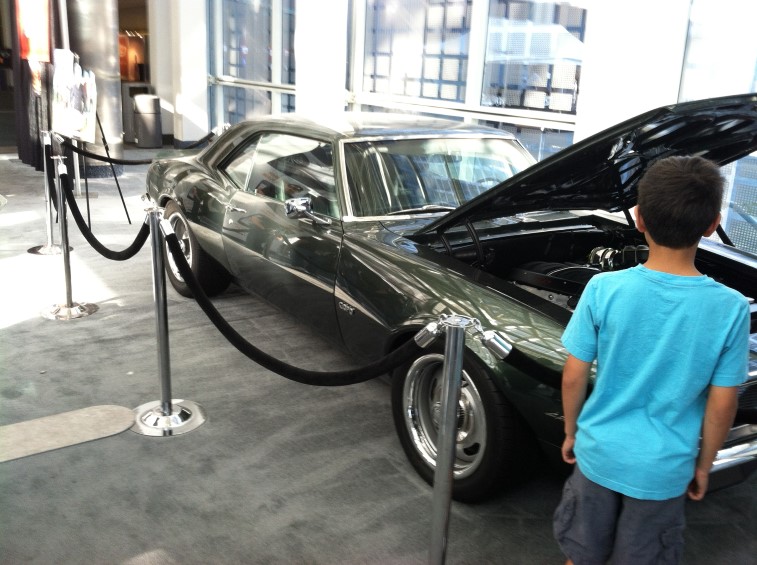
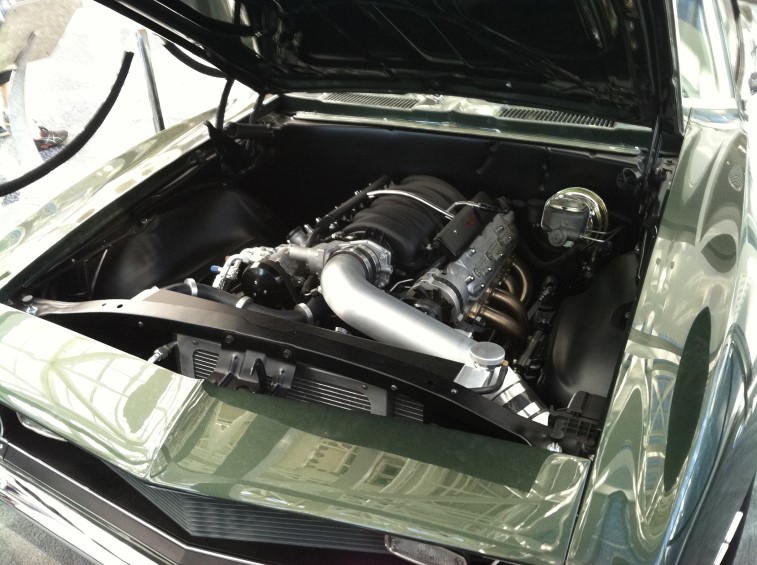
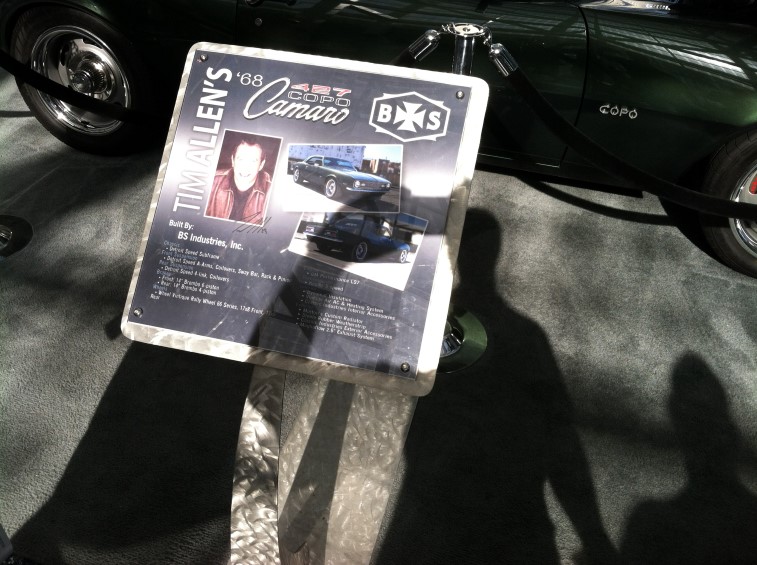
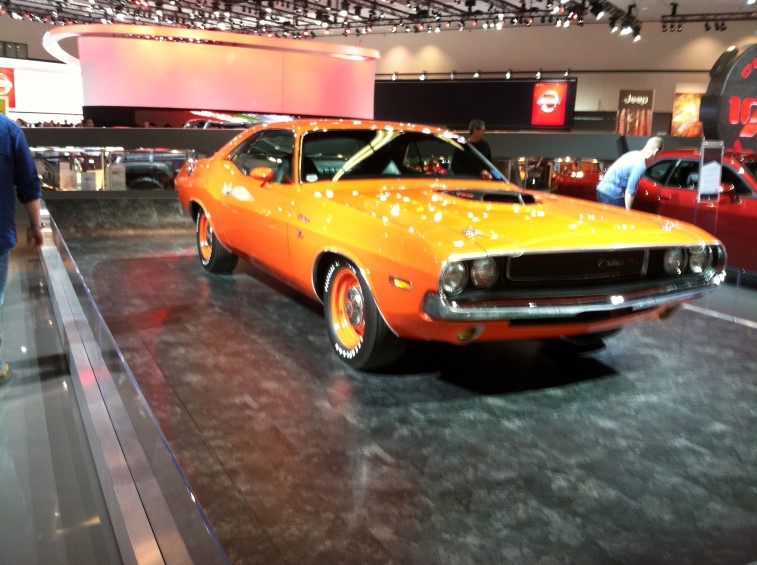
Went to the 2013 LA Auto Show yesterday. Here are some pics from it:


Bought a 70 Pint Dehumidifier for the garage. Had it in about a week now and is keeping the garage within 45%-50% humidity!
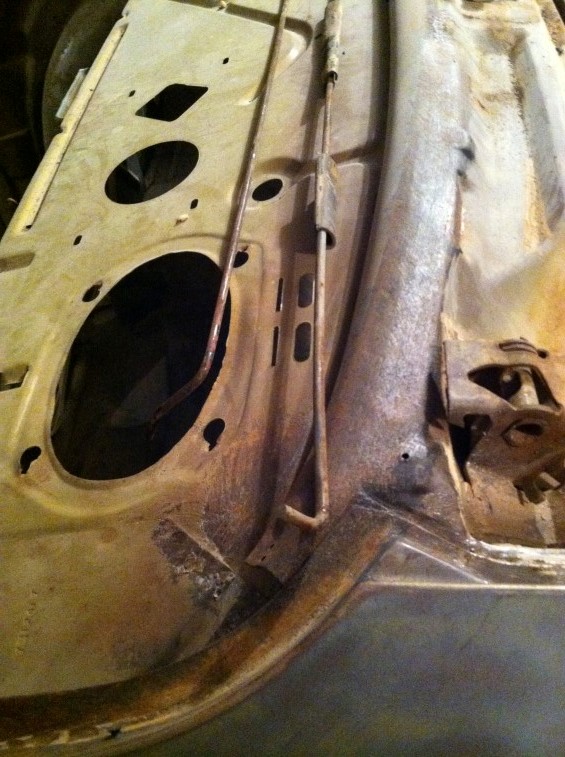
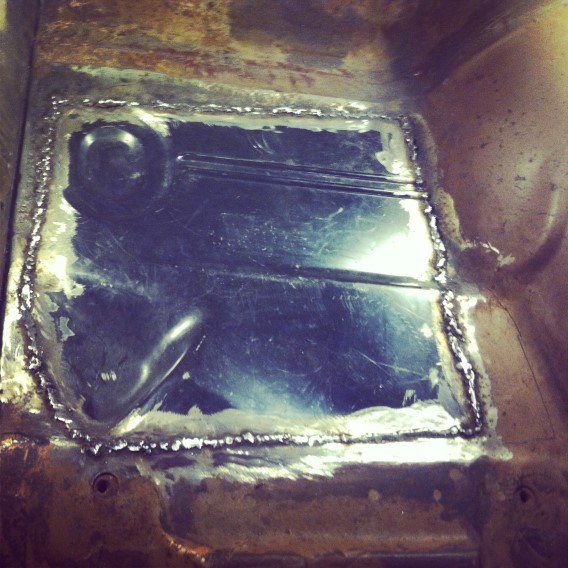
Got some more body work done:
Patch panel ready for some primer to hold it over until Spring:
Fabricated a piece to hold a plug I patched: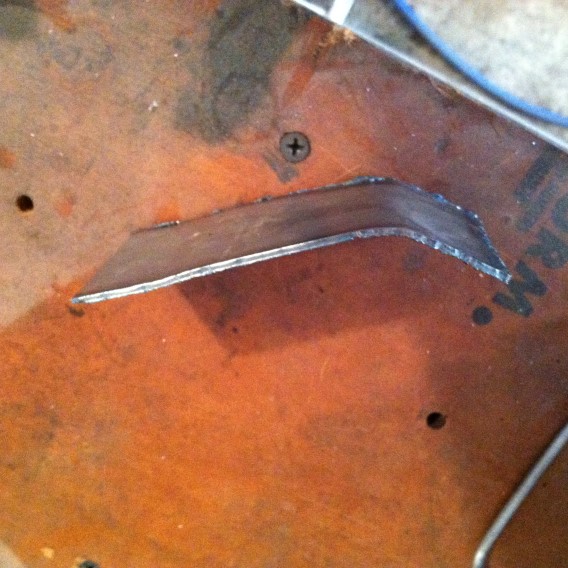
Clamped it to the firewall bracket: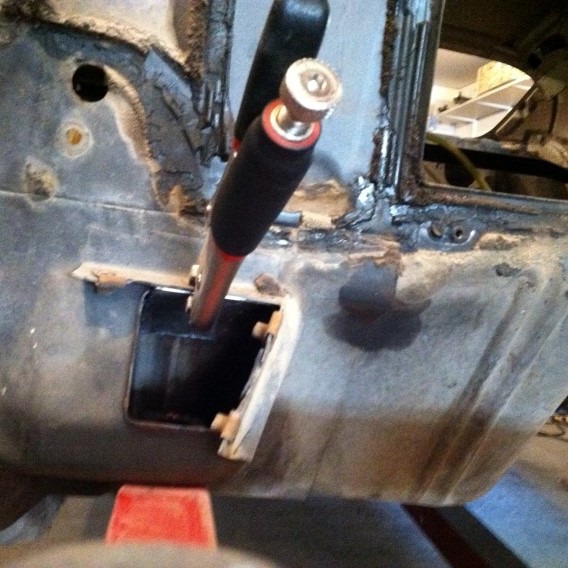
View from inside ready for patch piece: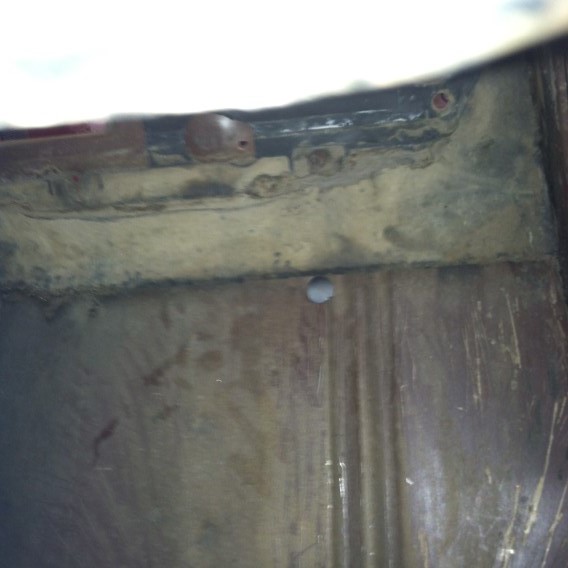
Fabricated plug: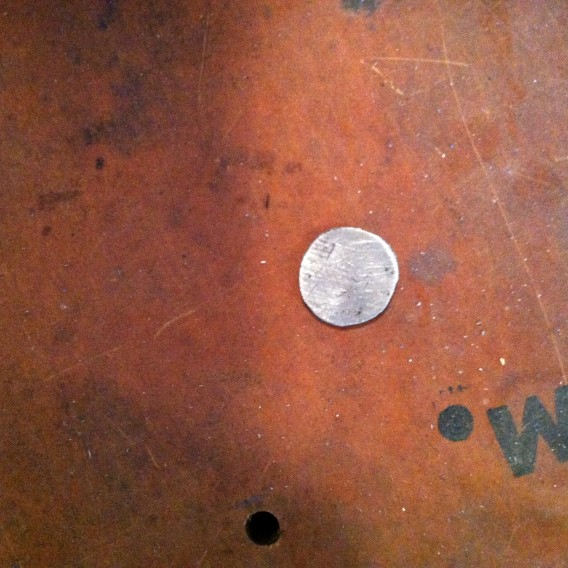
Clean the metal for welding: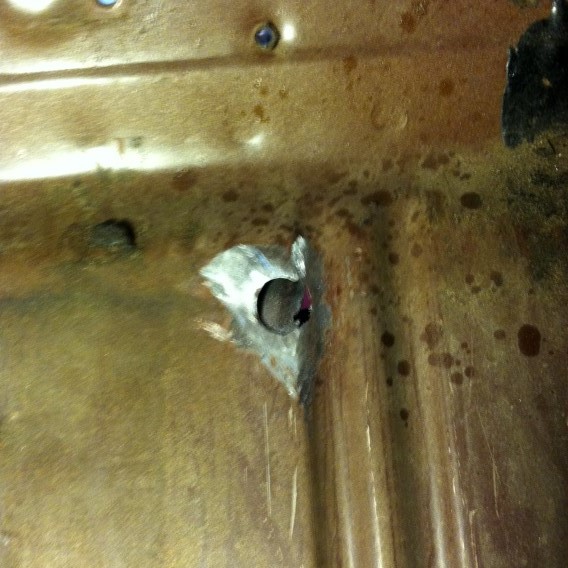
Place the fabricated plug in to but-weld: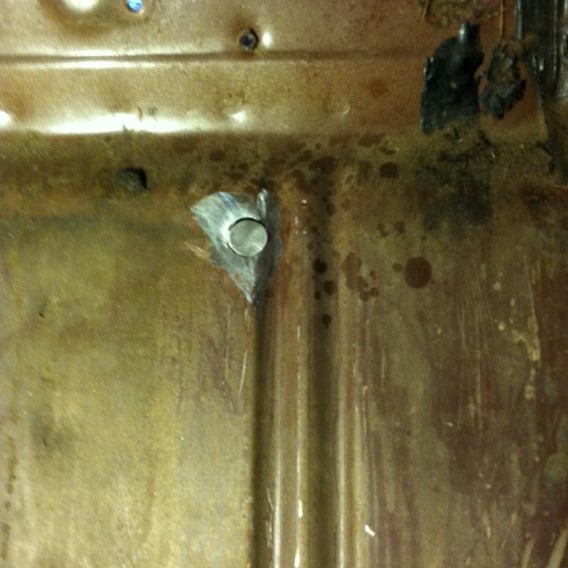
Fabricate another piece for a lap weld: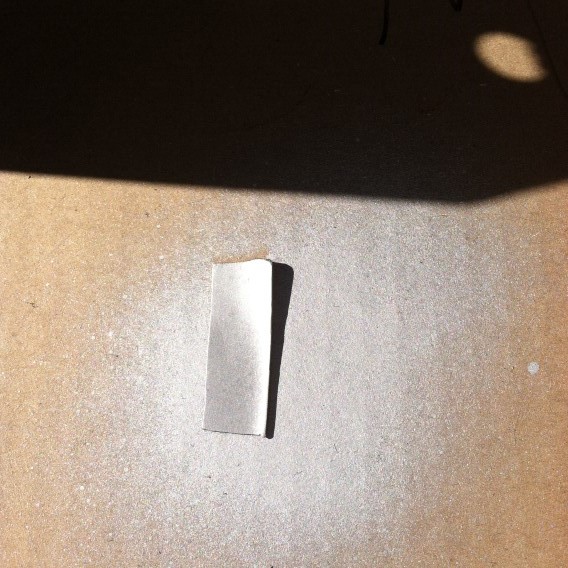
First pass at welding: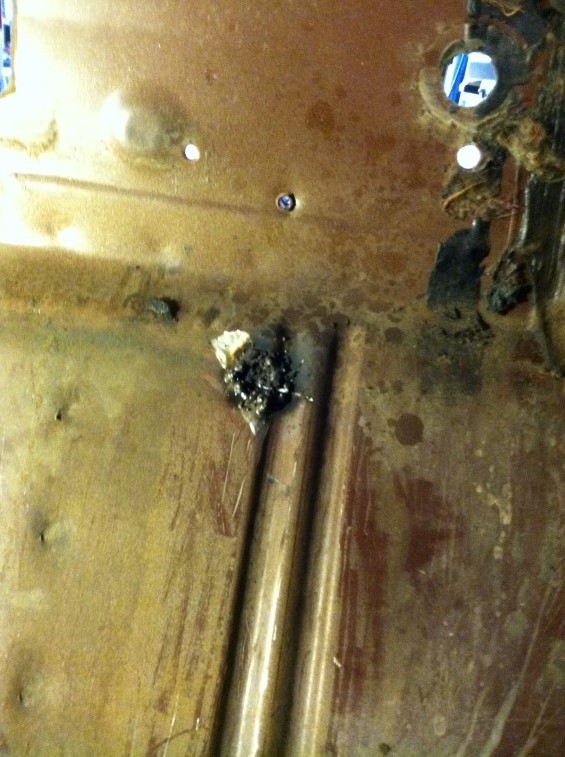
A little grinding: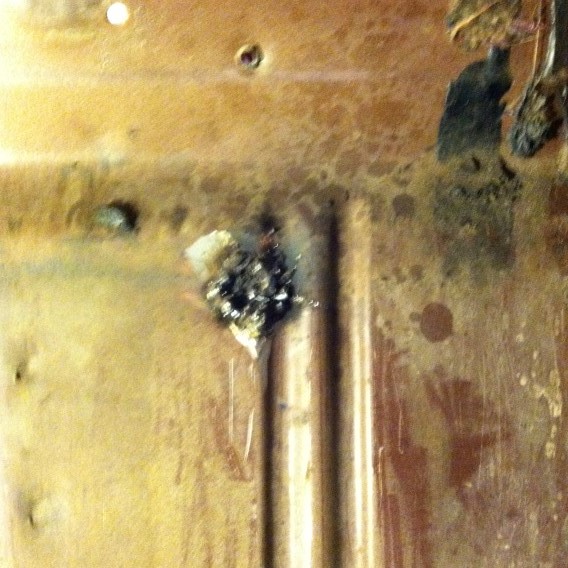
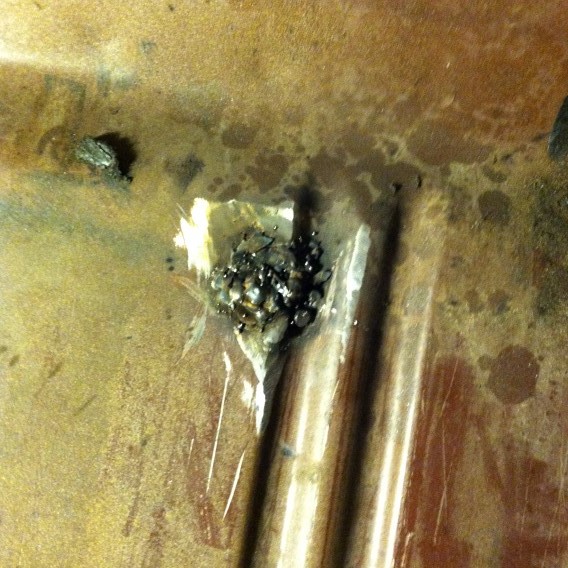
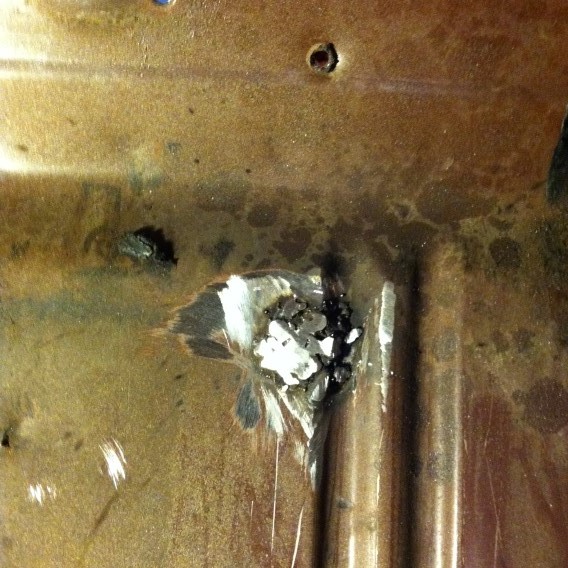
Lap weld other piece in: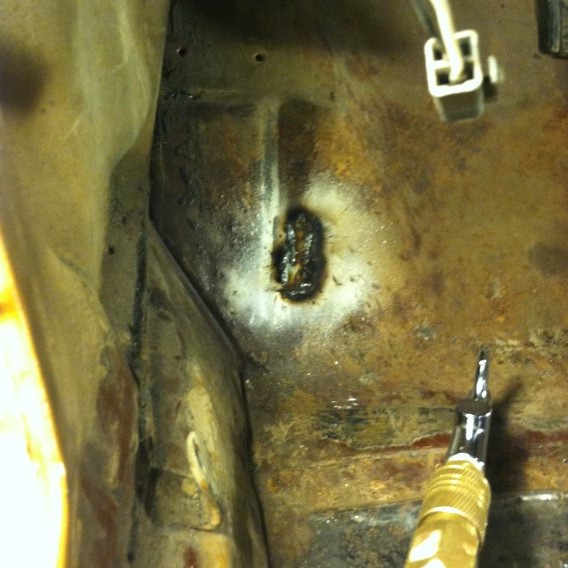
Grind the welds down: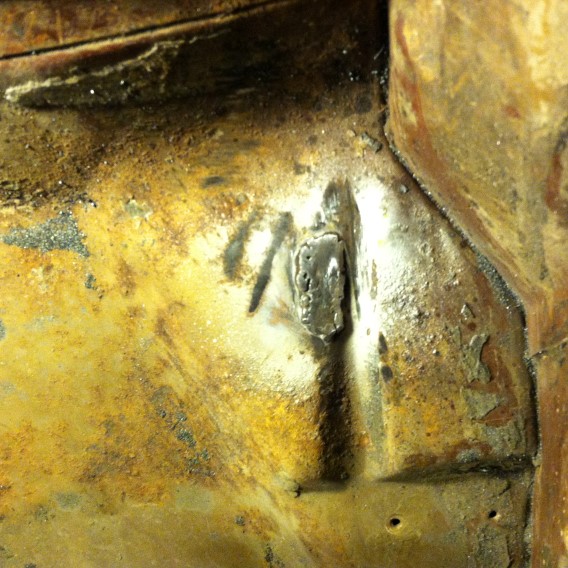
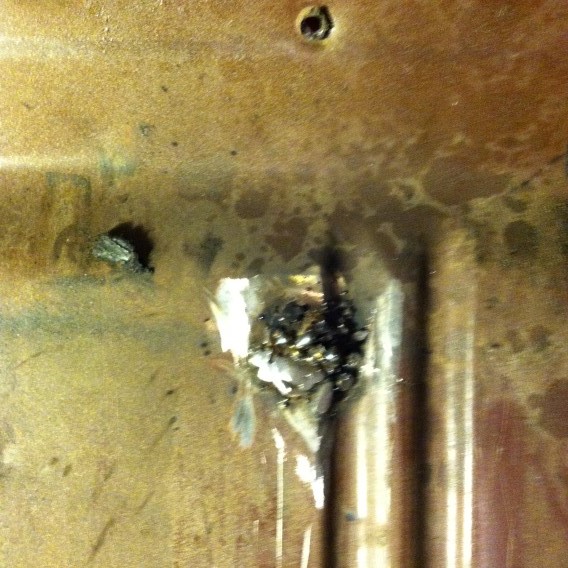
The piece is not flush with the car, so I decided to fill it in with more welds: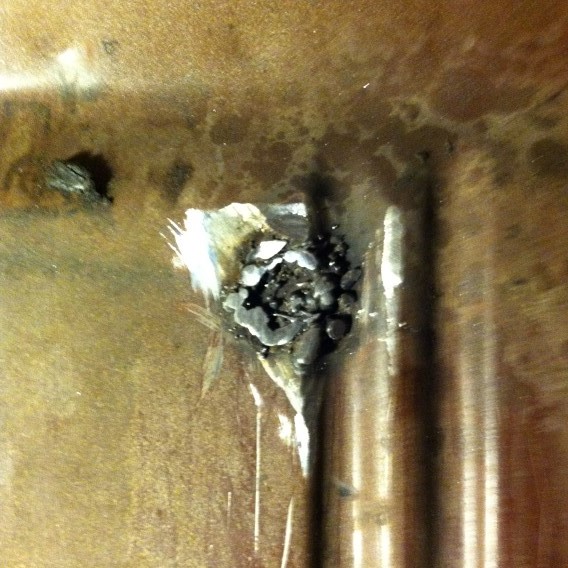
More grinding shows some more welding was required: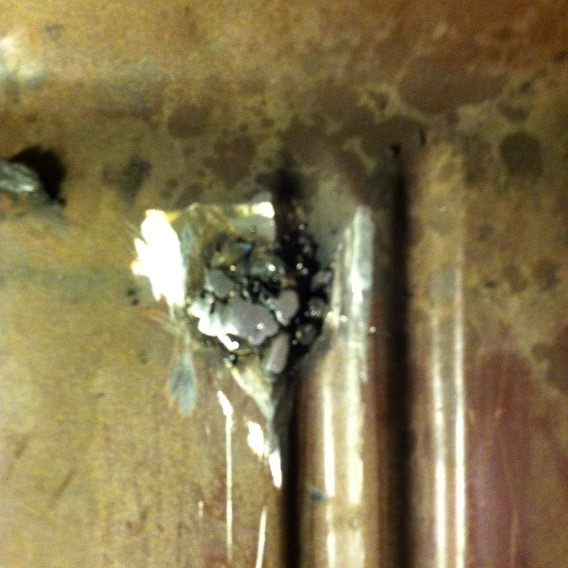
View from other side: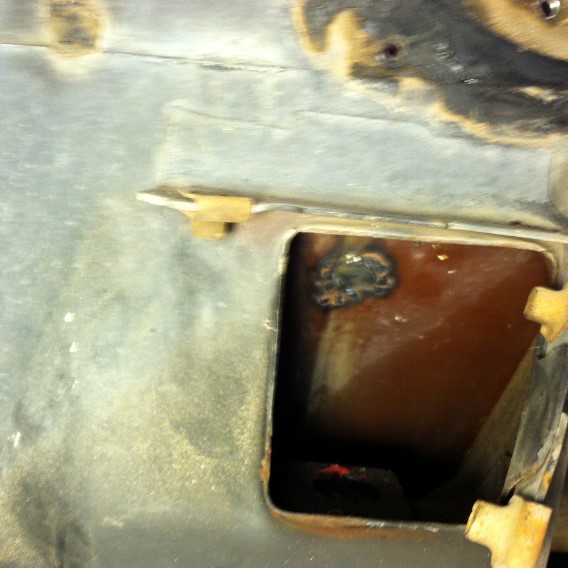 Treated the metal with Eastwood Metal Prep – will shoot some primer this next week. Bought a dehumidifier for the garage which should help.