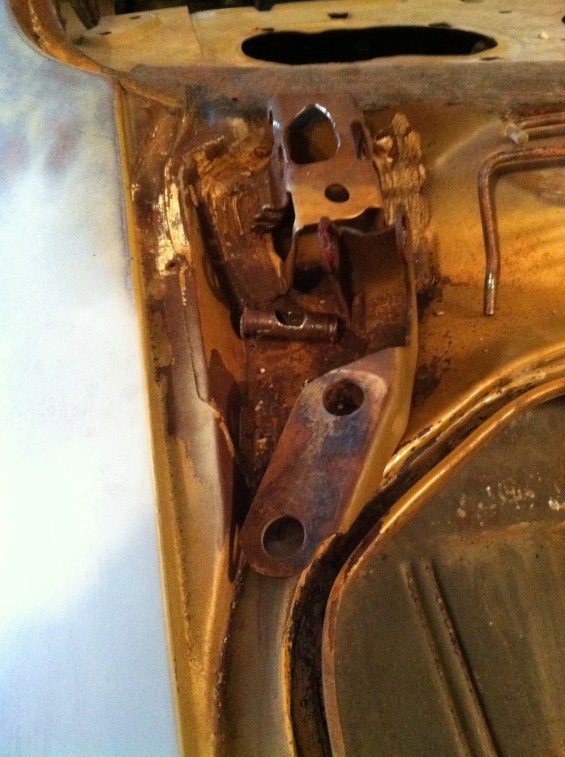
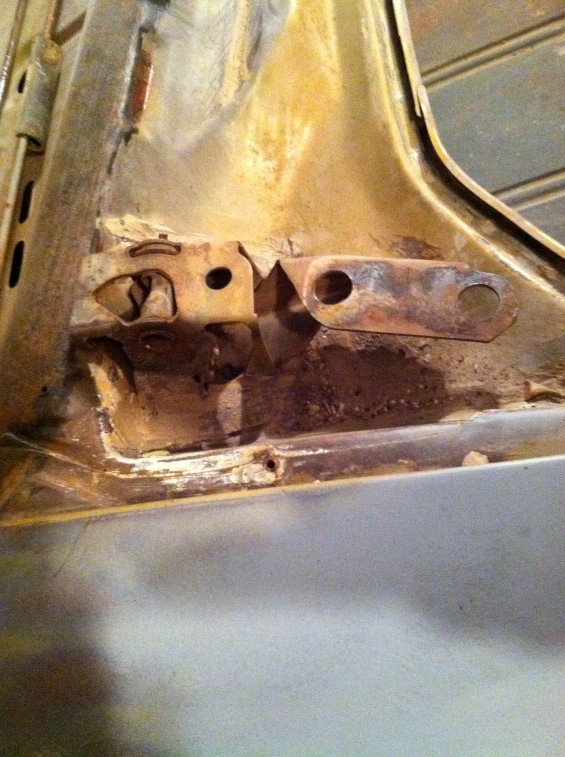
Disassembled the rear trunk hinges:
Had to use some WD-40 and grease to get things apart…

Disassembled the rear trunk hinges:
Had to use some WD-40 and grease to get things apart…
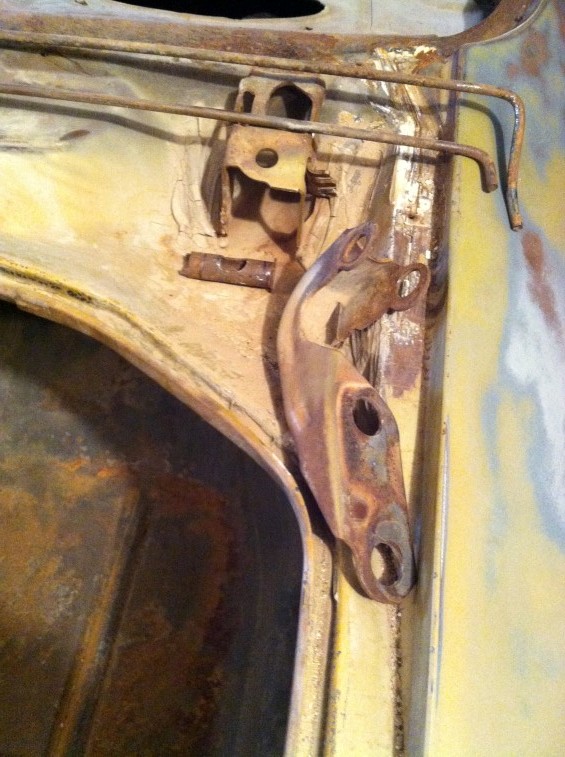
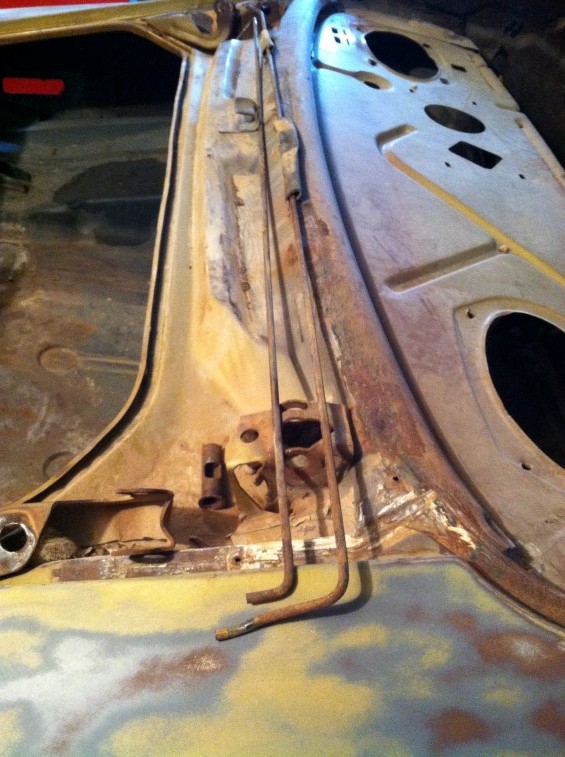
OK, a couple of beers and researching how to remove the trunk torsion springs, I went outside and dove into the project. I went out to study the situation and one thing led to another and before I knew it, I was able to remove the trunk torsion springs without doing any damage:
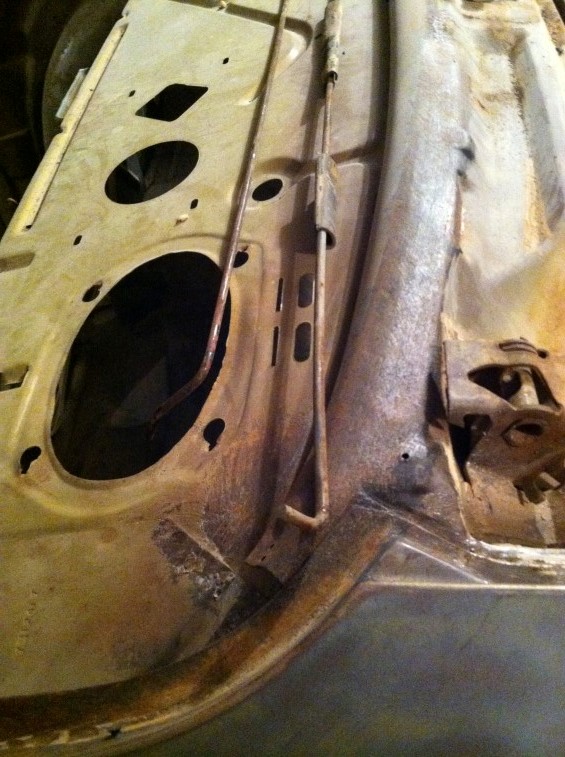 Basically what I did was to move each side to the lowest notch using a socket over the bar, then I removed the springs from the middle catch, and finally removed the springs from the last hooks using some vice grips and screw drivers. I would suggest protecting the windows and body when doing this as they are under a lot of tension. One person can do this, but an extra set of hands would make it easier.
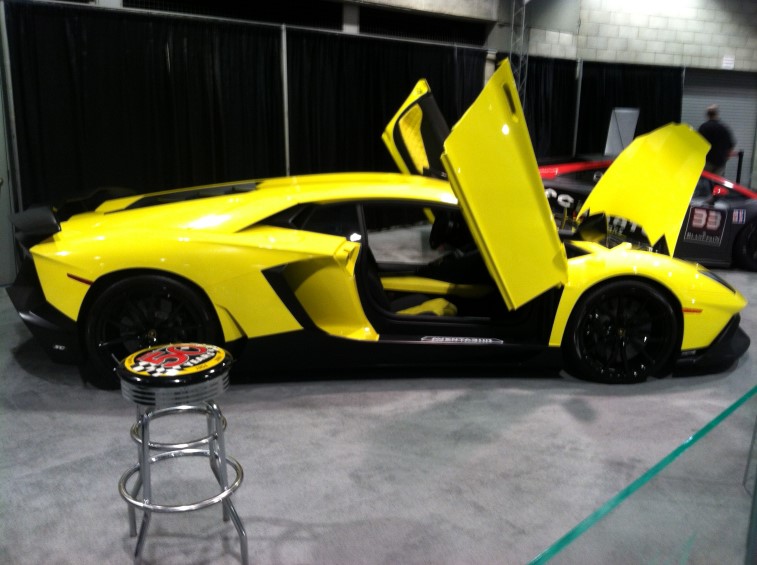
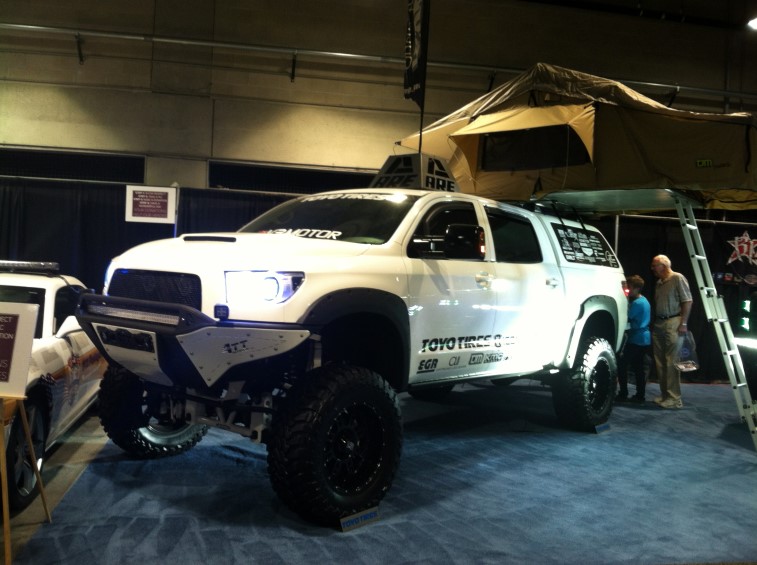
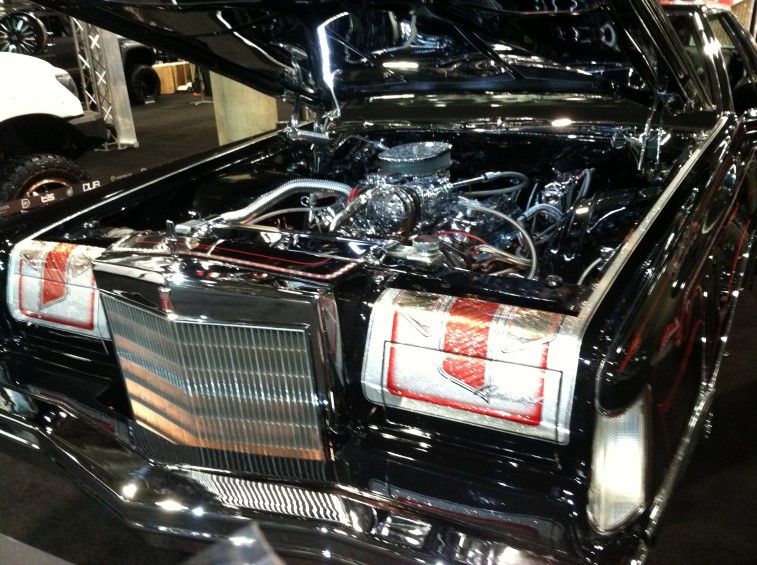
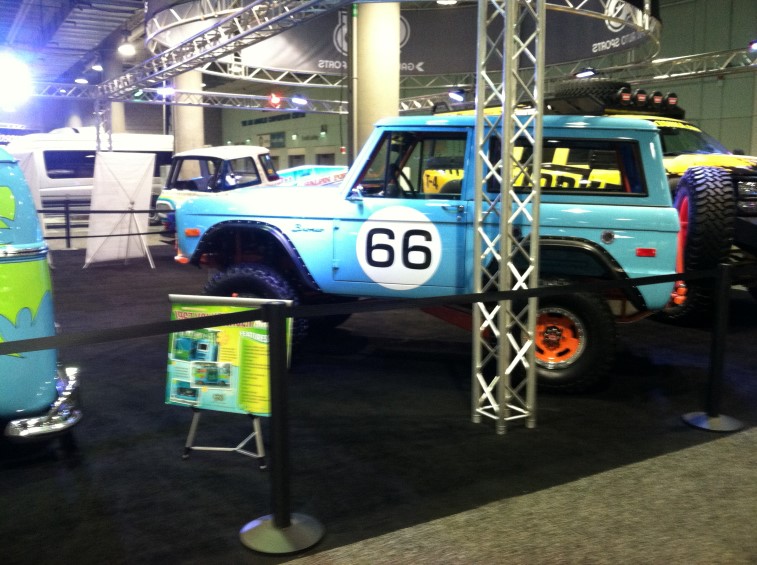
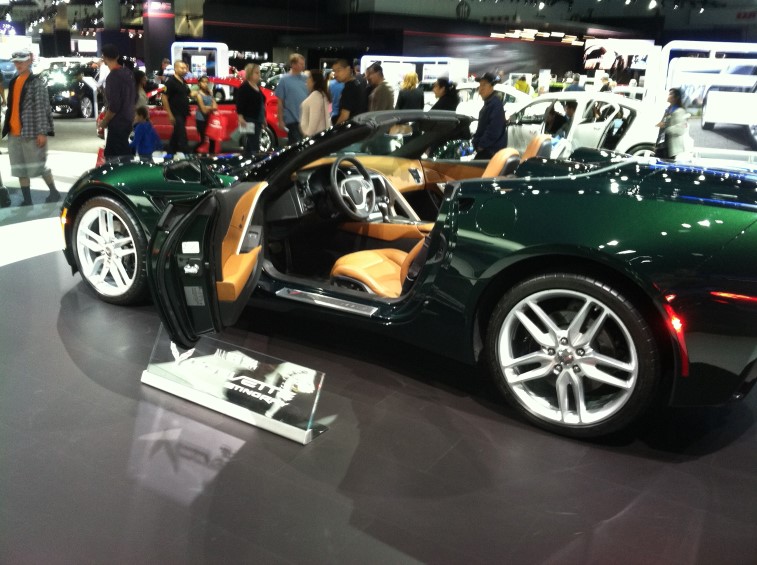
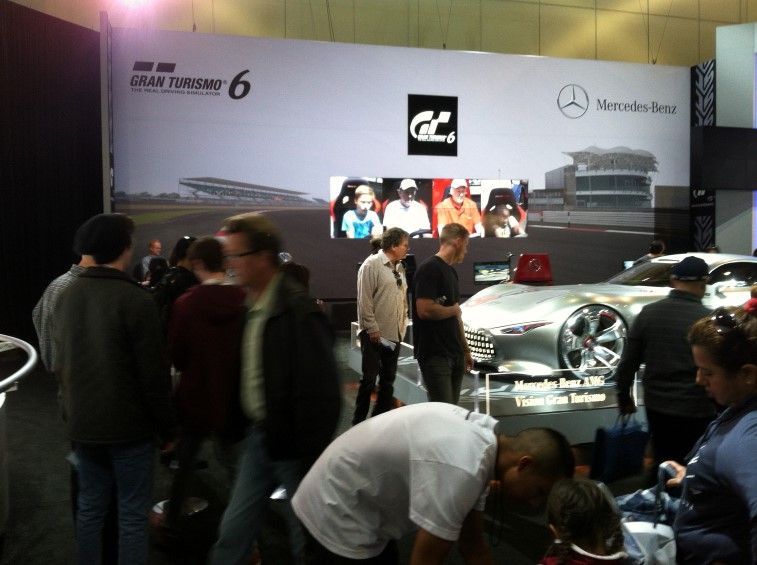
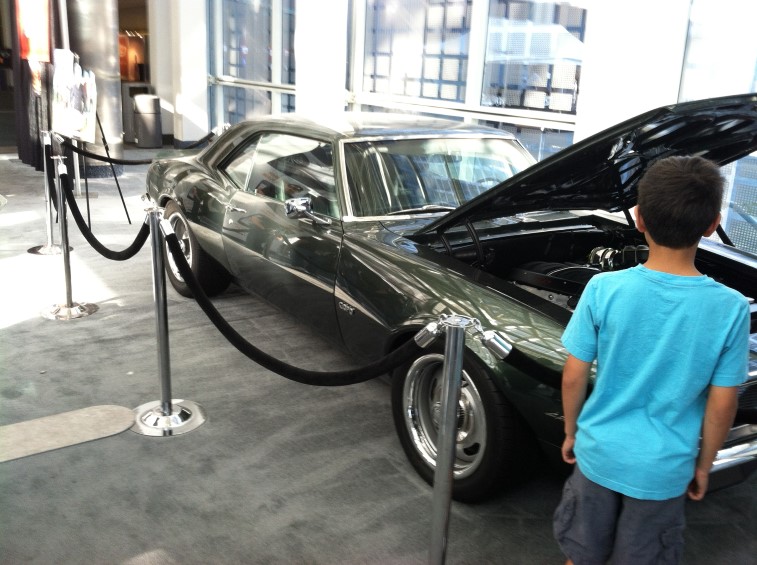
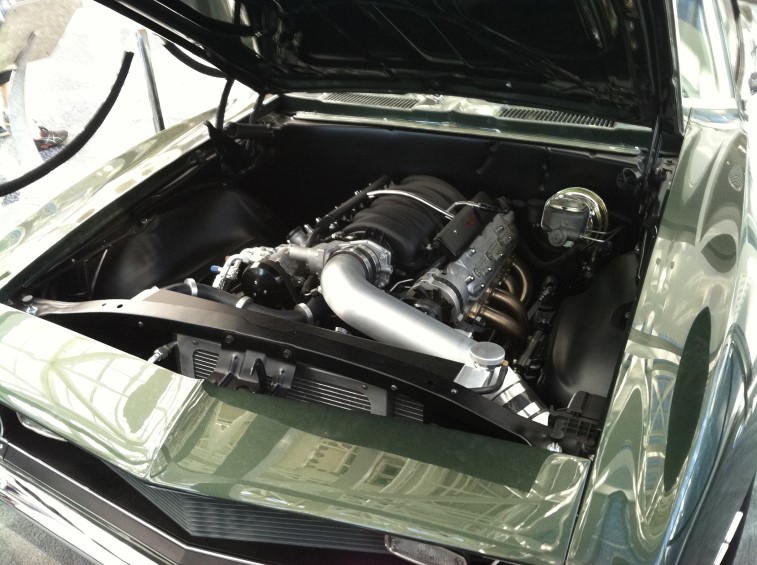
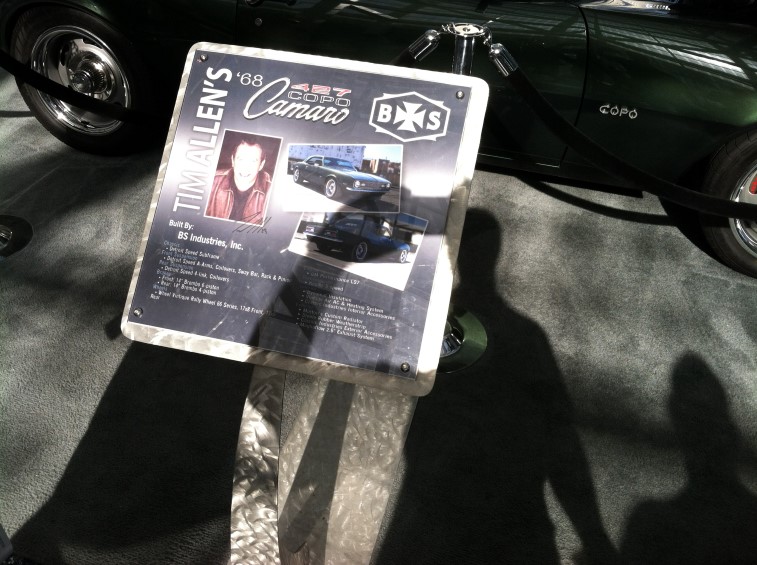
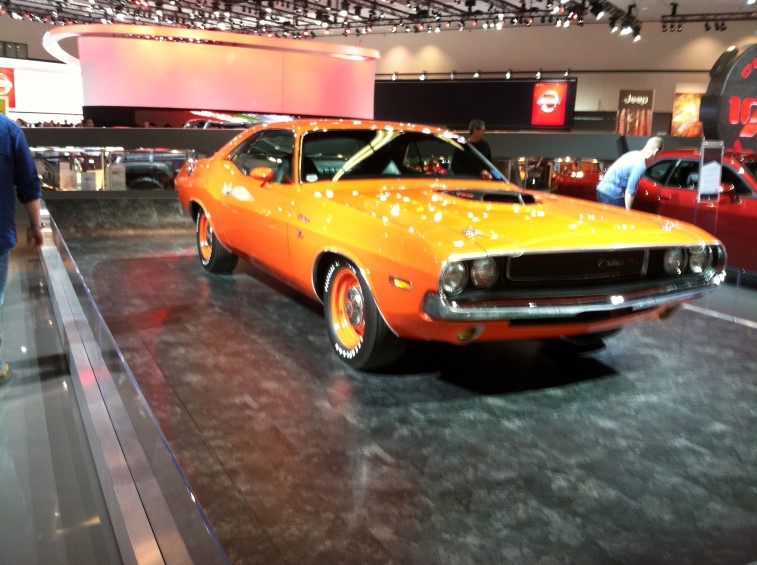
Went to the 2013 LA Auto Show yesterday. Here are some pics from it:


Bought a 70 Pint Dehumidifier for the garage. Had it in about a week now and is keeping the garage within 45%-50% humidity!
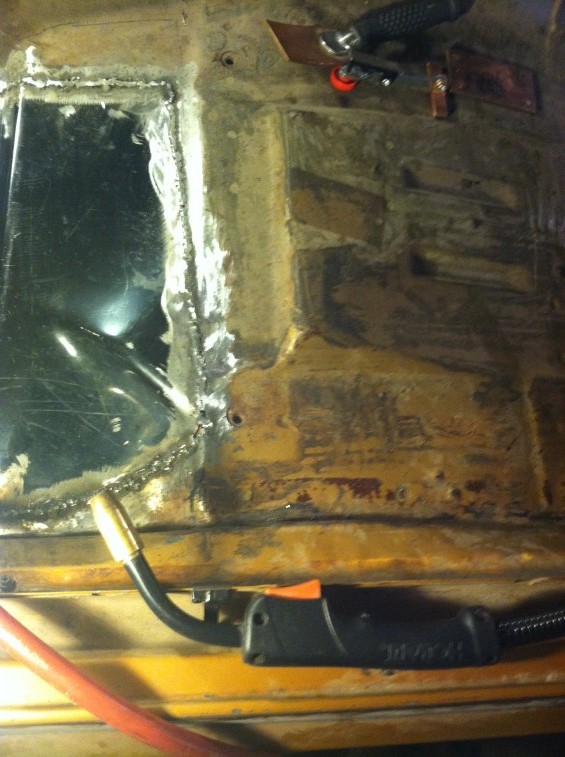
Got some more body work done:
Patch panel ready for some primer to hold it over until Spring:
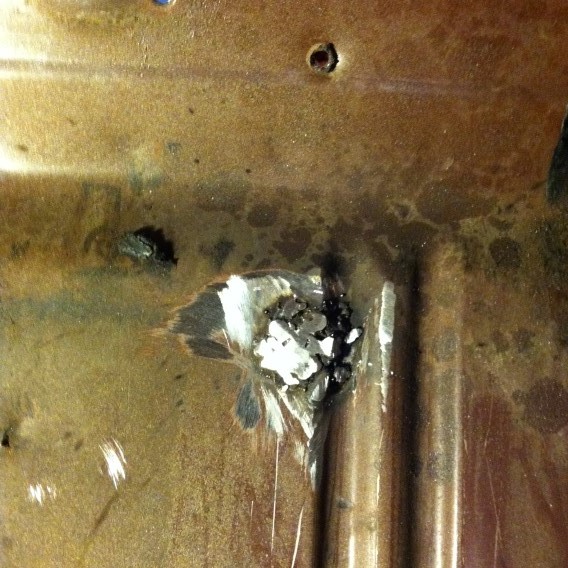
Fabricated a piece to hold a plug I patched: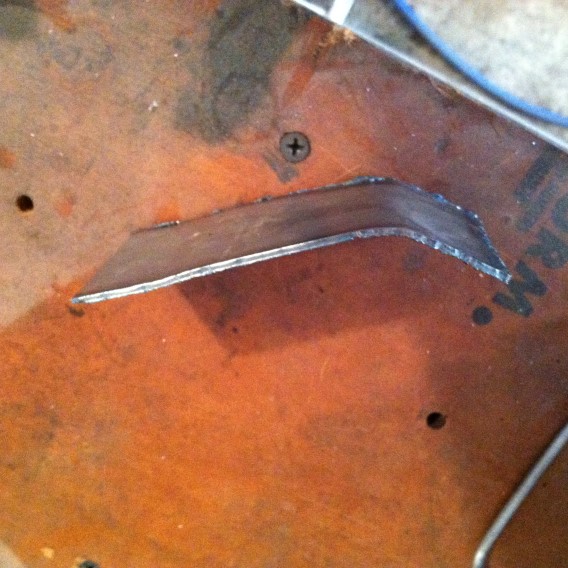
Clamped it to the firewall bracket: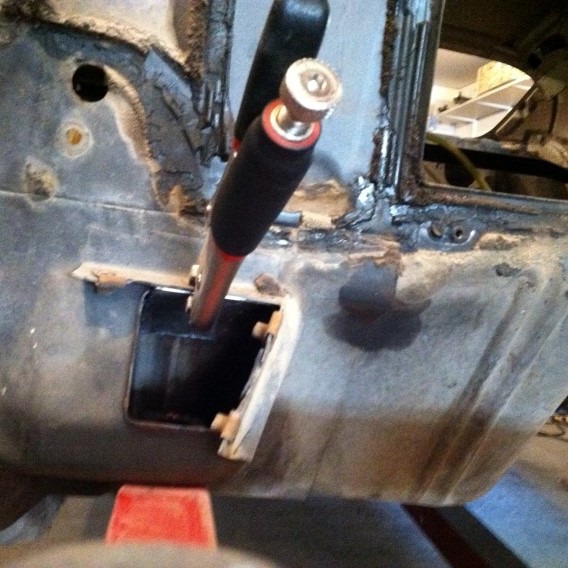
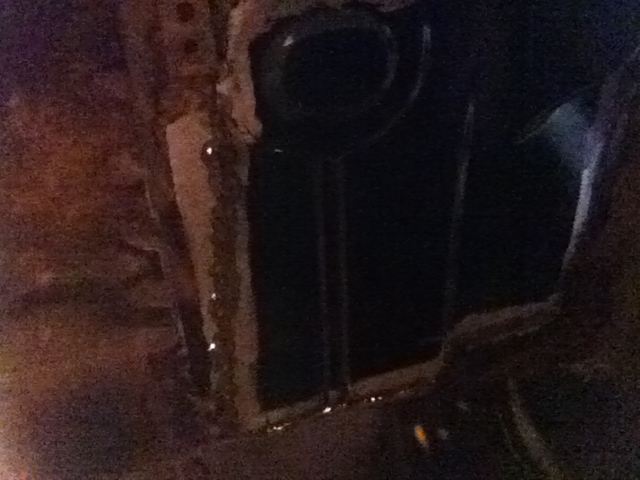
View from inside ready for patch piece: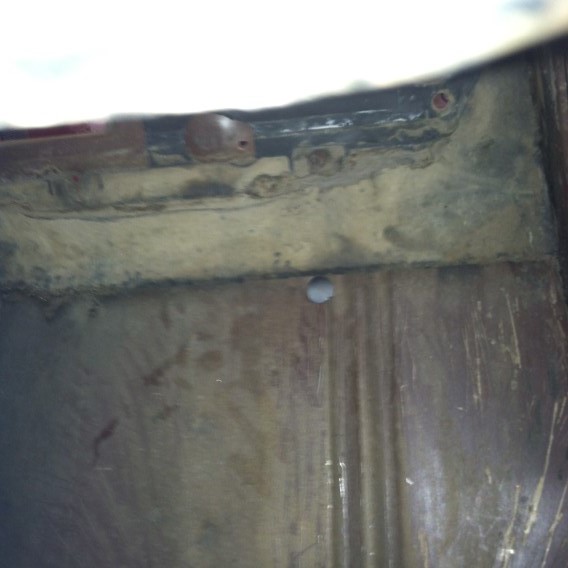
Fabricated plug: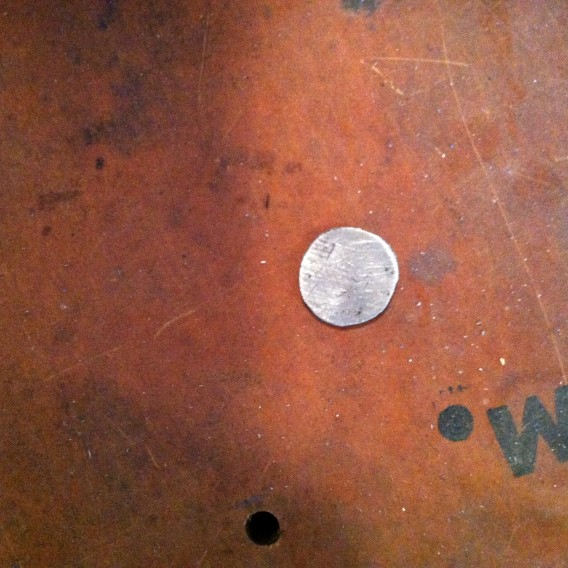
Clean the metal for welding: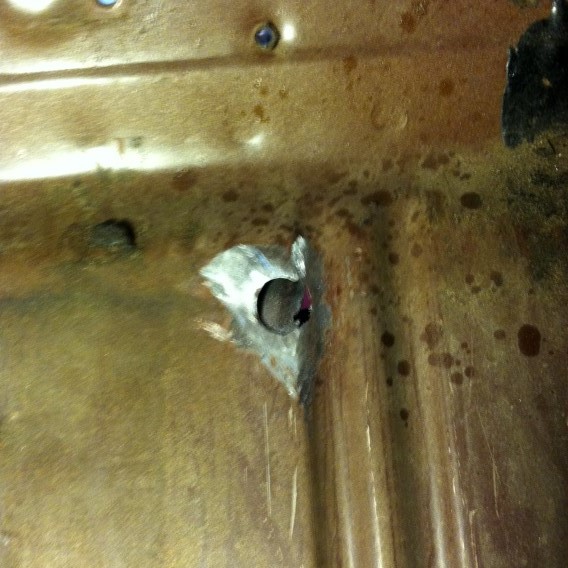
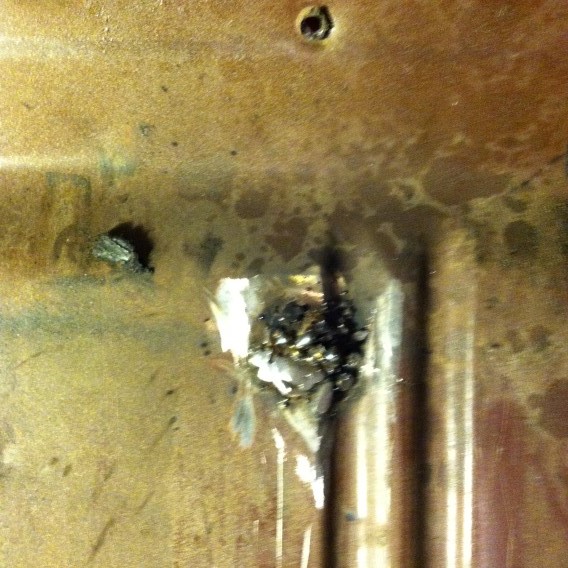
Place the fabricated plug in to but-weld: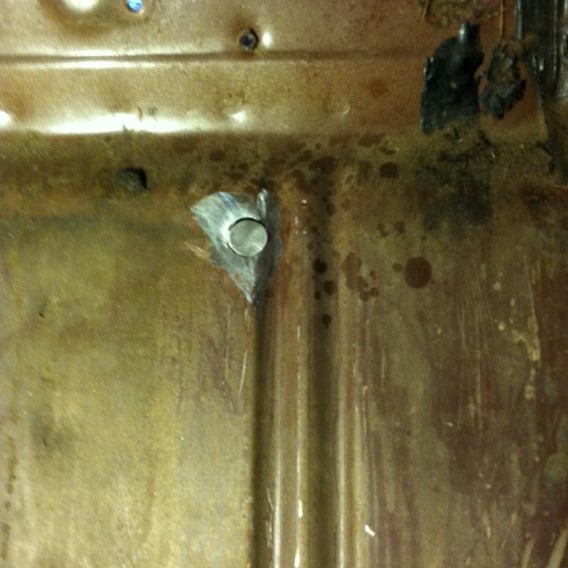
Fabricate another piece for a lap weld: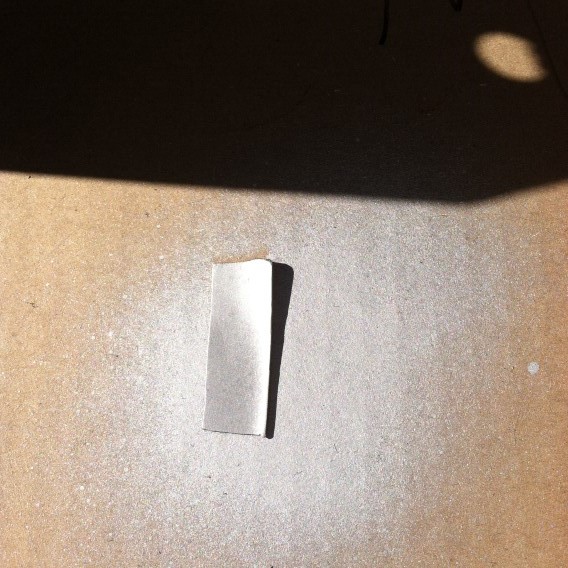
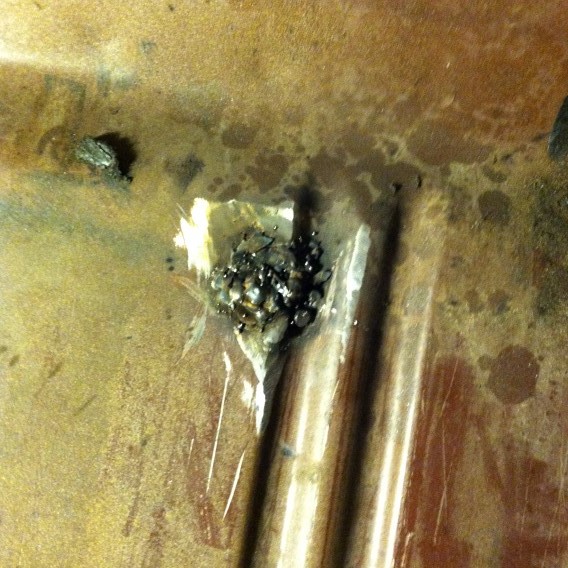
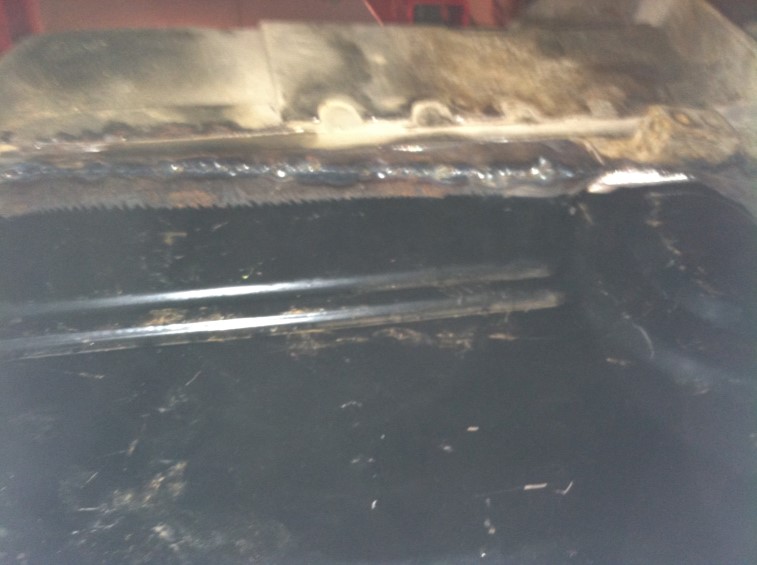
First pass at welding: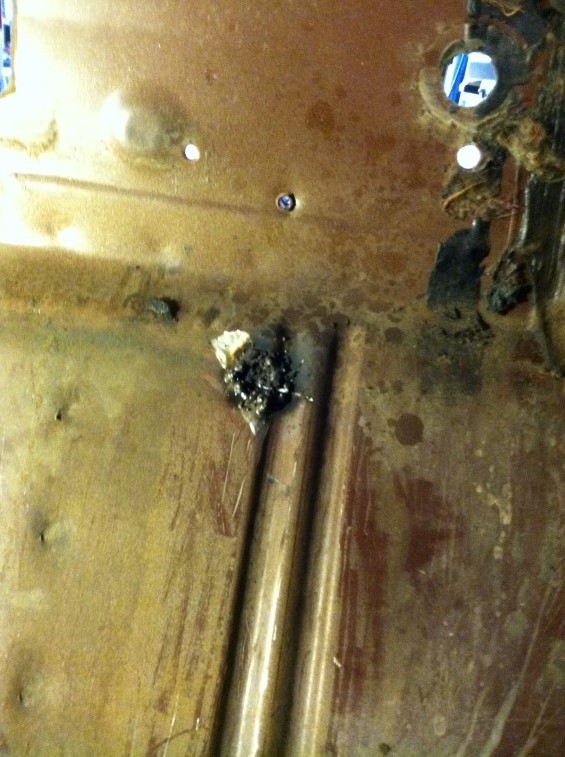
A little grinding: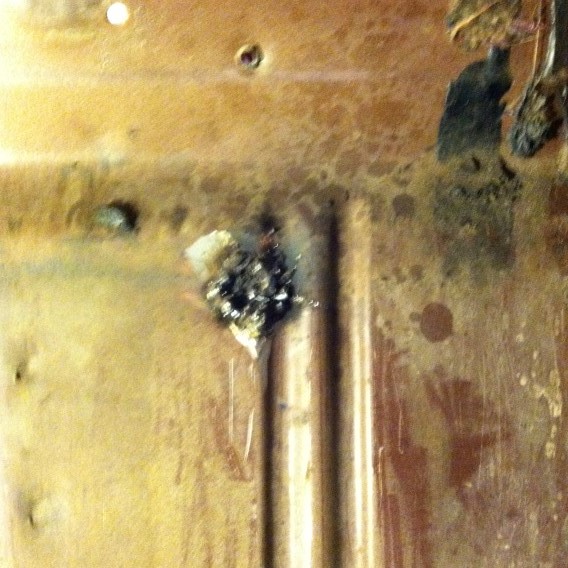
Lap weld other piece in: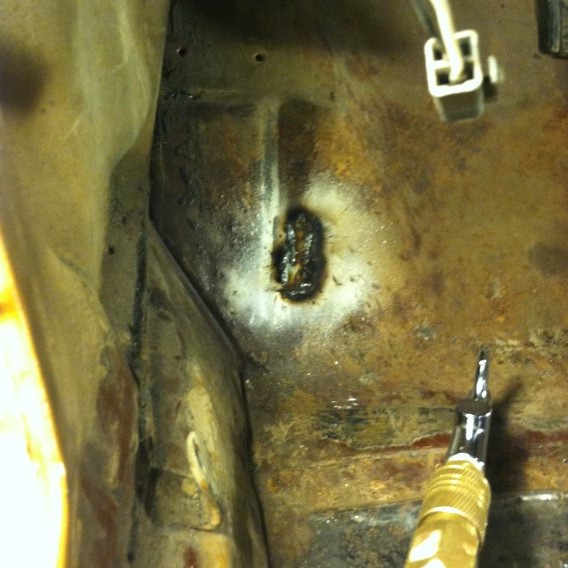
Grind the welds down: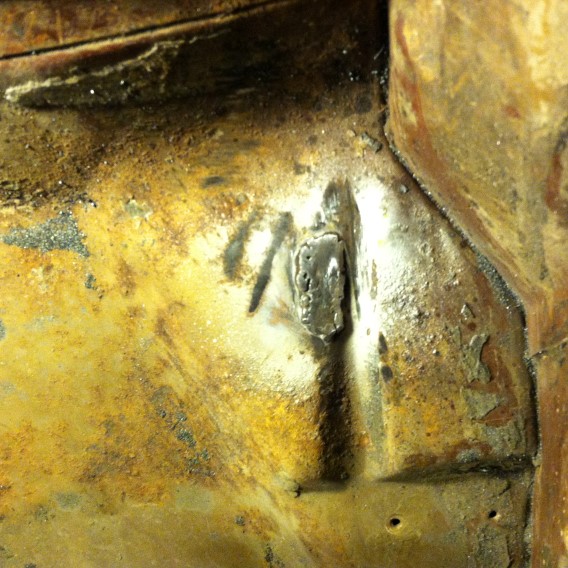
The piece is not flush with the car, so I decided to fill it in with more welds: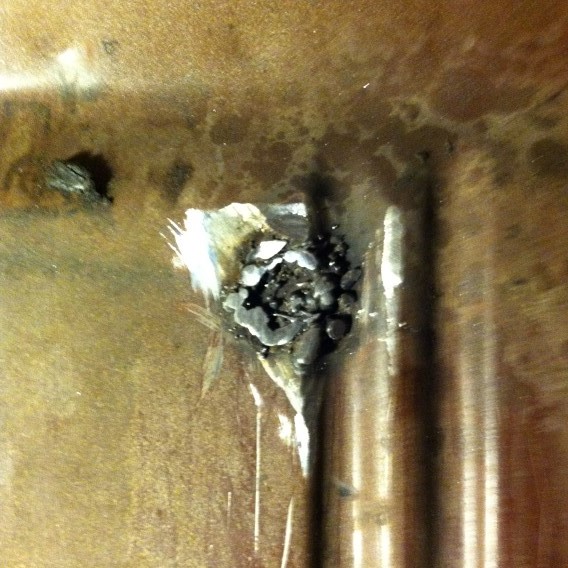
More grinding shows some more welding was required: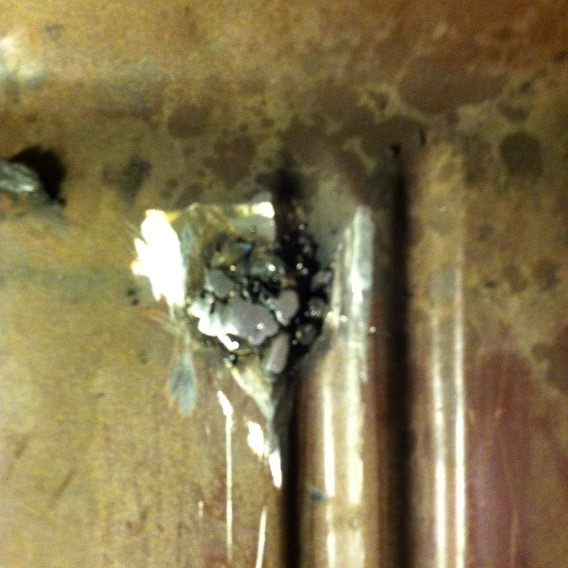
View from other side: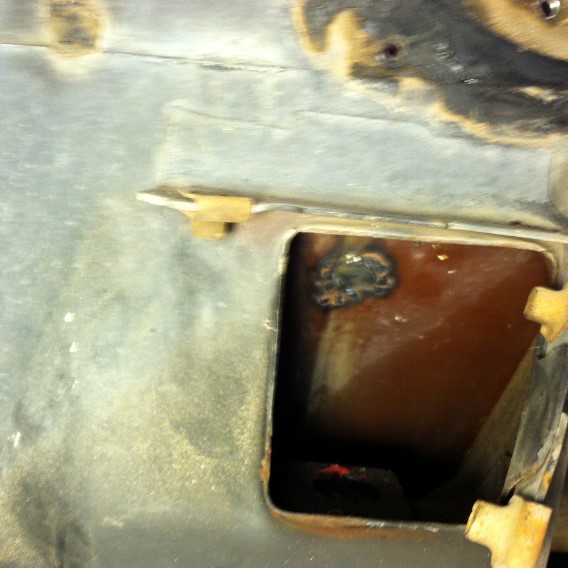 Treated the metal with Eastwood Metal Prep – will shoot some primer this next week. Bought a dehumidifier for the garage which should help.
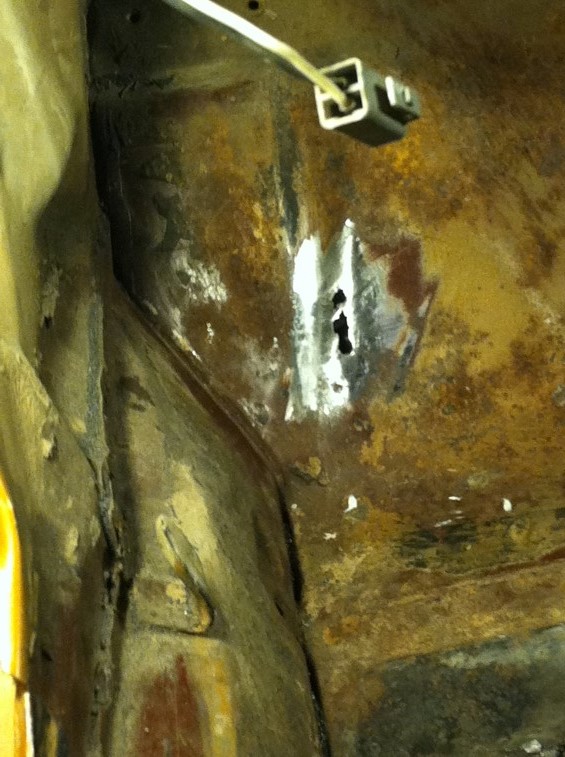
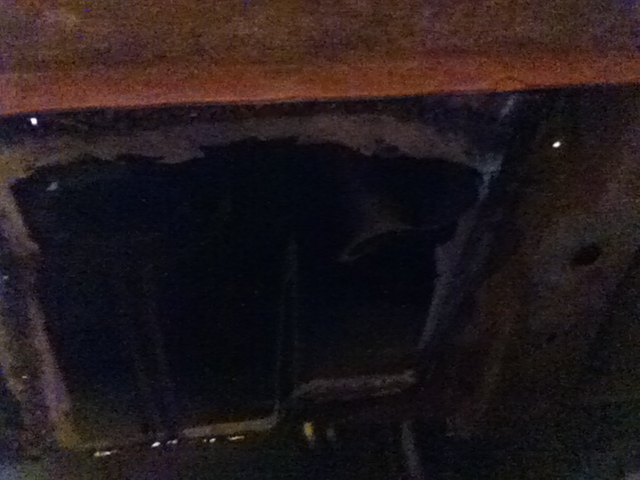
Did a little in the garage tonight. Decided to go with a lap weld for the drivers side hole. The firewall bracket is on the opposite side, so I can’t get a copper backing behind it to help with welding it. So today, I sanded it down and sprayed some weld-thru primer on it (after cleaning the metal). Still need to cut and form the piece to cover it and weld it in.
Had to sand part of it with sandpaper manually as the disc couldn’t access some of the curves easily:
Weld-thru primer: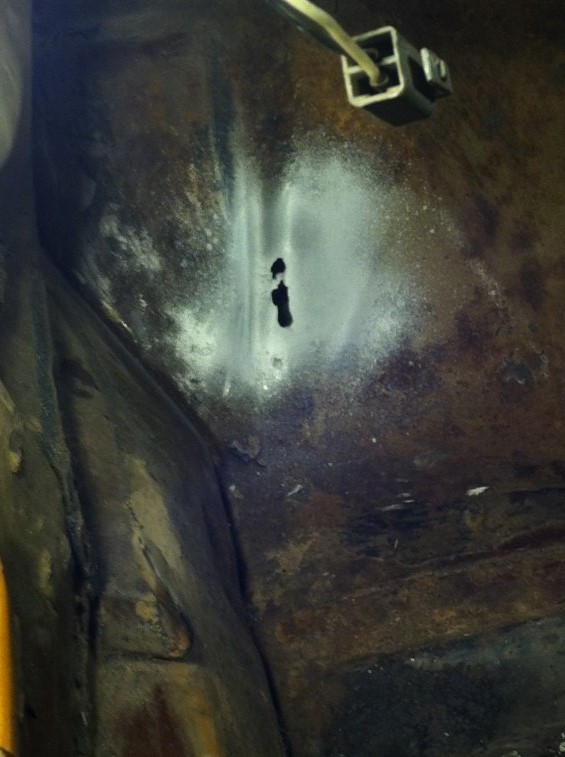
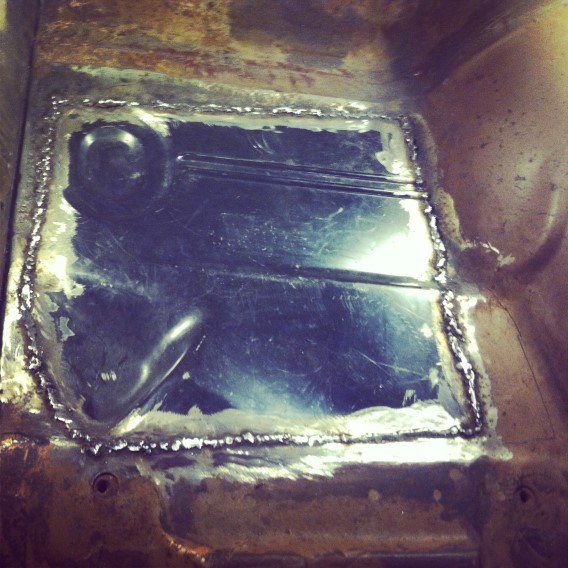
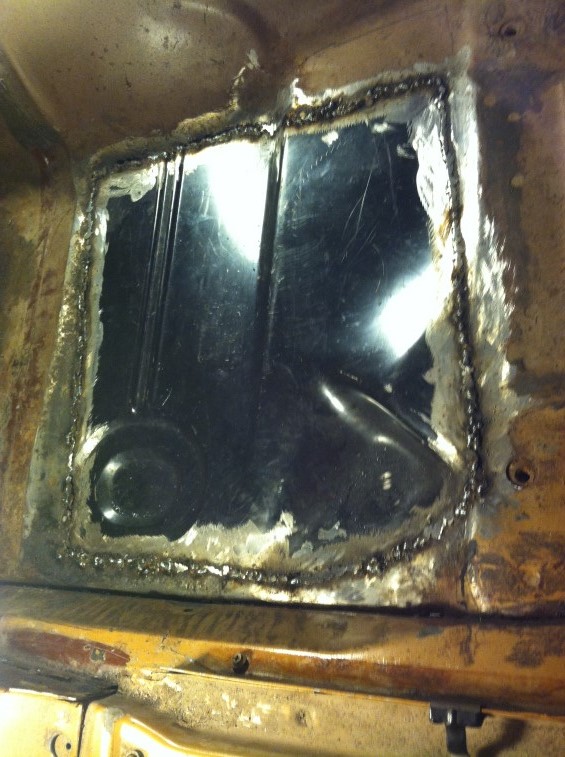
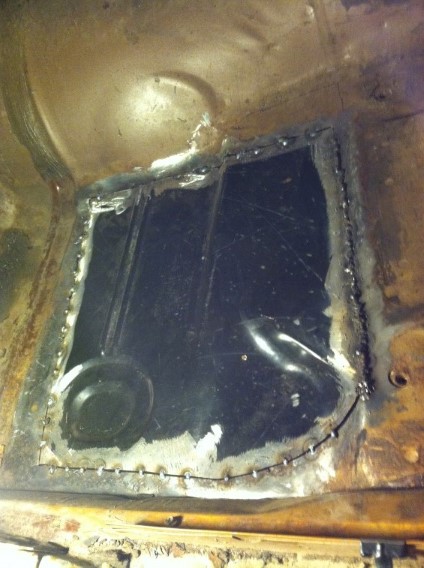
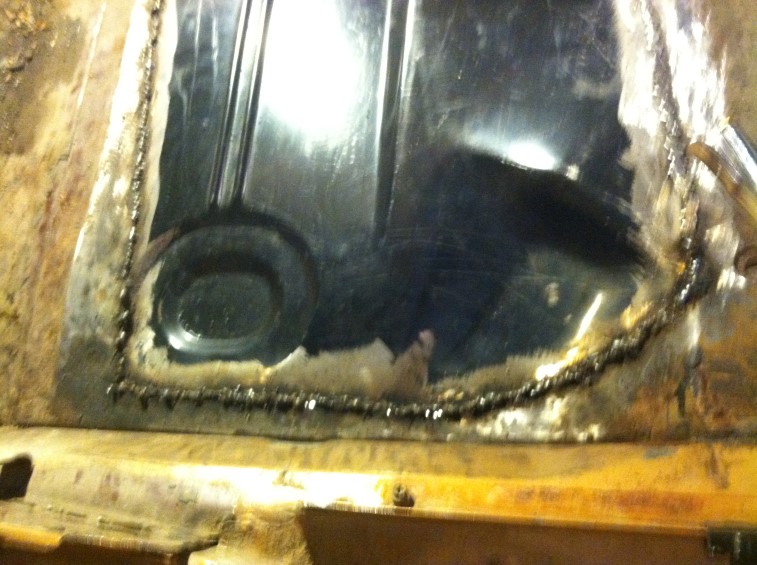
Almost done with the patch panel. Still need to grind the welds on the bottom and then spray some Epoxy primer on it:
After my first pass at welding, looking at it from the bottom showed some areas where the light was shining through that needed to be gone over. So after grinding the welds, re-welding and re-grinding, I think it is finally acceptable. Next summer, I will go over the floor and trunk with POR-15 Floor & Trunk kit which should get any remaining pin holes.

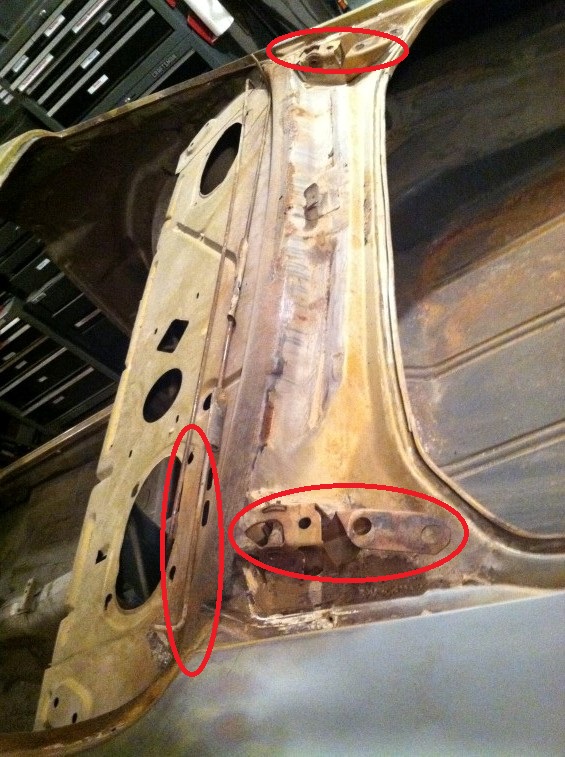
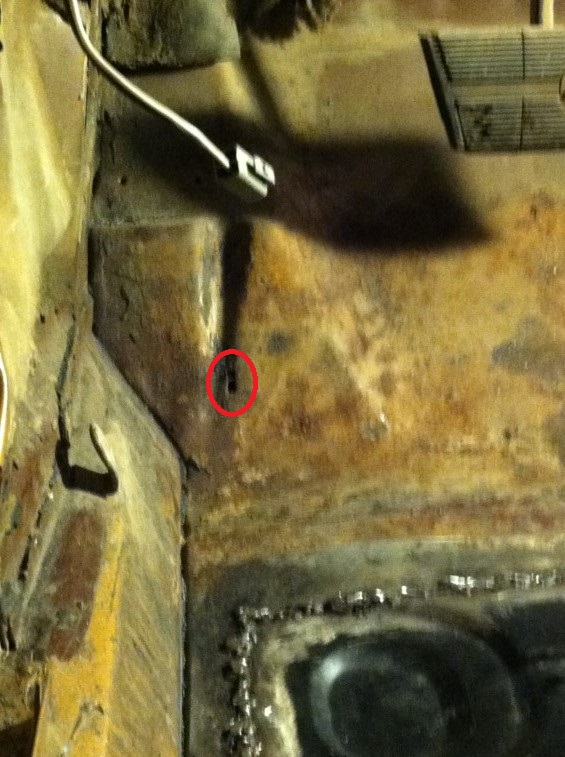
There are two small areas I think need patched. Need to verify on NastyZ28.com that these are not factory holes and needs to be patched. That should then wrap-up the body work until Spring 2014 when I sand and prime the main shell.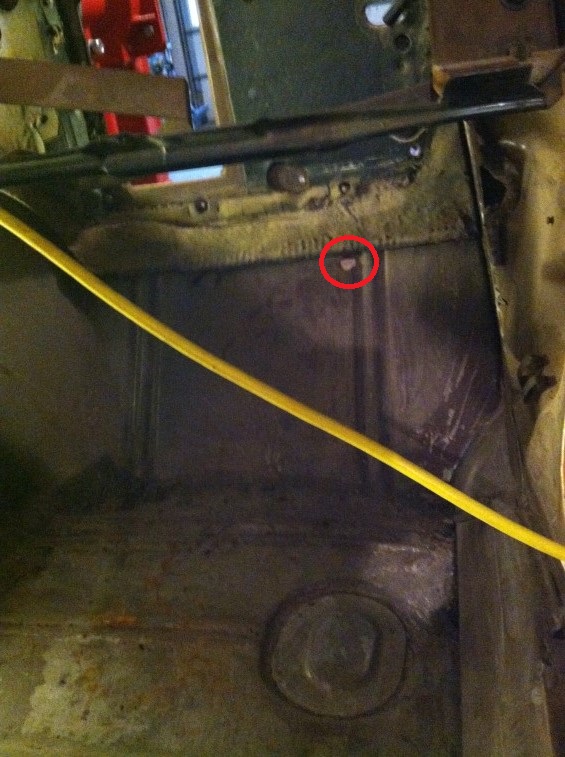
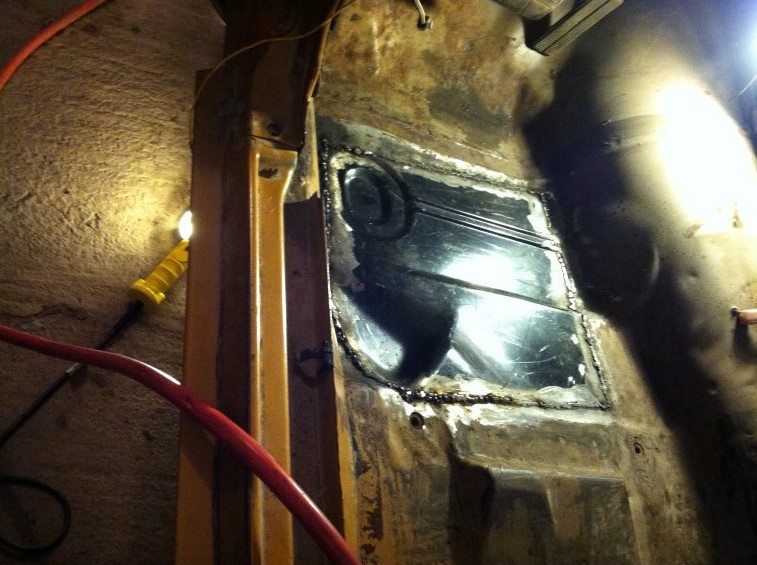
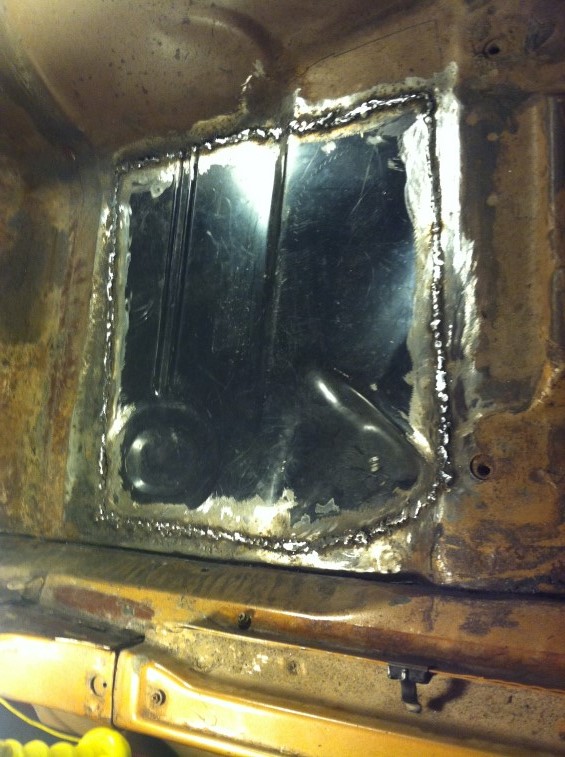
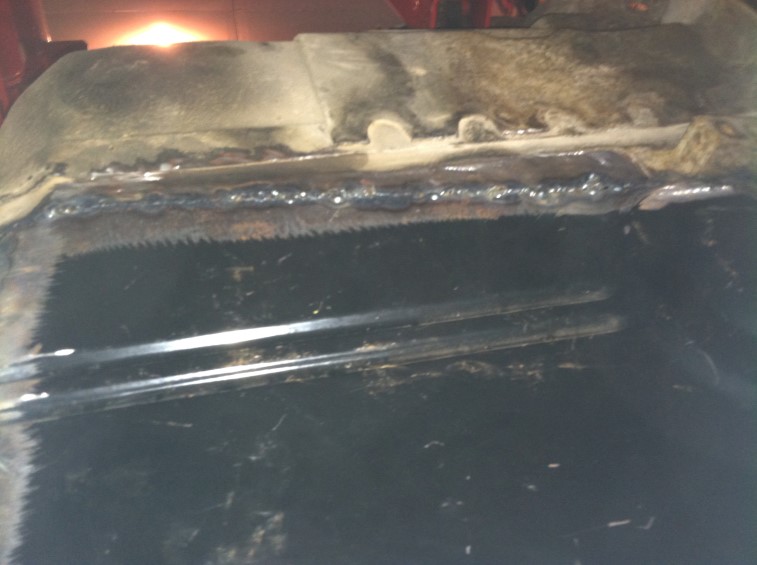
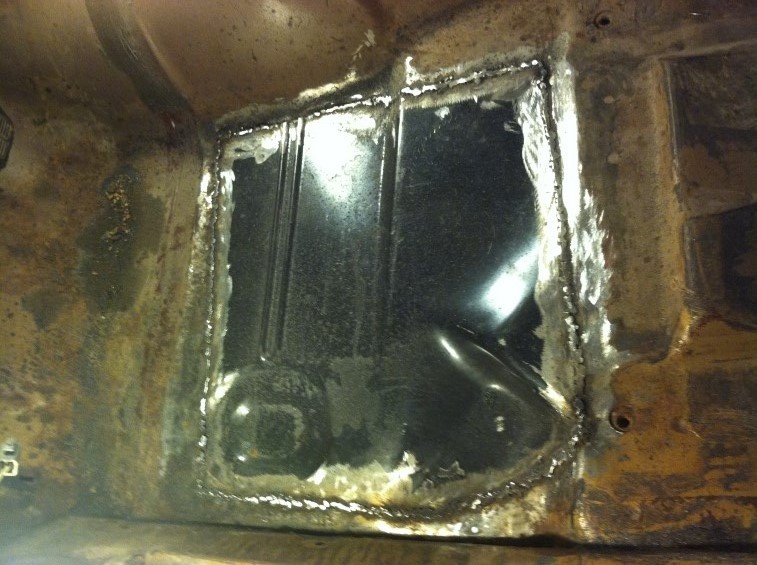
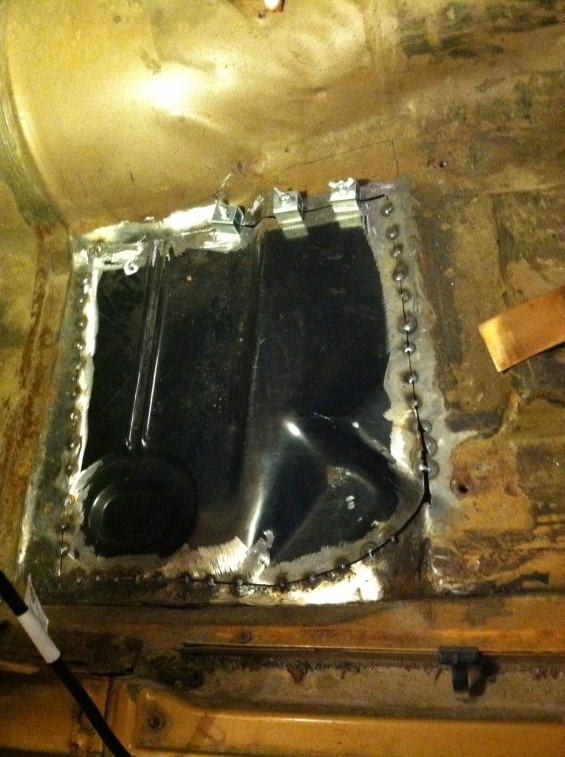
Latest updates on the patch panel. Most welding and grinding is done, there are still a few spots to re-do:
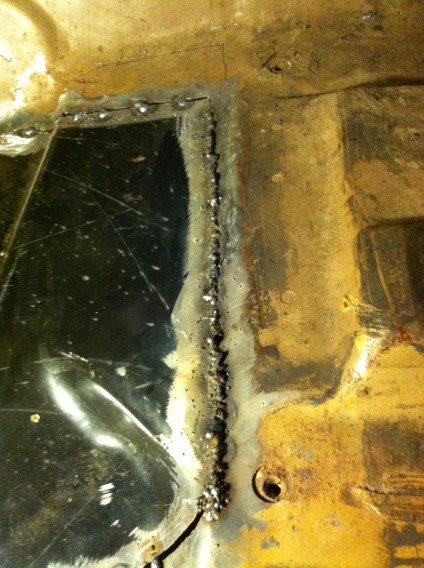
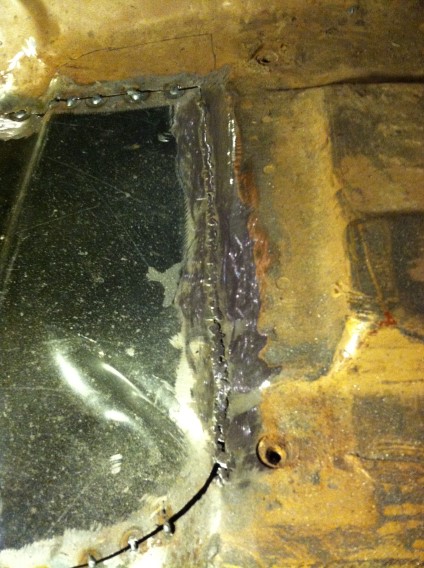
The welder wire got jammed up – had to fix the next day.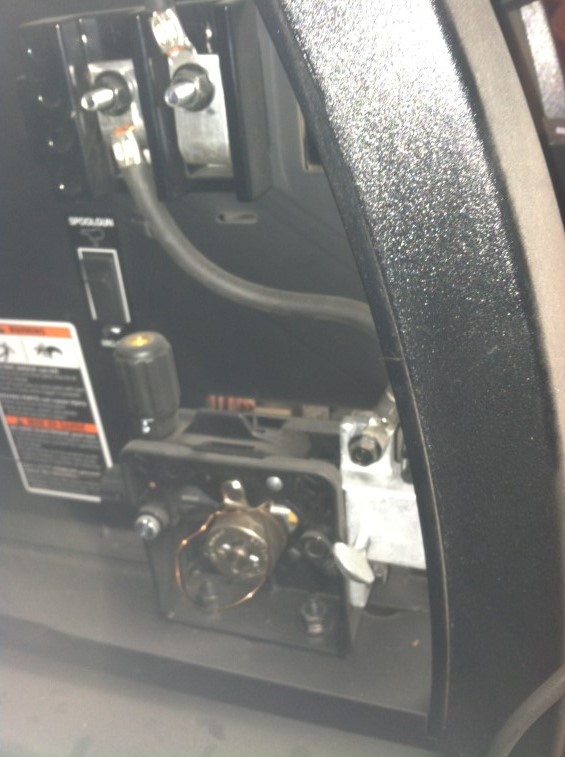
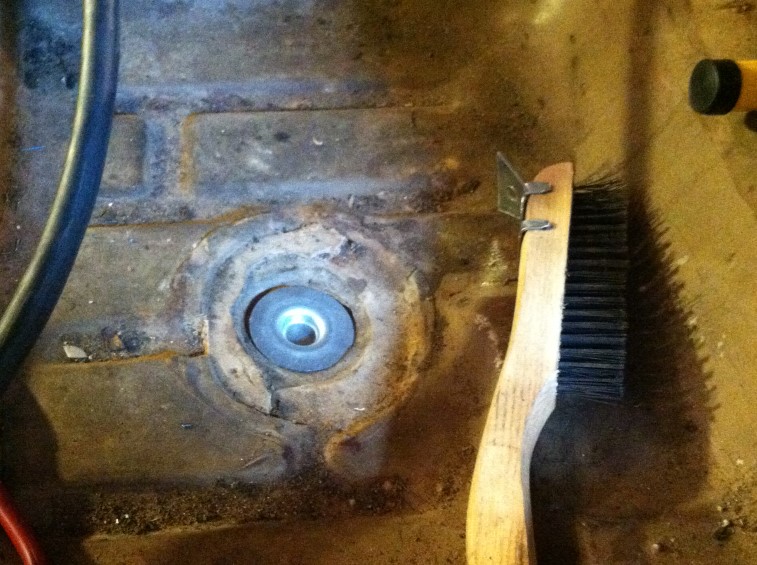
Also located a plug I needed (still need to seam seal it in):
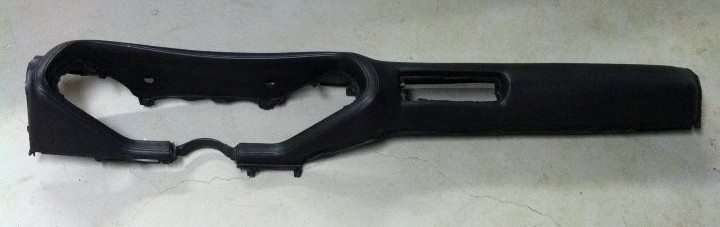
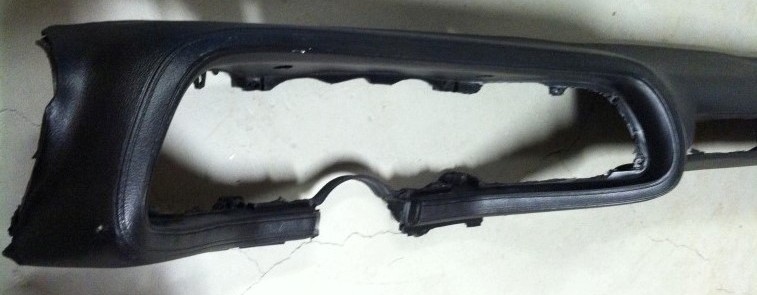
 Also pictures of a dash I acquired for the interior:
 Hope to not wait so long before the next update!
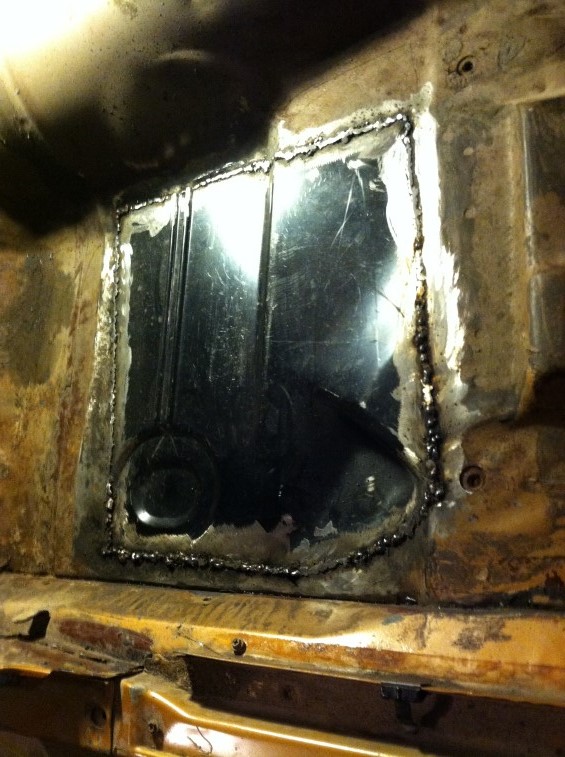
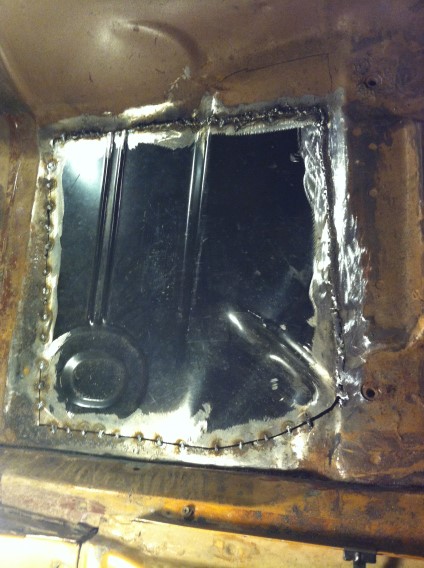
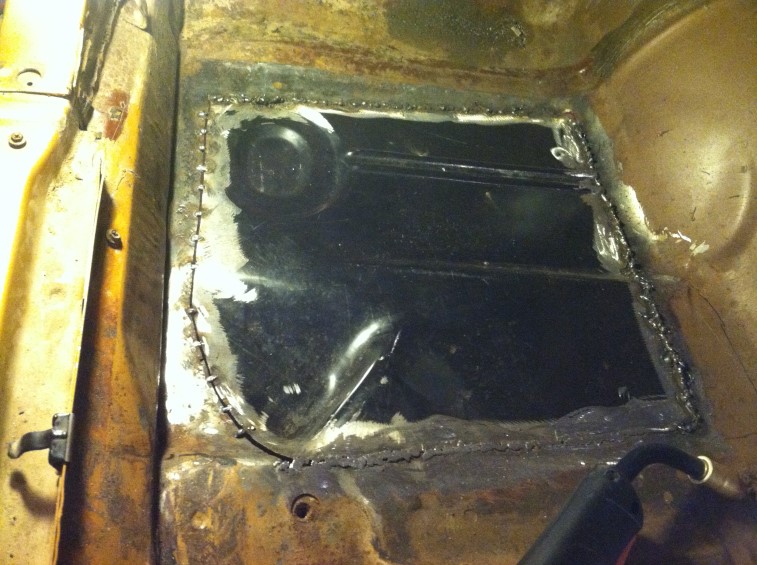
Made some progress this weekend – got the patch panel tacked in place and started welding it in.
Final adjustments for fitting:
All tacked in: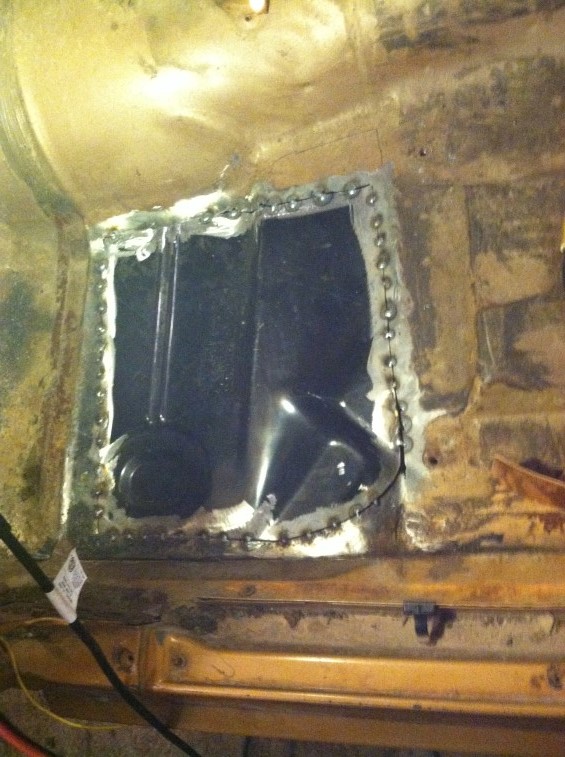
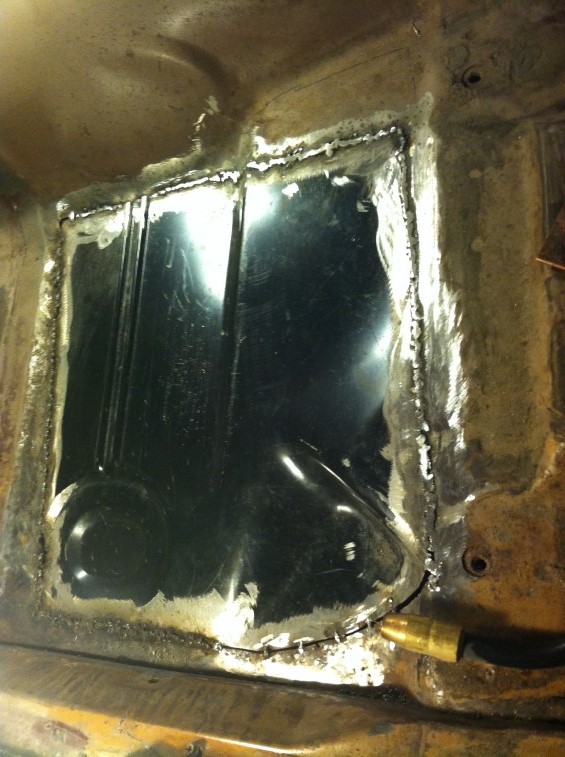
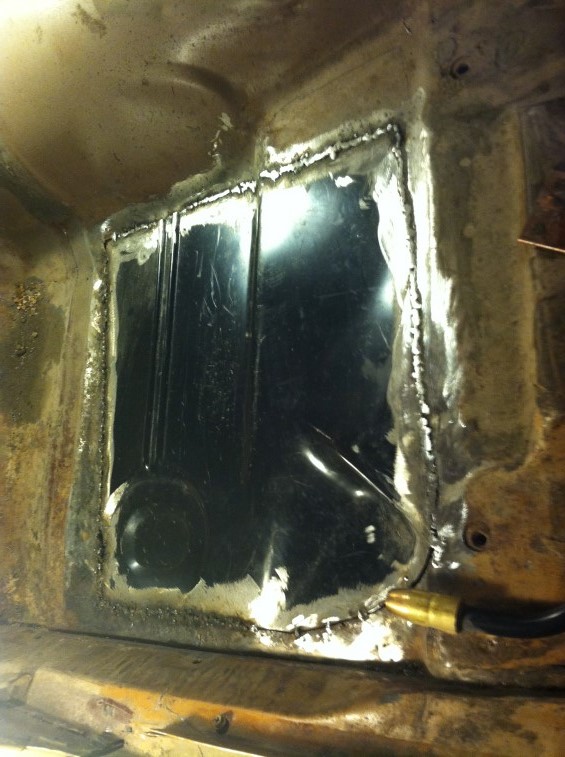
Started welding:
Bought a new work light from Menards – 500 Watt Halogen.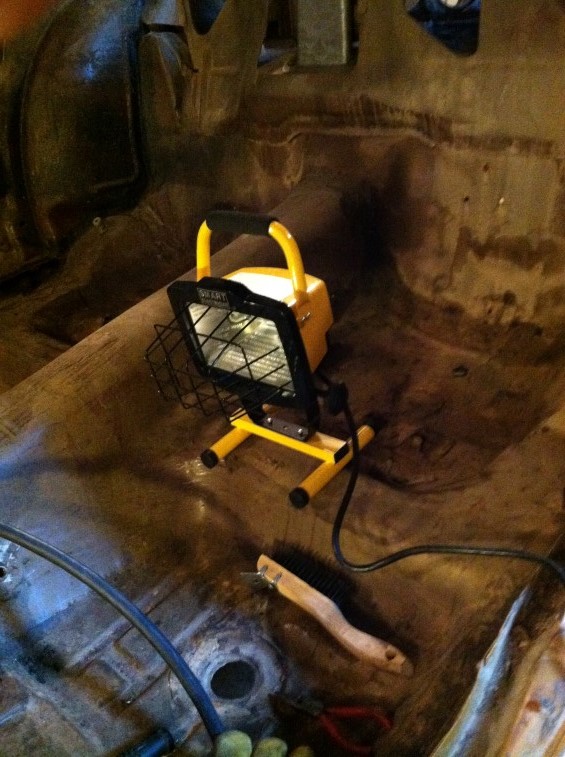 Also removed the remaining wiring from the car. Still need to put a few removed dash parts away. I finally had to turn on the garage A/C as welding in a welding shirt, gloves, and hat tends to heat the body up a bit!!!
Received my magnetic plug weld tools from Eastwood – I have a 4×2 plate that I was using, but wanted something a little more versatile:
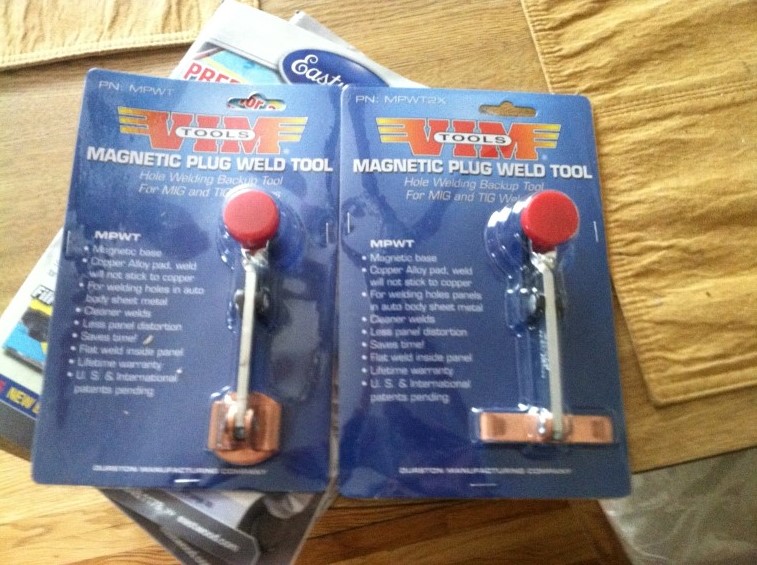
http://www.eastwood.com/magnetic-plug-welding-tool-horizontal.html and http://www.eastwood.com/magnetic-hole-plug-welding-tool-not-for-gas-welde.html
Also ordered a re-conditioned used AC dash off of eBay. Didn’t want a re-popped one after reading about fitment issues, so I figured I had better grab a used one while I can! I’ll take pictures when it arrives.