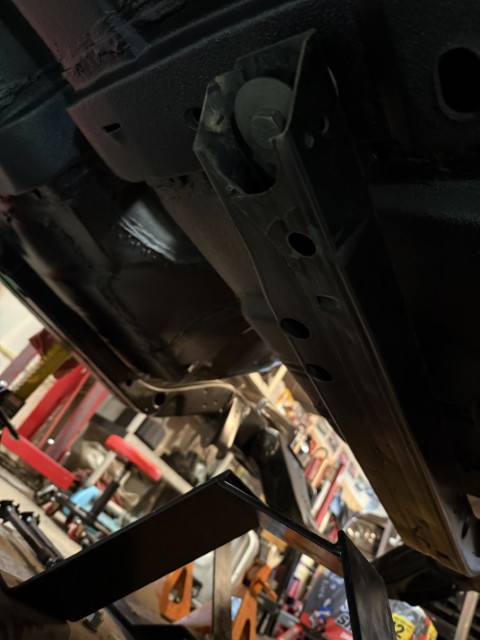
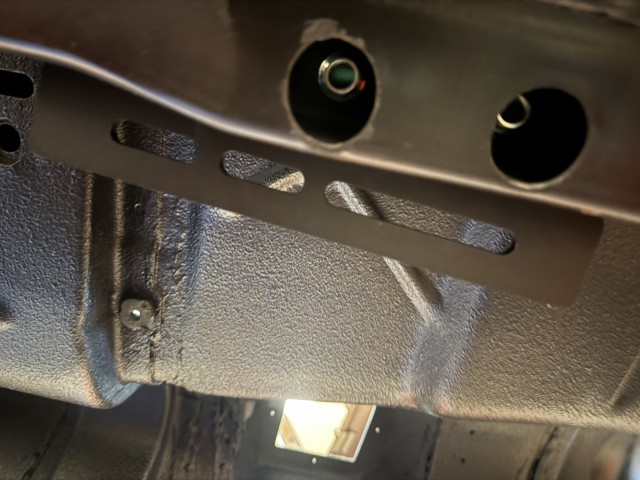
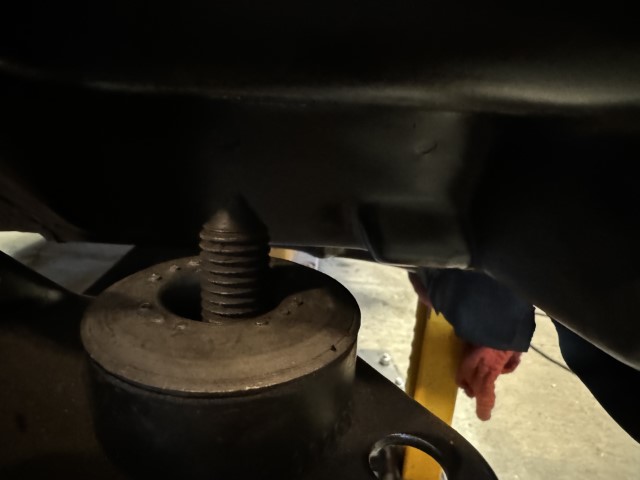
Got the rear bolts back in on the subframe. Been chatting with ChatGPT on tightening the bolts to spec and if I need to apply anything to them. I think I have a plan now. The back 2 bolts will need to be removed towards the end when I install the subframe connectors, but they still need to be torqued to spec now for the rest of the build.
Tag Archives: Subframe
1/31/2026 – update – crossmember
No pics, but an update. I was able to get the crossmember bolts in. Used some thread sealer and got them torqued to spec. Tomorrow working on getting the rear subframe bolts back in and maybe getting those sealed and torqued as well if everything goes smoothly!
1/25/2026 Update – Subframe Crossmember – day 2
Got a little side-tracked working on this. I needed to figure out how to use my new digital torque wrench, then got confused with lbs ft vs ft lbs which are actually the same. Then I had to dig out my manuals to see what the recommended torque amounts were: 25-35 lbs ft for the bolts that mount the cross member to the subframe. I also had to figure out which tools I would use to get in the tight space. So maybe I’ll get out there this weekend and pick up where I left off! Side note: ChatGPT gave a 35-45 torque setting which was not what the manual had – double check the AI – always! Will also use some blue loctite when tightening things.
1/24/2026 – Update – Crossmember
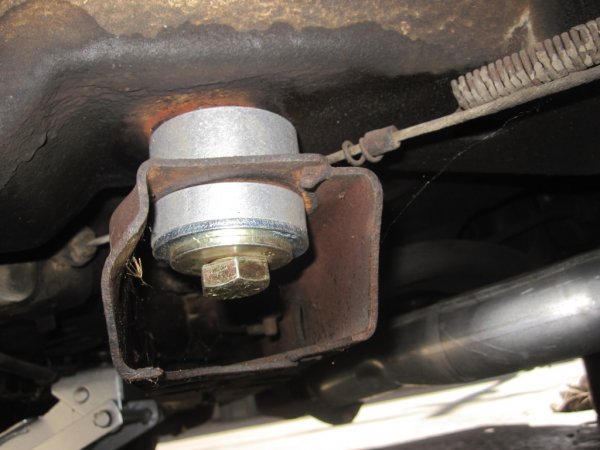
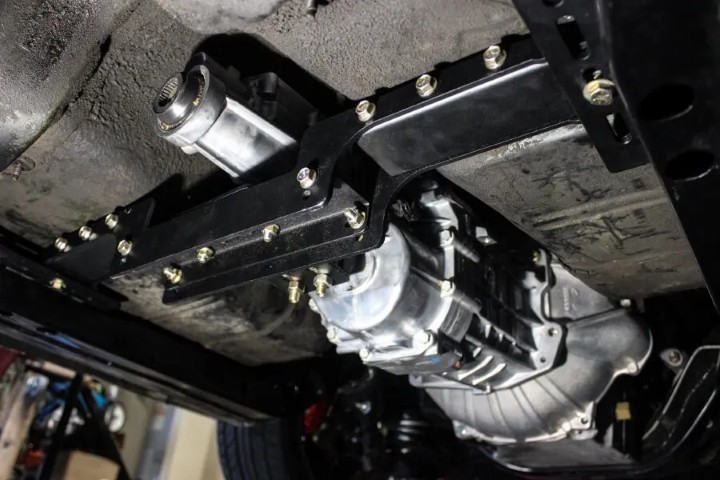
So I’m putting in a TKO 5-speed. The crossmember is shown below (1st pic from internet): Brackets attach to each side of the subframe and the crossmember bolts to the subframe. I already mounted the subframe to the shell, so today had to fit in the brackets by lowering the back half of subframe enough to get the brackets in. The bolts go in through the top of the subframe as well as the brackets. Learn from my mistake and mount this before installing the subframe! Finally got the bolts and 2 brackets started on both sides. Tomorrow’s project is to tighten the new bolts and re-tighten the subframe. I had enough for one day which took way longer than I had hoped!
9/27/2025 – Update
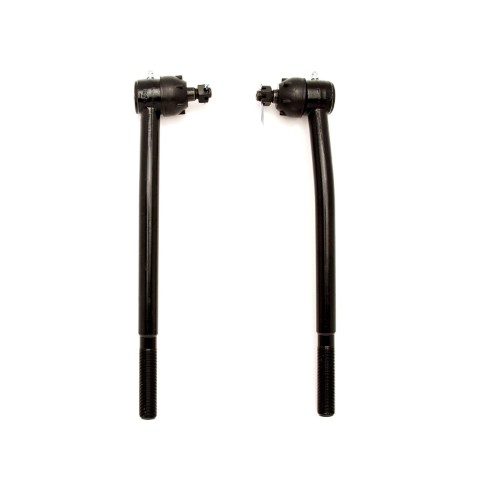
Steering linkage parts arrived. Realize it was missing the Inner Tie Rods, so ordered a pair of those below:
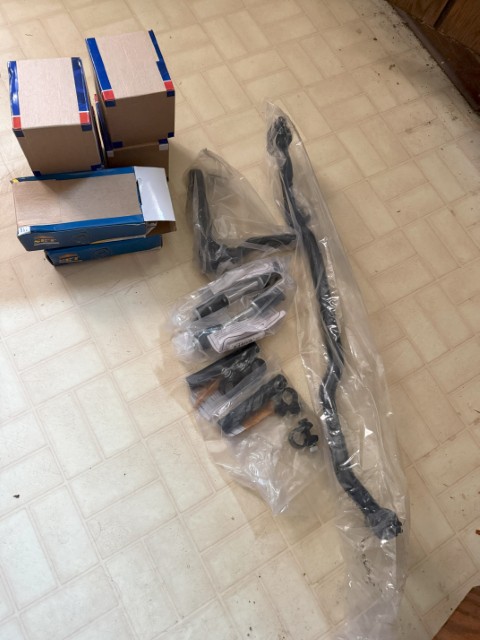
Ordered:
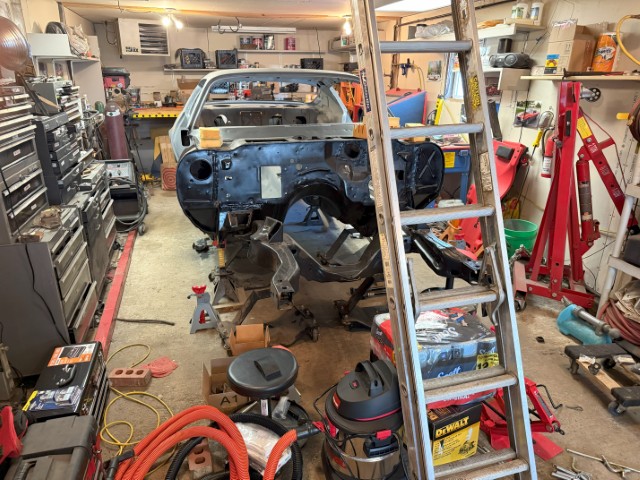
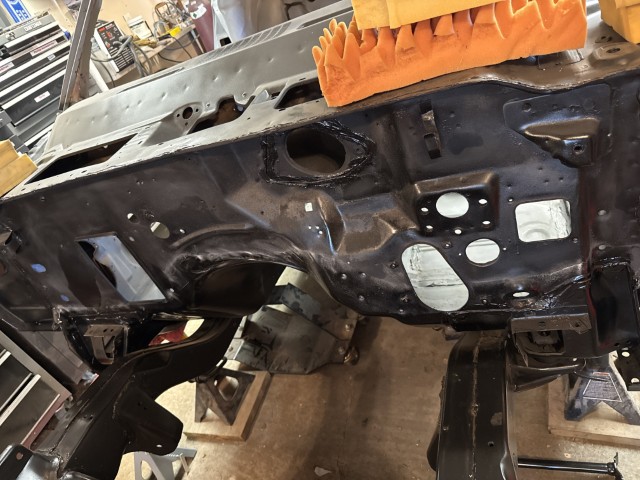
Got some garage time in today. The Firewall was painted with 2 different types of paint (Satin and Gloss), so I painted a small piece of metal to verify the color I had on hand (Gloss). So then I cleaned the firewall and subframe, then feathered the paint lines on the firewall and scuffed it to get ready for a respray. Still need to hit a couple spots on the subframe which I hope to work on next week, then hopefully next weekend paint the Firewall and subframe touchup, then the new suspension parts and new leaf spring perches which are EDP coated. Once those are painted, I will be set to work on all my suspension parts over the winter!
3/11/2024 – subframe progress
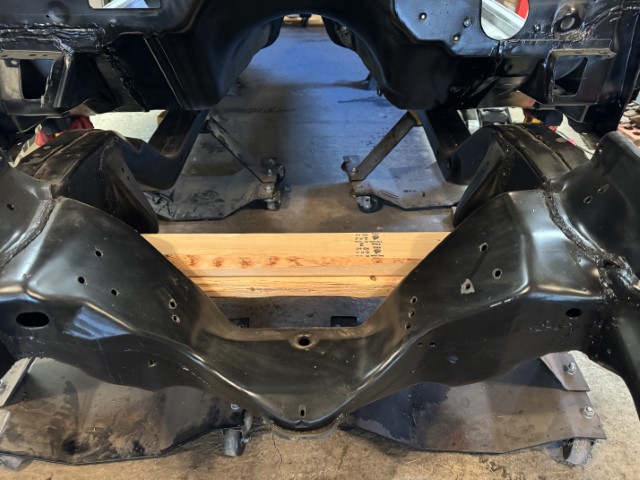
Took another look at how close things are and decided no more blocking was needed.
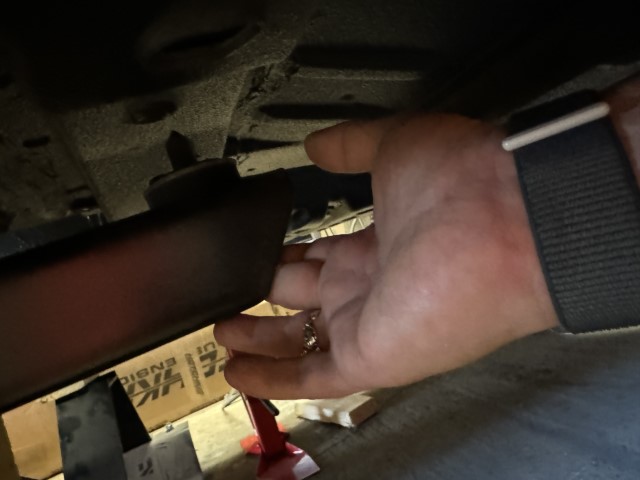
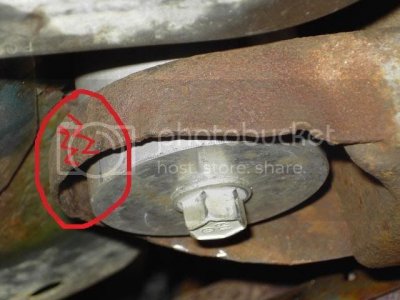
I used some bolts and these to help guide things and try to keep things lined up using the alignment holes. I have the actual tool to use once I get closer.
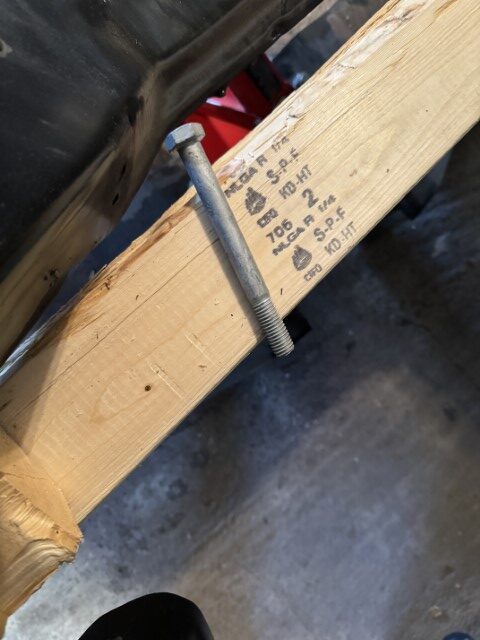
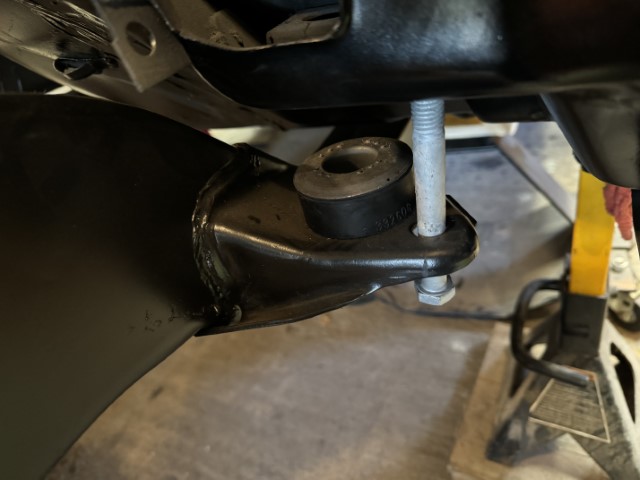
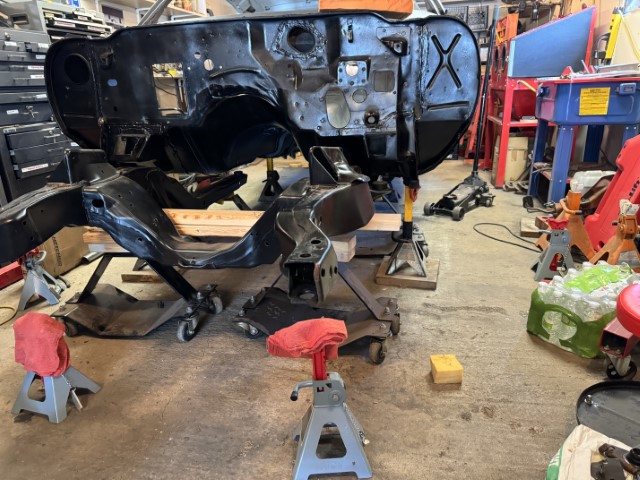
Got both back sides started. Just needed to jack up one side and with the rest of it blocked, I could wiggle it in place and then did the same on the opposite side. Might be able to get out to the garage later this week or weekend to get the front bolted up. Once I have all four ends bolted, I will tighten things up a little better.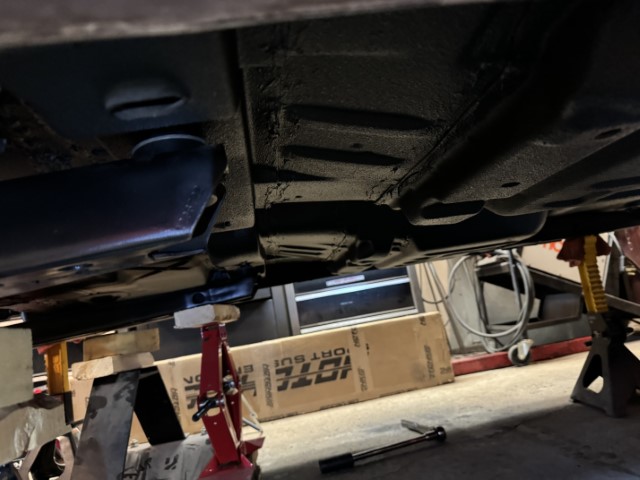
3/2/2024 – subframe progress
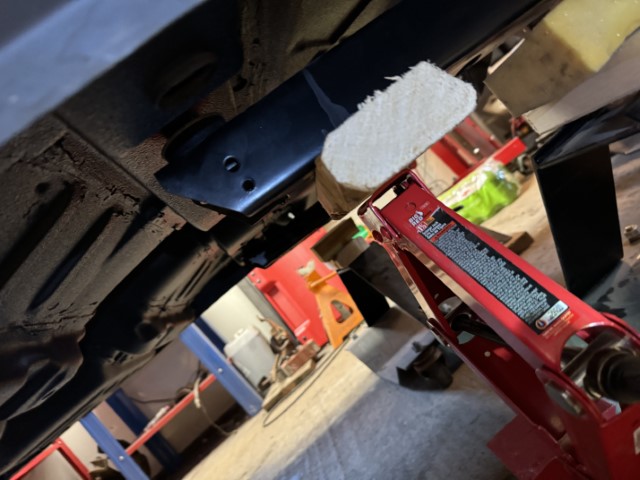
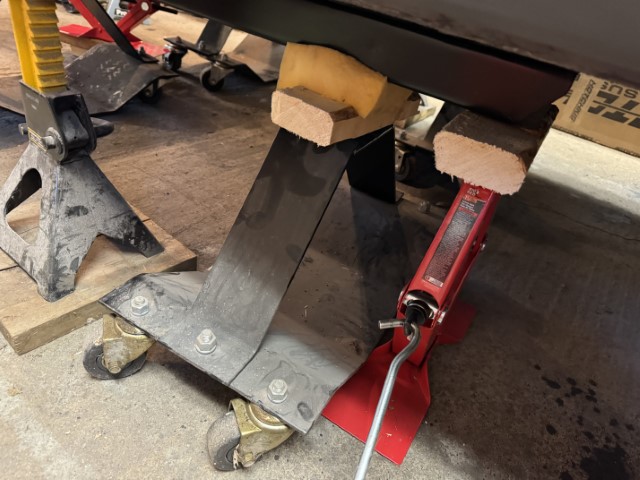
Had to use the smaller scissor jack to fit where I needed it to go. Also had to put a couple blocks under it to get to the right height. I was able to jack her up and block it one more time by myself with no issues.
Then I added a block to both sides in the back. Again, needed the scissor jack to get it where I needed it to go. I ended up getting a second scissor jack, thinking I might need one on the front and one on the back when I finally bolt it to the body.
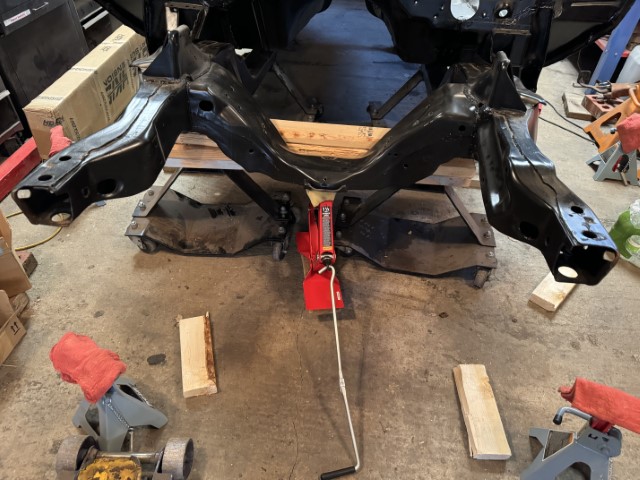
I am within a few inches of where I need to be to mount it. Not sure if I will block it one more time or just jack her up the rest of the way. I may do some measuring of the bolts to see how much wiggle room I have. I will double-check with a rod if I am still lined up to where I need to mount it to.

2/25/2024 – subframe progress
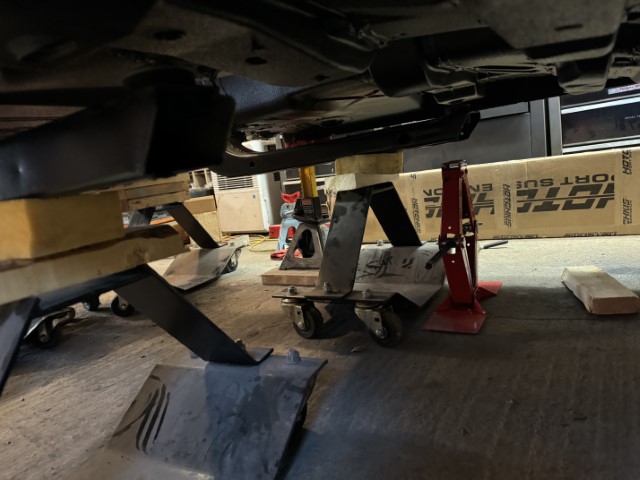
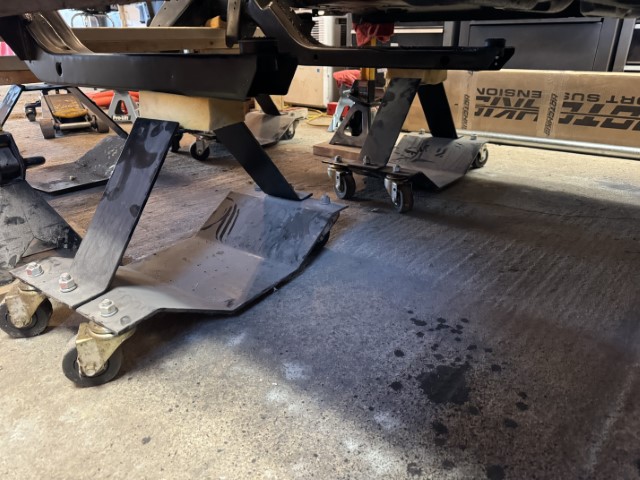
Got an extra set of hands and got the subframe on my tire rollers. Started blocking little-by-little to get to the height I need. Thinking I can do the rest on my own now. Working in tight quarters!

2/25/2024 – subframe
I may end up using my engine hoist like this shows: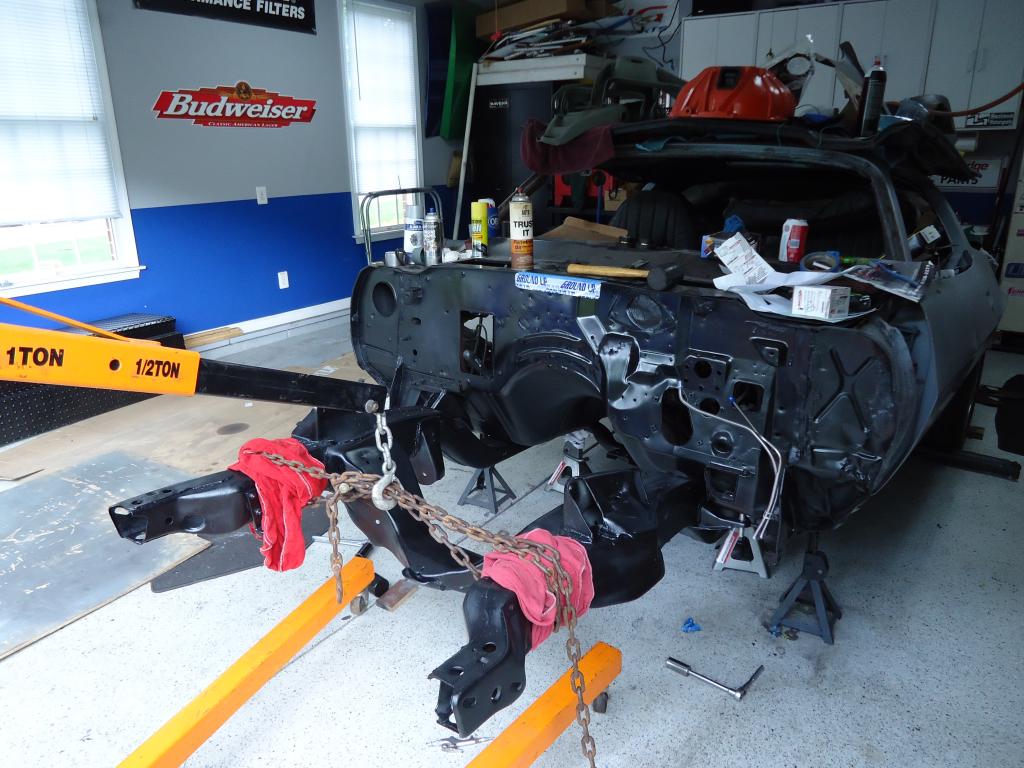
2/24/2024 – subframe install reference
Might have a second pair of hands lined up for tomorrow. I needed some reference pics in case we do the subframe install tomorrow. I’m not too worried about torque specs yet because I am fairly certain I will be taking it off and on again before I am done.