Tag Archives: BottomFloor

5-13-2018 – Updates

Sprayed 3 coats of primer on the donor floor pan I will be using to test spraying the undercoating.  Also re-hit a few hard-to-reach spots on the floor that needed to be sprayed before undercoating.  Also sprayed the last area of the trunk inside.  Still need to spray the clear on it tomorrow.


This next week I will need to clean the garage, and scuff \ clean the areas I primed.

Floor – Primed

A little behind on updating.  The Labor Day progress wasn’t as good as expected between other life commitments and the weather.  I did get the floor primed, but not undercoated.  The project will most likely sit over the winter.  Next summer will have to be the undercoat and working on the suspension 2018-2019.  I have a large tree to take down and have a Cataract dealt with.

The rotisserie mounts will be painted after I take it off the rotisserie next summer:

Masking off:

Gray Epoxy:

Then some black Epoxy:

After 3 coats of Epoxy, some seam sealer:

There are a couple of spots I want to touch-up before applying the undercoat.  Going to have to scuff the epoxy before applying the Raptor bedliner for the undercoat.  Might not be much more to report until Spring arrives!

10-16-2016 Update (Floor)

The street side of the car floor is now either stripped or scuffed (areas I couldn’t reach with stripping tools).  Next will be the inside of the trunk, then a little more body work.  I started cleaning the trunk before starting to strip\scuff it.

Rear trunk area:

img_2211

Inside trunk – left side (driver’s side) cleaned.  There is a little surface rust, but doesn’t appear to be too bad – will know more one it is stripped.img_2212

Went to Harbor Freight for some supplies – rivets.img_2213

Also bought some more 3M body adhesive for a couple of non-structural areas instead on welding.img_2214

Will be taking the week after this (the last full week in October) off to work on the car – will see how far I get.  Ideally I would get out there a little bit during this next week – will see!

09-17-2016 Update (Floor)

Made some progress today.  Scuffed the transmission hump area:

img_2157
img_2156

Was also able to strip both the drivers and passenger wheel wells –

Drivers:img_2150 img_2151 img_2152

Passengers:img_2153 img_2154 img_2155

I will still need to touch-up a couple areas and clean with wax-n-grease remover.  For the bottom (street side) of the floor, I still have the trunk and rear firewall (by rear seat) to do.  Not sure if that will take another 1 or 2 weekends to do.

09-11-2016 Status Update

Wow!  No updates for 3 months!  You know it is bad when the guy that drives the big brown truck asks you about how the car is coming along when he brings more supplies!  I got side-tracked this summer with some other things.  I was hoping to have the bottom (street side) of the car, trunk, and firewall (engine side) done this summer.  Now it looks like it will be next summer.  I ended up replacing my indoor sauna (old one wasn’t repairable) and then bought a new bedroom set.  Then I went to Colorado to visit family for a week.  I also had company visit me for a while.  I also worked on some landscaping projects, got an invisible fence installed and am training the dog for that.  Had some damage due to lightening – currently working on getting my desktop back up and running again.

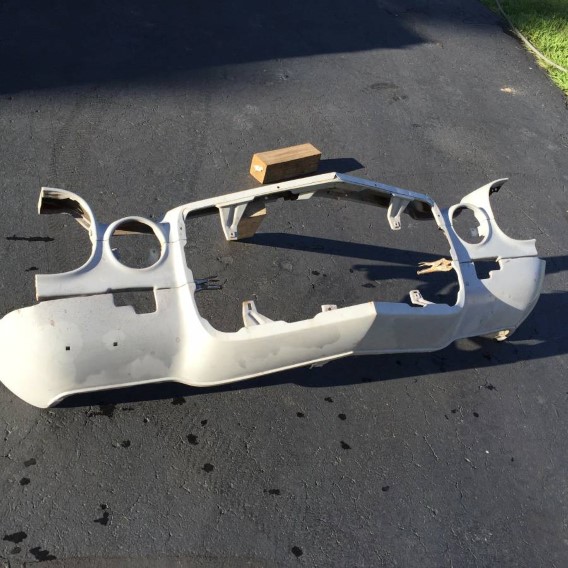
So I have done some work in between things and have obtained some new parts which I will bring you up-to-date-on.  Yesterday I drove 600 miles 10 hours with a 30 minute break to get gas and parts – I obtained a OEM RS front header and valance and the remaining bumper brackets (correct for a 1973 RS).  I believe this to have come from South Carolina before I got it.  I now have all OEM (not re-manufactured) parts for the RS front nose…  Should be all set as far as those parts go!

00j0j_bauxvvwqs5w_1200x900

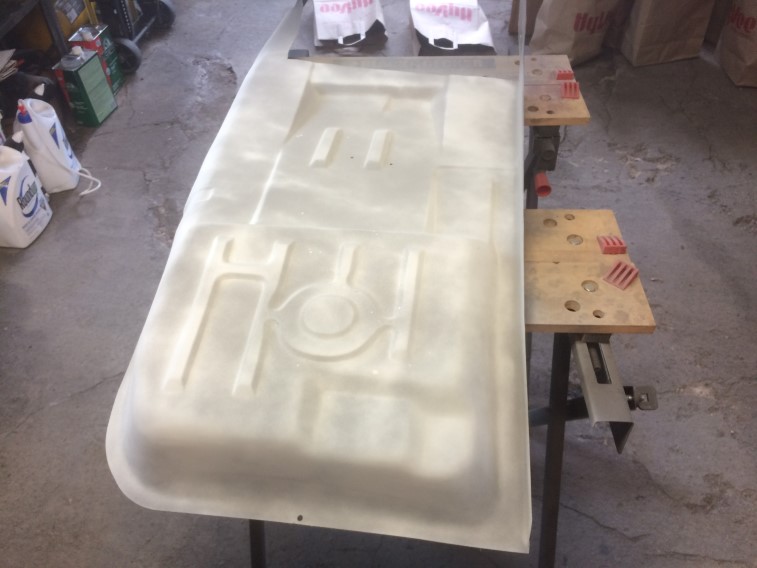
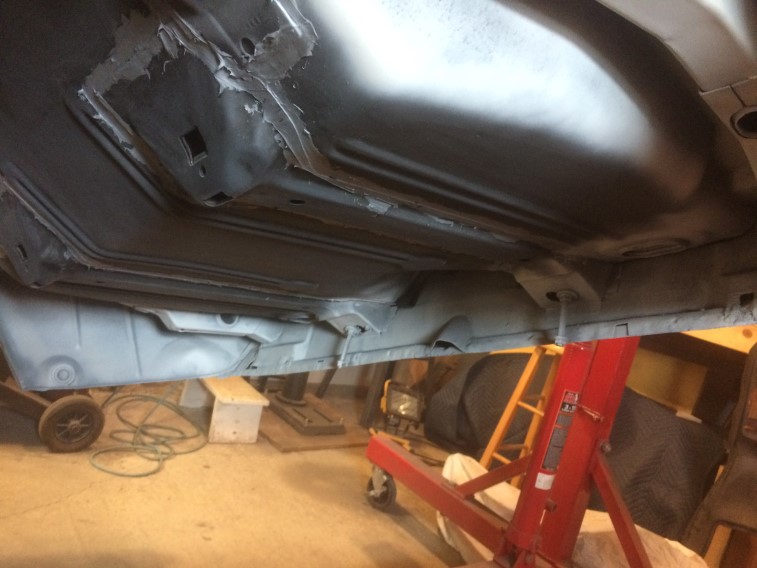
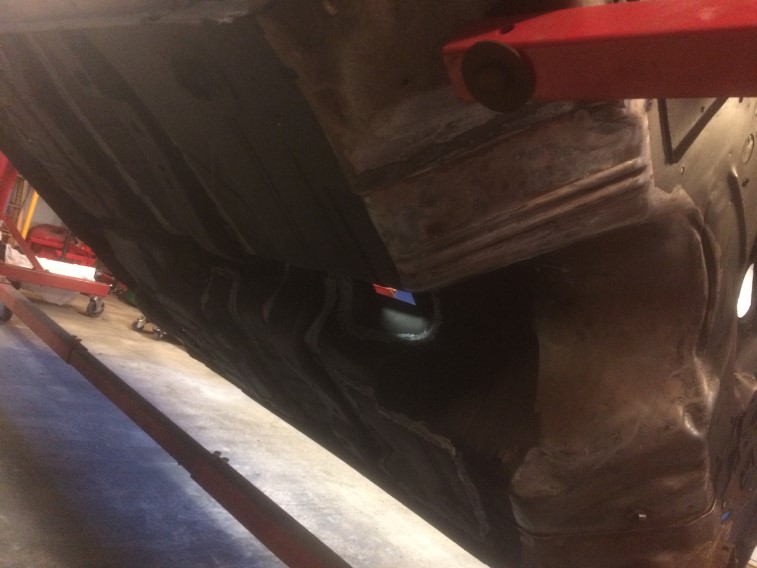
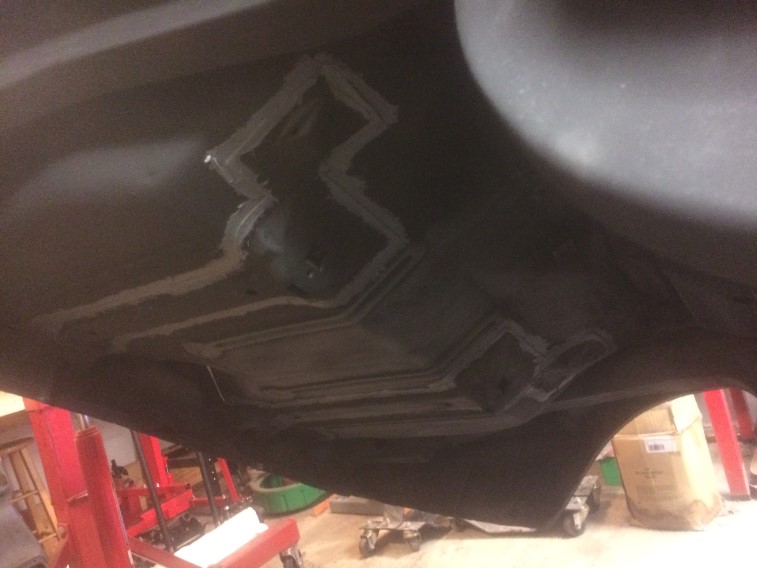
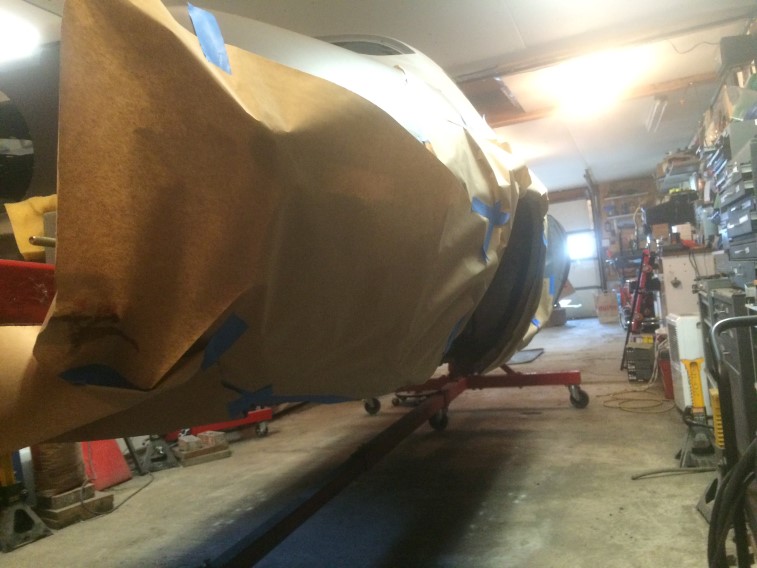
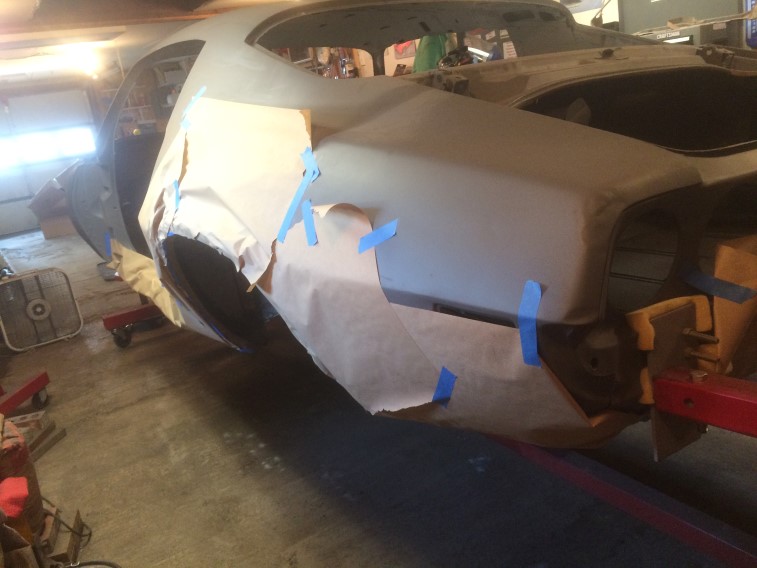
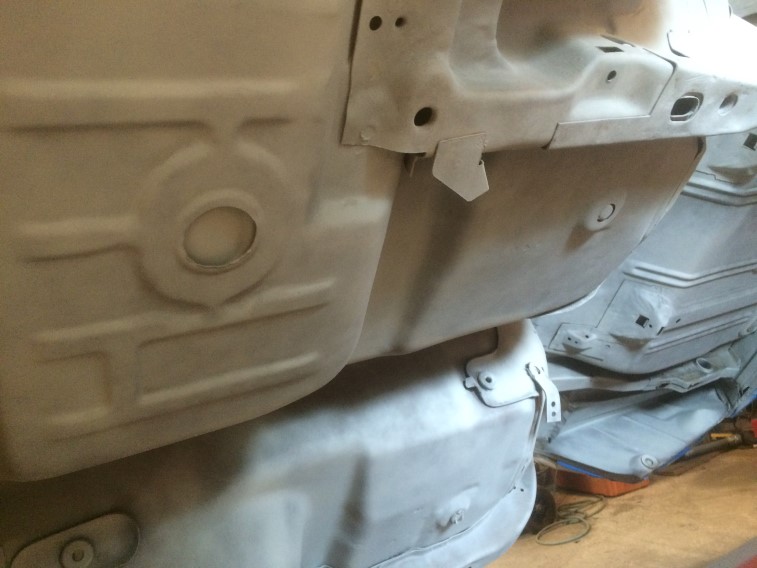
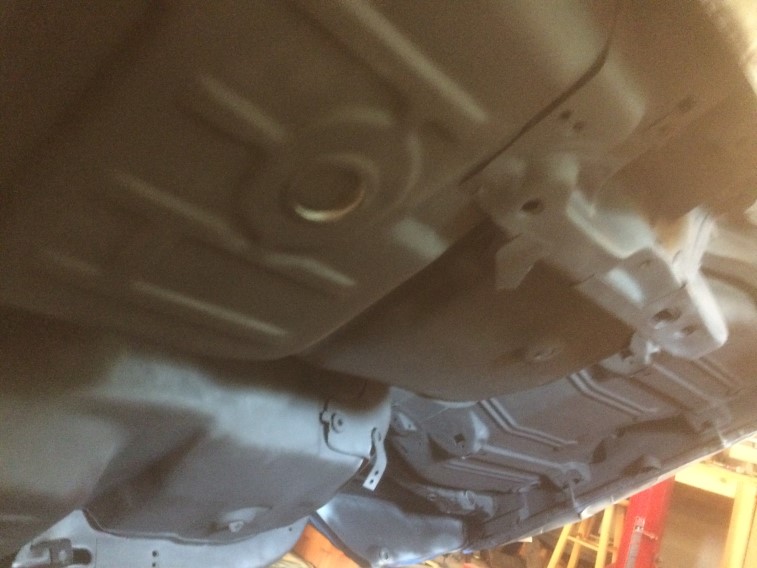
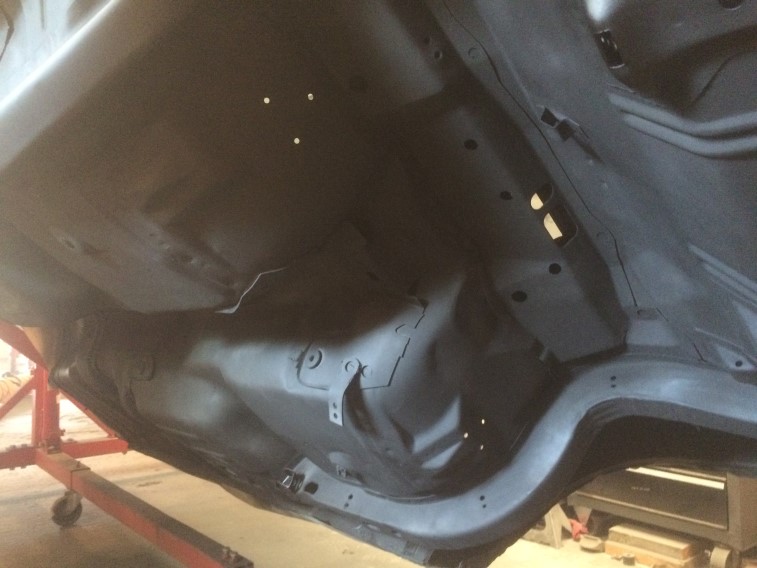
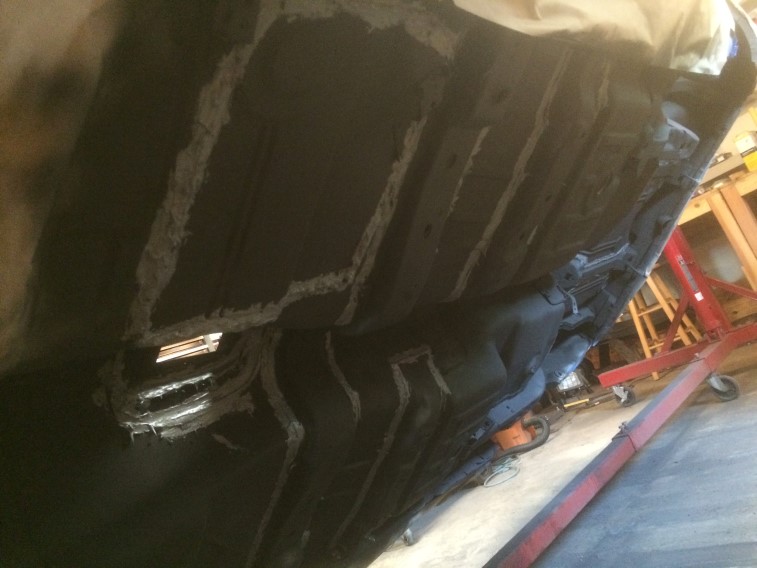
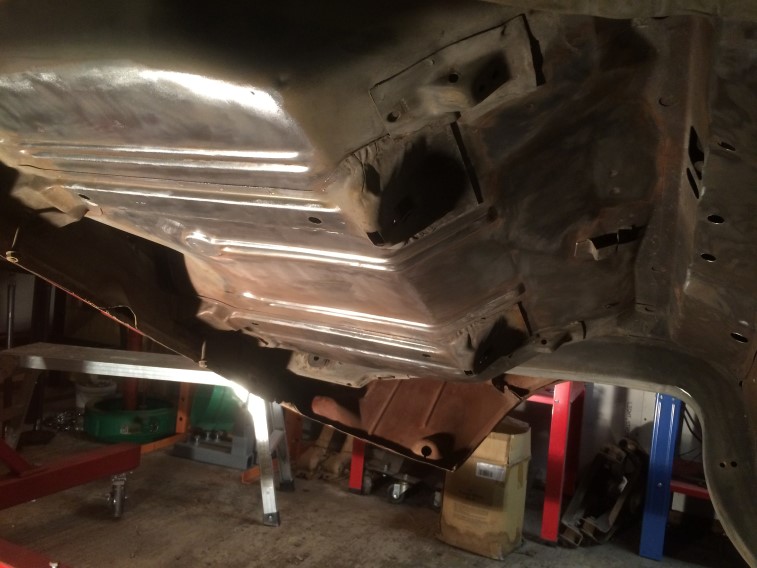
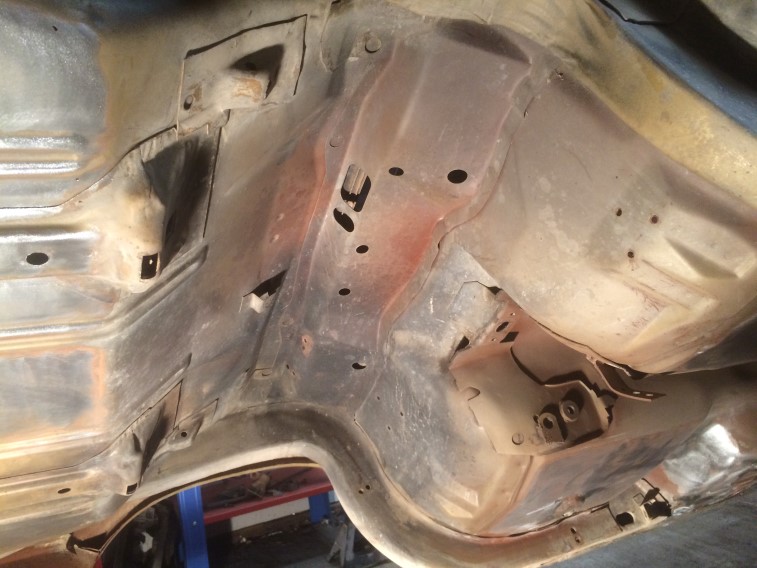
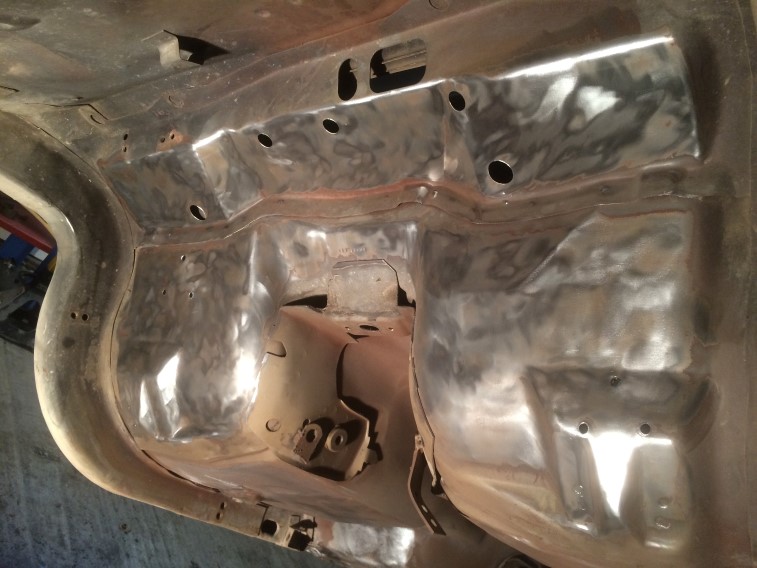
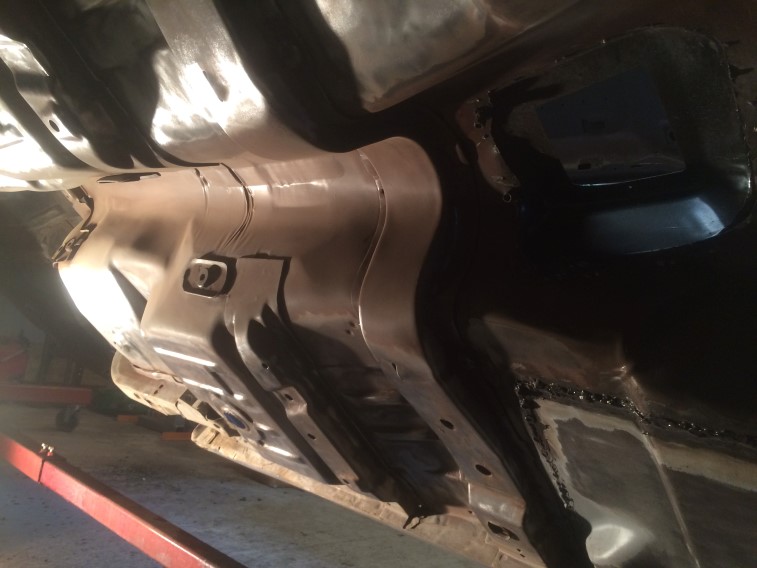
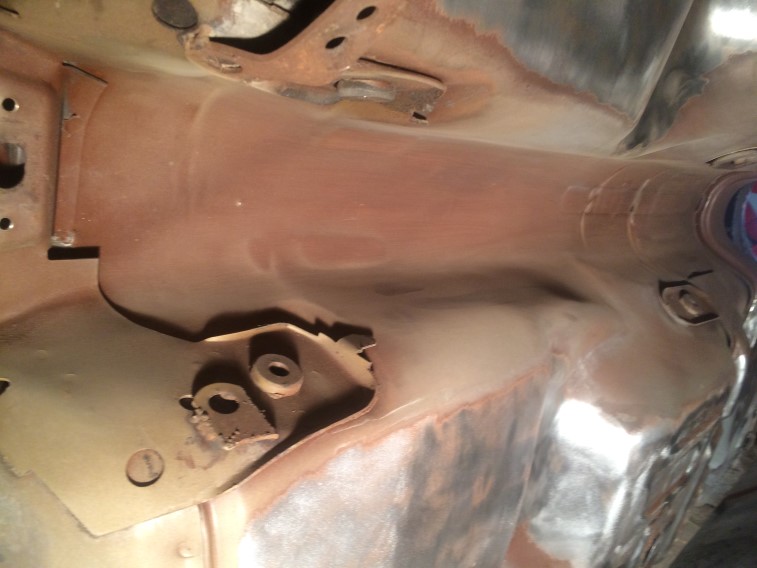
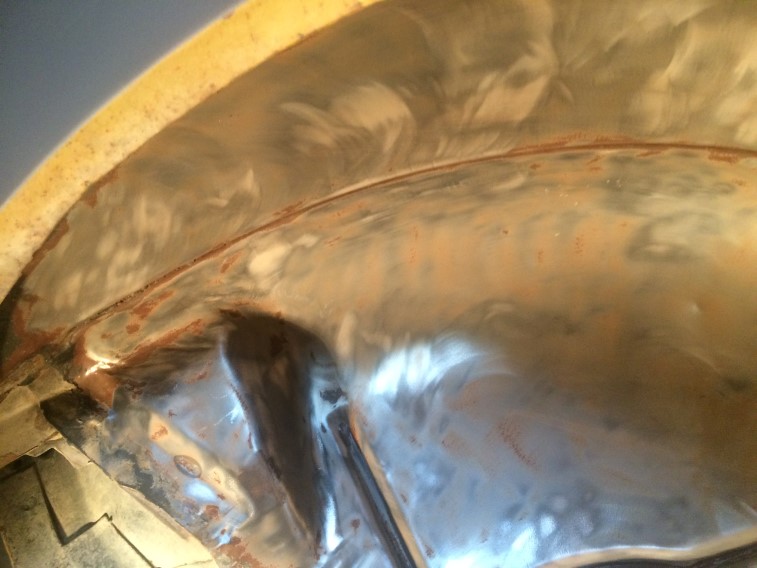
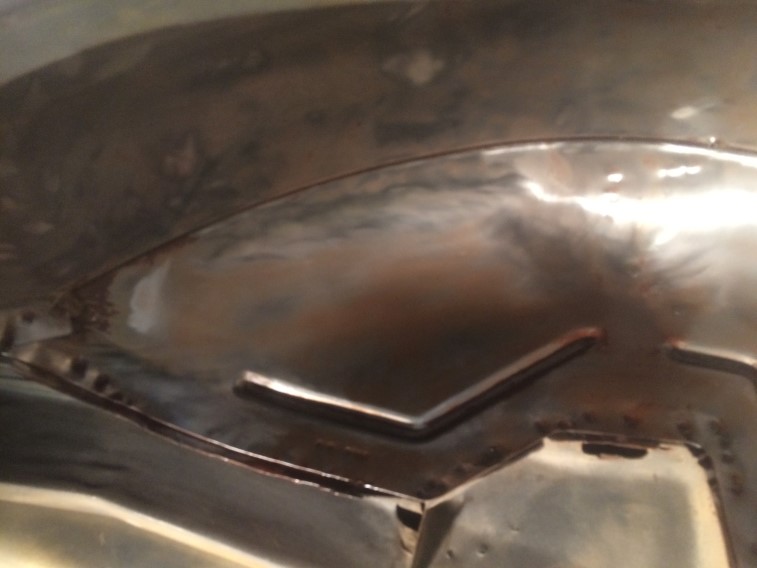
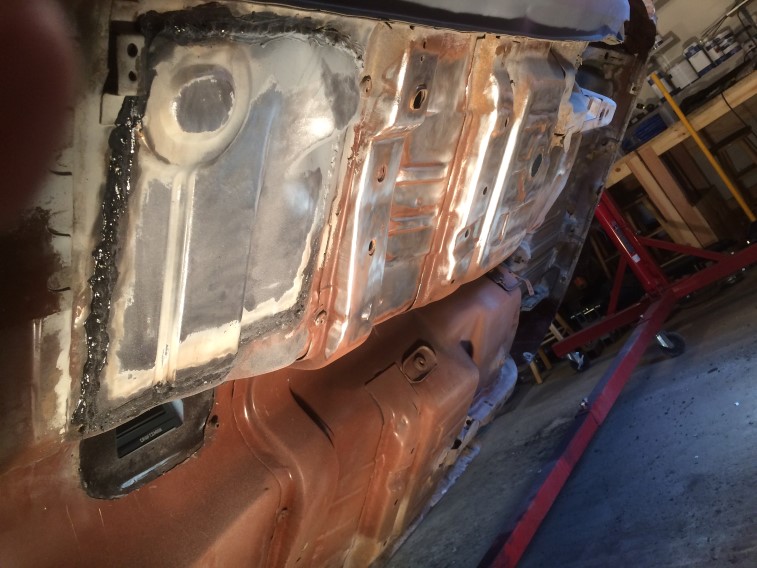
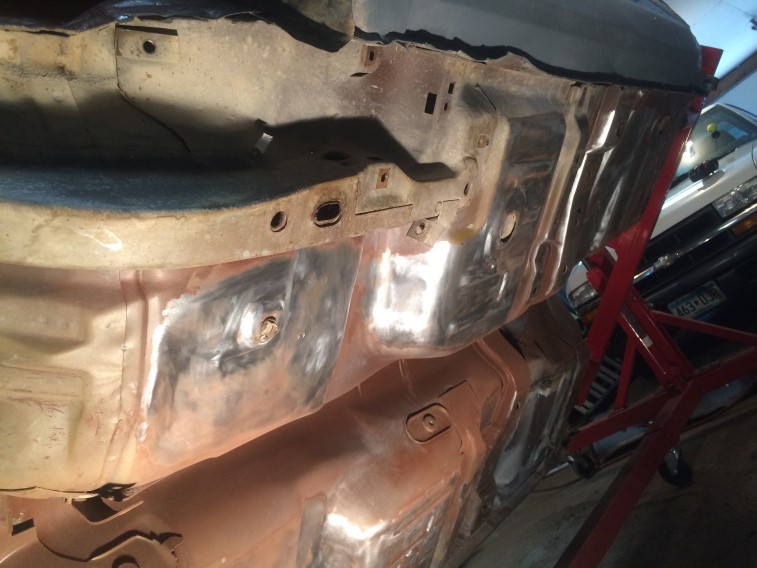
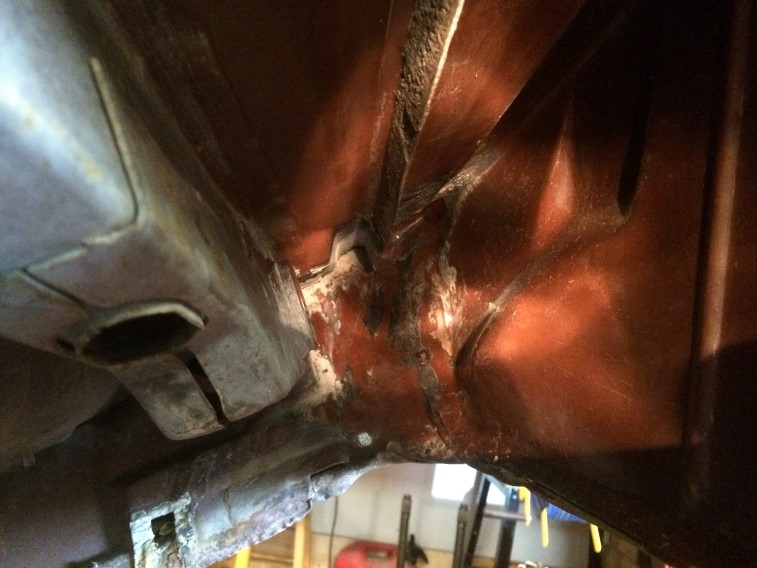
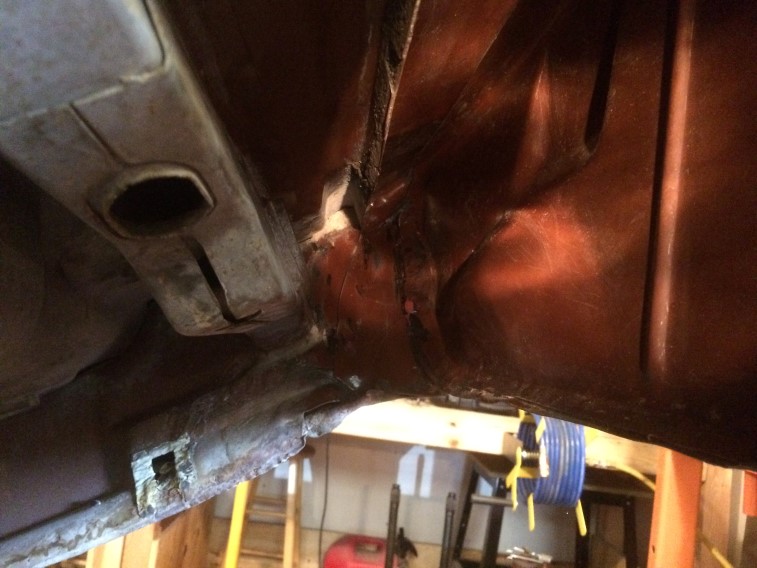
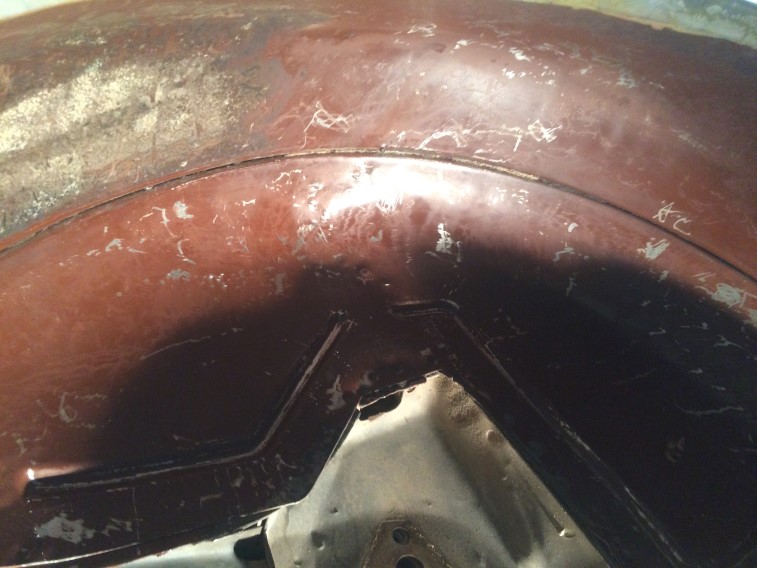
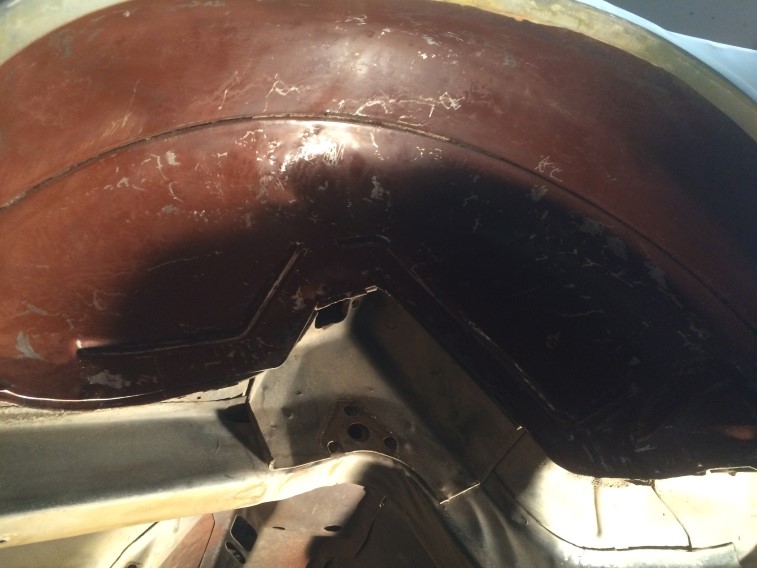
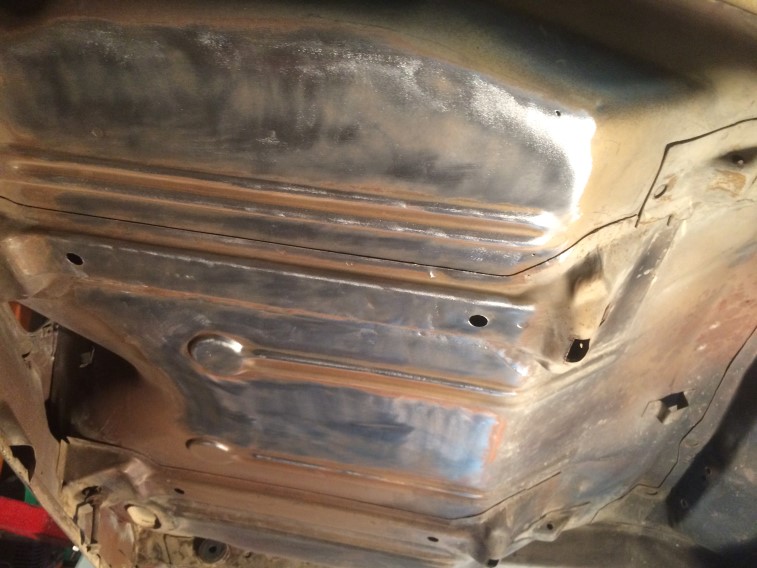
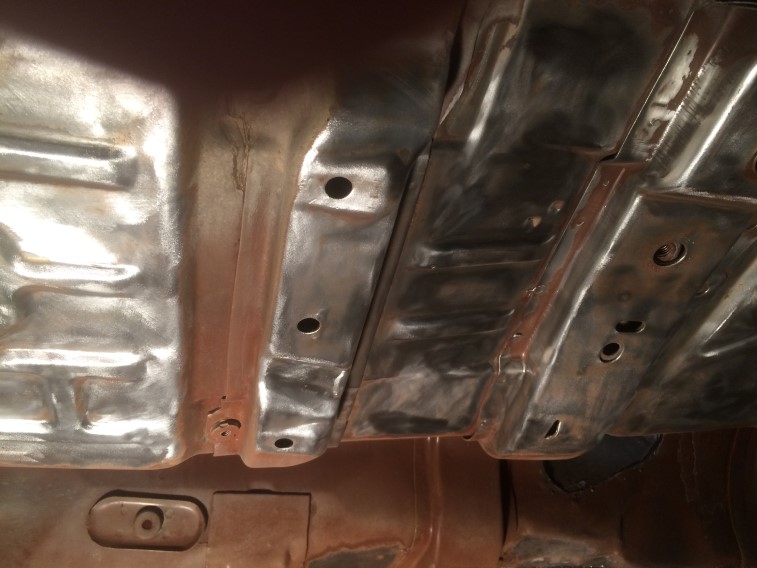
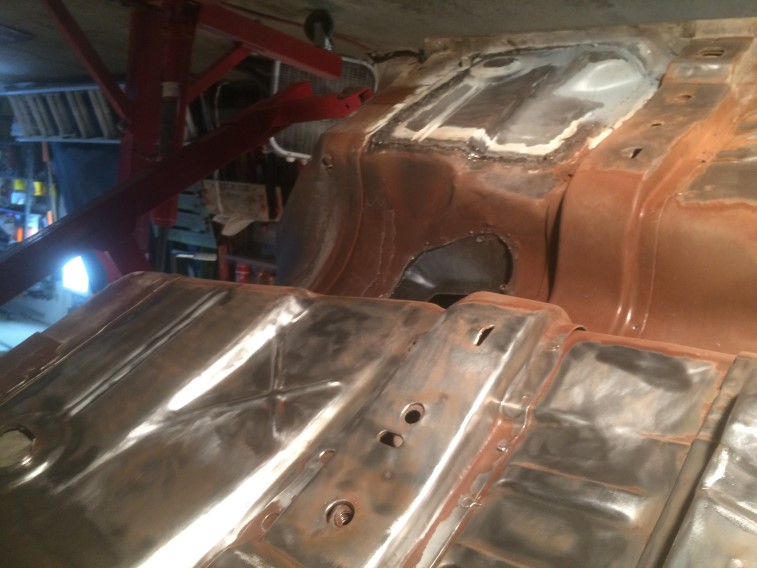
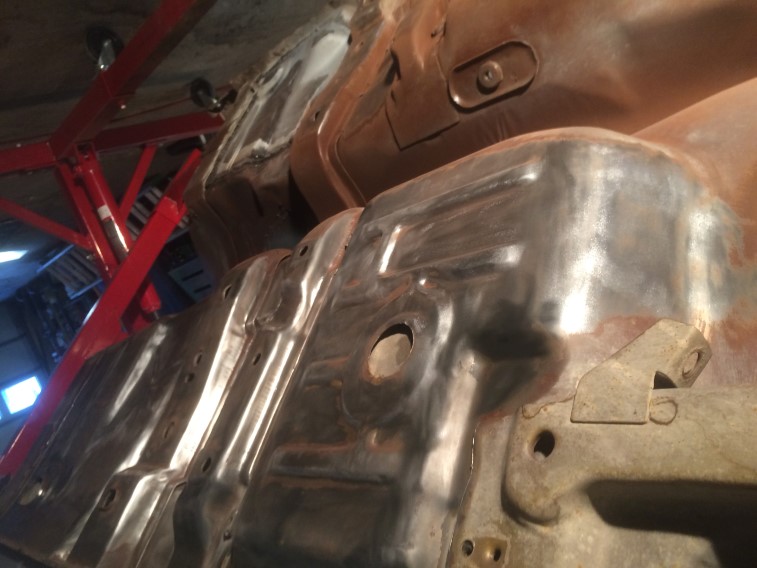
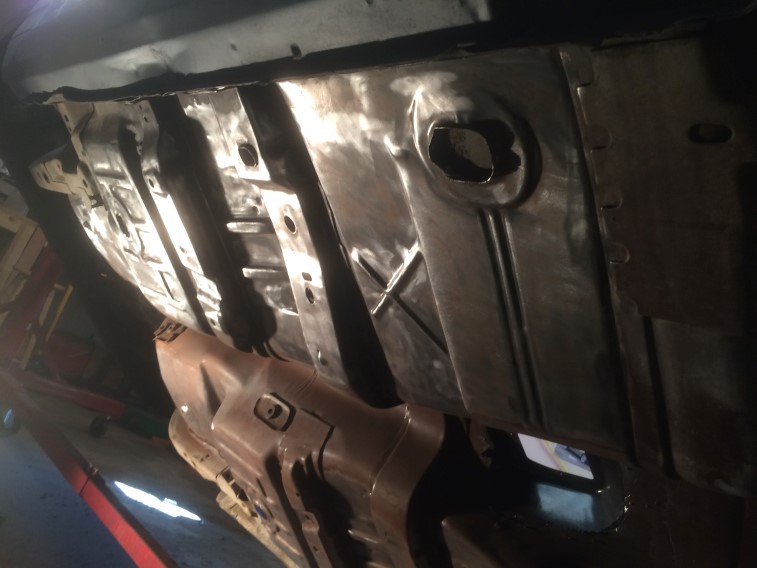
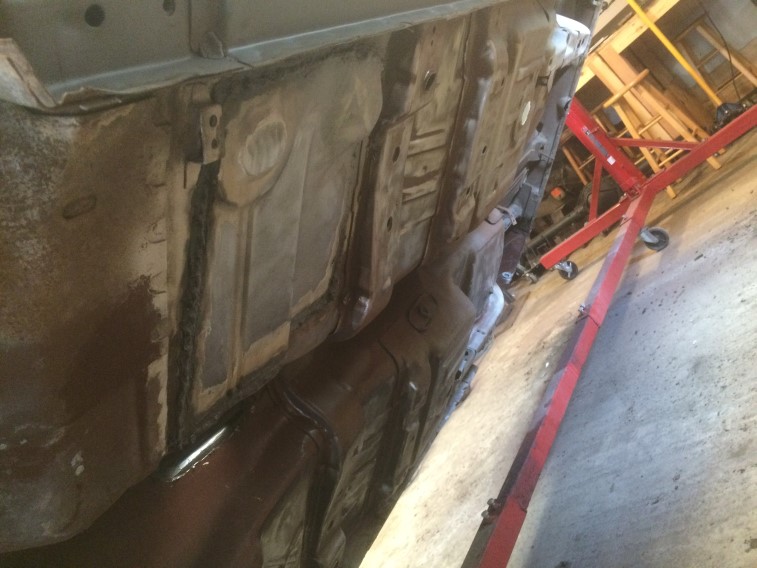
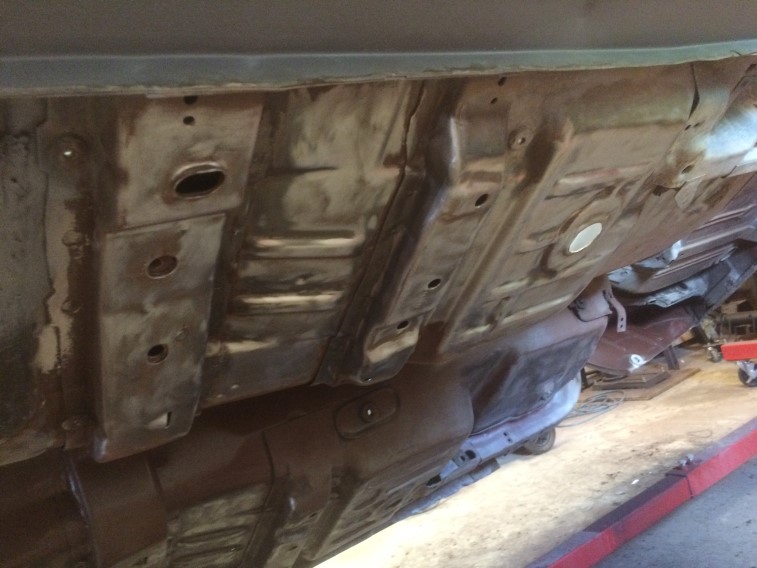
I have been working on the bottom of the floor and trunk.  Using the dentfix for some, and a wire wheel for the rest.  Because of all of the curves and contours of the floor, the parts I can’t access with the tools, I am manually scuffing with a scuff pad:img_2119 img_2120

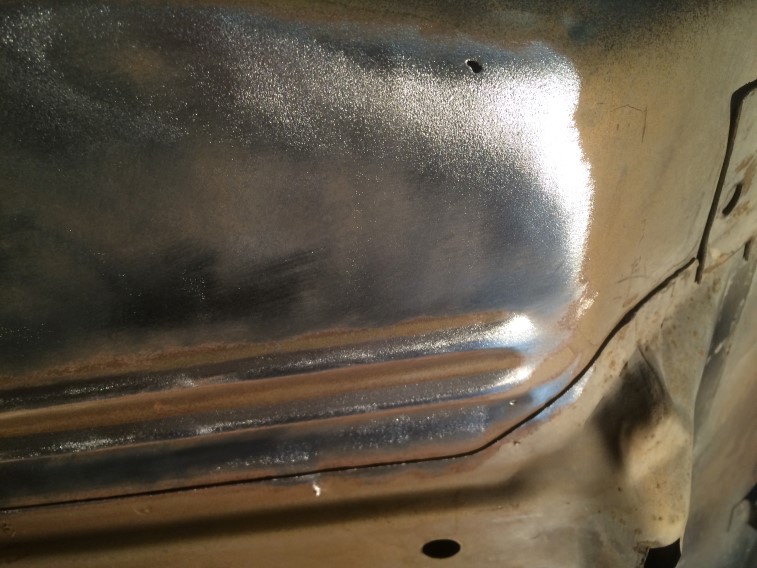
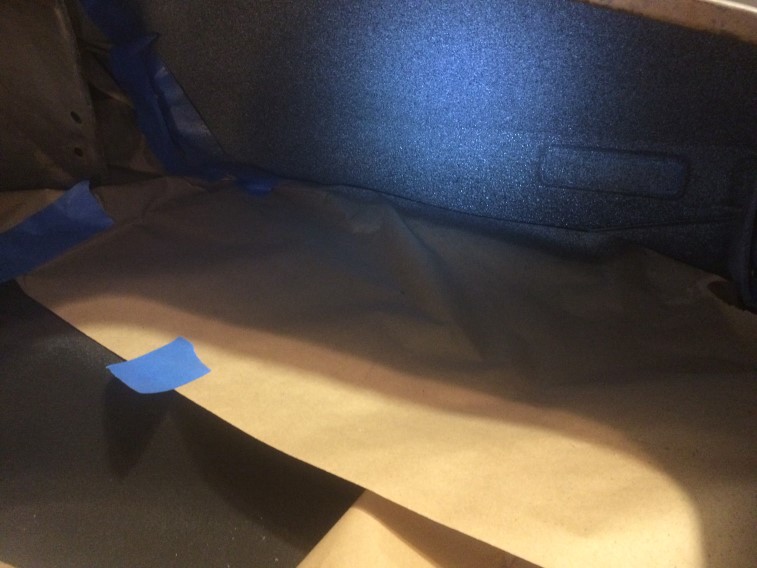
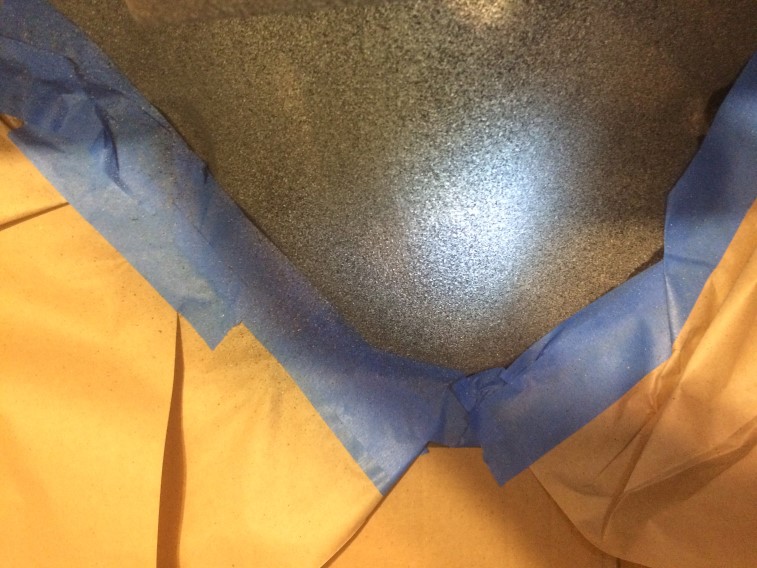
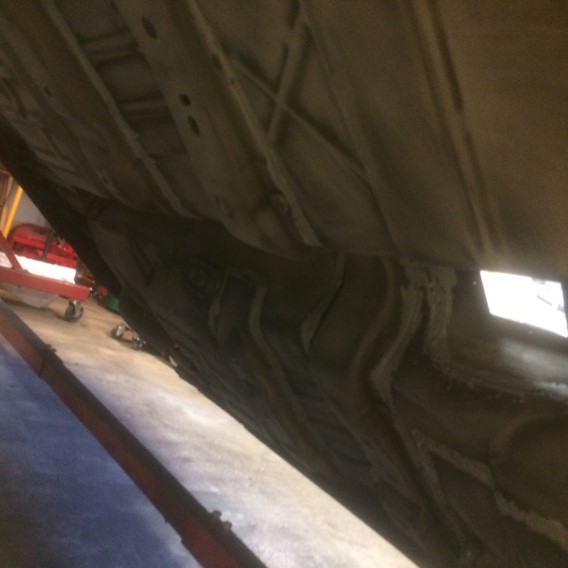
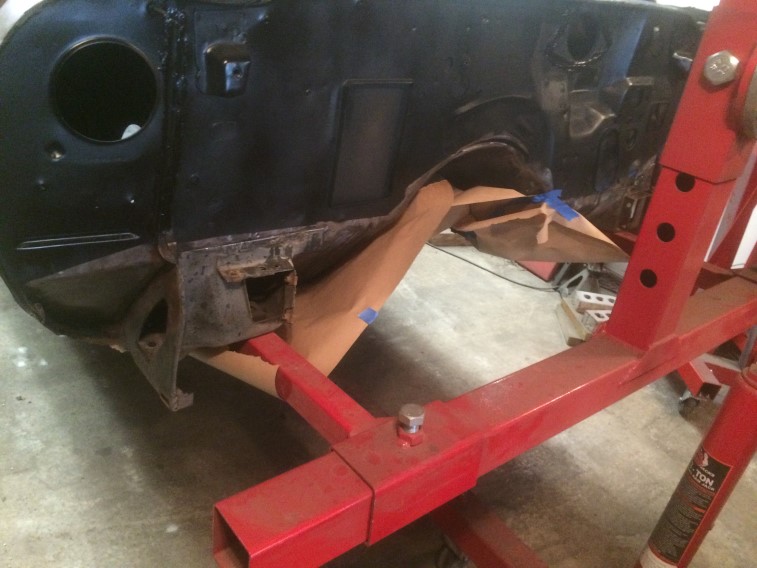
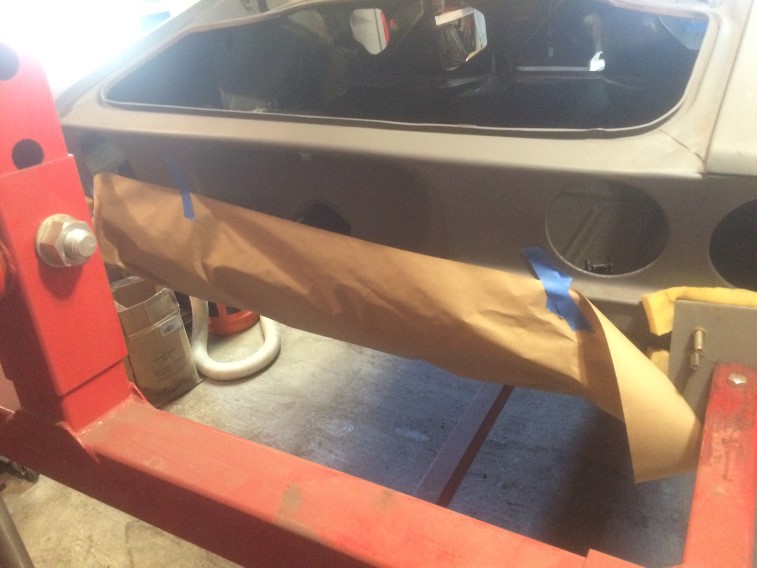
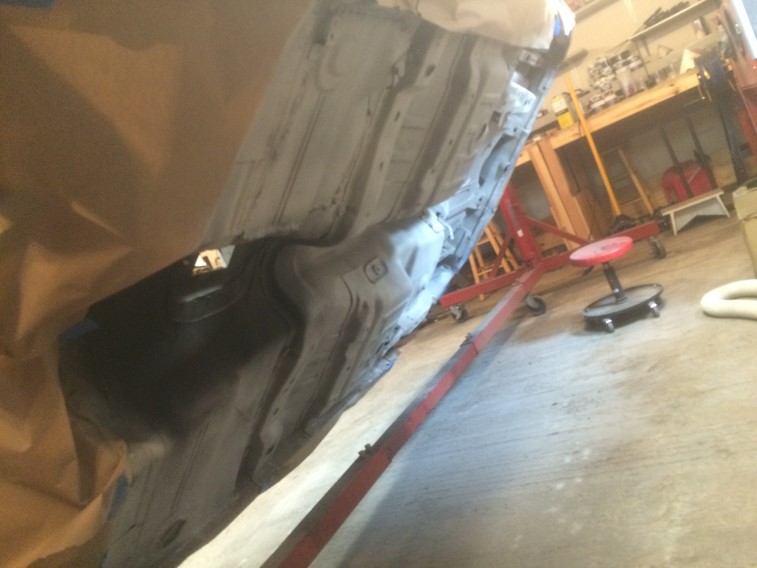
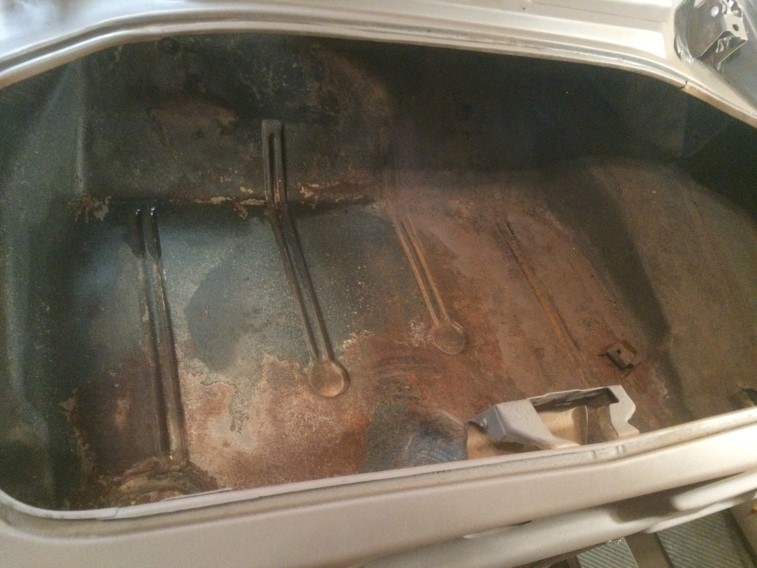
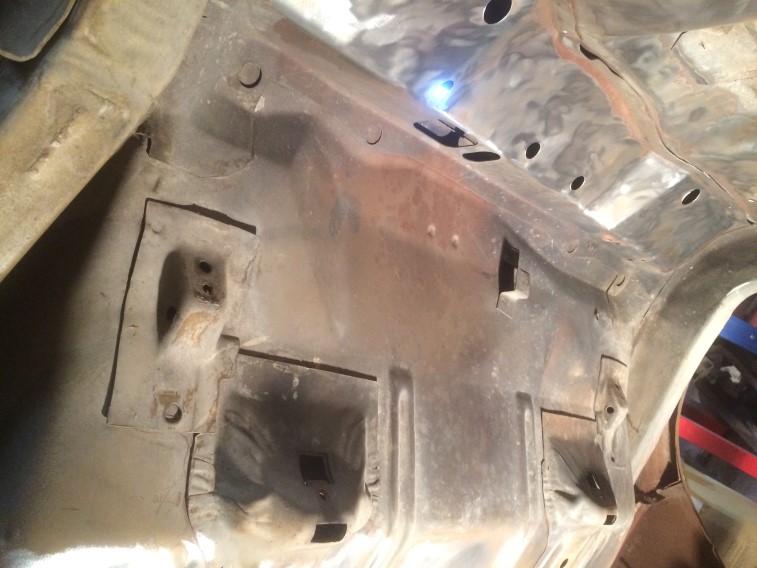
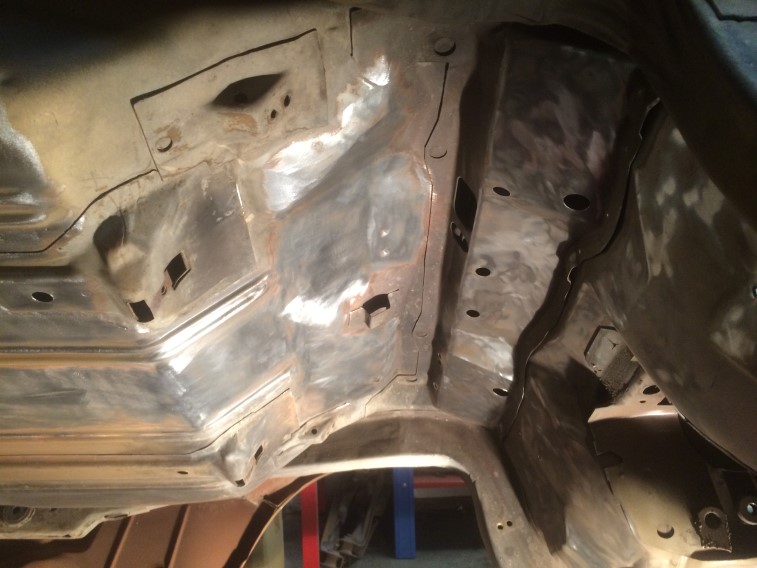
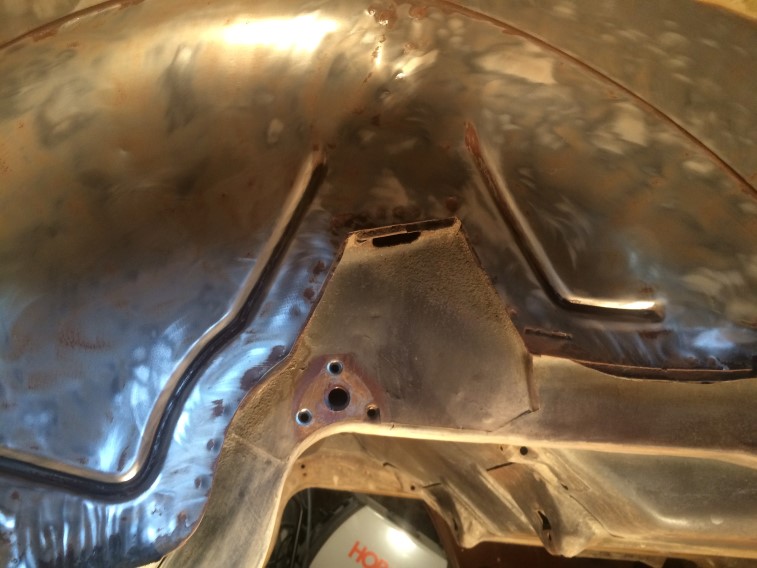
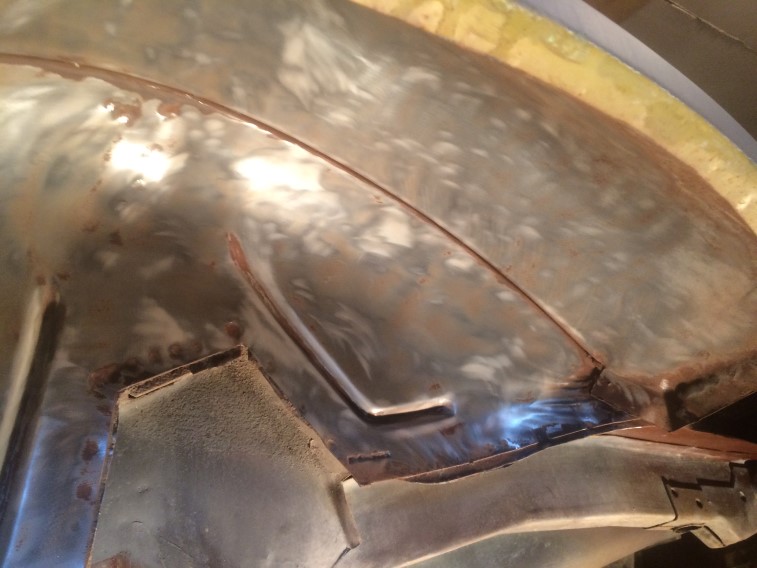
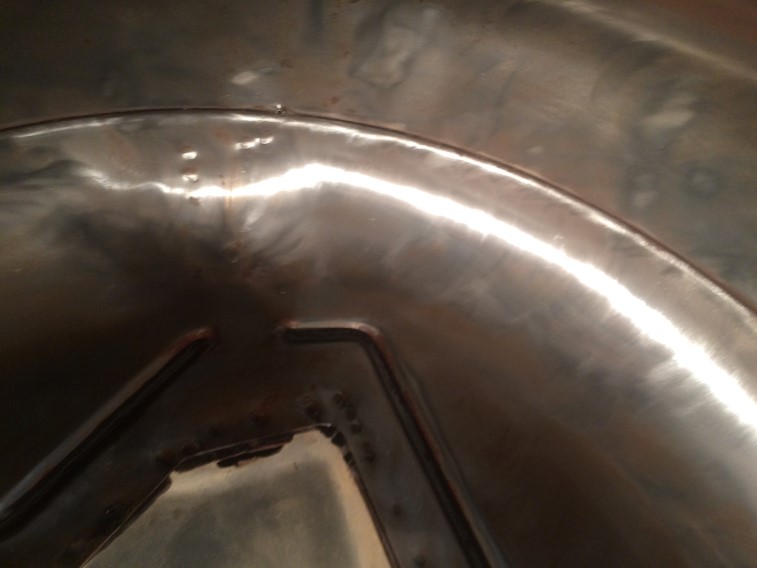
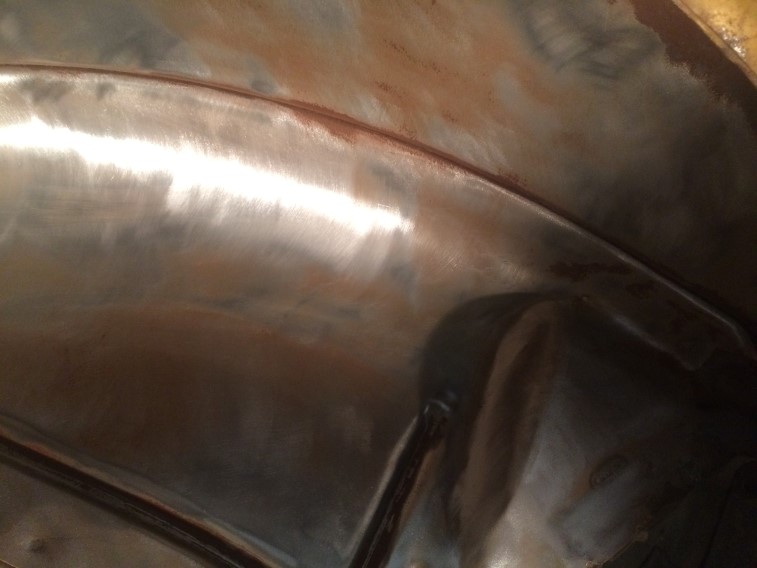
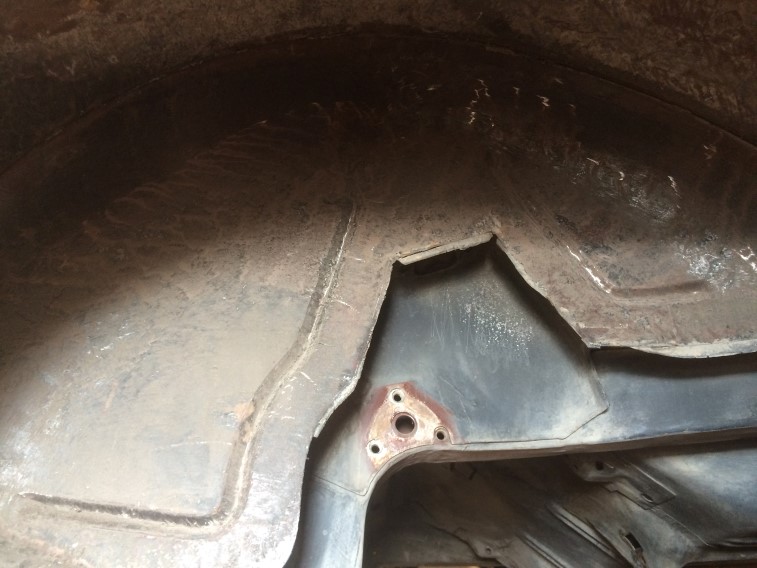
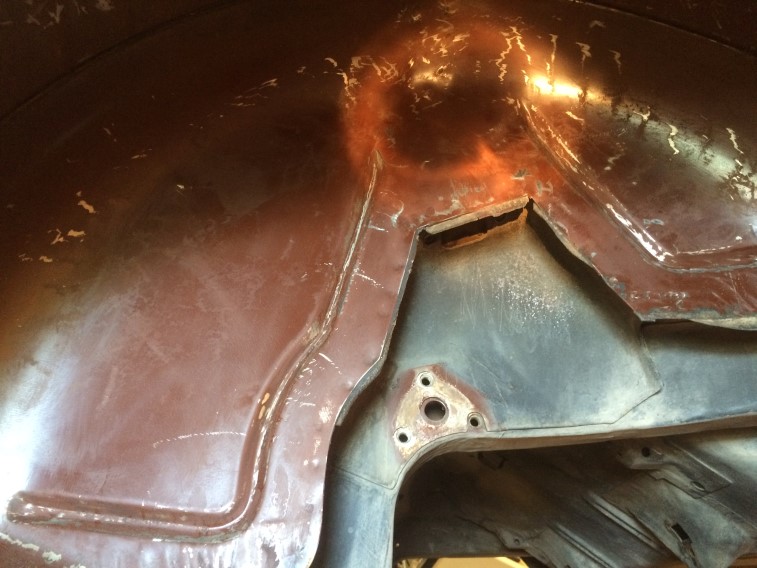
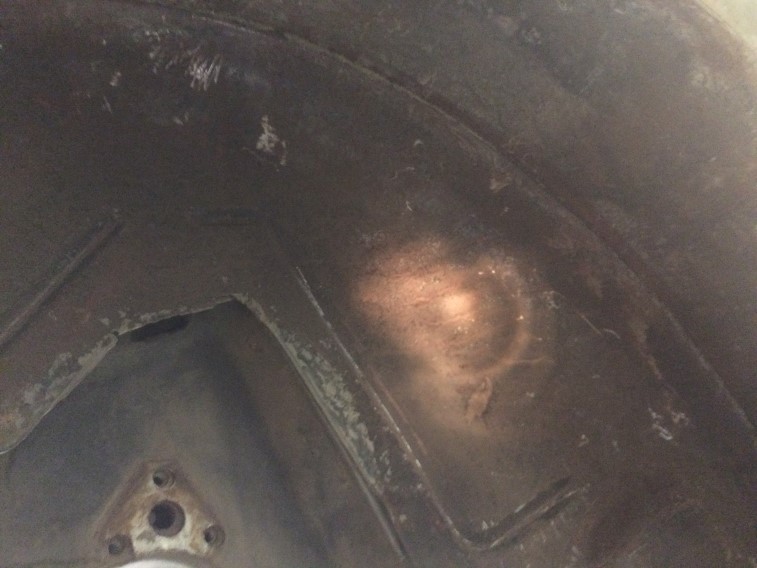
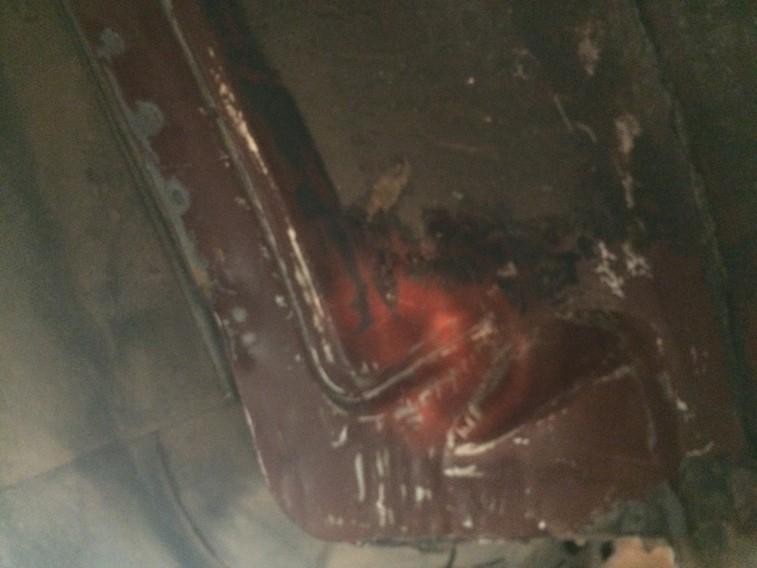
Also working on wheel wells:img_2121 img_2138 img_2139 img_2140 img_2141 img_2142 img_2143

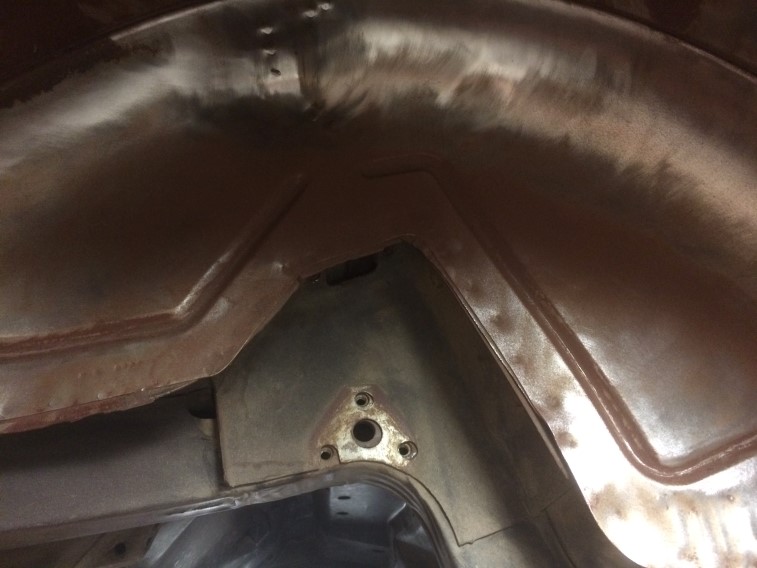
Purchased a NOS A/C actuator:s-l1600

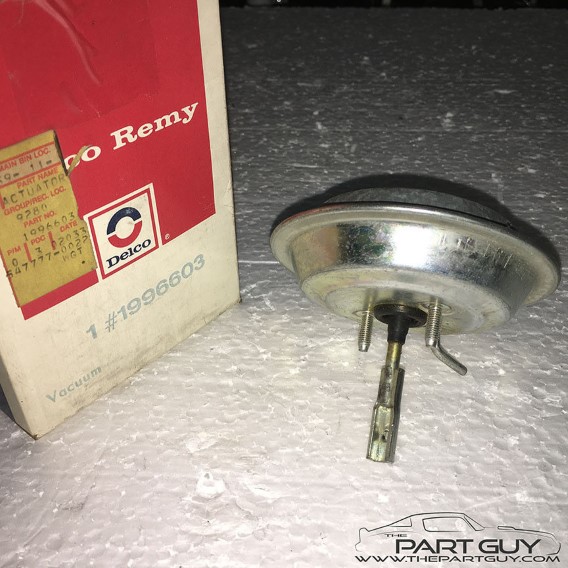
Bought a rebuilt steering column correct for a 1973 Camaro:s-l1600-1

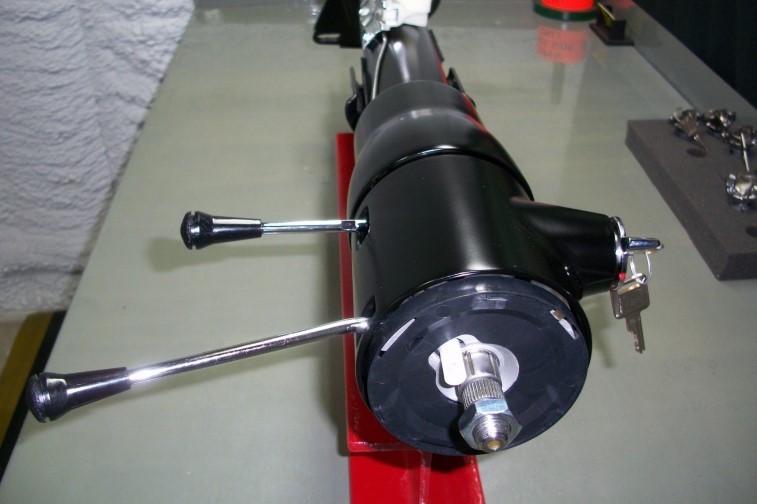
Also a re-furbished flapper for the A/C kick panel vent:s-l1600-3

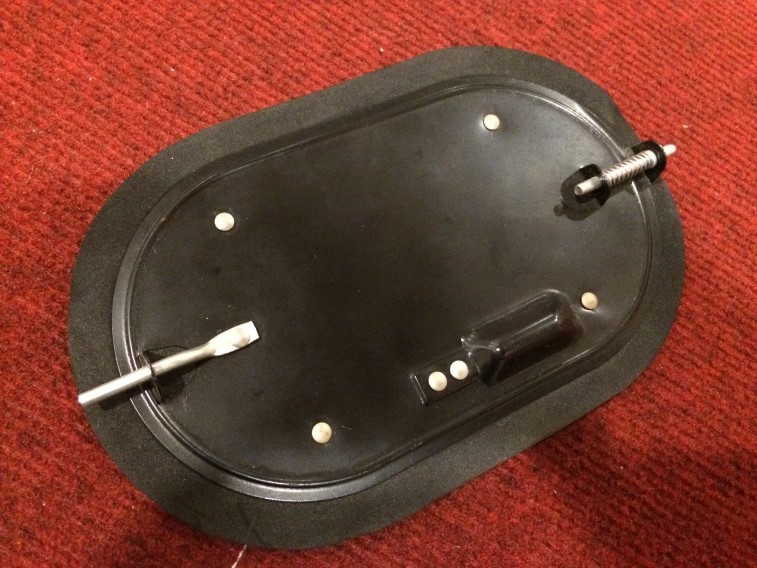
Also another NOS A/C actuator:s-l1600-4

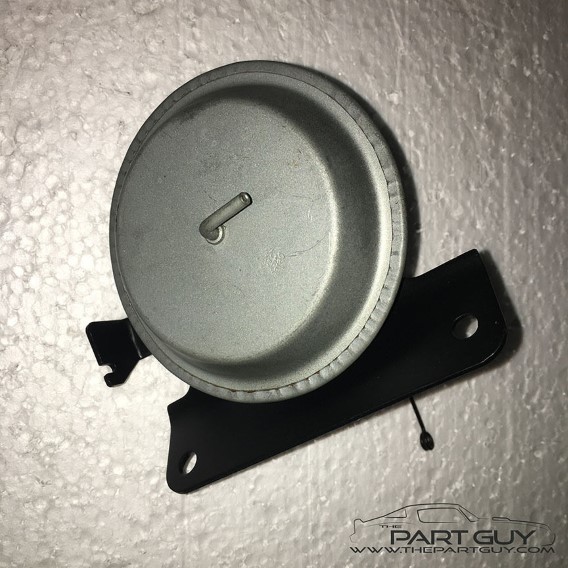
So that should bring you up-to-date.  The plan now is to keep stripping the rest of the shell, do some body work, and next summer when it is warm again, finish the stripped metal with primer, paint, and undercoating although the car won’t yet be ready for final paint.  I hope to get back at is next weekend – will wait and see!

Strip Floor – DentFix

Worked on stripping the floor today.  First pass is using the DentFix MBX – then will go back over it with some other tools to get what remains.

316xtqy0+lL

Amazon has it available here

It is a great tool, but takes a lot out of the arms.  Got both the drivers side and passenger side floor done.  Will try to work on the trunk area tomorrow.  For the remaining areas, I might use my wire wheel and manually with sand paper.  Some areas will be scuffed with a scuffing pad, so there will be multiple passes this next week.IMG_2117 IMG_2118

Drivers Wheel Well – 2

Got the driver’s side wheel well cleaned today – also got the drivers side tail panel \ quarter panel corner.

Before:

IMG_2038

After:IMG_2039

Before:IMG_2040

After:IMG_2042

Next will be wiping everything down with a wax and grease remover prior to sanding everything down, so there won’t be much to report for a little while.