All posts by Doug

6-7-2017 – Steering Shaft Rebuild

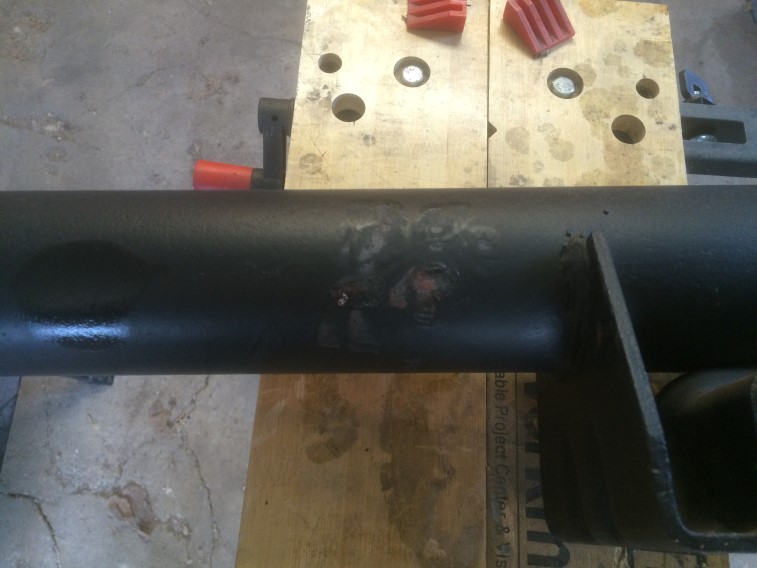
The last couple of evenings have been spent rebuilding the steering shaft – there are some build threads, so I will just clarify a few parts where I struggled – first let me clarify I will be installing a tilt steering column for a 73 Camaro and it needs a specific shaft which differs from a non-tilt.  For reference – the main source of information is: http://nastyz28.com/threads/steering-shaft-rebuild-process.92926/

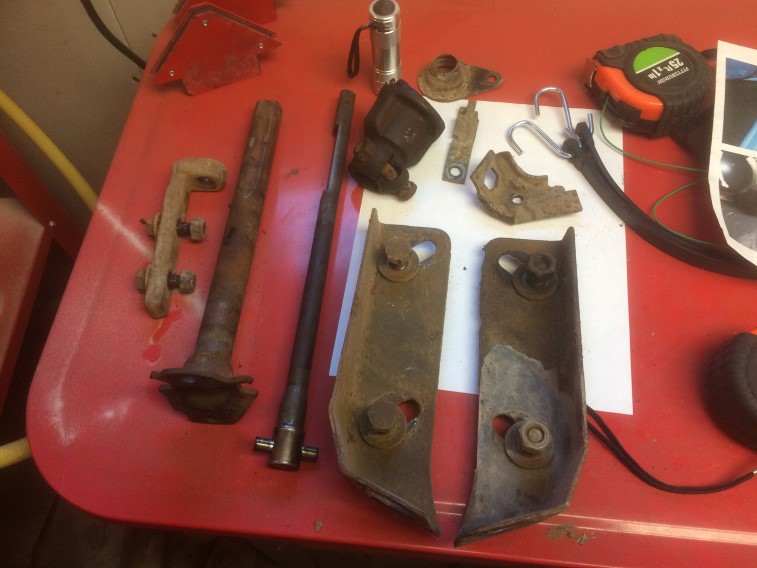
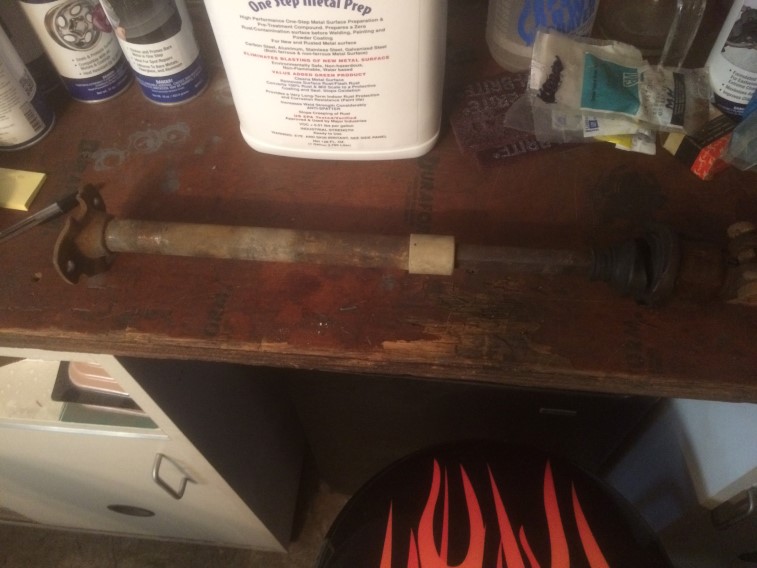
This is what I started with:

Notice the 2 clips on the housing to the right – once you straighten them out, there is a washer the unit has to slide over to come off.  I needed a little persuasion to get it to come off, but managed to do it without any damage:

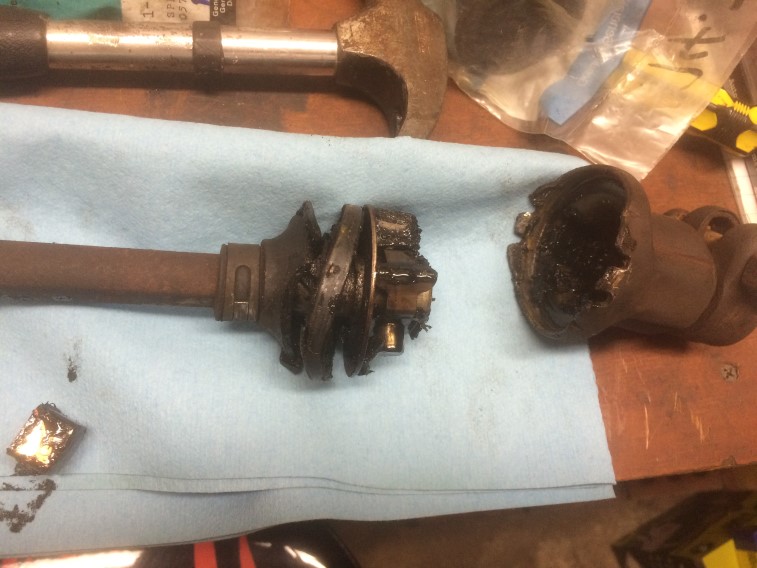
Now the early style has a pin to remove, this is not that style – I placed it in a vice and used a socket wrench extension to hammer out the smaller part:  note the spring inside came out towards the cabinet – make sure the extension is as long or longer than the larger piece it is going in:
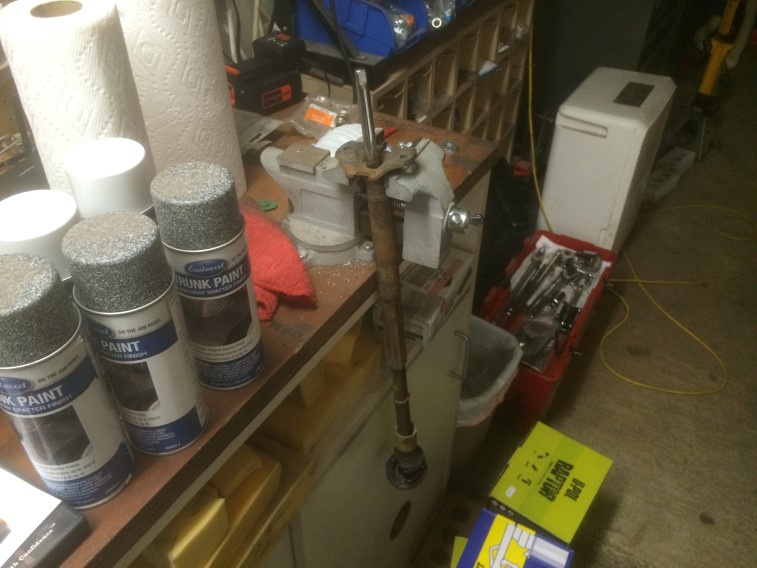
Separated:

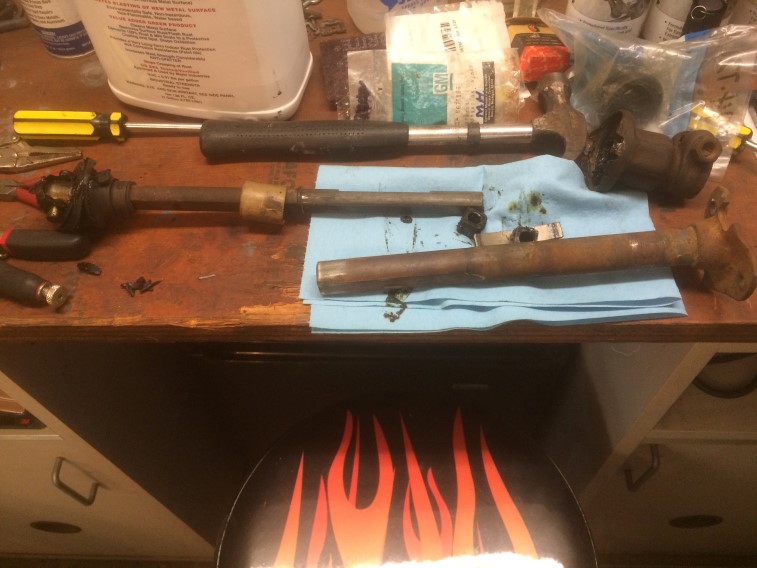
A reference pic for when I re-assemble it:

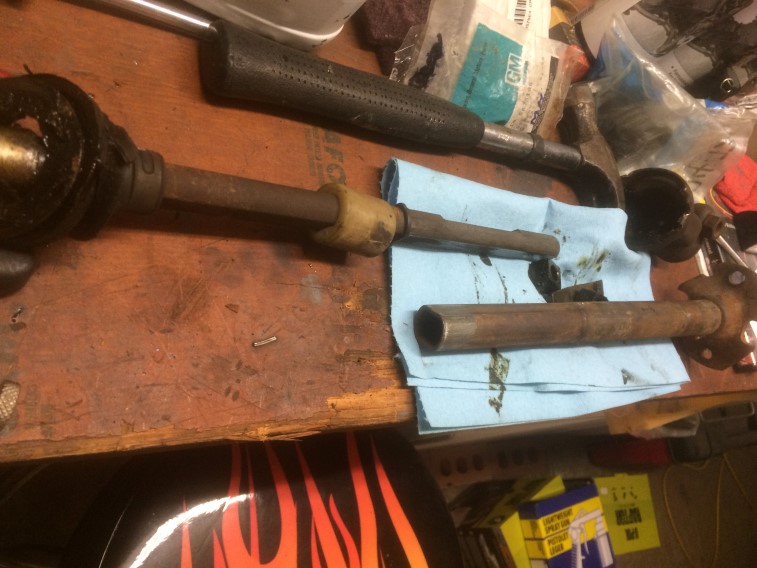
Note the spring that came off is completely a circle – the NOS replacement I have is not, but some trial fitting shows it should be ok:
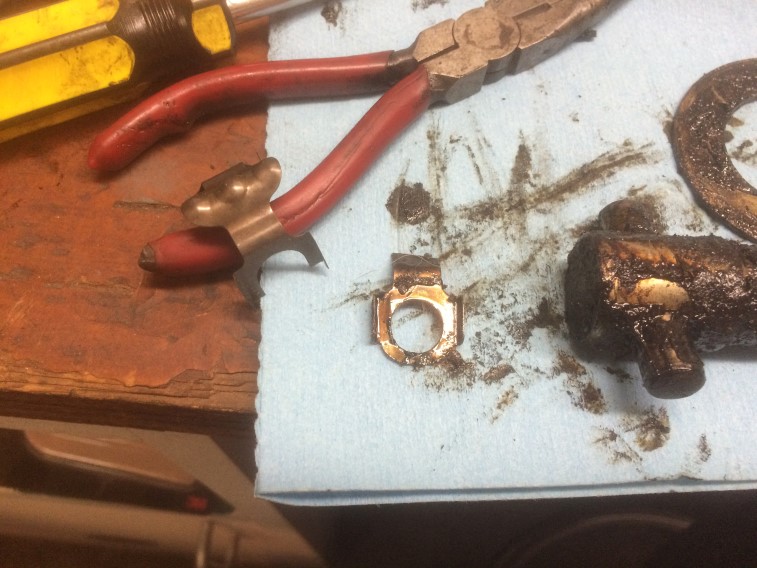
Grease removed:

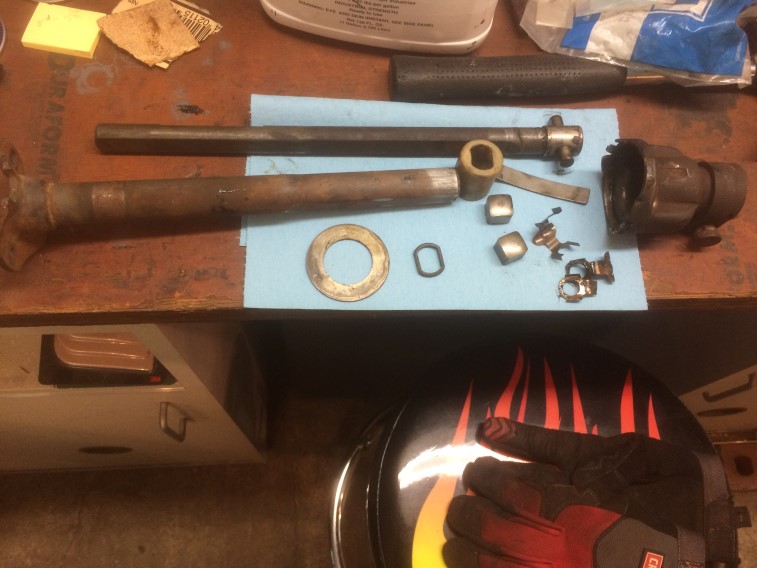
Now to blast them with some remaining pieces from the subframe – then paint and re-assemble:

6-4-2017 – POR-Patch

Not a whole lot to report for this weekend.  I did apply some POR-Patch to some screw-sized holes in the floor pan after prepping the metal with Metal-Ready.  I really didn’t want to take the time to attempt to weld these up.  I will be using U-Pol Raptor bedliner on the floor anyhow, so this will be covered up.

5-28-2017 – 12-bolt

Not too much to report.  Did some cleaning and scuffing inside the shell and around the patching I did yesterday for the 4-speed trans hump.  There were a couple of spots inside the shell I want to go over again with some more epoxy.

I also pulled out the 12-bolt to clean it for the first time since having it blasted and epoxied.  Glad I did because I discovered a couple of spots I want to re-do in epoxy before paining it:

Sprayed the inside with brake cleaner

There is also another spot like this on the other side.

5-27-2017 – 4-speed shifter hump

Spent some time in the garage today.  Bonding the patch and 4-speed shifter hump.

I spent as much time preparing as I did working on these.  The patch took about an hour and the shifter hump about 30 minutes.  Some of the rivet holes needed a drill touch-up to widen,  Hopefully back at it tomorrow!  The 3M bonding says you have a 90-120 minute window to work with it and about a 24 hour cure time.  I will still go over it with some seam sealer on both sides although it says you don’t need to – better safe than sorry!

5-14-2017 – 4 speed shifter hump

So this past week I was at a conference in Orlando, FL.  I did spend a little time in the garage yesterday with the nice weather and was hoping to get to bonding it today, but other things came up and now I hope to get to it next week.  So all I got done, was stripping the areas where I will be using the 3M bonding adhesive down to bare metal and cleaning with wax & grease remover.  I used a marker as a guide for where to strip to:

Hopefully this next week I can get the pieces bonded together.

4-29-2017 – Rims

Not much to report this weekend, it is too cold to do what I want to the car so I took my spare wheels in to have the tires removed to free up some space.  Two of them I got rid of all-together, kept my 14×7 Cragers – doubt I will use those, but still wanted to hand on to them.  Then removed the tires from the 14×7 American Racing rims and also had a bent 14×7 Rally rim repaired.  Now that it has been repaired, I am thinking I will have the 14×7 Rally rims on the back and 14×6 Rally rims on the front which means I will need to find 2 14×7 trim rings, otherwise I am good to go.  I think I will also keep my 14×7 American Racing rims and alternate between the 2 sets depending on what I am doing.  It freed up a LOT of space in my shed!  I prefer the old-school wheel wheels rather than the big rim, skinny tire look that a lot of cars have now.

4-26-2017 – 4 speed shifter hump

I added a dust reclaimer unit to my blast cabinet so I could strip some of the smaller parts such as the shifter hump patches – the unit was larger than I had imagined:

a before shot:

It worked fairly well, but did have some issues with the gun in the blast cabinet, so ended up manually sanding some of the remaining pieces – ready for primer:

Both patches primed:

I hope to get them bonded in place this weekend!

4-16-2017 – Updates

Received a couple more items yesterday:

Thinking of having this nickle-plated:

NOS Quarter panel trim:

Woodgrain dash bezel – I had one already, but the cigarette lighter hole opening needed work.  This one has no issues.  I also received a wiper switch for the recessed wipers.

I also had to replace a water trap  in my air compressor air line that was leaking air – I plan on using the blast cabinet next weekend and needed to get that resolved ahead of time.