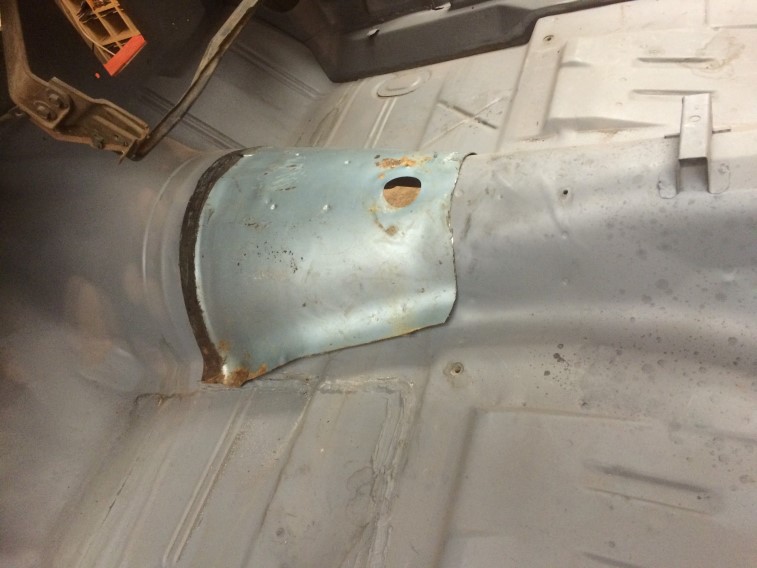
1-21-2017 – 4-speed shifter hump

Made a little progress on the trans hump patch…  First task was to find a rivet with an appropriate diameter – using this website as a reference.  I ended up going with a 1/8″ x 1/4″ rivet.

Using a 1/8″ drill bit, tested things on the old shifter hump:

Drilled rivets out:

Now to dive into things realizing I can drill the rivets out and weld-close the hole if I messed things up…  Re-studying the placement and starting with the area with the smallest space:
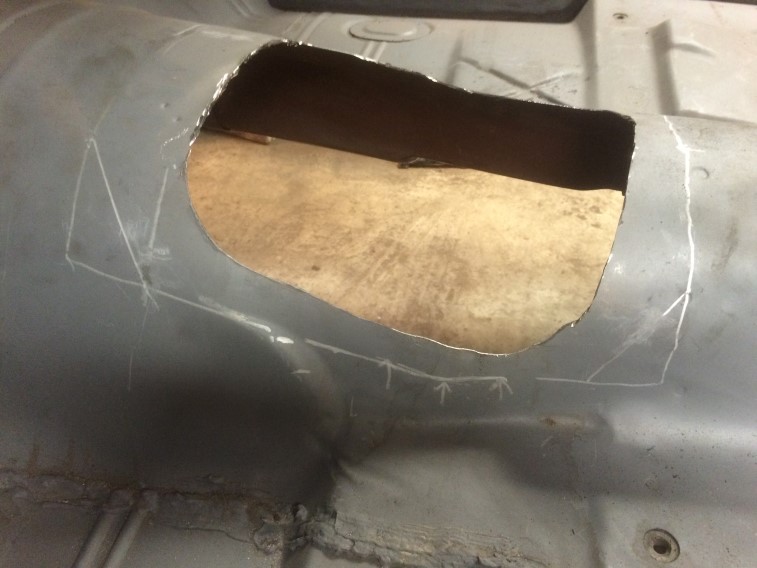
Getting a measurement (less than 1″).

Reference mark:

Getting an idea of where the shifter hump will go:

The dot marks the spot:

Drilled hole:

marked the hole:

Worse of the holes drilled and marked:
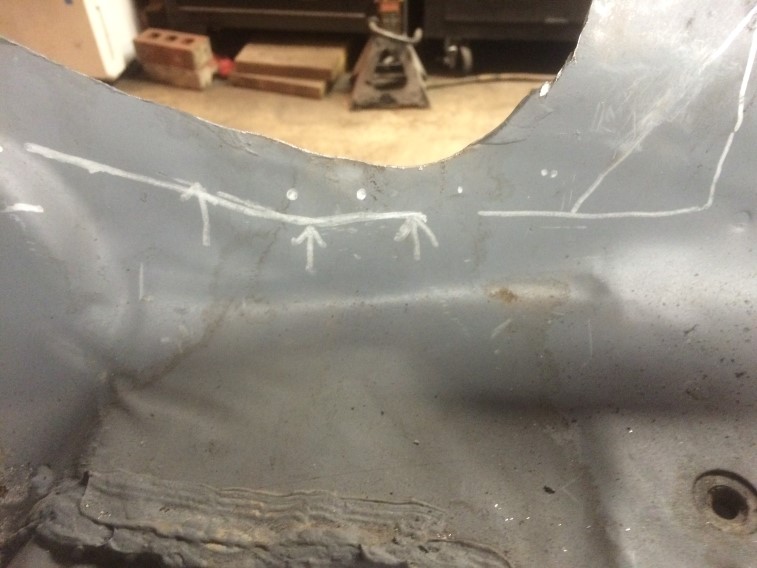
About as much fun as drilling out spot welds!

So after drilling all of the holes on the patch first, I started drilling and riveting the patch in.  Using a rivet as each hole was drilled:

Worse section done:

Of course, all of these rivets will have to be drilled out when I use the 3M bonding as a final step.
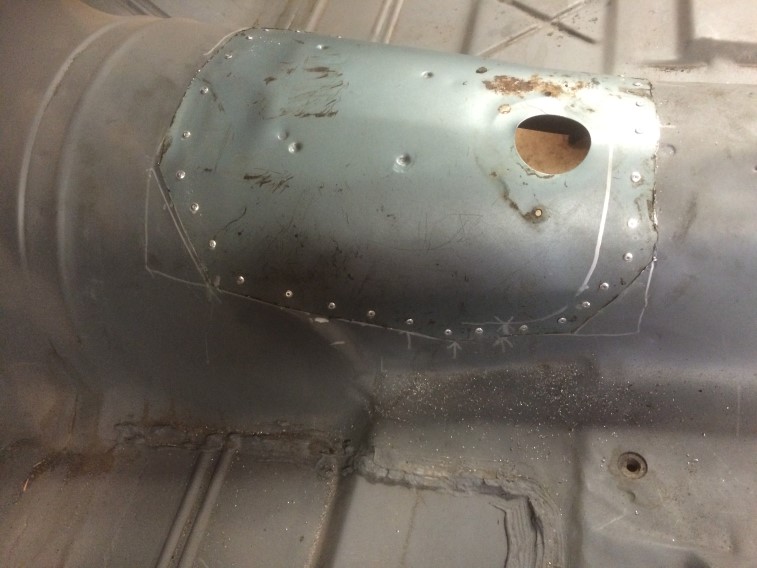
Getting an idea of placement.  The patch will have to be massaged into place – currently not a tight fit.  I have posted the link before, but this is the link I am using for the stock measurements: http://nastyz28.com/forum/threads/4-speed-hump-measurements-from-a-72.234718/
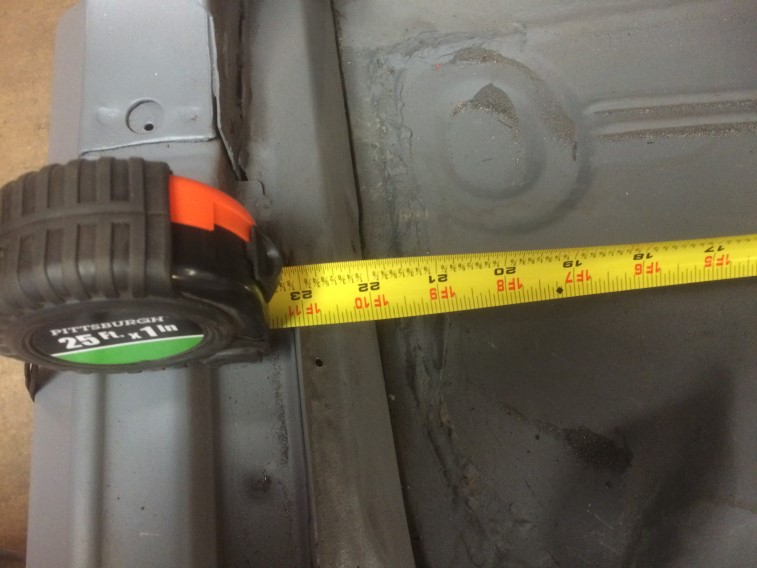
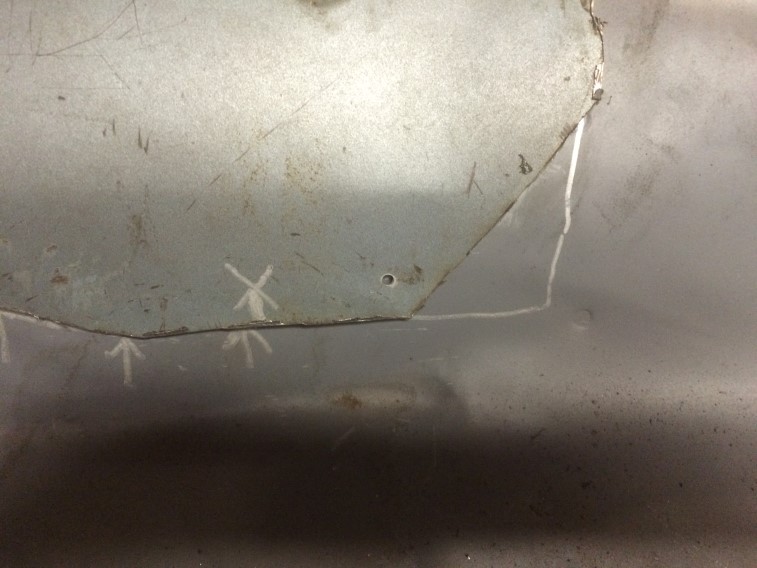
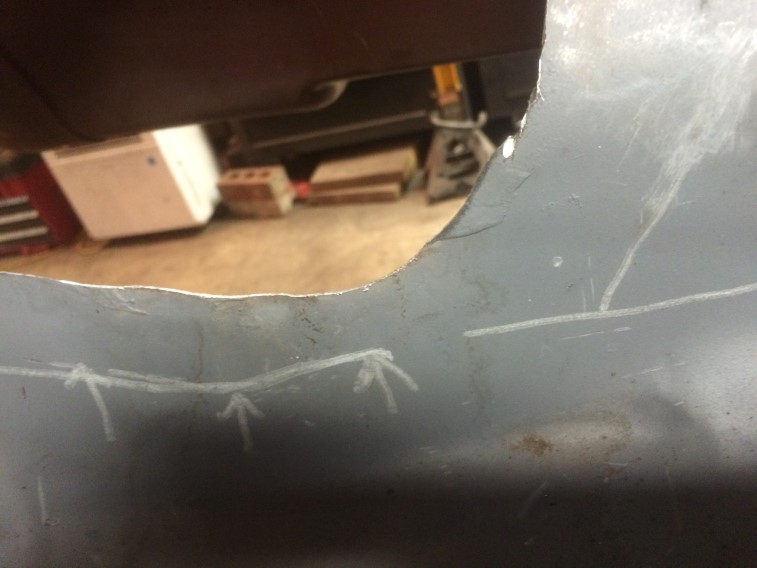
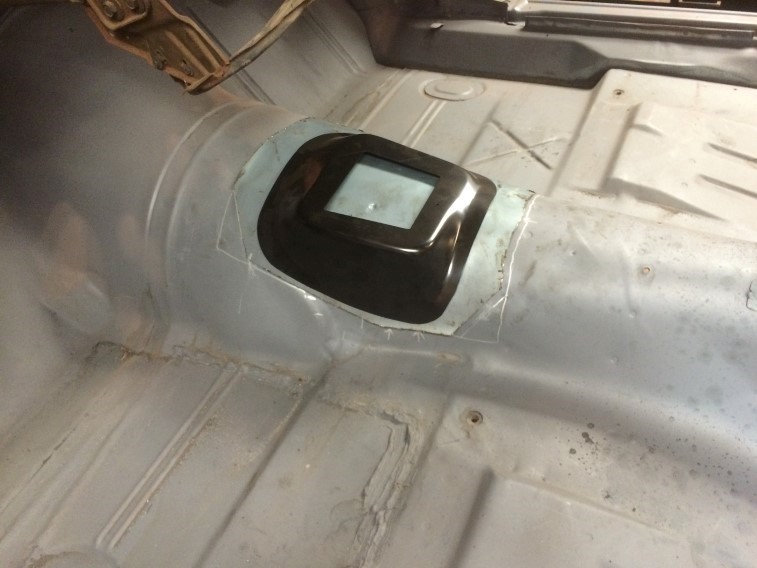
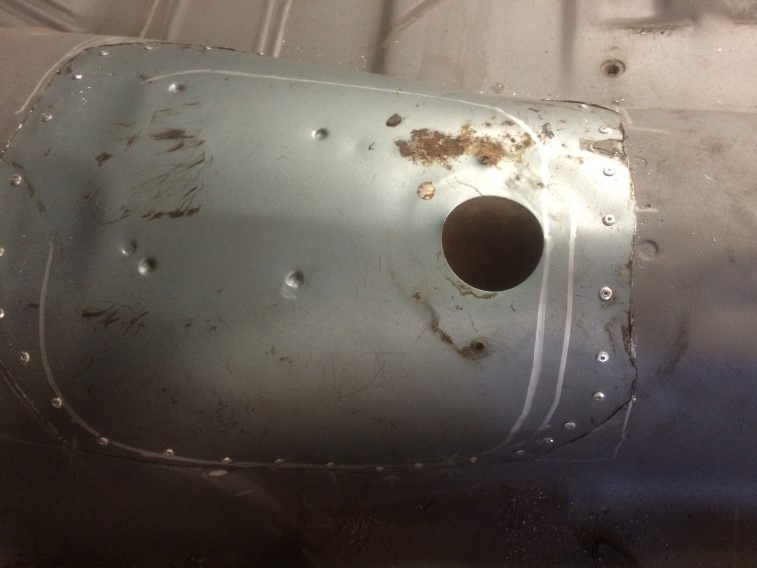
Next step will be to confirm the measurements and massage the shifter hump patch in place and also rivet in.  I will also be using the center console as a reference before riveting in,  Hopefully next weekend I will get that done.  The marks below show roughly when it will go:
Console Mounting Bracket Reference Measurements

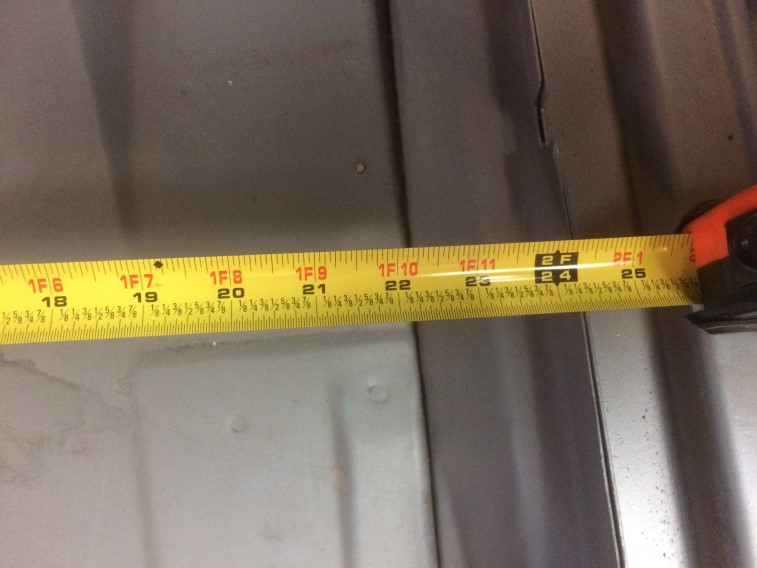
I had a request for the console mounting bracket measurements.  Here are some pictures of the stock locations for reference (these were taken from the passenger side) – these have a reference view and a close-up of the measurement (2 pics each):

Rear bracket to passenger sill (expanded and close-up):

Front bracket to sill:

Where the front floor pan meets the firewall gap to the front bracket:

Rear floor seam to rear bracket:

I realize didn’t  get the space between the 2 brackets, but that can be calculated based on these references.

As you will see from the pics, I have not yet gone much further on the trans shift hump work, but hope to make some more progress on that next weekend.

11-05-2016 – 4-speed shifter hump…

I am about a week overdue with this post, but here is the latest on the progress of re-doing the 4-speed shifter hump.

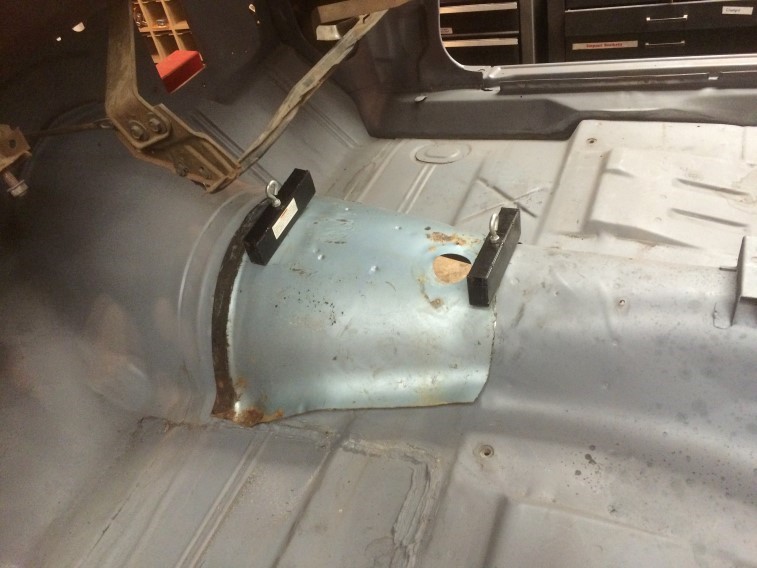
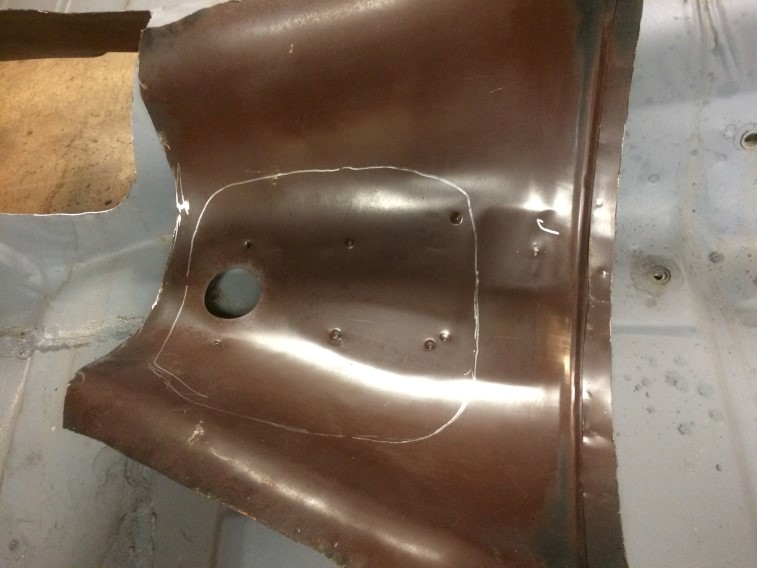
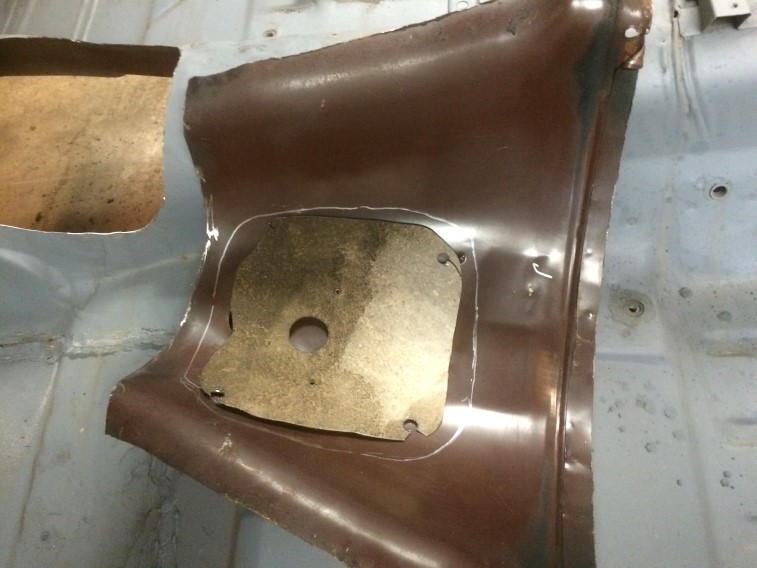
Started by using magnets to hold it in place while I traced the opening on the bottom of the patch:

img_2289 img_2290

Compared it to one of the original pieces I kept when cutting it the first time:img_2291

There is a lip that sticks out on the drivers side I needed to deal with.  So the fun begins with measuring, marking, and trimming:img_2292

These metal marking pens are great!:img_2293 img_2294

Then spent a lot of time measuring, marking, and trimming little-by-little:img_2295 img_2296 img_2297

I was also marking on the shell the placement of the patch for a reference:img_2298 img_2299

Then I was worried that I might have cut too much for the hump to rest on, so a quick trial fit:img_2300

Then I had to bend and hammer the patch and floor so it was snug:img_2301

I determined that the magnets wouldn’t do the job, so the plan is to rivet it in place, then patch in the shifter hump – riveting that in then using body adhesive next Spring with the rivets to complete the job.

Now it is on to some pre-winter non-car projects, so the car work is on hold.  There won’t be a lot to do over the winter, but a little here-and-there.

10-26-2016 – 4-speed shifter hump

Made a little progress today…

Before:

img_2283

I bit the bullet and cut away…img_2284

Then I cleaned-up the bottom side of the donor metal (using hot water and Purple Power)…img_2286

Tried to get an idea of how it will fit:img_2288

Tomorrow will be trimming the donor panel little-by-little until I am happy with the fit and if time permits, bonding it to the car!

10-25-2016 – 4-speed shifter hump

So I was referencing the measurements of my manual 4-speed shifter hump I installed from here and realized I was off by about an inch and need to re-do my work.  Today was spent analyzing, measuring and planning next steps.  This is the piece that the shifter sticks through that I need to redo:

img_2276

I re-attached the bracing and used an older console to cross-reference since I am wanting it to be as close to the stock location as possible and will be using a similar console:img_2277

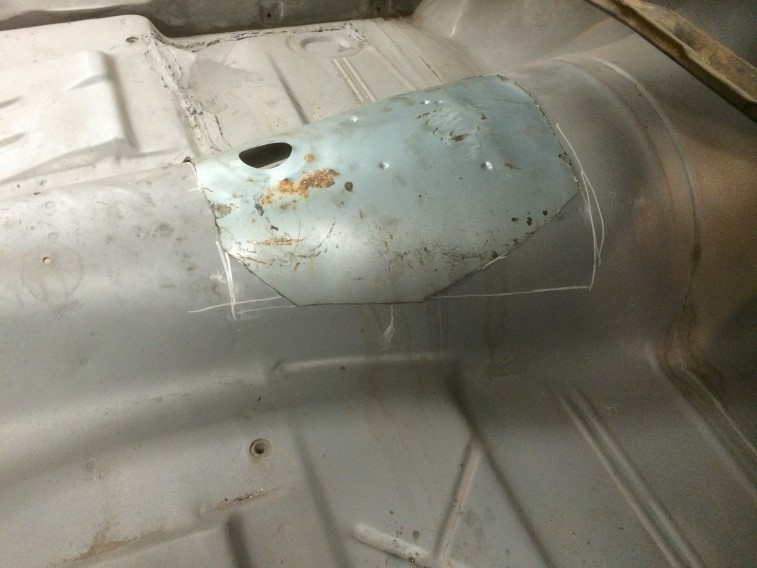
I am actually impressed that I got it this close on my first try, but referencing the picture and measurements in the above link, I need to adjust the location which will mean cutting it out, patching part of the hole, and re-attaching a new shifter-hump.img_2278

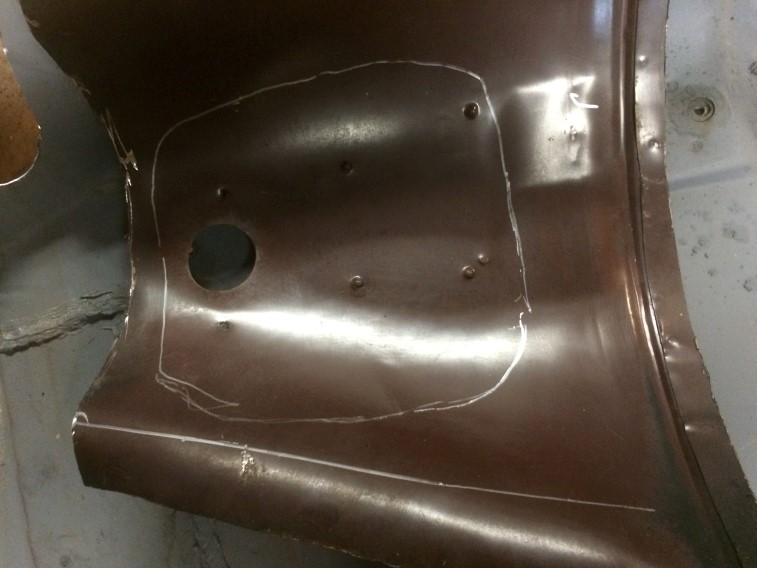
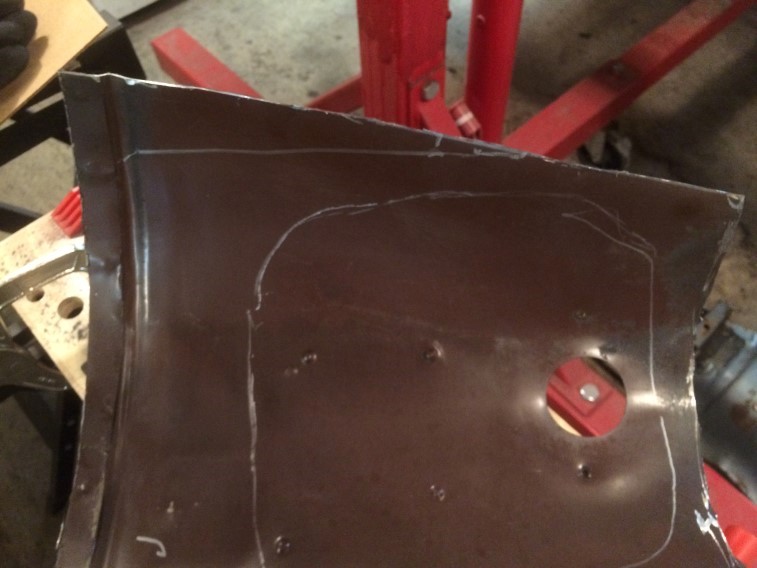
I have accumulated some donor parts.  Not the top piece in brown is the original section I cut out the first time (on the blue piece):img_2279

Unfortunately, the brace is closer than I would like – this piece looks to be from a firebird, but close enough…  (on a Camaro, the brace is further back by comparing to my patch panel)img_2280

After some thinking and experimenting and a failed attempt to remove the brace, I ended up cutting it as close to the brace as possible:img_2281

Using my other donor piece as a mold, the larger piece I will be working with appears to be flexible enough that I might be able to use it as a patch piece with a little persuasion…img_2282

More to come…  Stay tuned for more…

Doug Bratton's Personal Blog