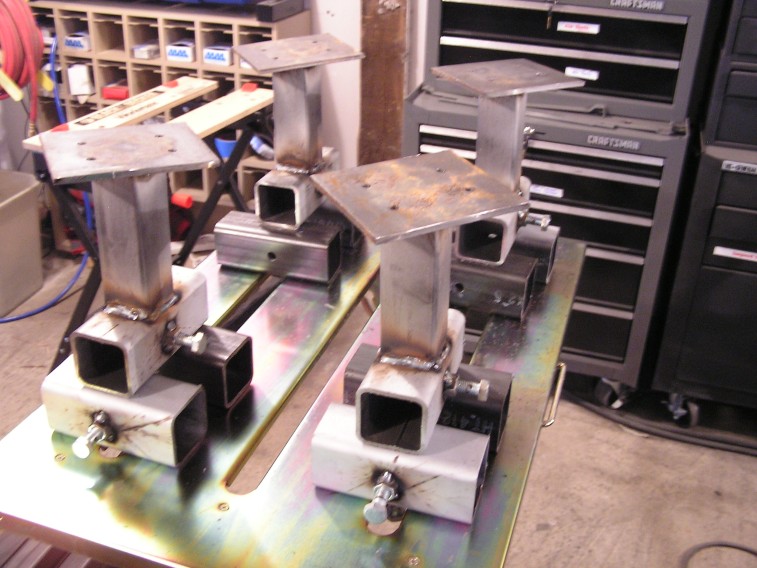
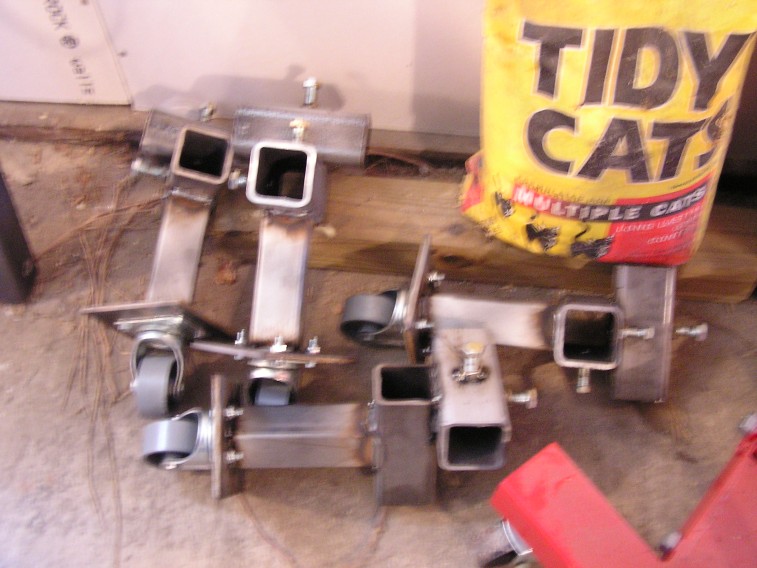
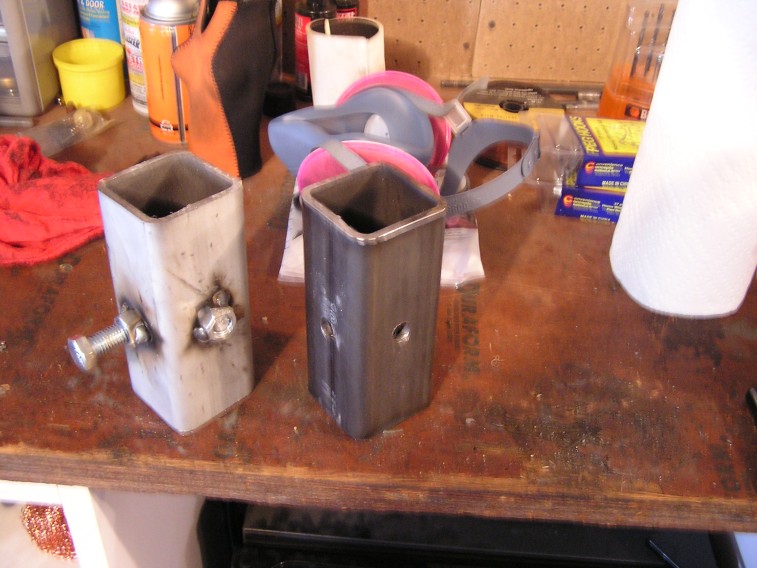
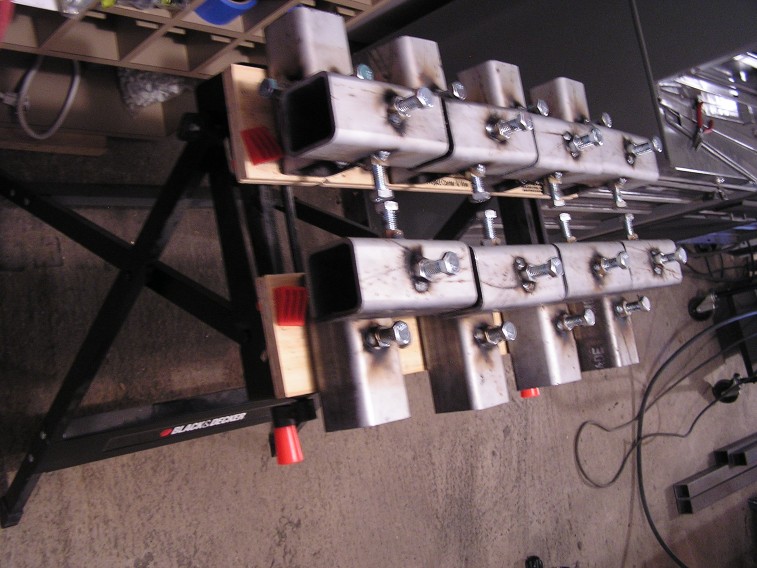
Went out and bought a plum bob and crayons from Harbor Freight. I wanted to get a sample measurement of a couple of key mounting points referenced in my manual. I was 7/8″ off and believe it is because my body is not yet completely level. Before starting on the floor pan this winter, I need to level the body as much as possible and record as many key measurements as possible for reference when re-assembly.
Oct 17, 2012 Jig Update
Been busy prepping and painting the body jig. First, I sanded off the weld-thru primer that was left over, then cleaned the metal with Eastwood Metal Wash, then used Prep Step and finally painted with 2 coats of Zero-Rust.
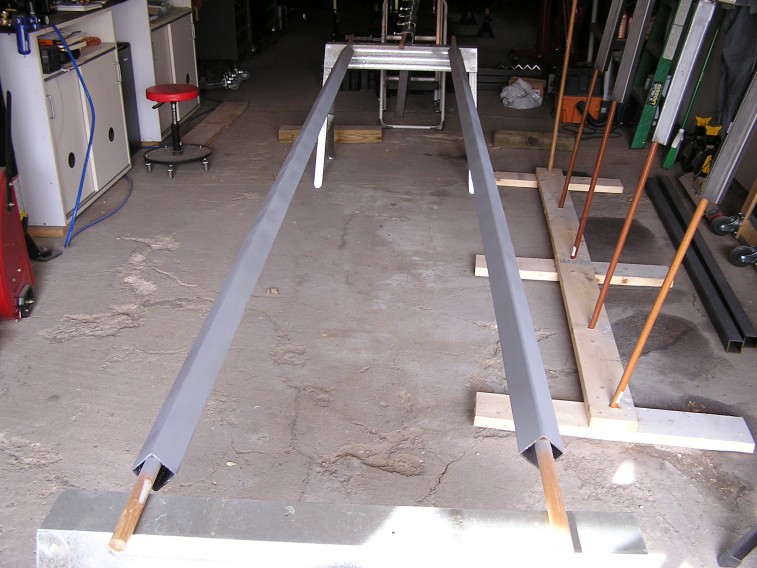
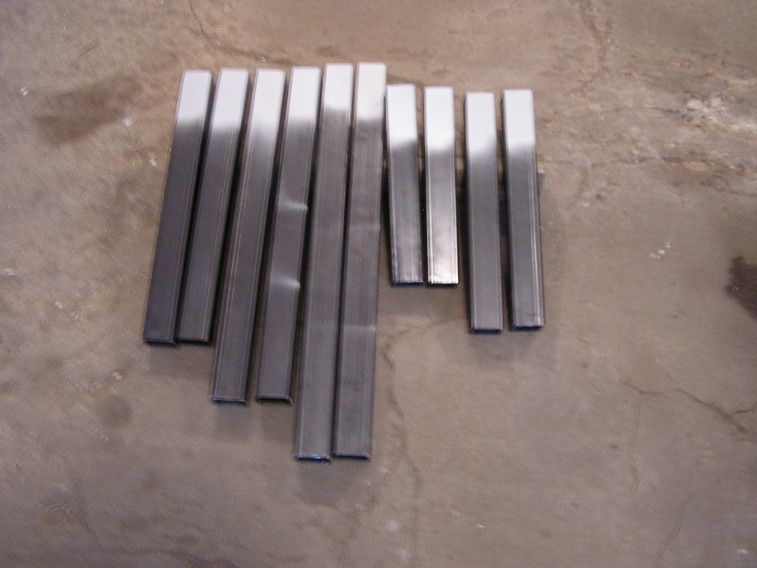
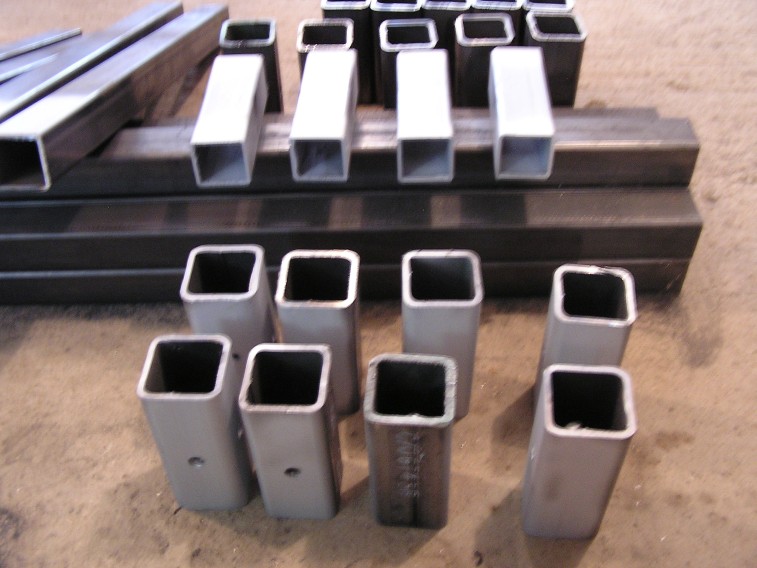
Here are the two 11′ pieces of 2×2:
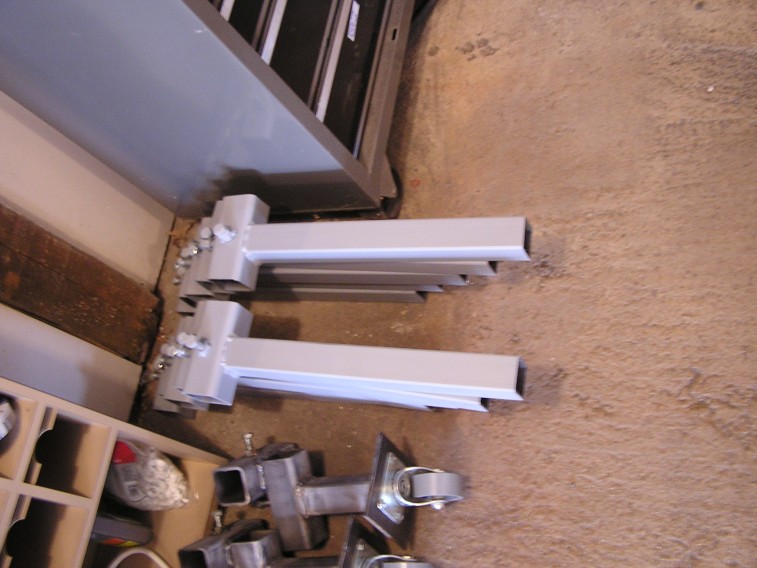
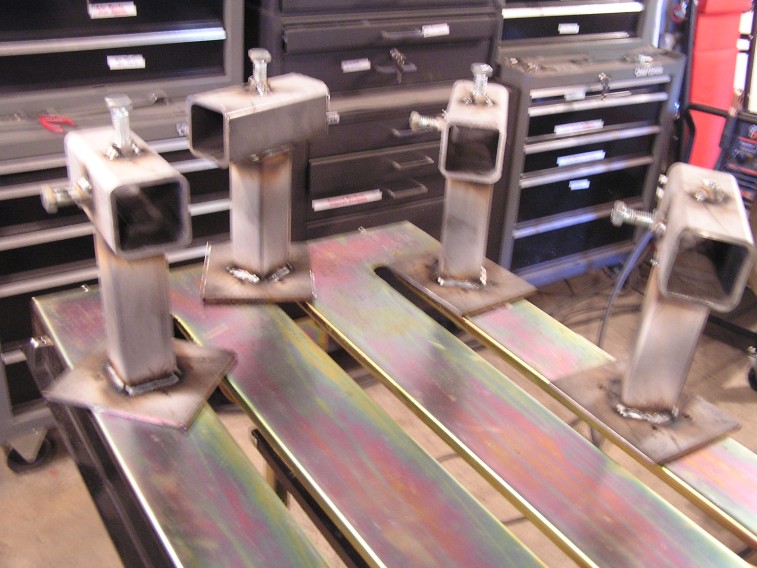
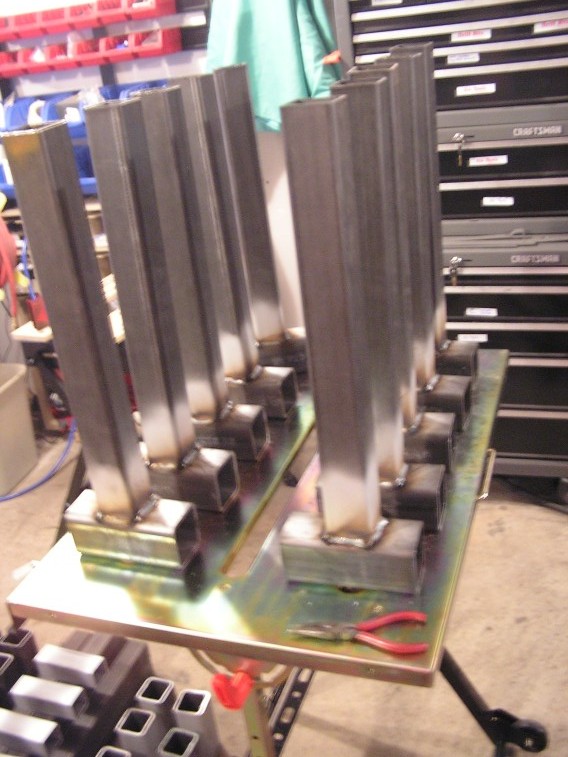
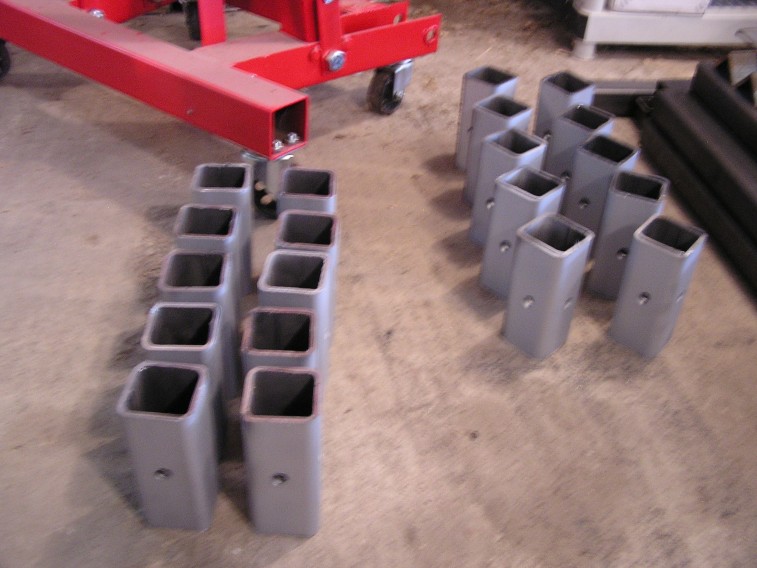
Here are the T pieces of 18″ 2×2 welded to 6″ 2.5×2.5 pieces:
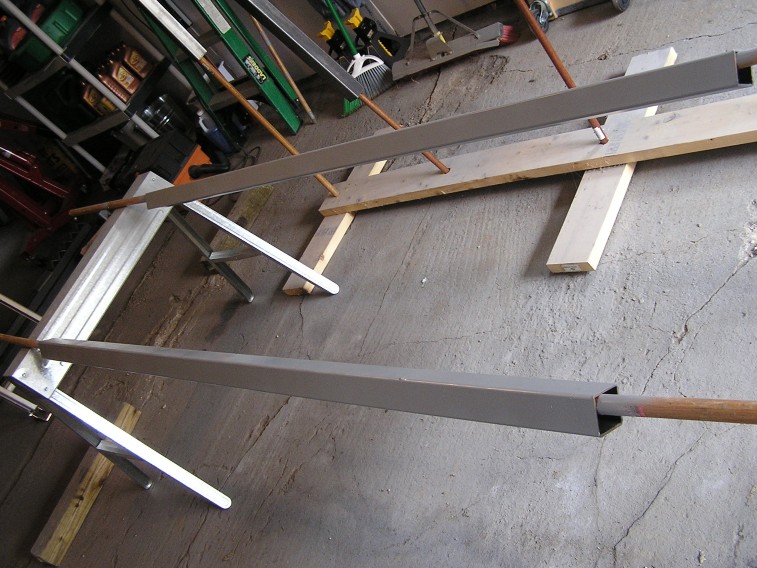
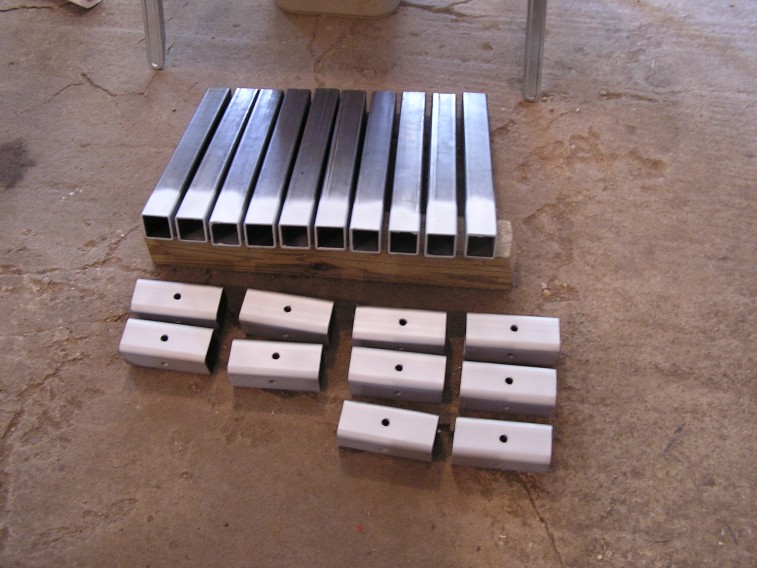
Here are the 2 6′ pieces of 2×2
I still have more pieces to clean and prep for painting, but needed to order more Zero-Rust and will need to wait for that to arrive to finish painting the parts of the Jig.
Oct 8, 2012 Update
Still trying to find time to clean and paint the Jig before Winter hits! Been busy with some other projects and family activities. Hope to find some time this next weekend to prep and paint the Jig before moving on to the body work.
Sep 19, 2012 Jig Update
Got some time during the week to just about finish up the Jig (the paint (POR-15) will come later)
I have to re-do one piece where the nut broke off. I will finish sometime next week.
I have gone through one spool of wire so far working on this!
Just have a few hours worth of work left on this, then it will be ready to assemble which will be after I complete the replacement of the full floor pan!
Sep 19, 2012 Jig Update
Sep 16, 2012 Jig Update
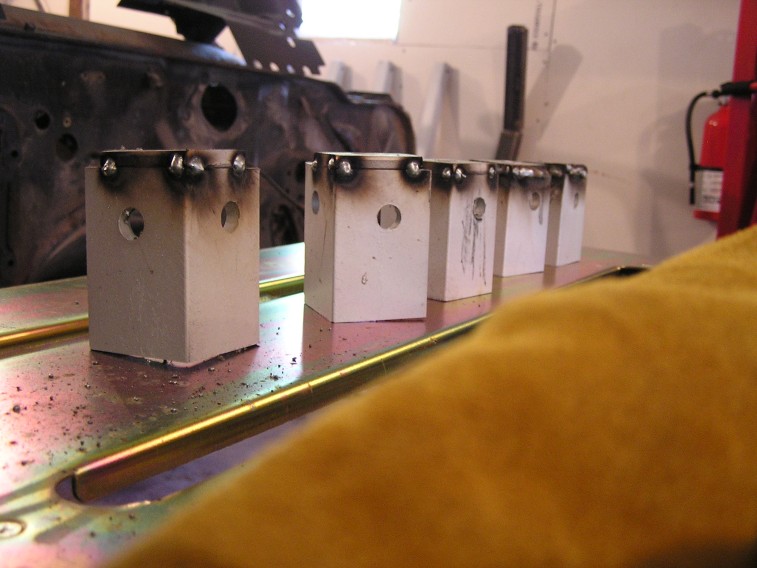
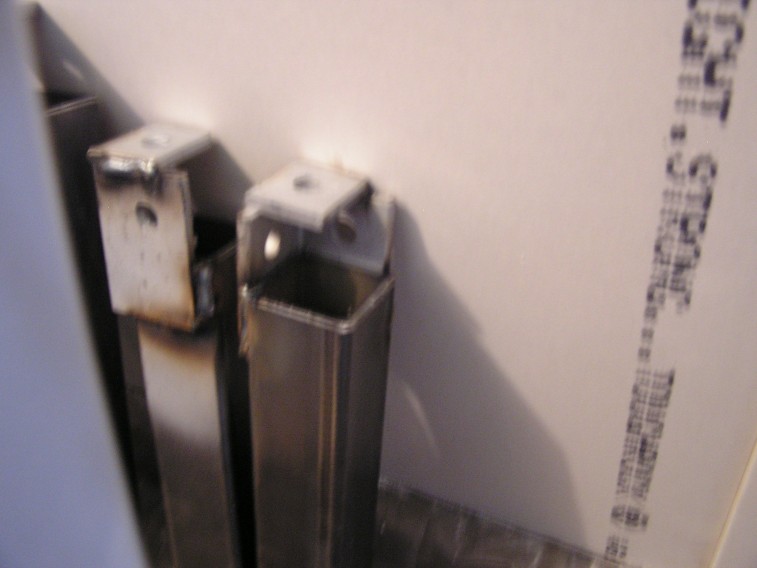
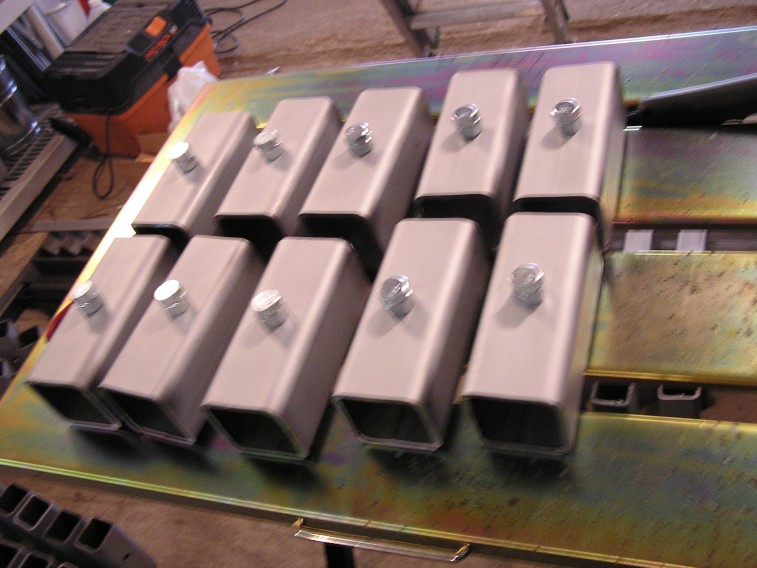
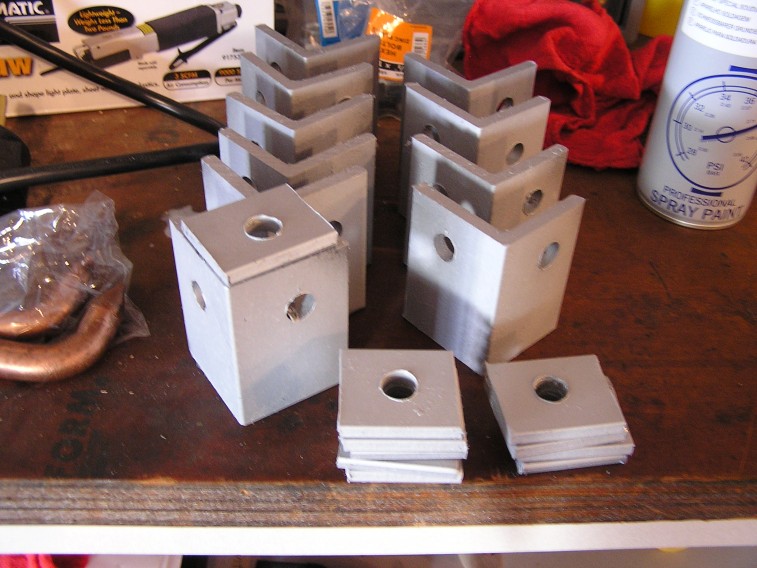
Got some garage time in between other projects this weekend… Started out welding the angle brackets (there is a square top plate with a hole drilled in it):
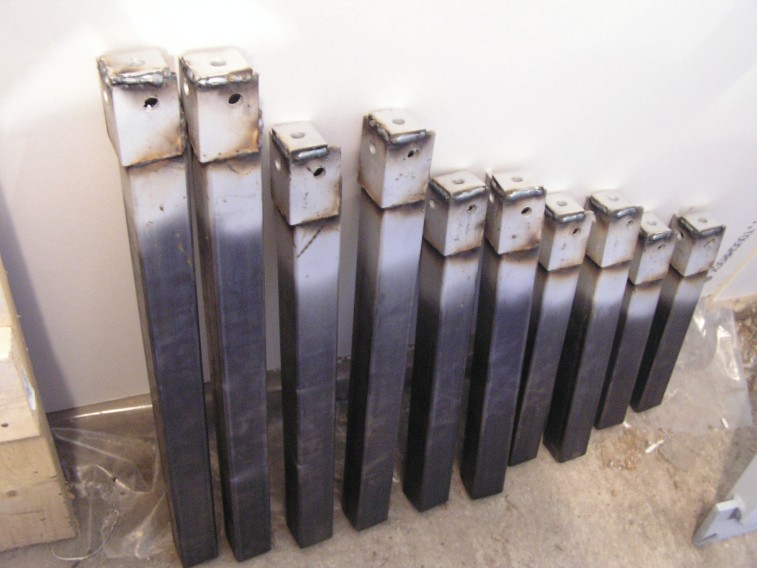
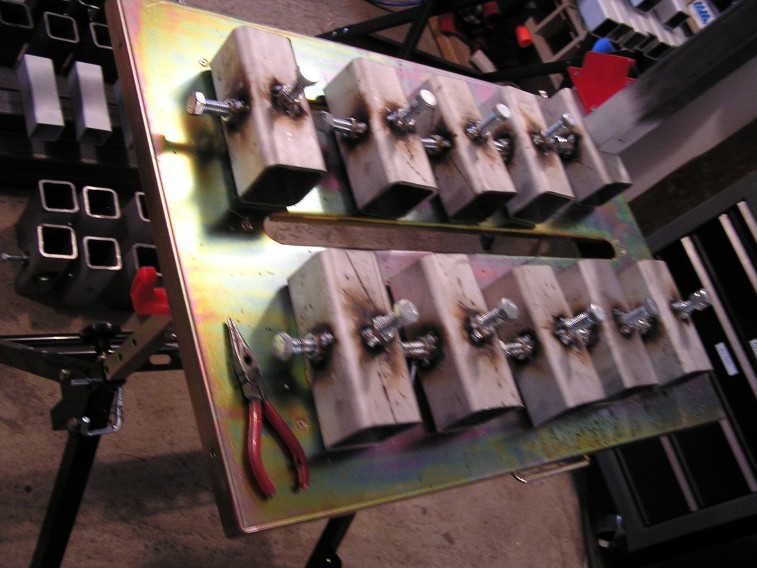
Then welded the angle brackets to some 2×2 square tubing. Notice each piece can be attached to the car in three different spots. These are what will attach to the car:
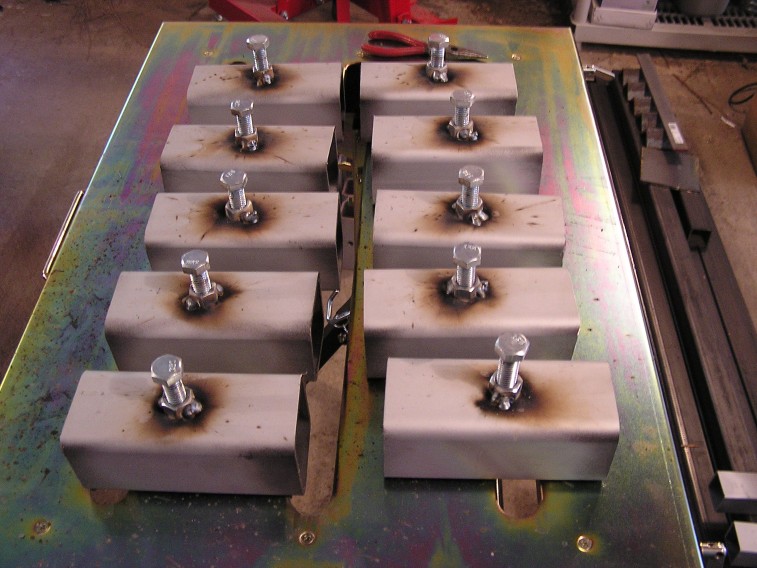
Then I took the nuts and threaded them on the bolts and placed them in the holes to tack the nuts in to place removing the bolts afterwards:
One side is done for this batch:
2nd side is done for this batch:
Next I need to weld some 2×2 tubing to the 2.5×2.5 tube that I prepped below:
Sep 10, 2012 Update
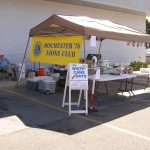
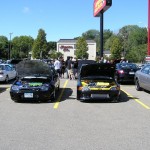
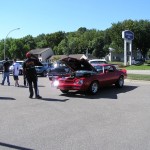
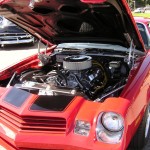
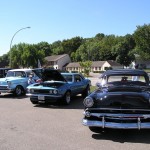
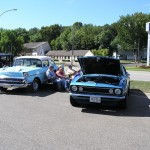
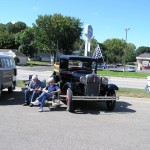
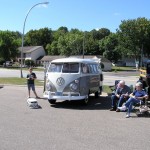
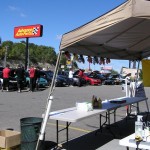
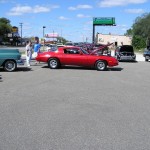
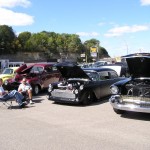
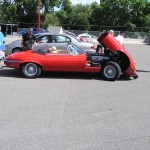
Spent the weekend working on the car show food selling project with the Lions club and Advance Auto Parts… See pics.
Sept 5, 2012 Update
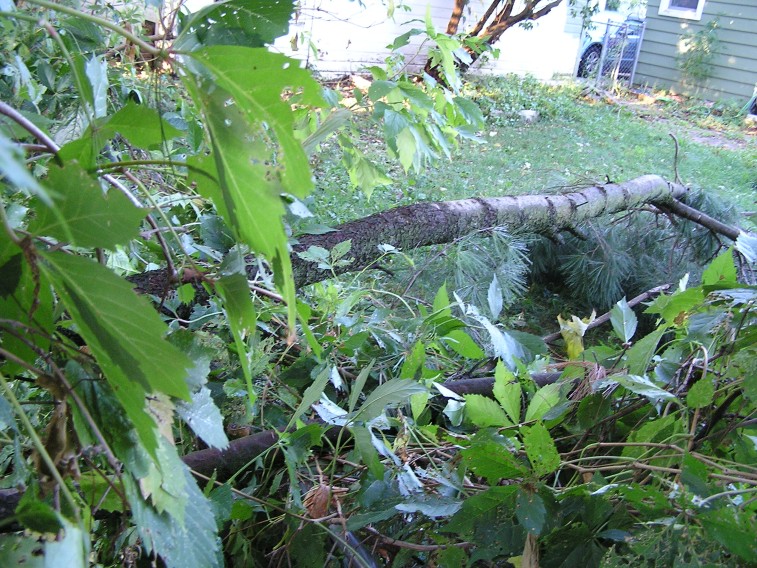
Had a thunderstorm last night take down a few limbs. One landed on the fence, so I took the morning off to clean up the limbs and got some Garage time in to finish cleaning and painting the remaining metal for the Jig. Next step is welding, but most likely not this weekend as this weekend is a car show my Lions club is hosting with Advance Auto Parts.
Here is the limb that fell on the fence:
Sep 4, 2012 Jig Update
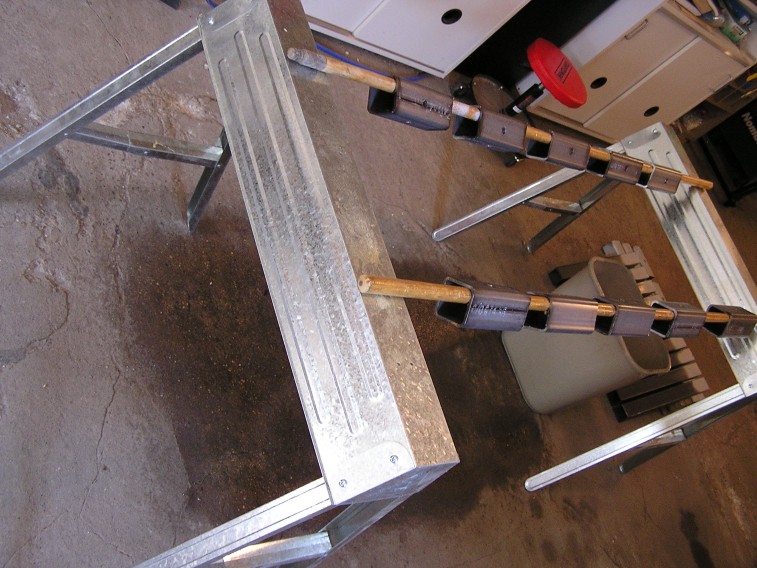
Been busy cleaning the square tubing with Eastwood Metal Wash and using some weld-thru paint on the areas where I am going to weld. I want to re-use the jig, so am taking some extra steps to both protect it and practice these things for when I work on the car!
I will provide the measurements of the various pieces later:
Setup for cleaning some of the tubing:
Cleaned and ready to weld:
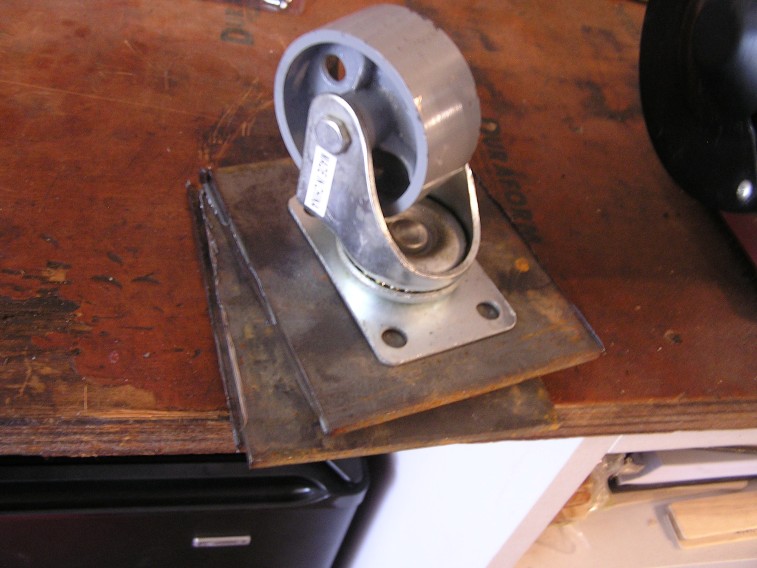
I need to drill mounting holes and prime these plates:

