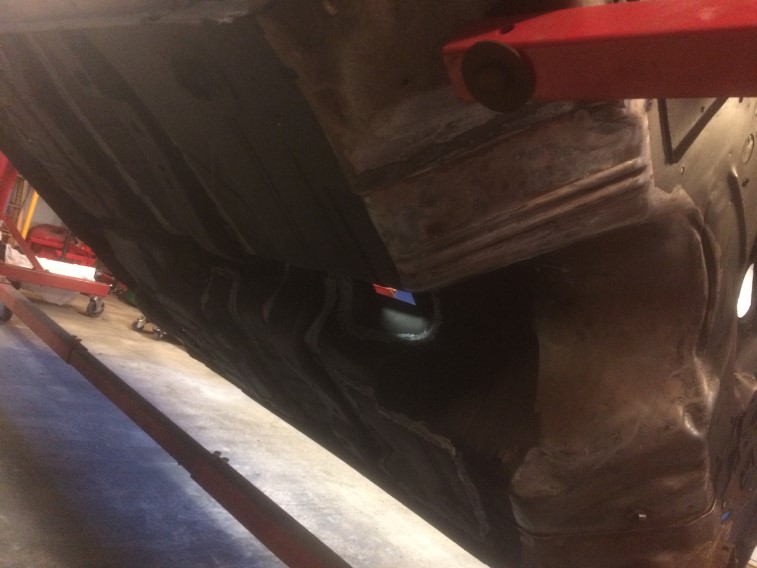
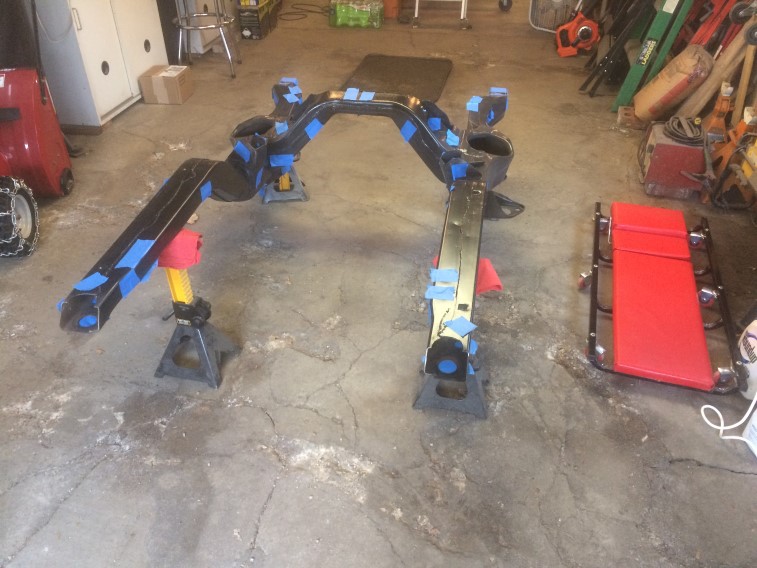
Painted the inside of the front sub-frame using Eastwood Internal Coating – had to cover existing holes with tape:
After spraying the first coat, I realized the extension hose was curling up on itself too much – attempt #1 to straighten it out:Then I decided to use a metal clothes hangar which worked wonders! Used a lot less paint and was much more efficient! I ended up spraying 2 coats waiting 24 hours between coats: ALso re-sprayed the drivers inside trunk – much better! Used Clean over it – just had to touch-up a couple spots after scuffing and cleaning. Still need to do the other side.
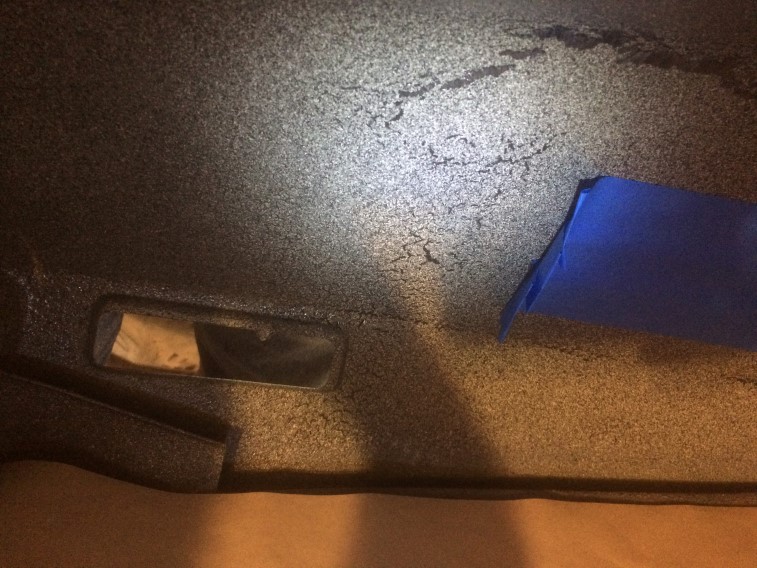
Going to touch-up the inside trunk spatter paint. You can see the areas in the picture. Working on driver’s side first. Scuffed and masked off. Hope to touch-up this weekend:
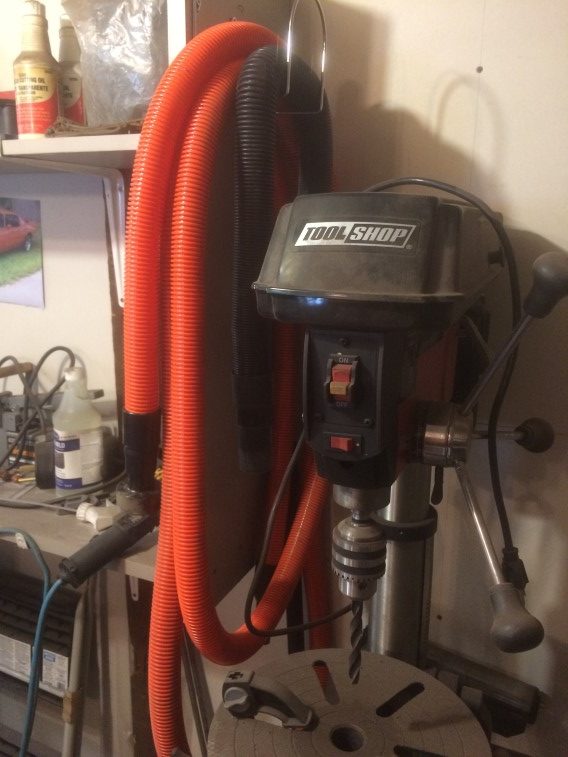
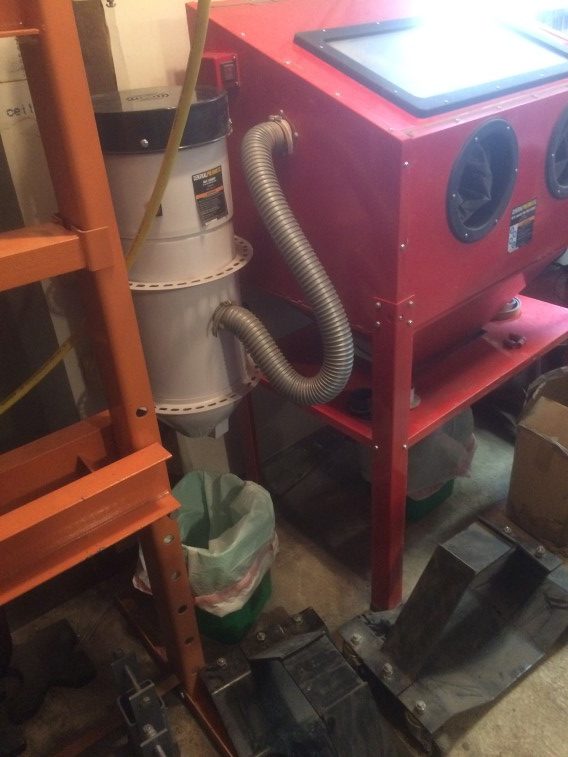
Bought a 20′ shop vac hose and accessories, so I started the Spring cleaning – vacuuming the shell and working on the blast cabinet – it is so nice to be able to vacuum around the garage without dragging the shop vac all around! Also got the proper attachments to make cleaning more efficient:
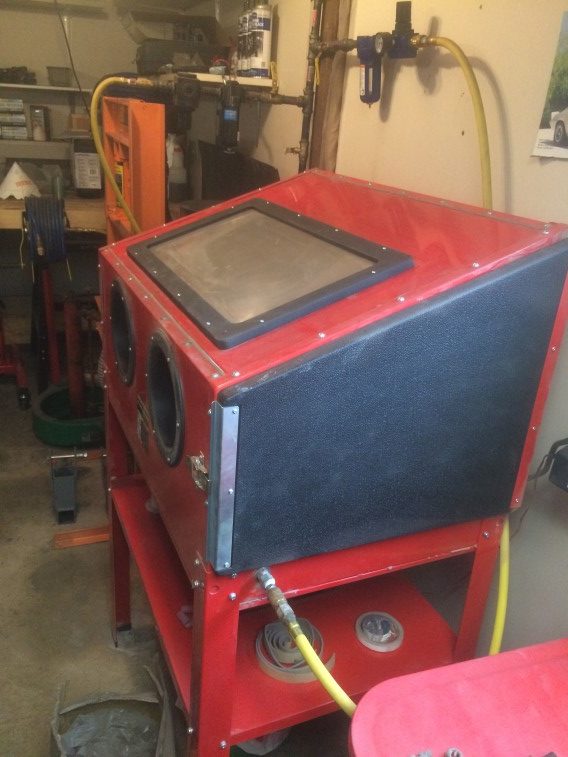
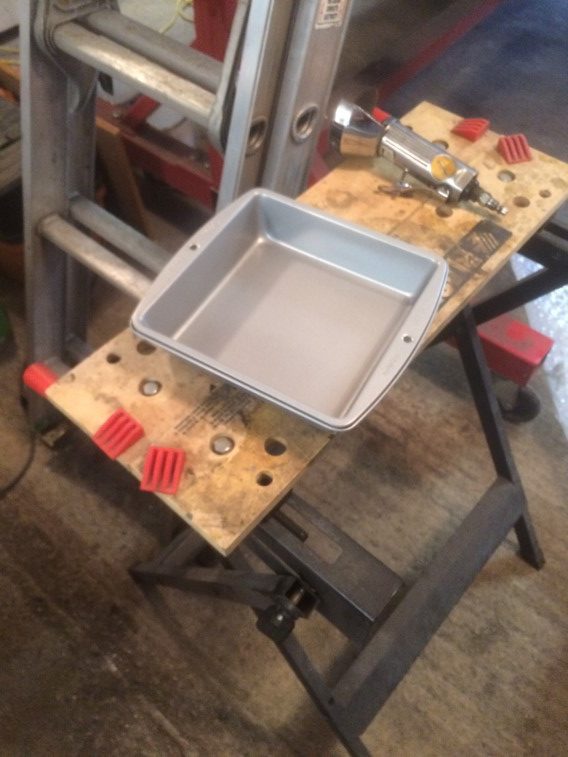
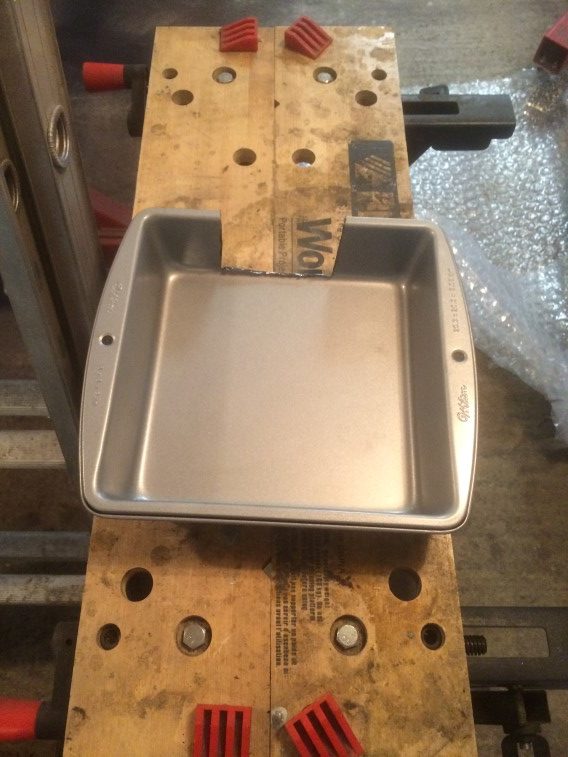
cleaned-up by the blast cabinet:vacuumed the shell: also wiped down the primer on the floor: Working on the blast cabinet – first is to add a baffle for the vacuum hose inlet…This baking pan should do the trick! after cutting a small section using the cut-off wheel: Still have more Spring cleaning to do, but with the warmer weather, I plan on getting out to the garage more frequently now.
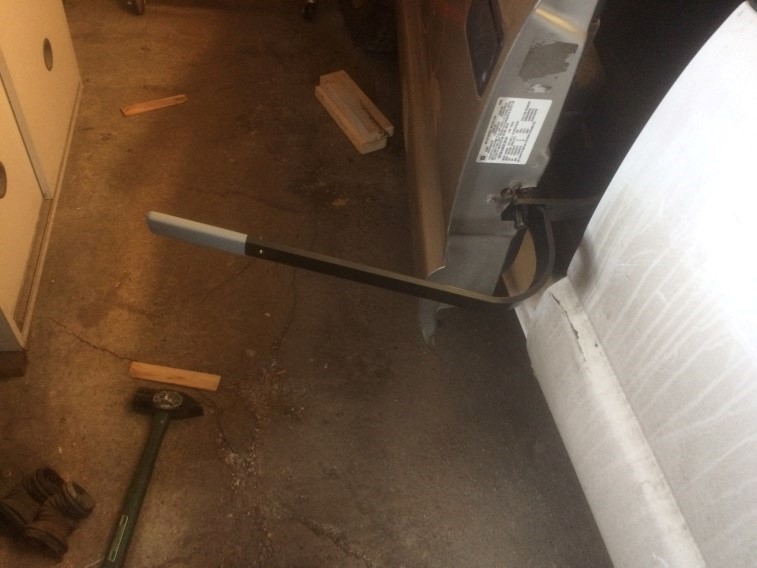
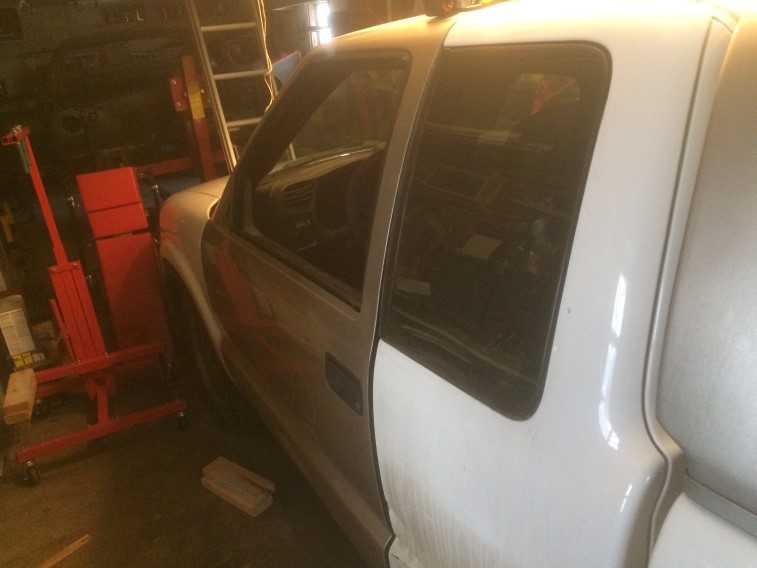
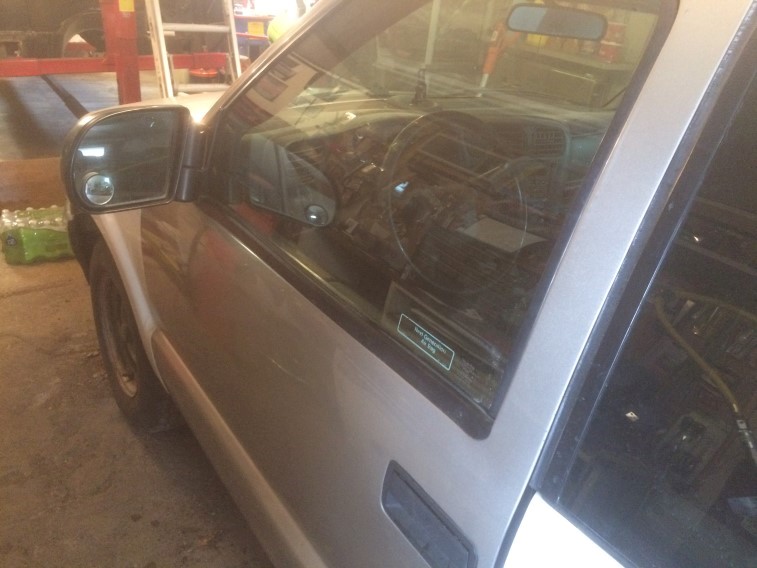
Finished up the drivers side door. Putting off the 3rd door for a while – might have a friend that does bodywork do that one. This tool was key to getting the door to line up properly to close. Slides into the latch and striker then you use leverage to tweak it into place:
Finally closes!
and opens!
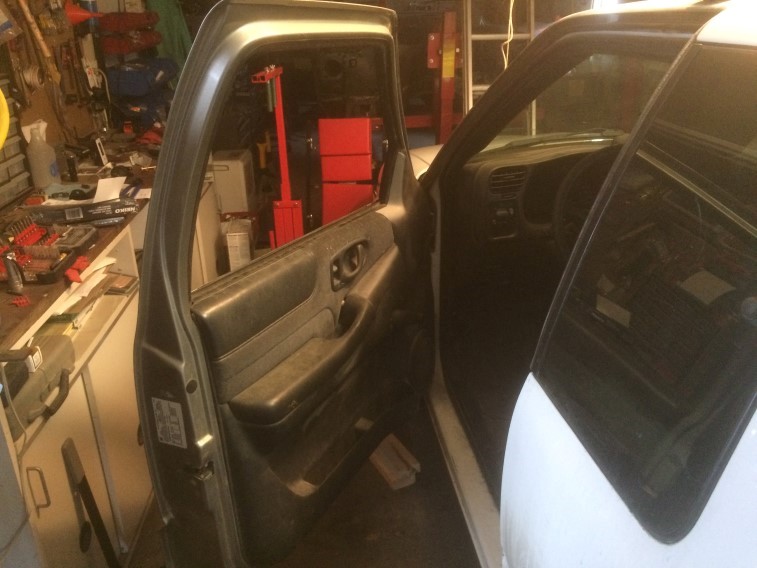
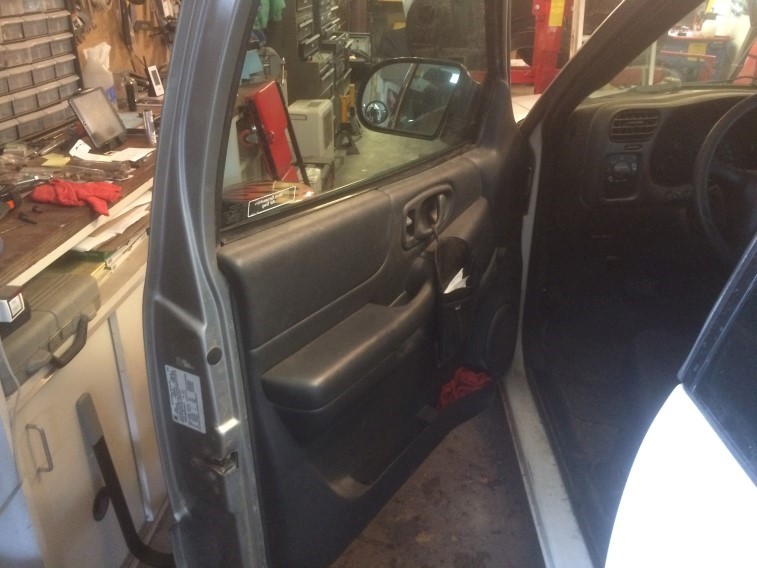
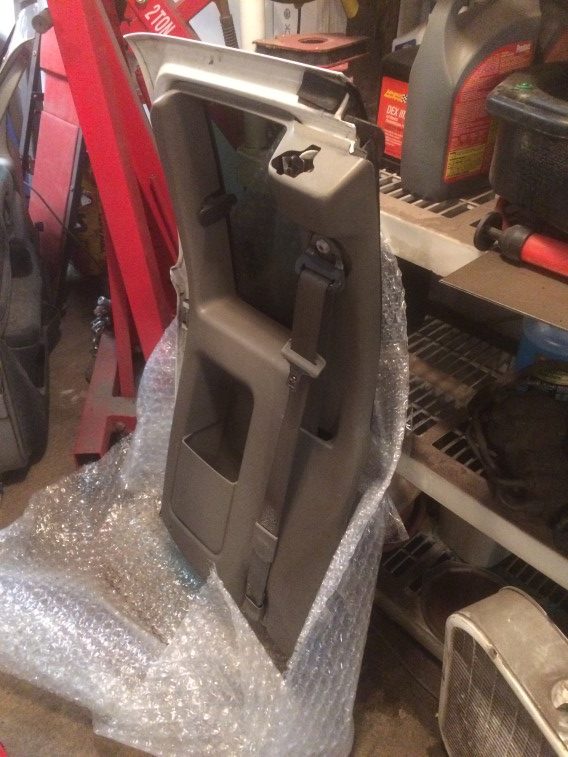
Swapped out the mirror and weather strip from original door:
Interior swapped!
Still need to do the 3rd door and eventually paint the driver’s door, but at least it is much better now!
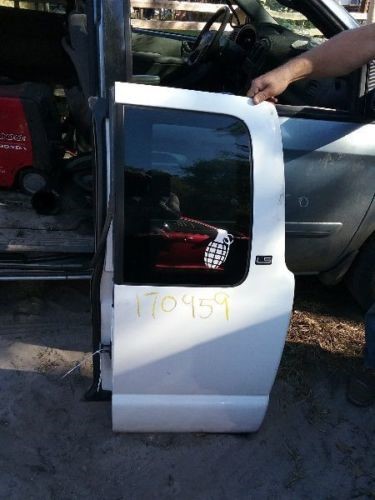
Got the donor driver’s side door mounted. Doesn’t quite line-up correctly to shut and there is no adjusting. Thinking it is the damage to the 3rd door which I will need to replace. I was hoping I could delay doing that.
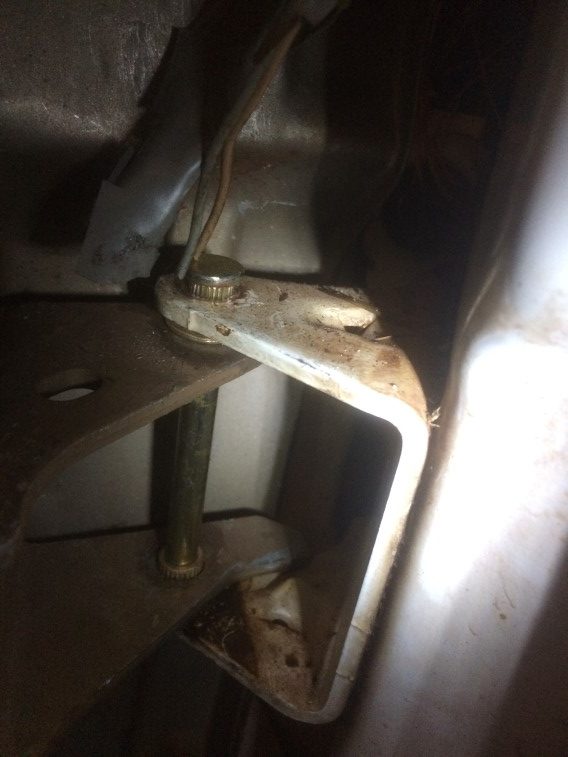
Could’t quite get the new pins flush – put that on hold for now:
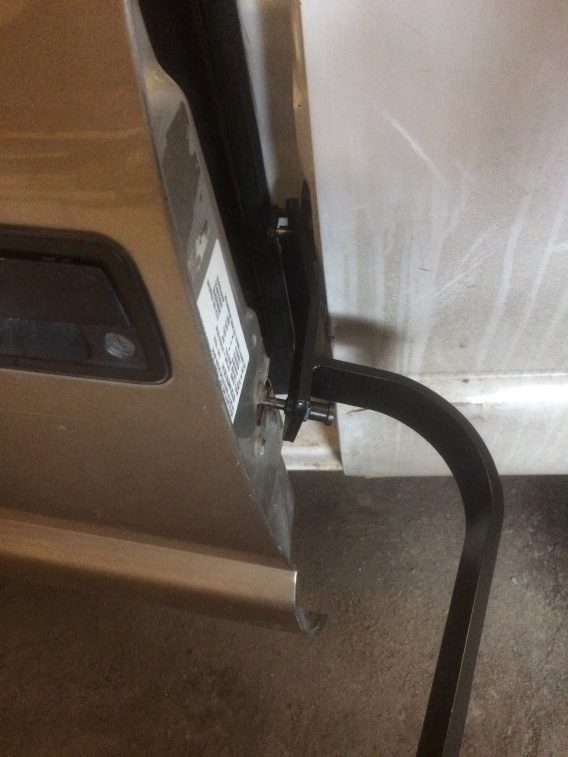
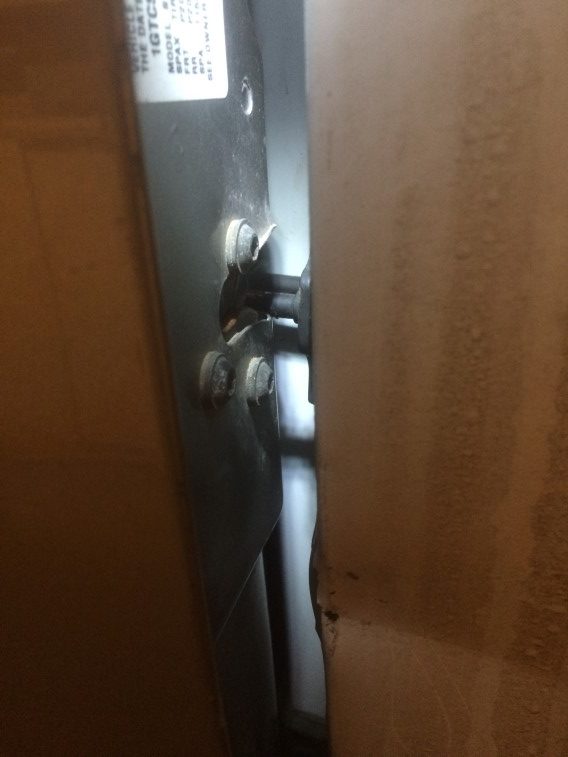
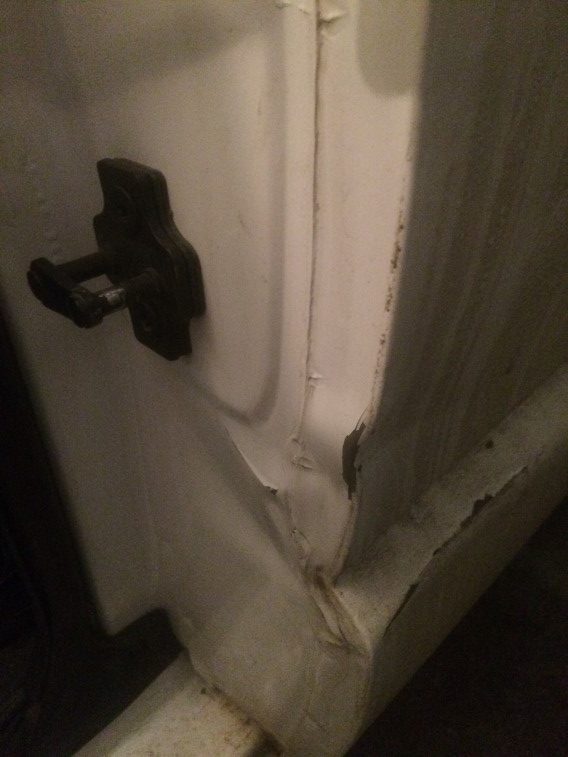
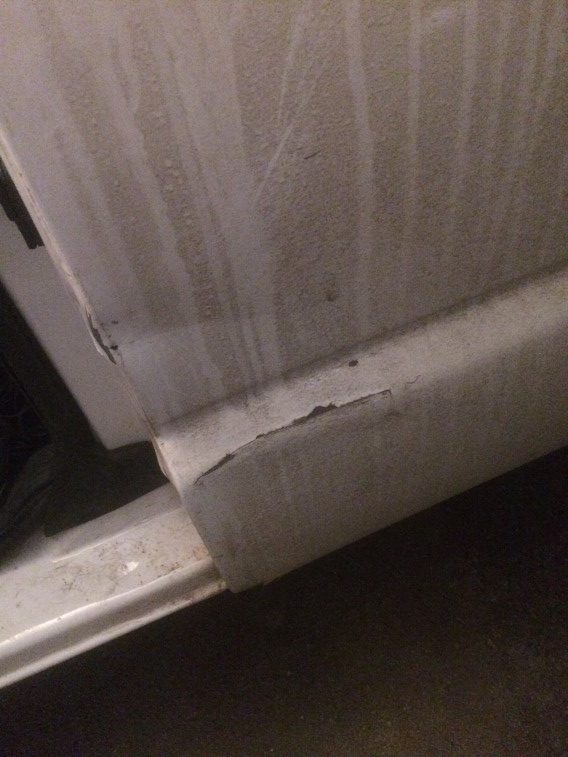
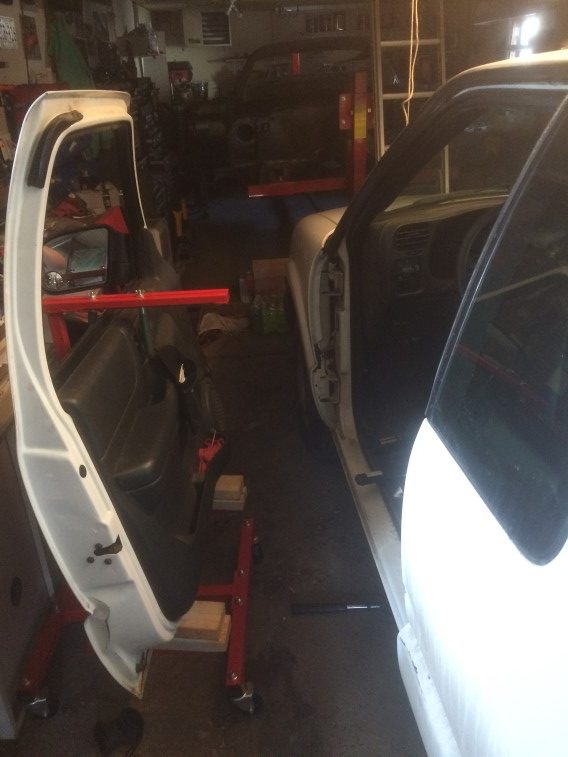
Donor door mounted – trial fit with 3rd door open (in back): Just off by a hair with the 3rd door shut: Another shot at the damaged portion of the 3rd door:
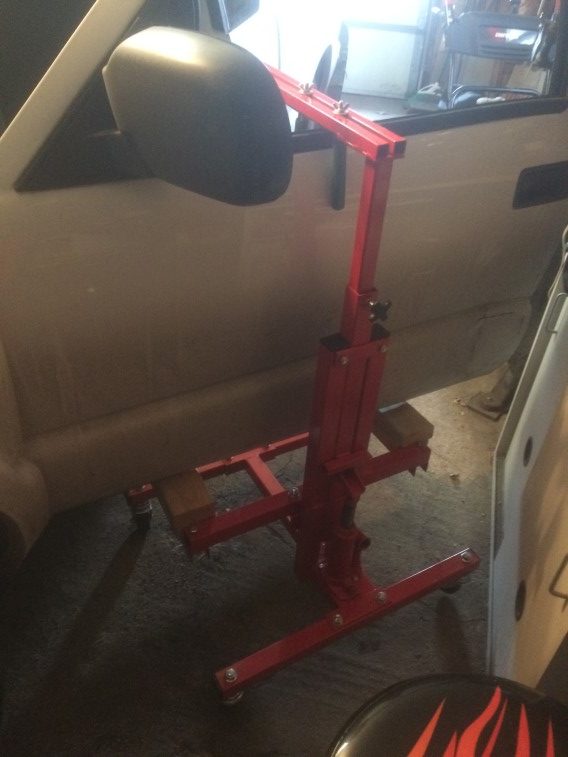
Didn’t get as much done as I had hoped. I did get the door off. Ended up using a hammer and punch to get the pins out. Needed to jack the end of the door for the bottom pin (first), then the center or entire door for the upper pin (last) after first removing the spring. Not too bad once you know what to do. Next will be to mount the replacement door this next week then swapping components from one to the other. Having a door jack is needed for a one man operation! Luckily, I don’t need to drive anywhere this next week!
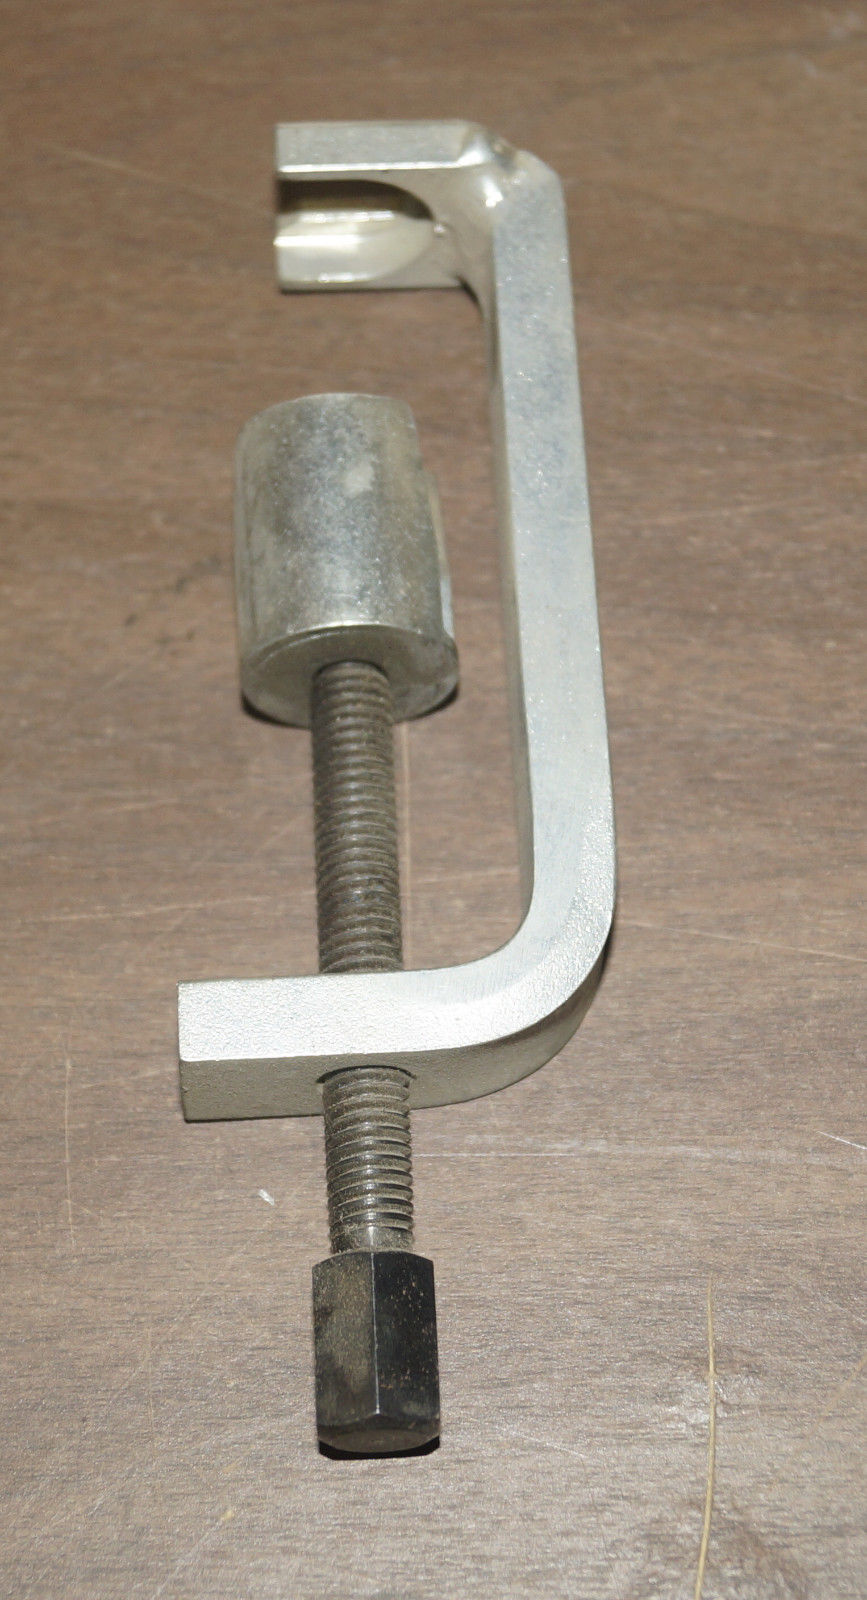
Found this on e-Bay. It is a Kent-Moore J-39761-A Door Hinge Spring Remover/Installer. Just received it today and did a trial-fit on the door hinges/pins. This is specifically made for 1996-2003 S-10 hinges – along with the other generic tools I bought, I think I am finally ready to tackle this job. I really didn’t like the idea of banging the pins out with a hammer! I plan on swapping out my damaged driver’s side door (from earlier post) with the replacement donor door I bought. I will also have to swap out interior and misc parts, but the door is the largest part to tackle. Depending on how it goes, I will tackle the third door at a later time which I expect to be a little more challenging because of how the donor door hinges were removed. Now that the warmer weather and longer days are arriving, I hope to get some more to-do’s tackled in the garage.
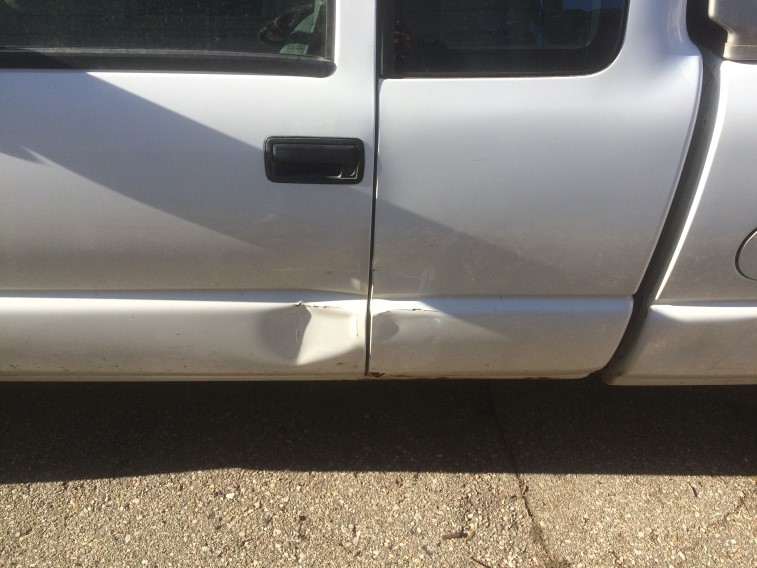
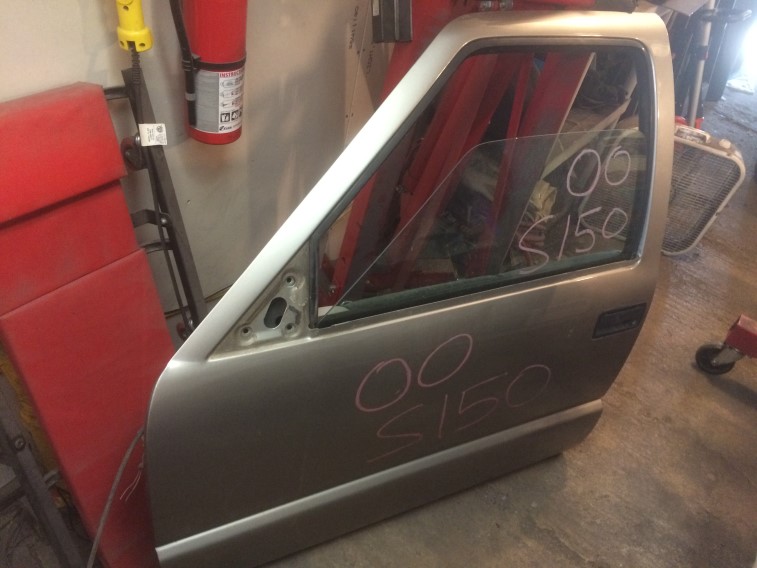
So my S10 was backed into and has some damage which I will need to repair. I was able to find replacement doors. Just need to find the time to install them – cutting into my precious weekend time:

 After spraying the first coat, I realized the extension hose was curling up on itself too much – attempt #1 to straighten it out:
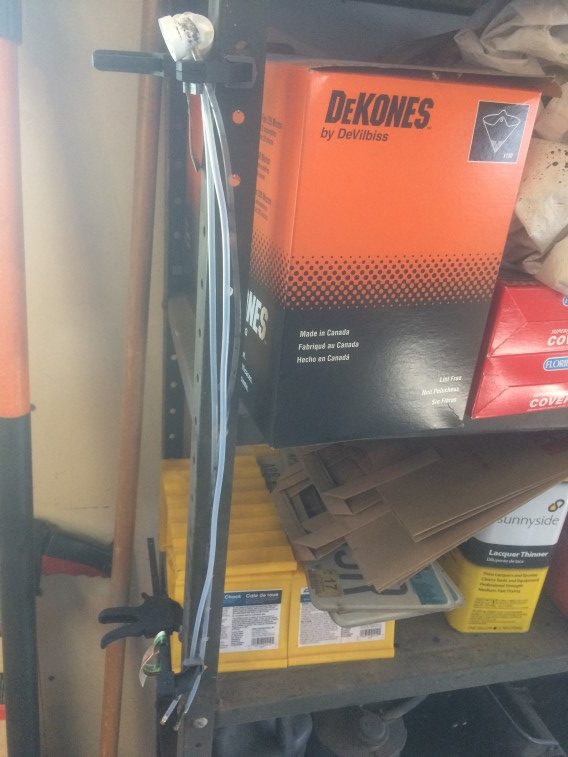 Then I decided to use a metal clothes hangar which worked wonders! Used a lot less paint and was much more efficient! I ended up spraying 2 coats waiting 24 hours between coats:
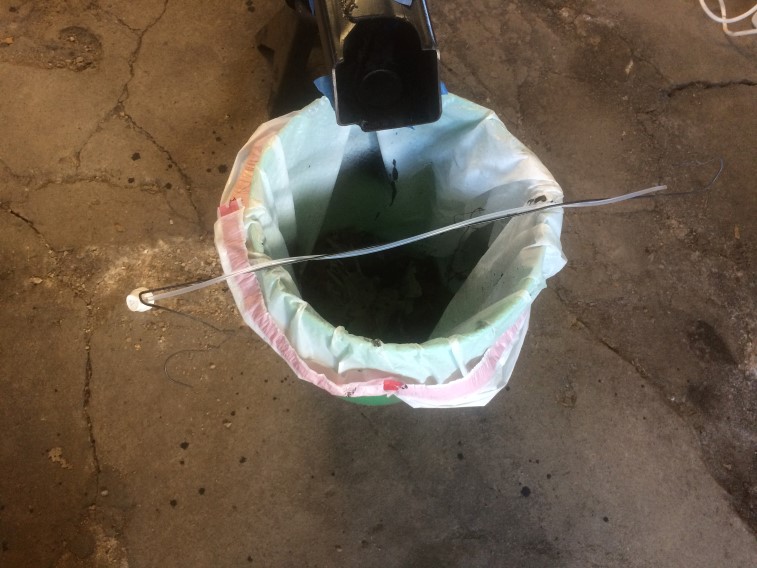 ALso re-sprayed the drivers inside trunk – much better! Used Clean over it – just had to touch-up a couple spots after scuffing and cleaning. Still need to do the other side.