Might have a second pair of hands lined up for tomorrow. I needed some reference pics in case we do the subframe install tomorrow. I’m not too worried about torque specs yet because I am fairly certain I will be taking it off and on again before I am done. 
All posts by Doug
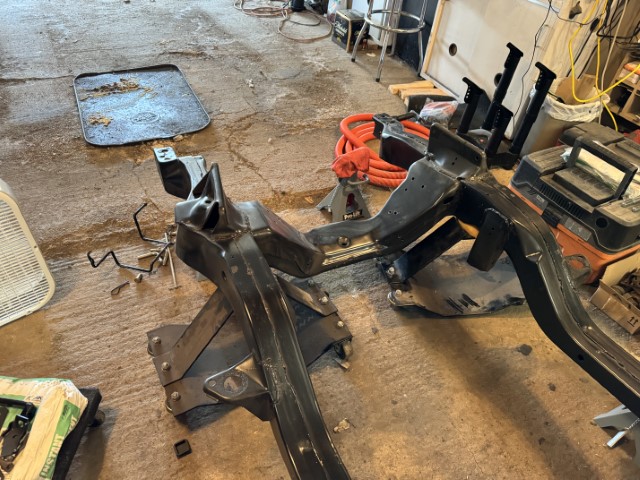
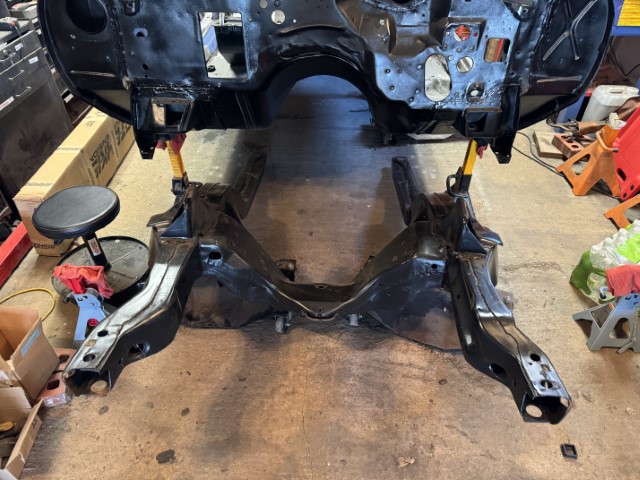
2/24/2024 – subframe install
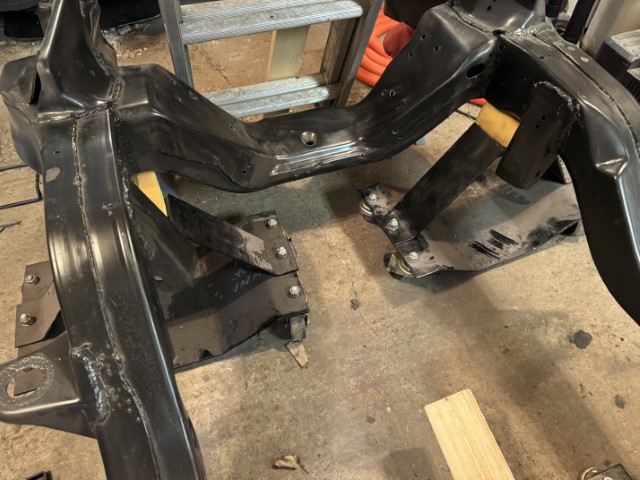
Placed the subframe on my rollers and rolled the subframe back under the shell:
 Then raised the jack stands and placed it back on the jack stands:
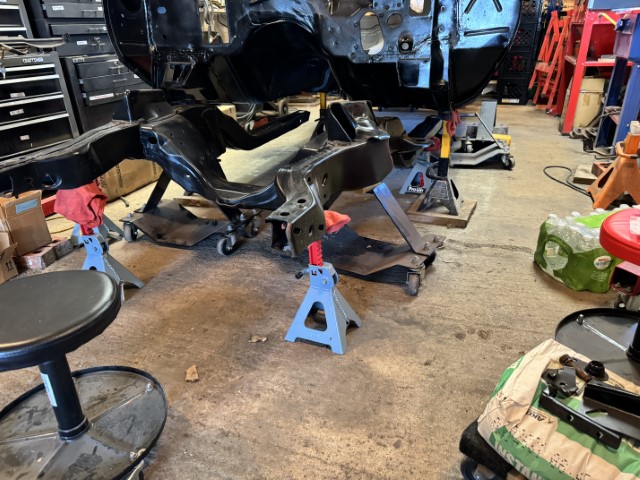 Dug out my 2 floor jacks to lift it up and increase the jack stand height as I go:
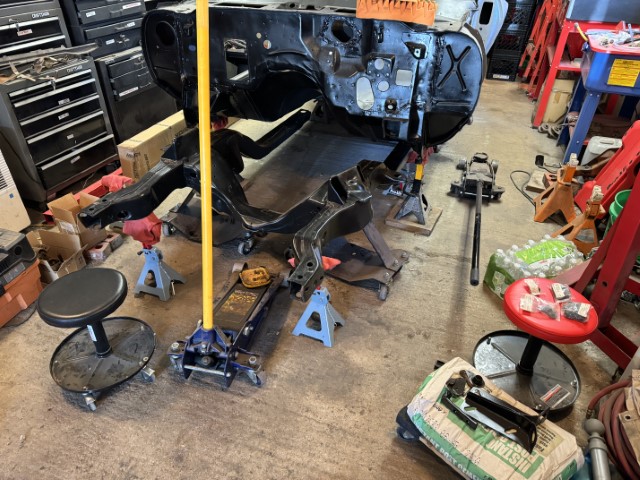 I may get a second set of hands to help me adjust the subframe to the mounting holes. Going to give it some thought on the best way to wiggle it in place once it is higher up close to the mounting holes. I may place a 2×4 across each jack stand so the subframe can slide as I adjust things. One on the front and one on the back. Might be tomorrow’s task if I can get a second pair of hands to assist.

2/12/2024 – subframe install prep
Still finding garage time to mount the subframe and trying to come up with a game plan. I think I am on track with my approach and have a better idea of how I can do this myself with this video. More to come!
2/3/2024 – Prepping to mount subframe
Spent most of my project time digging out my tire dollies to use with the subframe to roll it under the body. I had 2, but had to hunt and then dig out the other 2. Now I am thinking I only need 3 of them because of lack of width space between the jacks the are holding the shell of the body.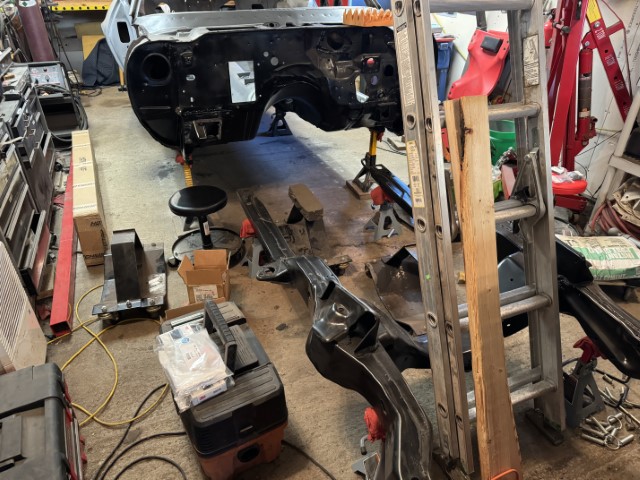 I am going to use 2 in front and then one in the middle with a board to support the back end.
 I have cut the board to match the width of the subframe.
 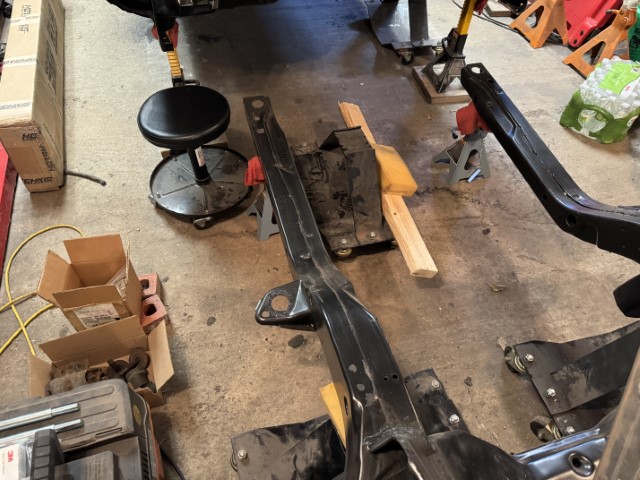 Of course the yellow stuff is foam to protect the subframe from where it sits on the dollies. Hope to find more time tomorrow to transfer the subframe from the jack stands to the dollies and see if it will work the way I want and fit under the body. I am sure I will be removing the subframe at a later point when I change out the bushings again, but shouldn’t need to roll it out from under the shell again.
Christmas 2023 update
It has been a while since I have posted let alone had much garage time to work on the Camaro. The weekends have been getting better and I have some more new parts to play with. They include the Hotchkis rear sports kit. So now once I rebuild the 12-bolt, I should be able to get it mounted with this kit. The subframe connectors are on back order, but it will be a while before I am ready for those. Both of these were purchased with the Hotchkis annual Black Friday sale. I plan on getting the kit for the front next Black Friday. I also have what I need to install the subframe to the body as well. Some of this will involve getting an extra set of hands on the weekend to assist with. So within the next few weeks, I hope to get some more updates to share.
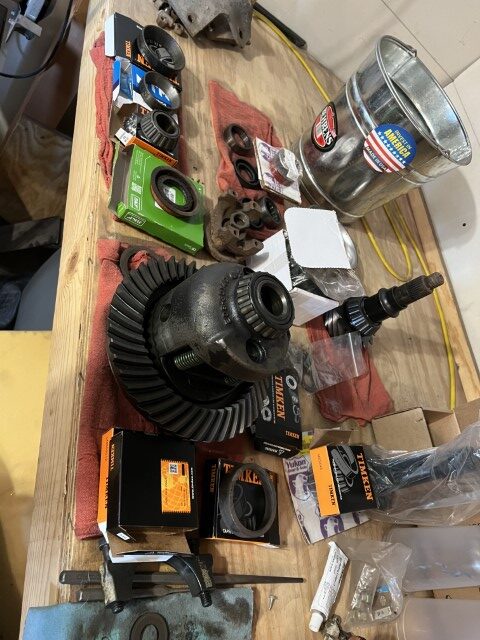
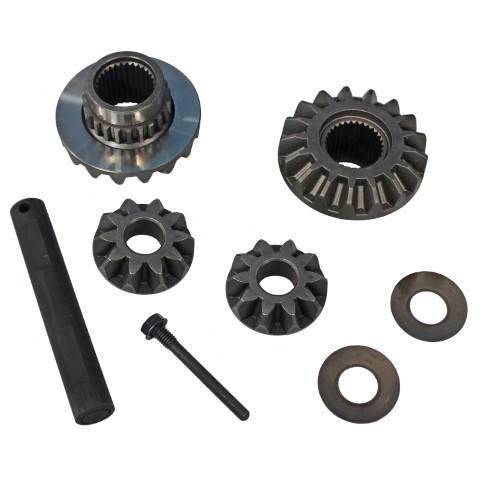
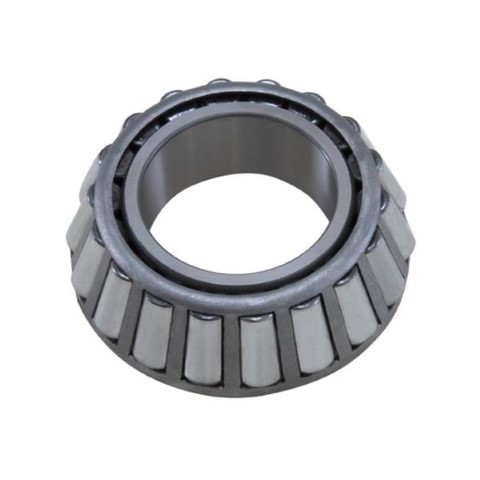
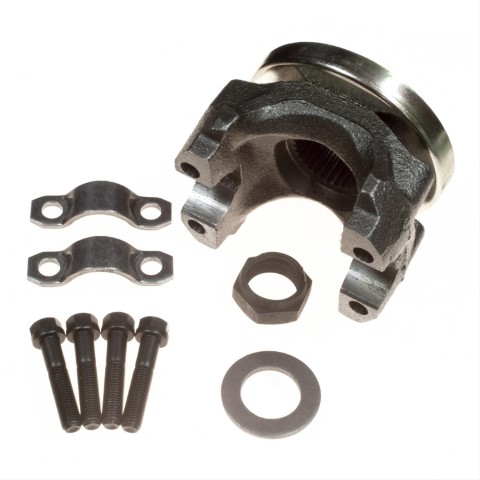
12-bolt update
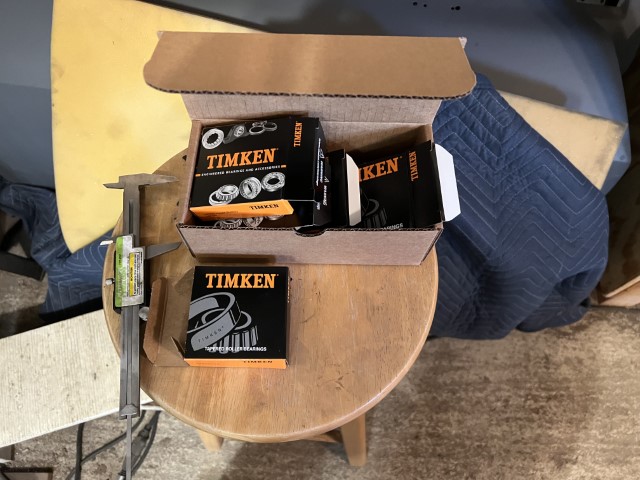
Ordered the last of the parts I need for the rebuild of the 12-bolt. Just need a couple of tools for the job. Debating on renting them vs buying them. Verified the parts I ordered match what I thought I needed comparing them to the original parts. Maybe start next weekend? I really need to get more garage time in, but work and other priorities have conflicted. Dusting off and revising my to-do list out there.
Rear Brakes
Received my rear brake’s for the 12-bolt rebuild. These are complete with the parking brake cable. I was going to go the disc brake route, but decided against it after researching posts on the topic. These should do just fine. The goal for this weekend is to inspect the rest of the parts and order what remains before re-assembling. I spent time watching the rebuild video start-to-finish and have already added to my shopping list. The 12-bolt gasket and bolts should be here next weekend.

More 12-bolt parts…
Yukon Gear & Axle Pinion Bearing and Eaton Posi Limited-Slip Gear Service Kit… Still need a few more parts before rebuilding
Another shipment for the 12-bolt rebuild
Picked this up on sale for the 12-bolt re-build: 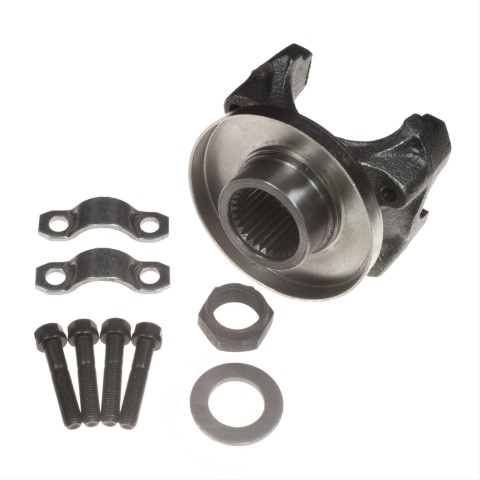
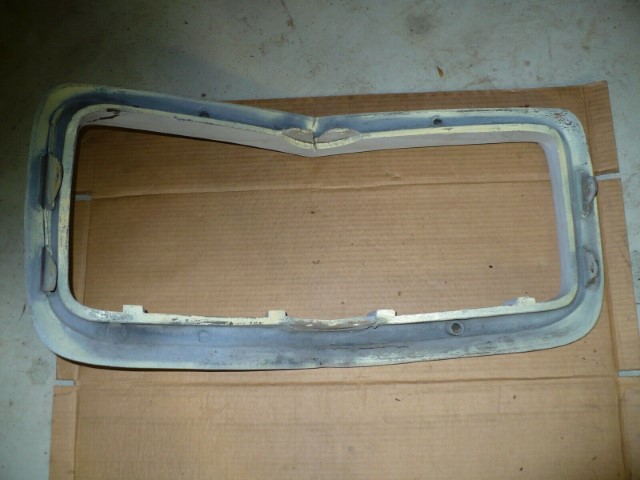
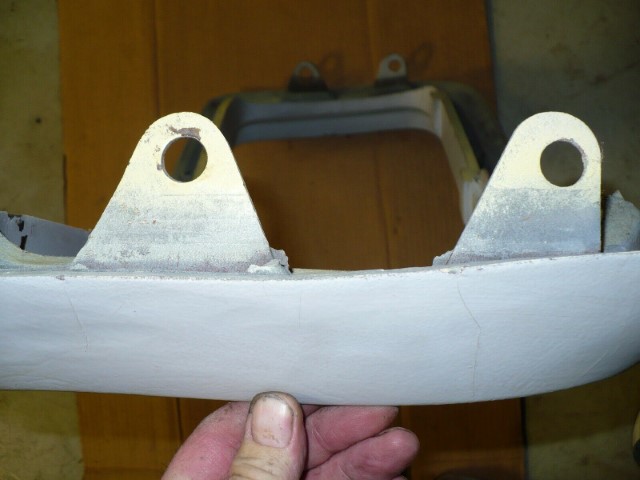
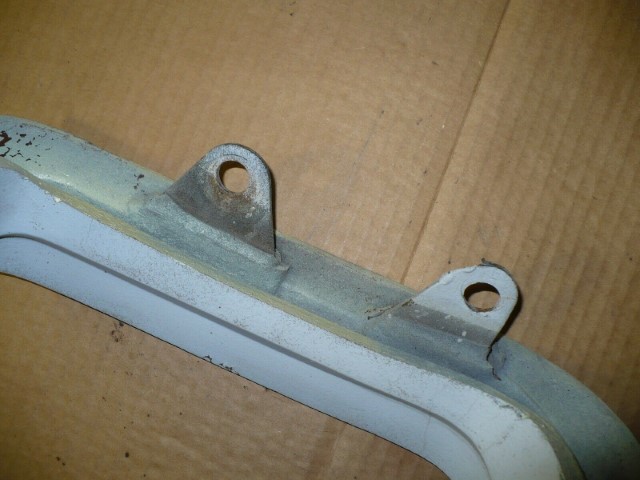
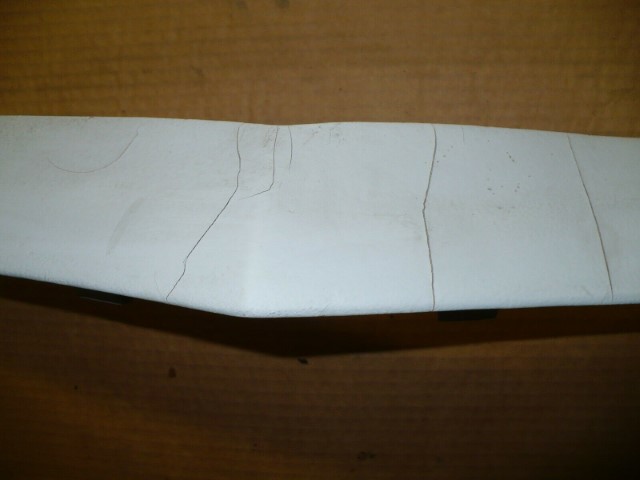
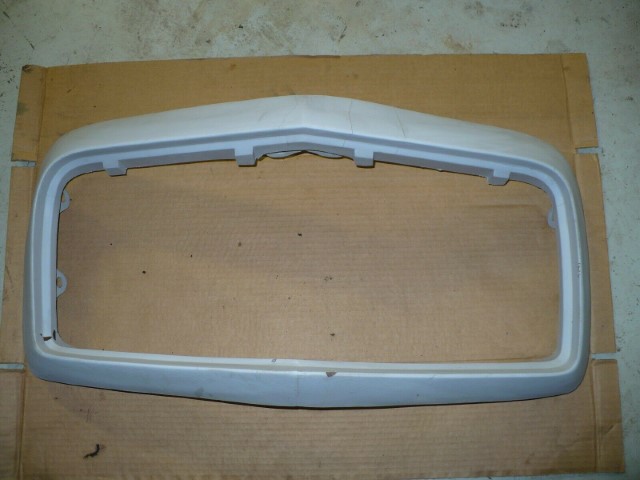
70 RS Bumper (Nose)
Already have another I will use, but couldn’t pass this up. Some cracks in the primer. This Spring I will strip and inspect in more detail: