More parts for the 12-bolt rebuild. A set of rear end axle bearings and sleeves: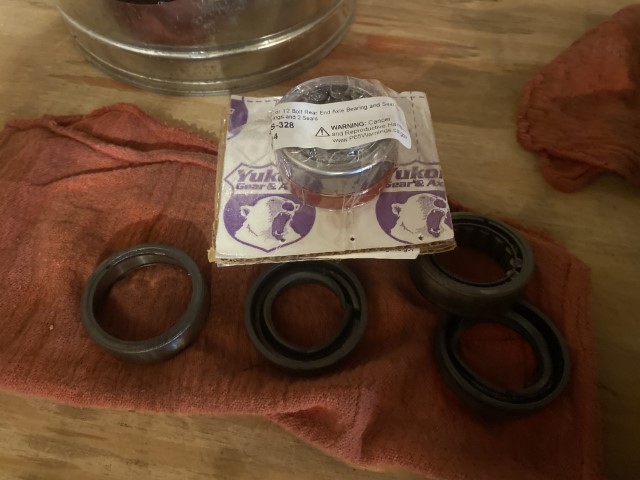
8-14-2020 Update
Have not posted much related to the Camaro lately. 2021 is dedicated to the suspension (including 12-bolt). The supplies are starting to trickle in:
engine mounts and misc screws for the misc parts in pic #2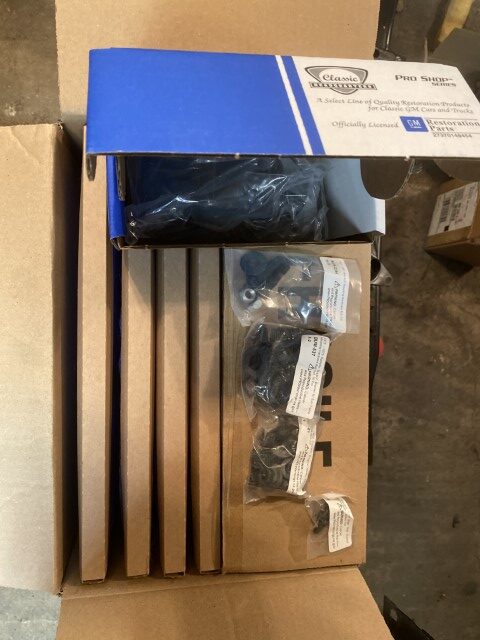
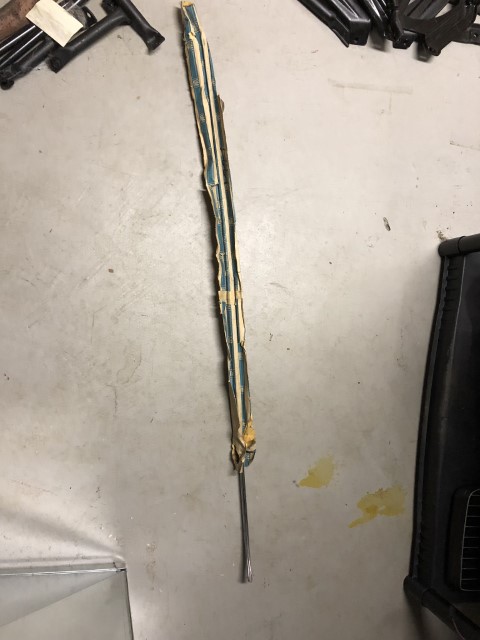
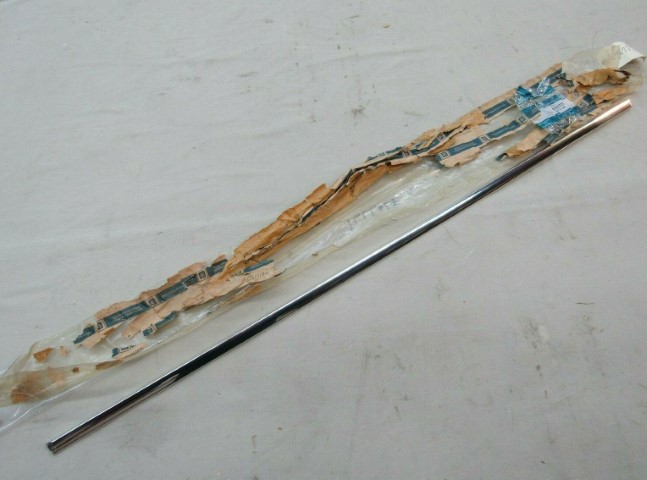
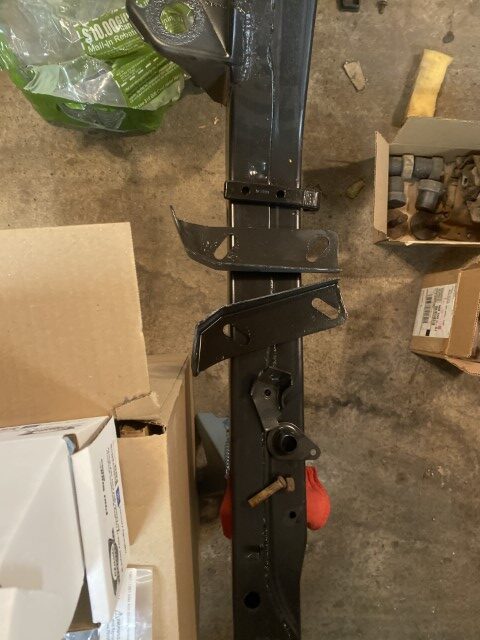 New cross shaft for the 12-bolt rebuild – American Express had a deal with Summit Racing where if you spend $50 you get $10 back. I couldn’t pass up:
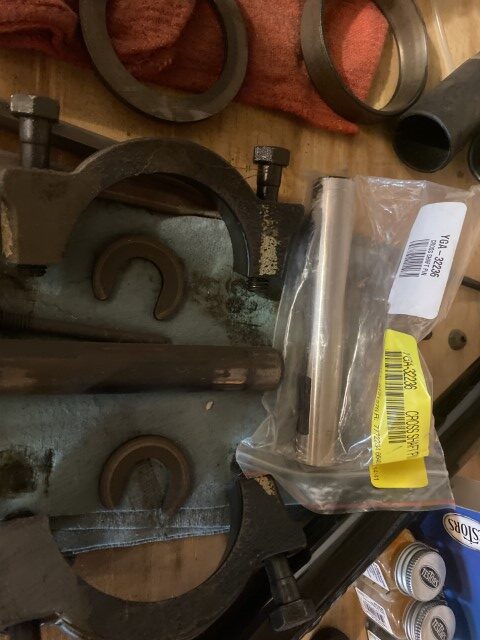
4-25-2020 – Tenzo-R-Turismo
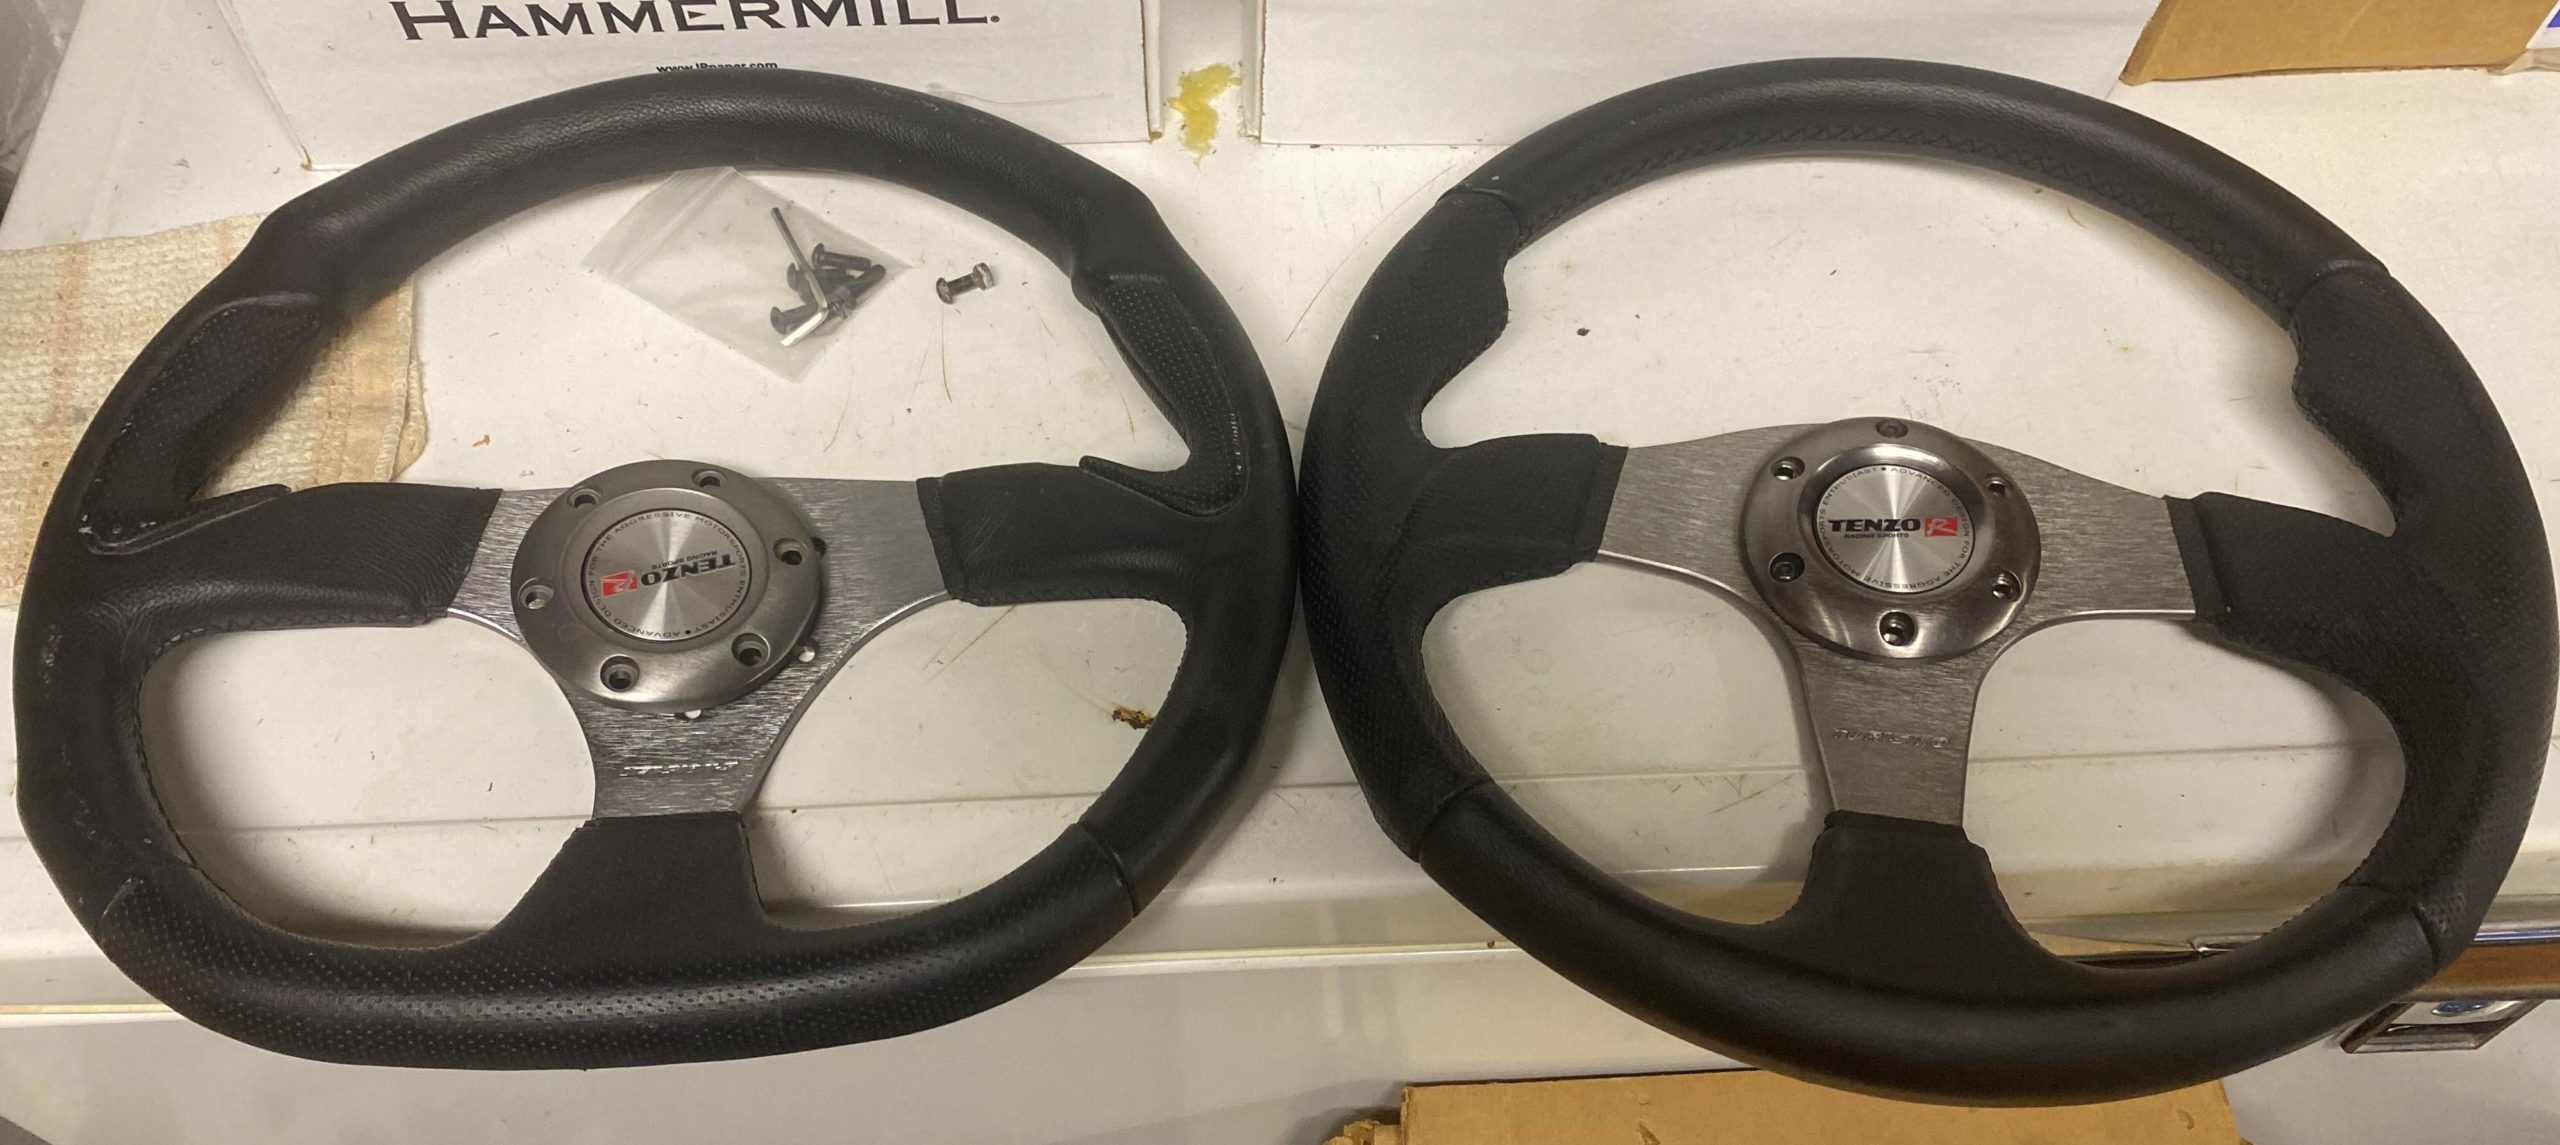
I discovered another Tenzo-R-Turismo steering wheel and bought it (on left). I like it better than the first one I bought (on right).
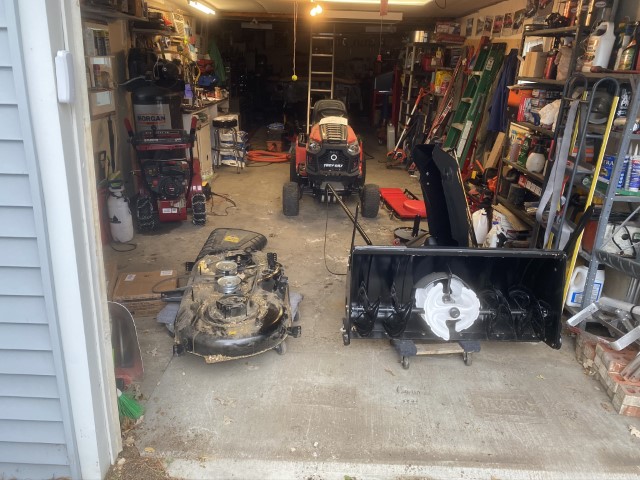
Been busy swapping the mower deck back on the riding mower after taking the snow blower off. Going to have a few weeks of furlough this year, so coming up with a to-do list for the Camaro to see what I can work on. First will be some yard work around Memorial Day and then more time starting July for the Camaro.
01-01-2020 – AC and Heater Box
So I came across a reconditioned AC and Heater box from The Part Guy: thepartguy.com and got a good deal. I have enough parts, but they would have to be mailed off and then reconditioned, so I ended up getting the pair since they were available and ready to go – along with a deal for buying both at the same time!
The problem is – I don’t know where I have room to store these until I mount them… But since the firewall is painted, there is no reason why I can’t go ahead and mount them! I need to order the proper screws\bolts and the sealant used for these and then get them mounted to the firewall! Give me a few weeks and I should be able to post an update and pics!
Troy-Bilt Super Bronco 46-in – 3-Stage MTD Snow Thrower install
After the snow storms last year, I decided to buy a 3-stage snow thrower. Then I decided to buy a riding mower and attachment, so this last summer, went to Home Depot and bought a Troy-Bilt Super Bronco 46″ and a 3-stage MTD snow thrower. Some resources said it would work with the Super Bronco XP, so I was a little worried, but can tell you it does in fact work with the newer Super Bronco 46″.
So I finally decided it was time to mount it and here are the details and tips (note, I assembled the 3-stage unit earlier – this just covers mounting it):
If you have 2 guys and the right tools, can be done in a day or two. I did it over a couple of weekends – next year will be faster since many of the brackets can stay on:
First, you will need to remove the handles.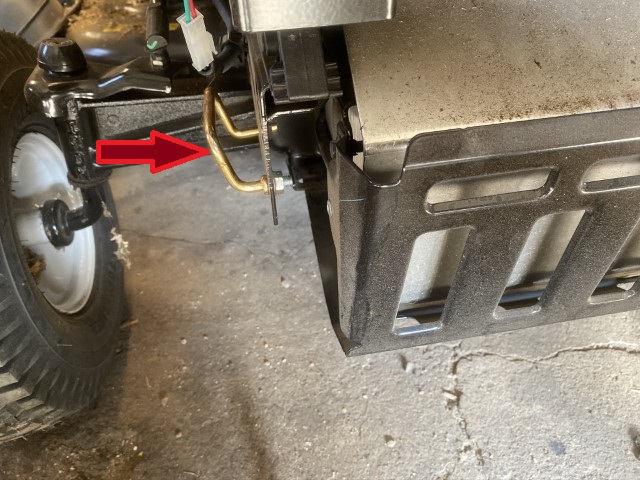 Then you will be able to mount the bumper:
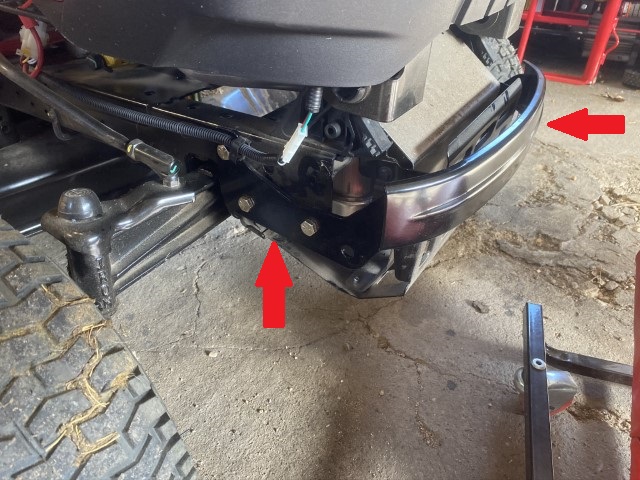 If you haven’t done so already, remove the belt-guide and keep the screw handy noting the holes it came out of (both sides):
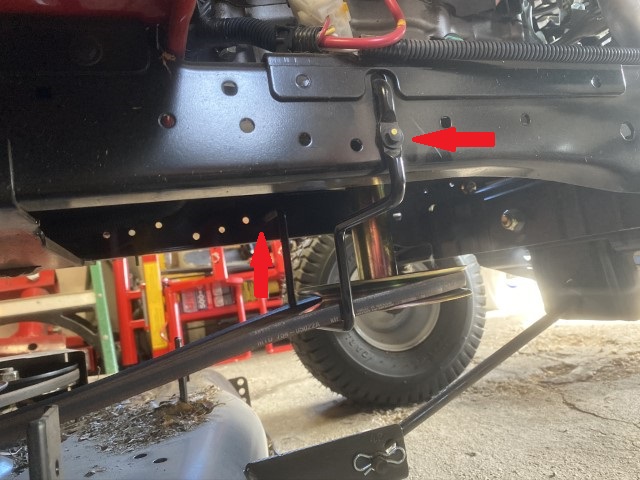 These braces are a BEAR to install. For the next step, you may want to remove (temporarily) the black bar with the clip in the pic. I used an open-end wrench on the opposite side and it fit within the frame. The good news is once these are on, they can stay:
 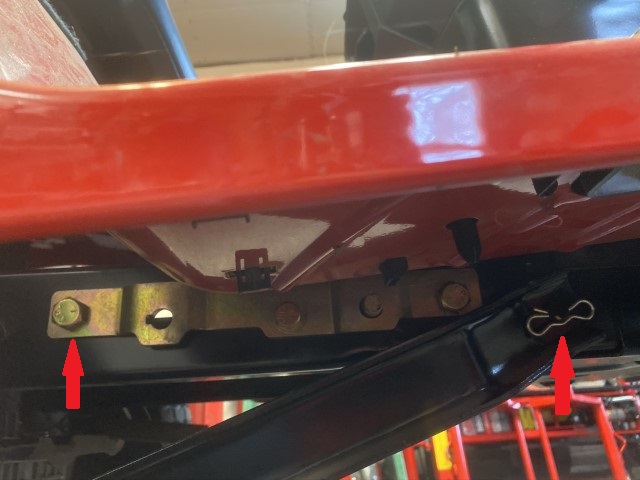 When it comes to mounting this, it does not just slip on.
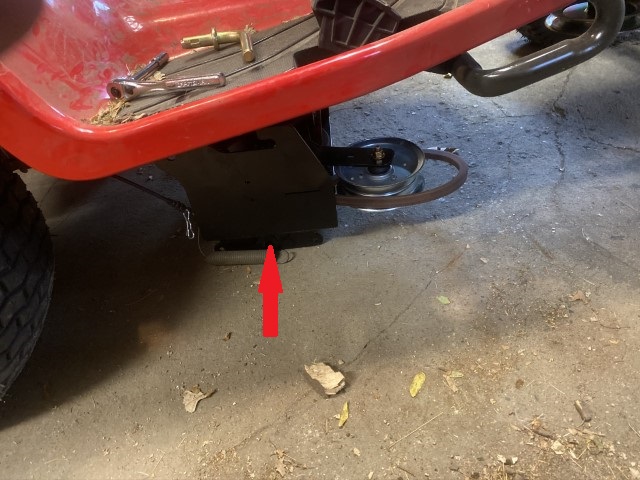
 NOTE: I ended up blocking this in place and got a second pair of hands with good pry-bars to help me. Having a second pair of hands and good pry bars, it went on without too much difficulty. Blocking it also helped to get it in place. Removing the bars with the clip is a BIG help as well – remember how it goes back on though!
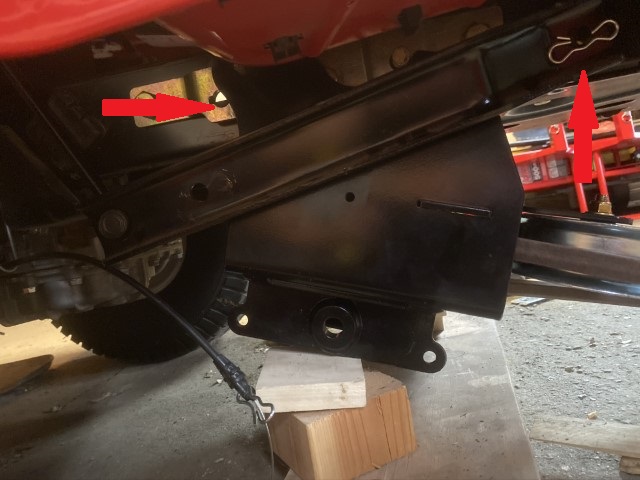 The supplied guide bar and belt installed:
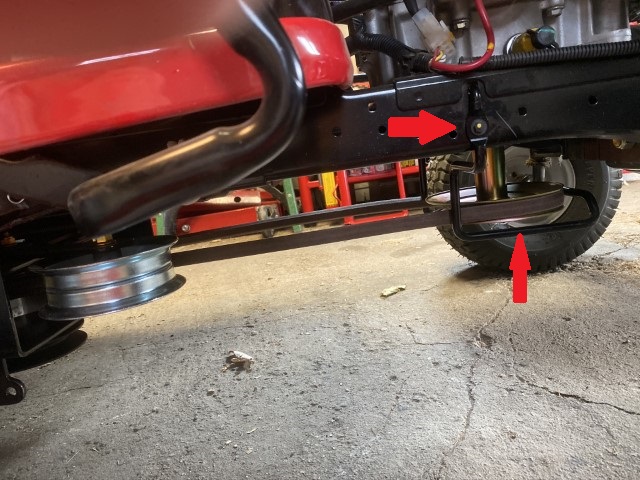 Get the belt, spring, and cable installed. It is a tight fit and next year, I may try installing the spring and cable before attaching the unit in place:
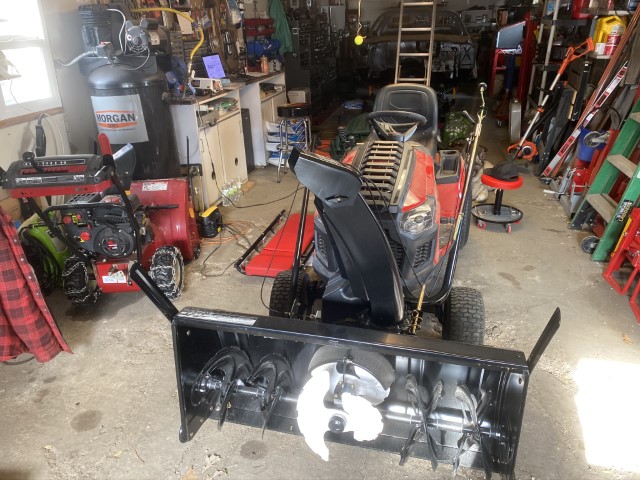
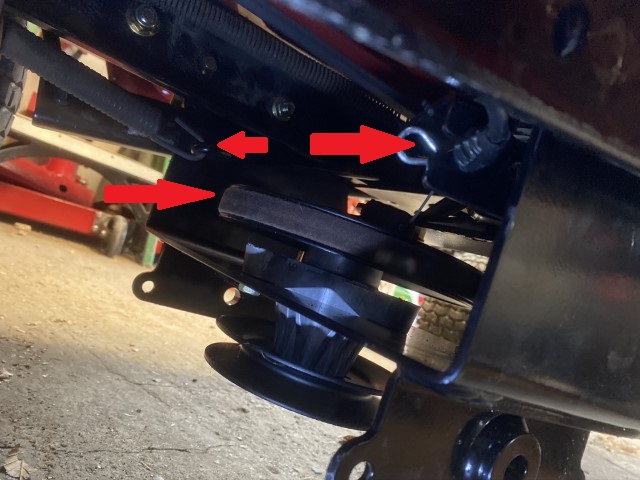 Roll the mower over the frame – I suggest blocking the frame to make it a little easier once it is under the mower (note: double-check the belt and belt-guide path):
 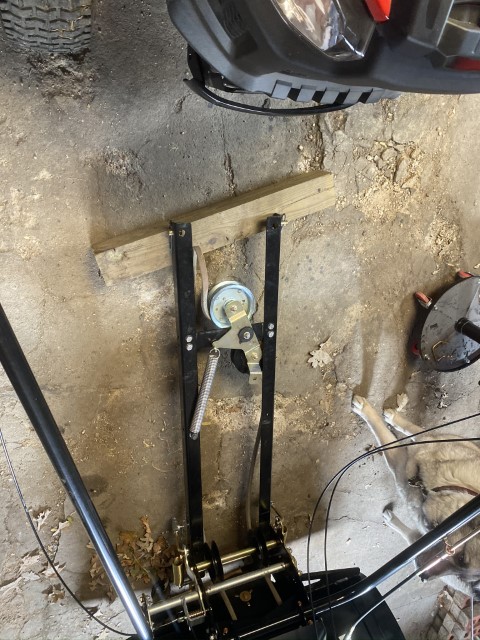 The back end goes first – I did this by myself with a bar under it to leverage it in place (note: the clips were on the frame and not the belt unit per referenced in the documentation.
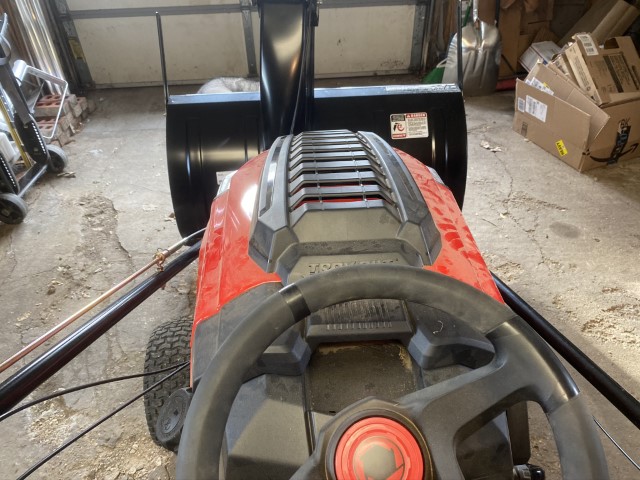
 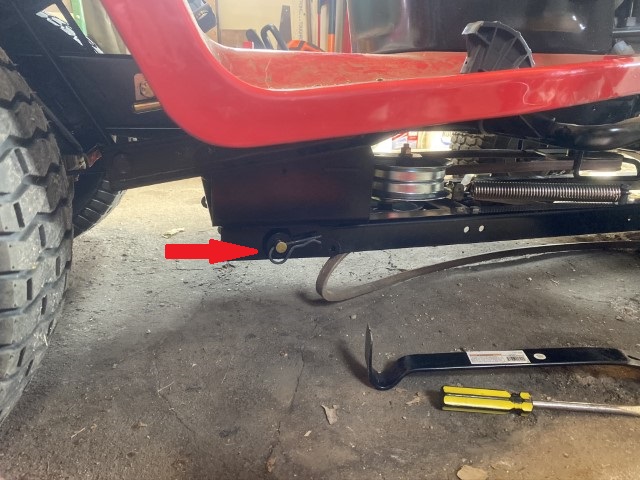 The front end mounts here – I was able to pick up both ends and get them in place by myself:
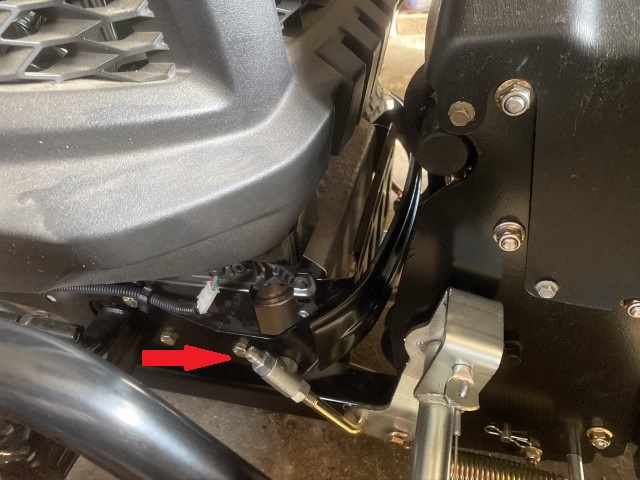
 Note: Gas cap is still accessible.
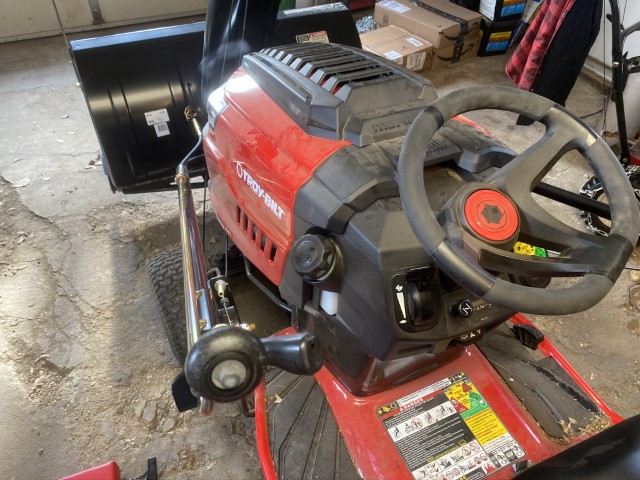 Also when lifting the hood, have the snow thrower in lowest position – can still access the oil dipstick:
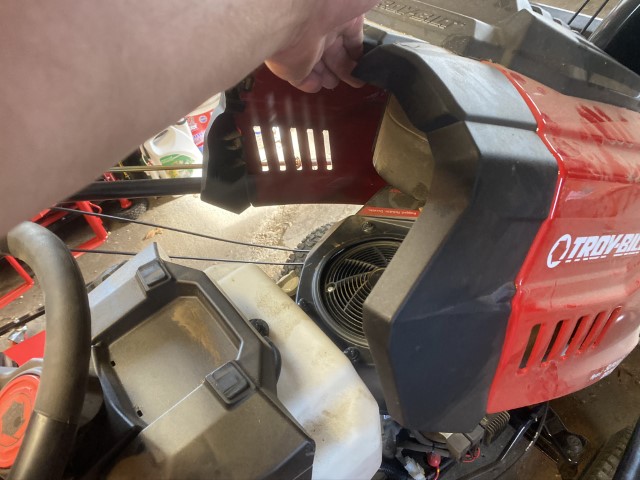 Next I installed the weights (easy):
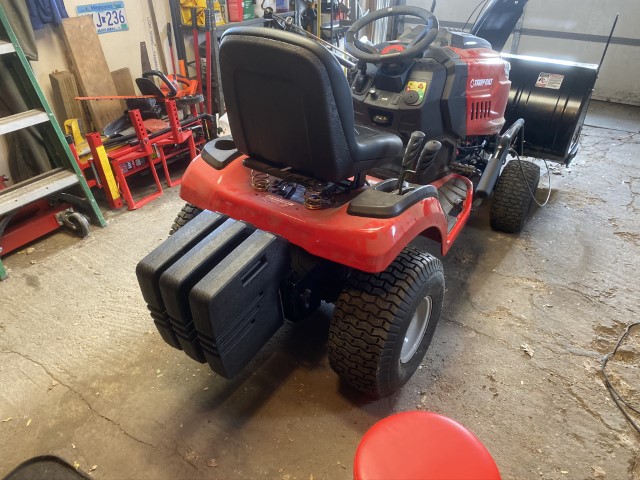 and snow chains:
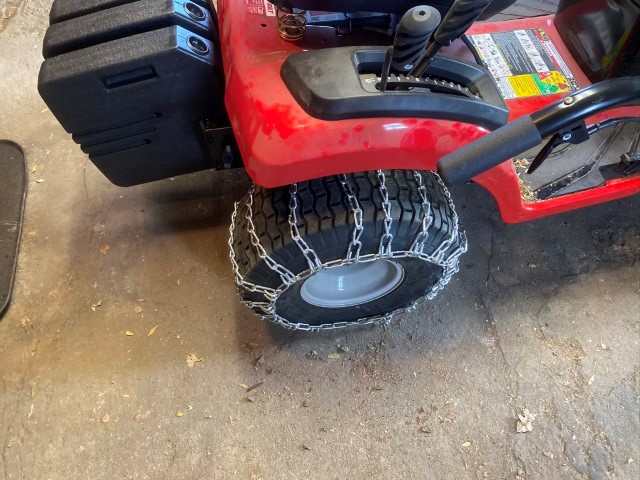
 Note: Steering is harder with this added weight and turning radius in much more difficult to turn around. There will be a learning curve and will try to get some videos this winter! Hopefully this will help someone as there wasn’t much I was able to find on my own.
Labor Day 2019 Update
Broke down the rotisserie and set up the sub-frame over the last week or so. Next steps will be to rebuild the 12-bolt and work on the suspension:
Unhooked from shell – shell on jack stands: Tight fit in rear:
 Most of rotisserie removed without knocking the shell off of the jack stands – just need to break down the portion in back:
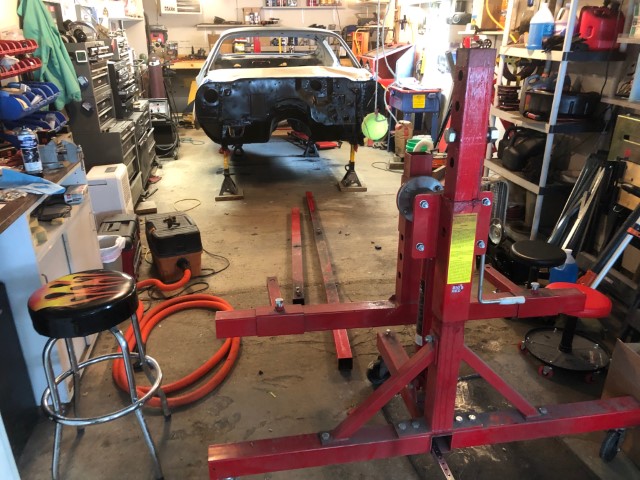 Success!:
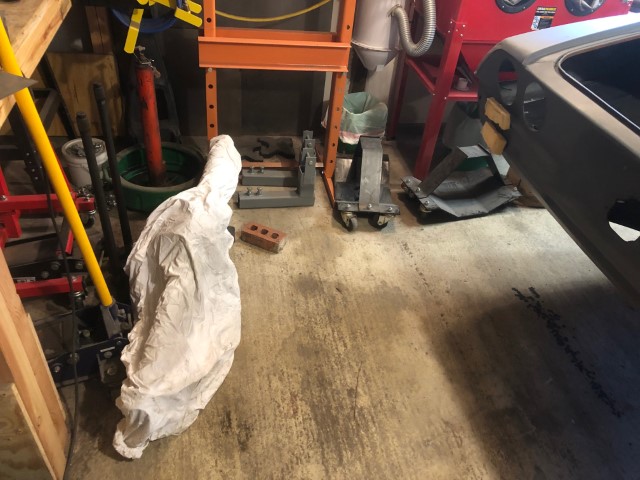 Now to work on either storing it or deciding to sell it:
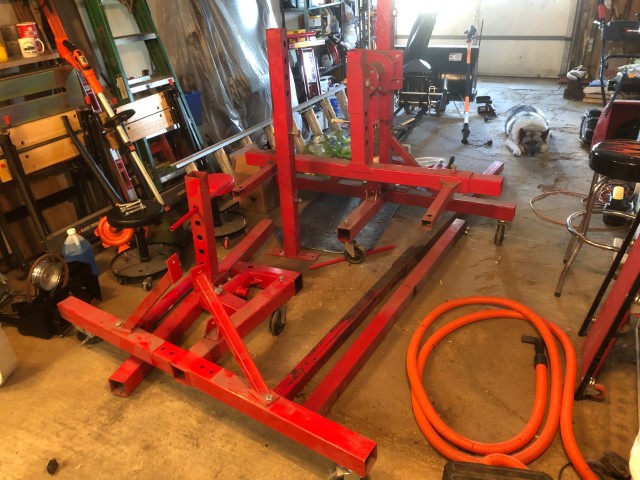 Much more room without the rotisserie!
 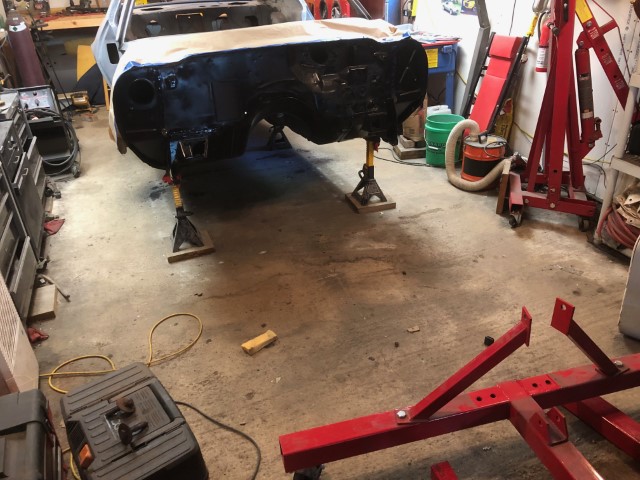 4 new jack stands for the subframe:
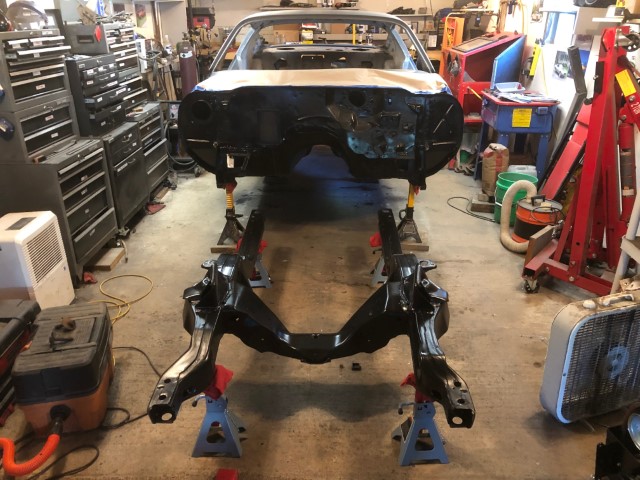
 Rotisserie? What rotisserie?
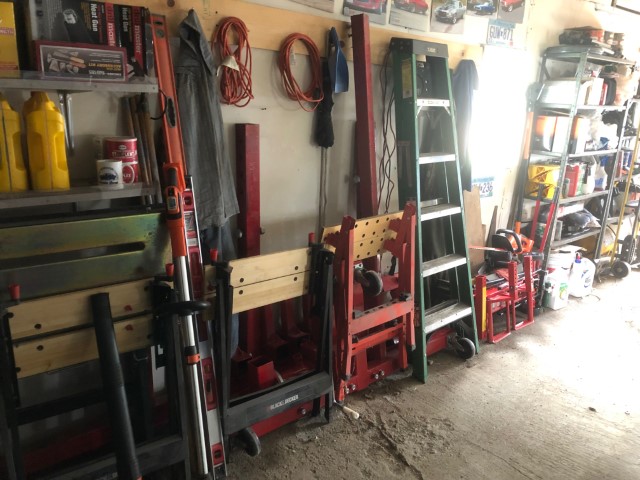 Small pile of junk to throw out:
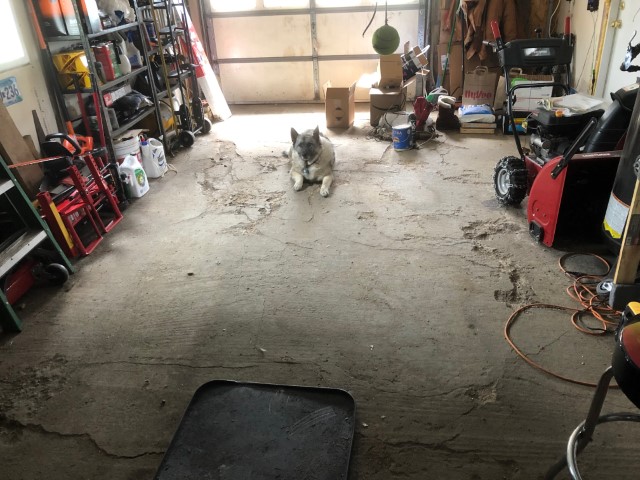 I can still use the ladder to access the 2nd floor where parts are stored:
 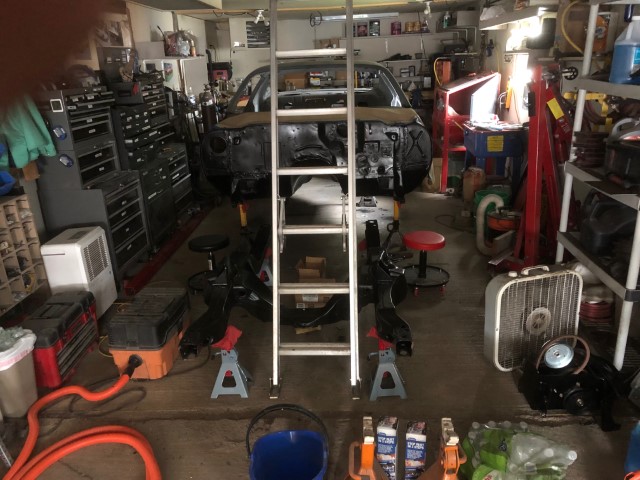 Garage is now ready to dive into suspension (it is better organized now than what is in final pic)… I can get the S10 back in the garage now and just have some dusting and vacuuming to do before winter hits!
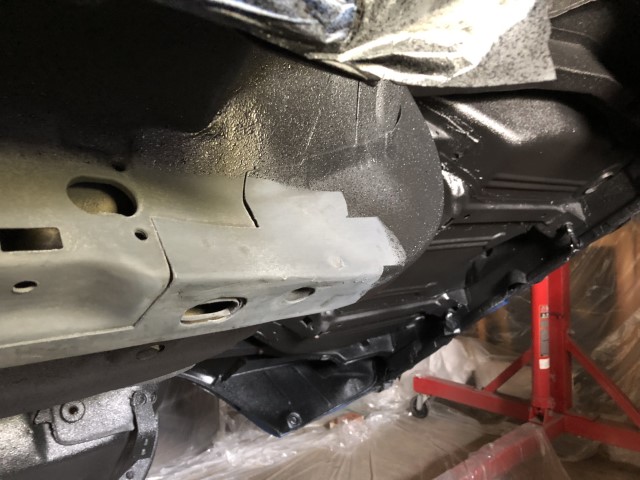
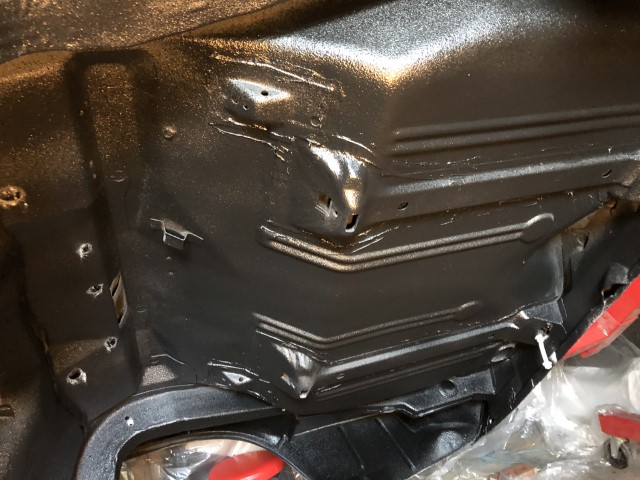
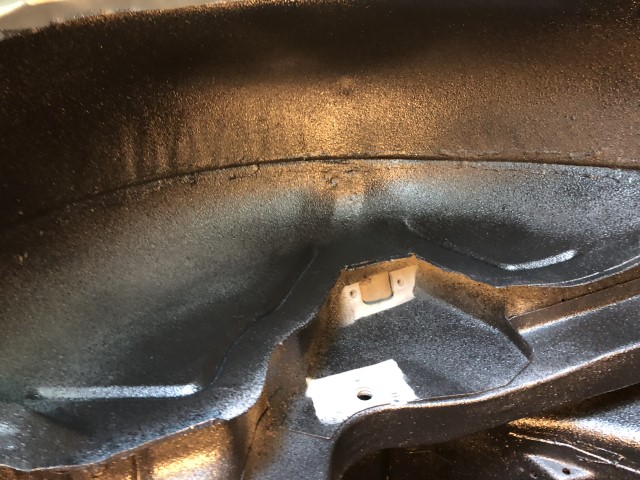
6-2-2019 – Undercoating
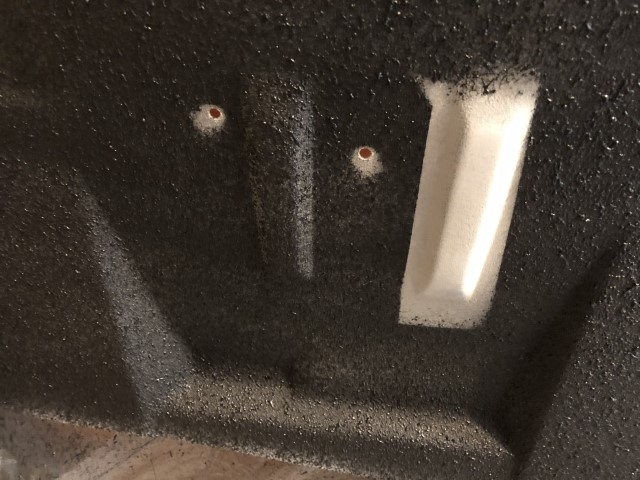
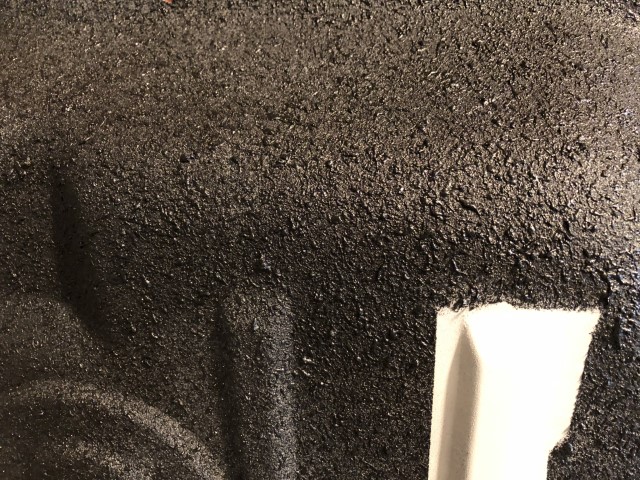
Undercoating is done! Using u-pol Raptor Bedliner. Day one: Taping and plugging holes: I needed to protect part of the rear frame rails for when I install the sub-frame connectors. There there were various screw holes where I either used cotton balls or ear plugs (for shooting).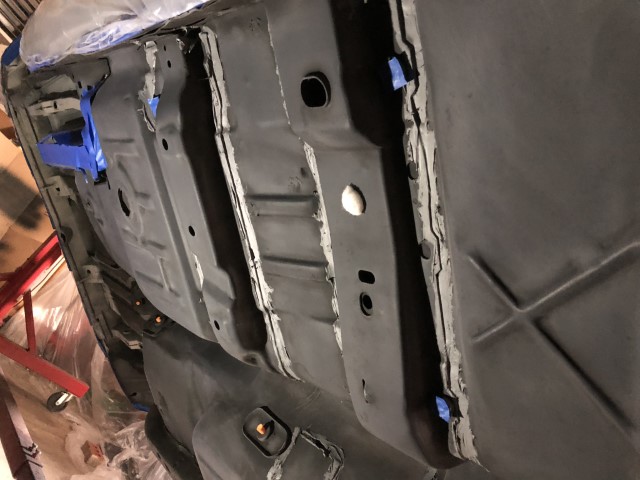
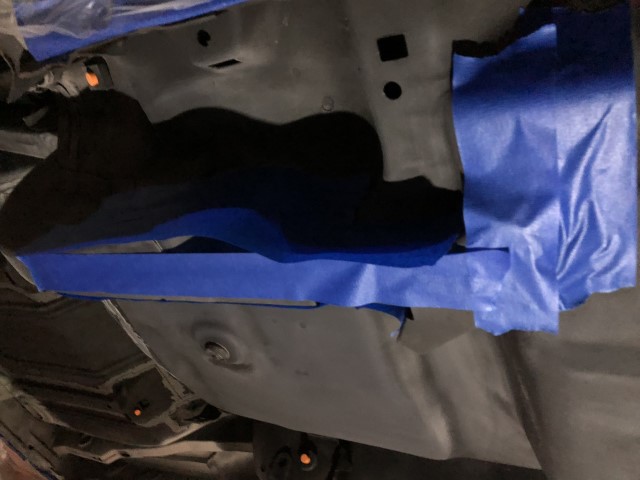
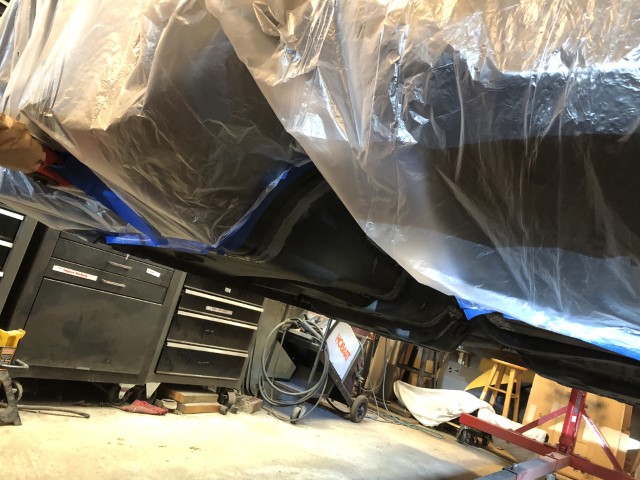
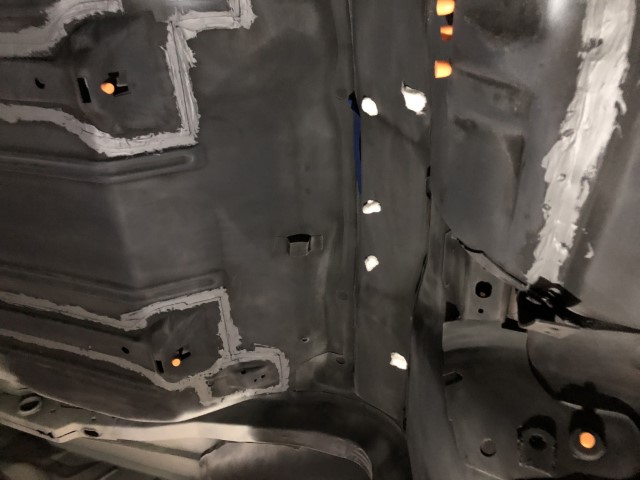 Then I used plastic painters drop cloths to protect the rest of the shell and I covered the floor and tools to protect from over spray.
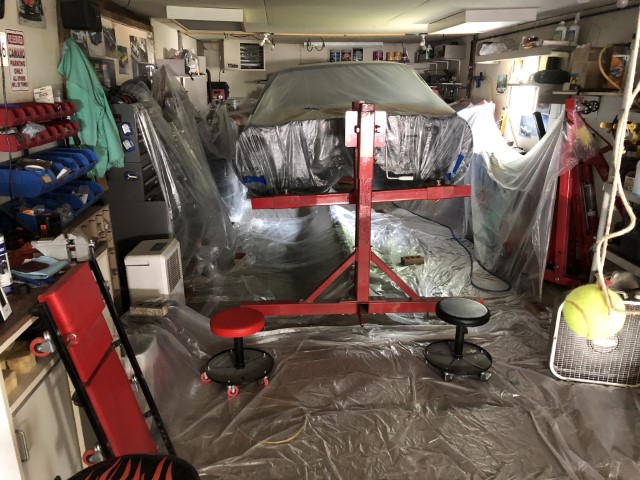 The stars finally aligned and no more excuses to delay any further… The lighting isn’t the best and I will try to get better pics in a week once it is completely dried.
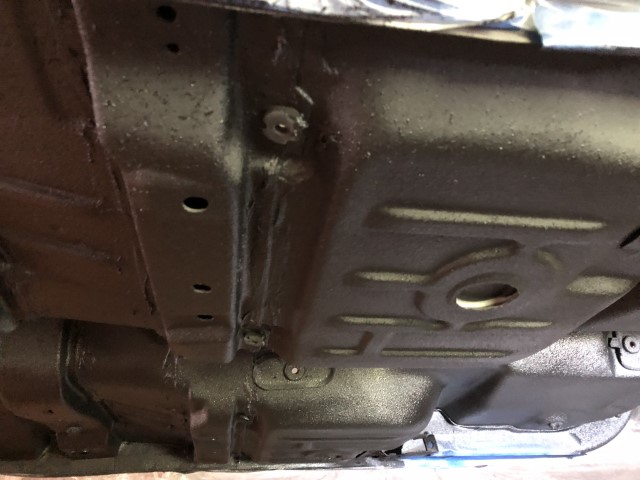
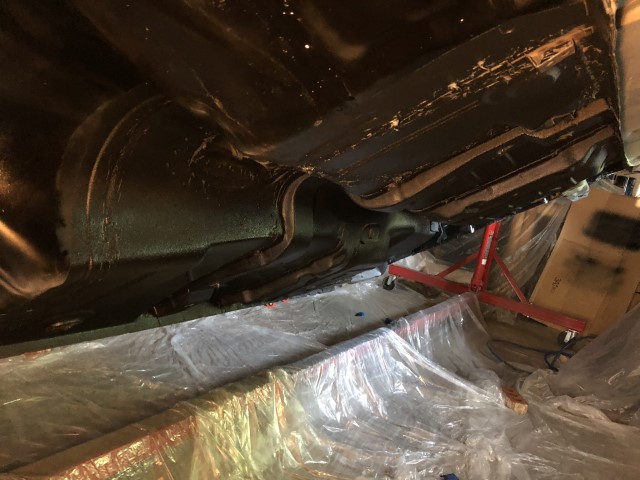
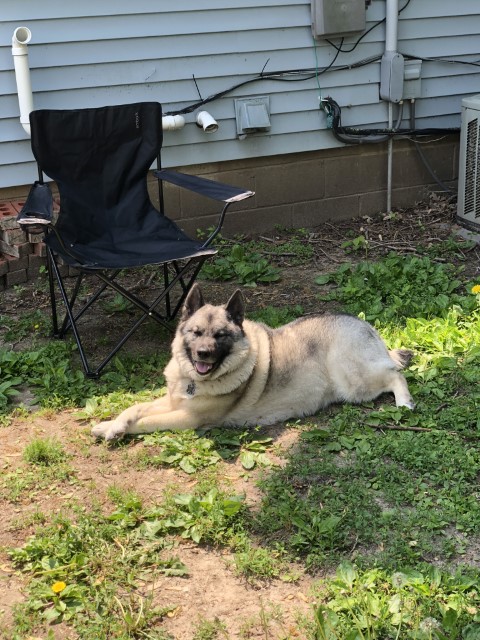
 There are a couple of small things I want to do while it is still on the rotisserie, but be winter it will no longer be on the rotisserie! Loki – my Norwegian Elkhound enjoyed the day supervising.
 I sprayed two coats with an hour between. Temp was about 70 and 60% humidity. I had a couple of fans going and the garage door open a jar for good air flow. I had 8 bottles and ended up using 5. I would do about half and start the other with a new bottle rather than go until the bottle is out. Less than an hour to spray, an hour flash and then less than an hour to spray second coat. I then waited an hour or so and removed the plugs and tape along with the plastic. Take your time and make sure you review that you have all plugs out.
05-26-2019 – Undercoating Progress
Yesterday I was able to practice applying u-pol Raptor bedliner (for undercoating) to a spare piece of sheet metal. Today I masked the shell in preparation which I hope to apply sometime next week (weather permitting)…
Before pic – I had previously sanded, primed, and scuffed: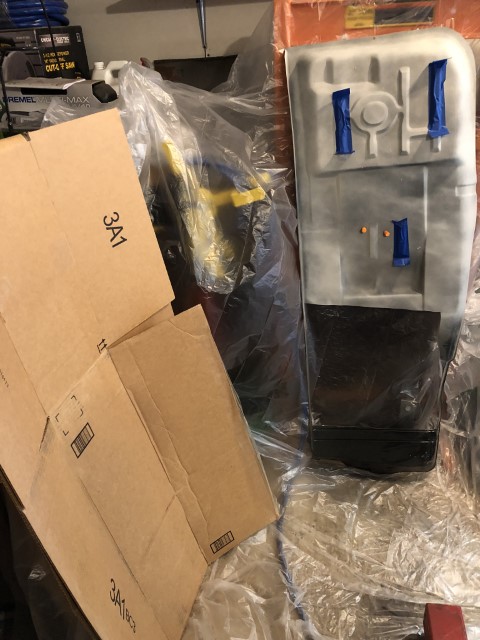 1st coat at 50 psi:
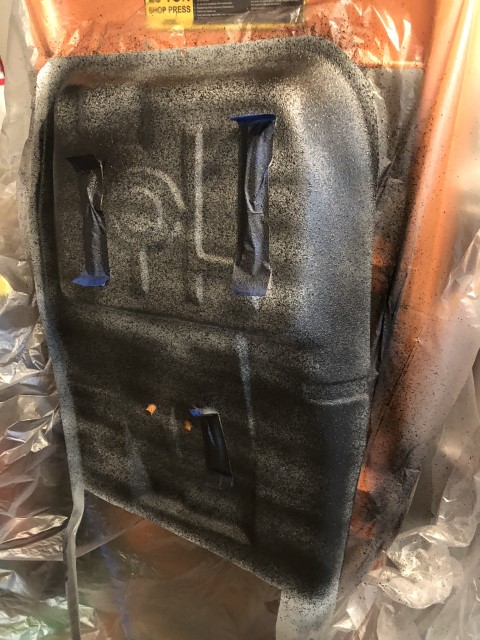 2nd coat an hour later:
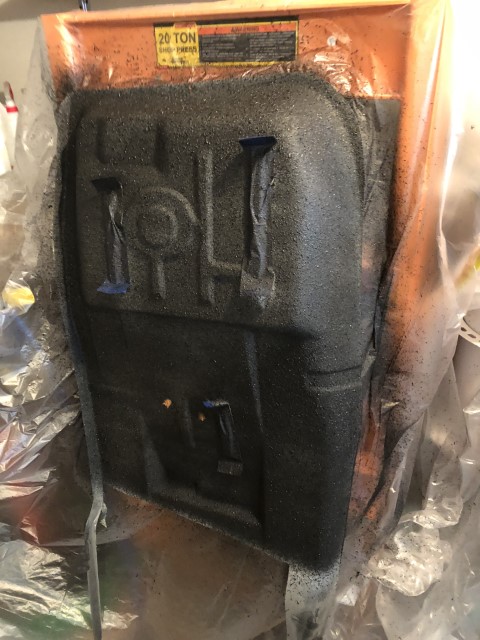 Test tape and ear plug (for screw holes) removed after 45 minutes – no problem:
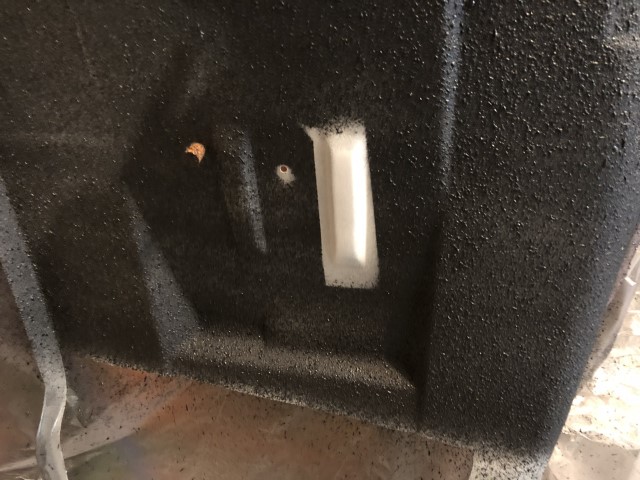 Test tape and ear plug removed after 1.5 hours – no problem!:
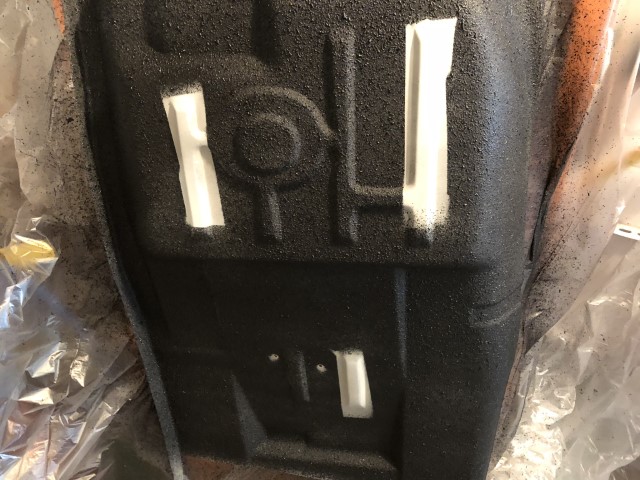
 When it came to masking, I started at the front:
 Then each side of the car:
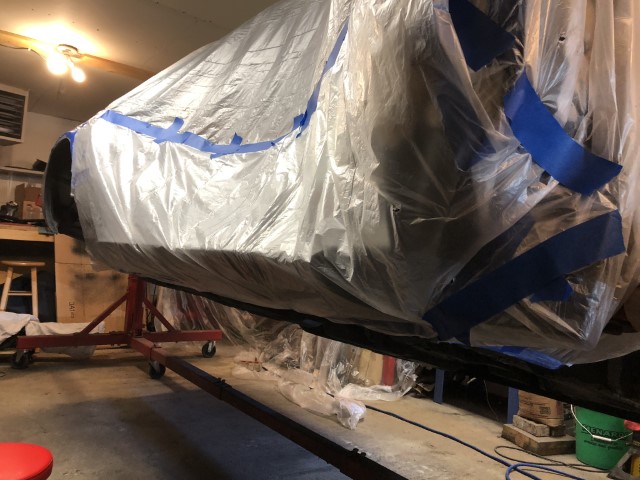
 Finally the rear:
 and wheel wells:
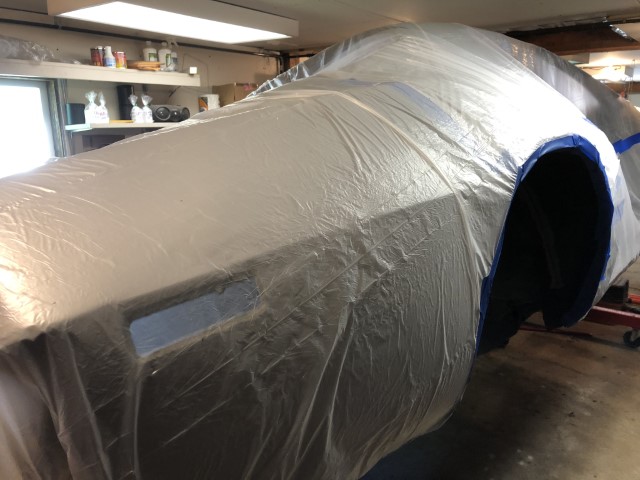 I still need to cover the floor and tools and then clean and plug the holes and tape where I don’t want it to be applied. I have no concerns after testing on cardboard and the spare sheet metal – just need to find the time and have the weather cooperate. The temp was around 70-75 at 60% humidity inside the garage when I tested – doesn’t get any better than that!
03-29-2019 – NOS Trim – now complete
Last remaining NOS trim search is now complete. With the exception of the front and back window trim, complete set of NOS trim now upper door and lower door:
Will be doing some Spring cleaning of the garage and working on the blast cabinet is next on my to-do list.
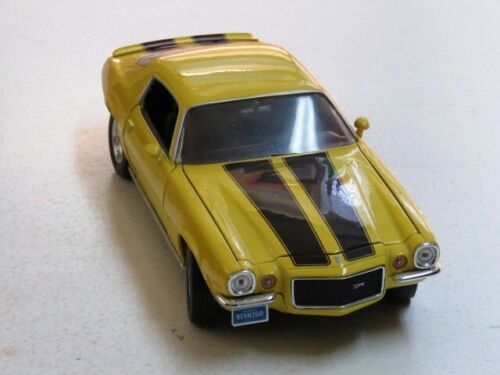
03-25-2019 – Yellow Diecast
Received another diecast car. This one is Yellow which looks the most (out of all my diecast cars) like mine will when complete – My display cabinet is now full: